
 With the help of Classic Industries you’ll learn how the easy and right way to install a new deck lid on a 1st-gen’ Camaro. This is the third in a series of three videos, and you can check out the first here, and the second in the series here. By this point, we’ve already viewed what options we have, as well as how to safely remove a trunk lid. This time, Edgar Soler of the Classic Industries Tech Center walks us through the final phase of the trunk lid replacement: the installation.
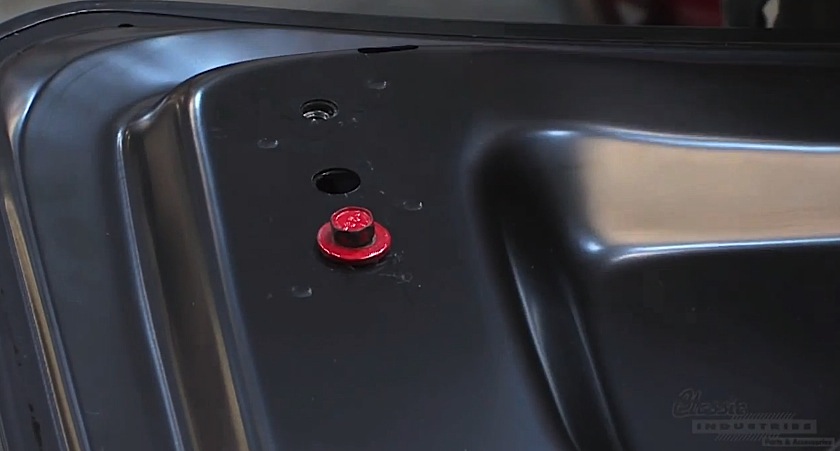
Before we do anything, Soler warns us to check the replacement piece for any damage. This means we should check the edges for crimps or misalignment, as well as inspect the inside and outside for dings and scratches. Also, be sure to check the bracket threads where your bolts will go, to see if they are compatible. Sometimes there is a coating on the panel that can cause the threads to seize. If you are using new bolts, be sure they’re the correct length, as bolts that are too long will hit the outer skin and risk future damage like denting or puncturing.
 The panel’s condition checked, Soler threads the bolts into the lid snugly (not tightly!) so as to avoid any awkward cantilevering or alignment that will put too much weight on one side or the other. This done, Soler checks to see if he has enough clearance between the lid’s front and the car’s body; he then shuts the lid and finds the gap on the far left corner unsatisfactory. He loosens the right-side bolts to make the lid more even, and then inserts shims to create enough space for a more flushed look.
Afterward, the latch needs some final adjustment, so Soler removes it to check the slotted holes. He files down the slot to further elongated it, and then reinstalls the latch. If it clicks, your lid is good to go! Be sure to check the new catalog from Classic Industries, and the history of emblems and insignias, as well as the rest of Classic Industries’ other tech videos and its Facebook page.


