
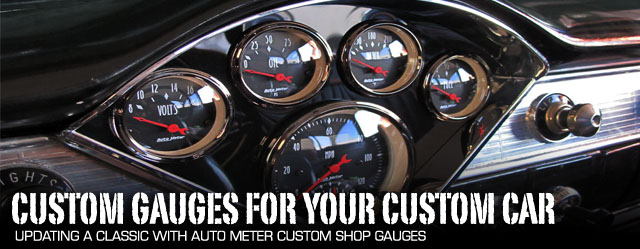
Each of us has some sort of design plan bouncing around in our skull for each of our in-depth build projects. For some folks, it’s an evolution throughout the build, while others know exactly how they want it as soon as the initial idea is conceived. A fact of life is that not all of us have the means, knowledge or just plain resources to custom build from scratch everything we want to fit our particular needs.
You’ve picked the exact right shade to coat the sheet metal and the perfect wheel to accent the look you are trying to achieve. You may have even determined the right interior style and material. When getting to the gauges, you don’t want to have to use the same thing everyone else has but how do you go about customization of your gauges? We don’t know many people who would be able to custom build their own performance gauges from scratch. Now, with the help of the Auto Meter Custom Shop, you won’t have to.
The Background
Auto Meter Products of Sycamore, IL has been building instruments for the motorsport world for nearly 60 years. The man who started Auto Meter, Vern Westberg, put his budding company on the map with an electric tachometer that didn’t suffer from the usual slow response and needle waver as a mechanical unit. Decades of family values and forward thinking has kept Auto Meter relevant in all motorsports and has produced one of the most recognizable brands in the industry.

Auto Meter’s VP of Sales and resident SEMA Hall of Famer, Jeep Worthan, helped Westberg’s sons after they took over. Worthan pushed a grass roots campaign by showing up at drag strips and helping racers with their instruments. Gaining notoriety with the race teams as well as establishing partnerships with many valued distributors was a massive help to the continued success of Auto Meter.
Over the years, the sons, John, Randy and Ralph pushed on to expand their High Performance division as well as further their advances in OEM, Motorcycle and Marine instrumentation as well as their Automotive Test Equipment products. Many of Auto Meter’s best known products were developed under this model; the Sport-Comp series and Ultra-lite series are among them. Additionally, they developed their first digital stepper motor performance instruments and the Cobalt line of LED backlit gauges.
The Change Up
Around 2006, Auto Meter had three factories running full steam with two shifts a day to keep up with demand. To continue building their products in the USA, they decided they would need to improve their assembly processes, while not pricing themselves out of the market. A company wide refinement was put in motion to improve every aspect of the company.
Every process, product design, and individual work environment was analyzed and improved. The result was a single factory operation with one shift outputting as much as all three factories with two shifts, thereby loosening up the proverbial belt. The realized savings allowed Auto Meter to acquire Dedenbear Drag Racing Electronics and STACK Motorsports Data Acquisition, effectively doubling the total number of gauge designs available.
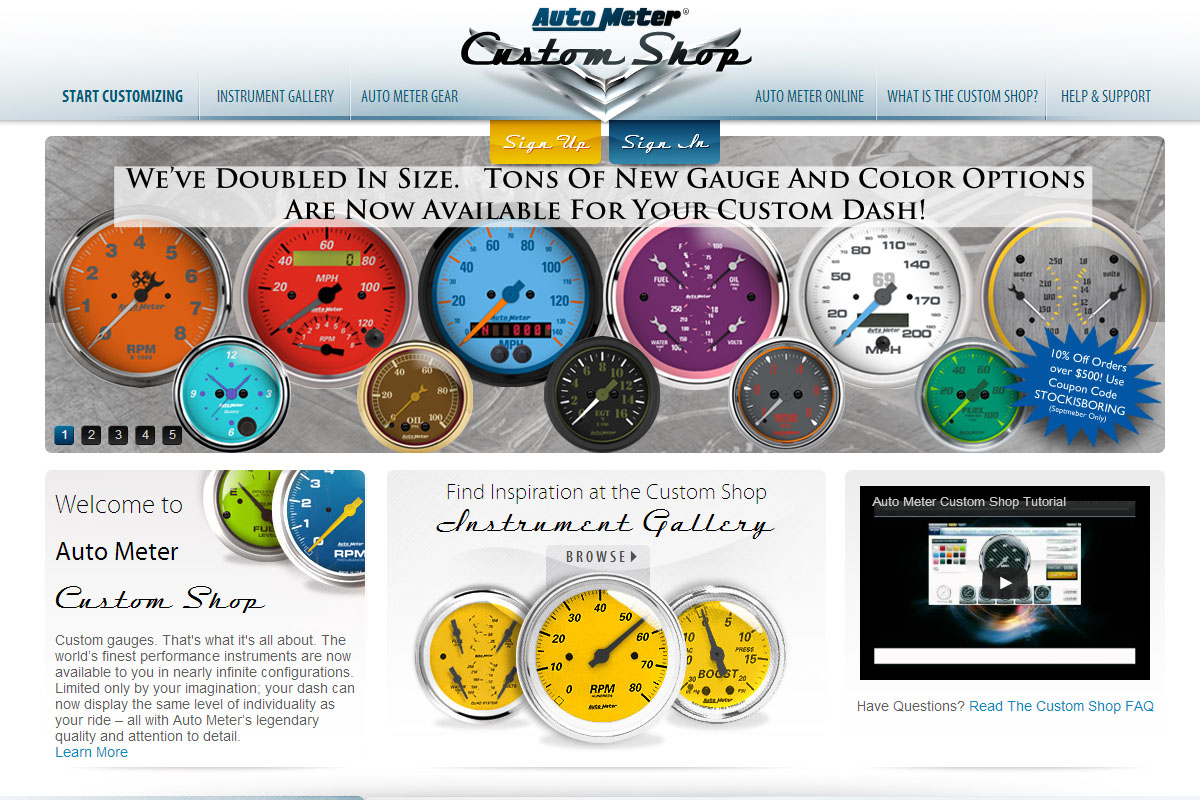
With Trillions of options, it’s easy to utilize AMPCustomShop.com to get the perfect gauge selection, features, colors and design cues to match your car just how you want it.
Customizing The Custom
Over a trillion potential combinations are hand assembled by our best technicians to ensure that the instruments are as unique as the rest of the car. -Kris Carlson

Auto Meter has nearly 50 standard gauge designs and over 2,400 active part numbers. Even with those impressive numbers, they still get an exceptional amount of unique parts and design requests. With their new found efficiency, Auto Meter stepped up to the plate with the AMPCustomShop.com.
At AMPCustomshop.com you can create over 14 trillion combinations of gauges and designs; all built with Ultra-light series grade components. With a few clicks, you get to choose how many and which gauges are included, the input readings you’ll require for proper hook up to your vehicle, as well as a full host of design tweaks to really make this kit exactly what you’ve been dreaming of staring at while ripping your rig down the road, track, strip, or trail.
Follow along as we custom design a 5-gauge set for a gorgeous Tri-5 and then breeze through the install:


Auto Meter has spent the time and effort to set up an easy, user-friendly interface, for designing your personal one-off gauges. Start by selecting how many gauges you wish to package together. Based on the number you choose, a few groupings will be presented as a starting point to work from. Be sure to choose through these carefully but you will be able to modify them later. A fresh blank canvas is placed in front of you, begging for your personal touch.


Following the top bar of the customizer, the “Dial Color” is the first choice. With 25 options, you are bound to find one that meets your color combo or design needs. Next, choose one of the 9 fonts that blend with your theme as well as one of the 24 colors available. Next up is the ticking, the main markers you read. Choose from multiple ticking styles such as a standard “Normal” hash mark, Diamond, Dots, Antique, and more. Following the custom color theme, the ticking color can be specified as well.


Adjust the retainer color to your liking and then dive head first into the pointer style and color. The pointer is arguably the most looked at portion of your gauges. Leading you to the answer of why you are looking at the gauges, the pointer can really set the difference in the entire feel.
Choose between Old Tyme and Standard as well as the consistent range of color options, both for the main body of the pointer as well as well as the Hub and Tail independently, should you choose to change it up even more. For additional accents, pick your outside bezel style, color and finish as well as a “domed” window versus a “flat” window.
Last but not least, you get to decide the type of lighting you want; standard incandescent or LED (White, Blue, Red or Amber). Depending on what gauges you selected, you may be able to add your own image or numbers to the gauges as well.


Still having troubles picturing your perfect gauges in your car? Click the “Change Virtual Dashboard” button to tweak the background color to match the dash or accent color in your vehicle. You can also change the gauge view to clear out some of the boxes in the customizer. There’s even a “Print Kit at Actual Size” so you can see how the design works with your car. Keep in mind that throughout this entire process you can change the gauge hardware by clicking “Change This Gauge” under any of the small gauges. Once you’ve gotten everything dialed in to what you want, pull the trigger and click “Add to Cart” to place your order.
Our gauges showed up in about two weeks, just like the website says to expect in their 2-3 week lead time. These are custom hand-built pieces so it could take a smidge longer depending on the custom options selected.

Our Auto Meter Custom Shop Gauges came out stunning. They arrived in a beautiful pine box with a personalized custom-engraved plaque.
Getting Those Gauges Implanted
We got to follow along with the folks from Classic Whitewall Tires in Orange, CA as they installed these gauges into a 1955 Chevy. Painted in a Buick shade named Autumn Haze, this car was a great selection to add classy looking instruments with modern technology beneath. Sporting a 383ci small-block, Turbo 350 Trans, 2-inch drop spindles with disc brakes and power steering, this car is well on its way to owning the roads.
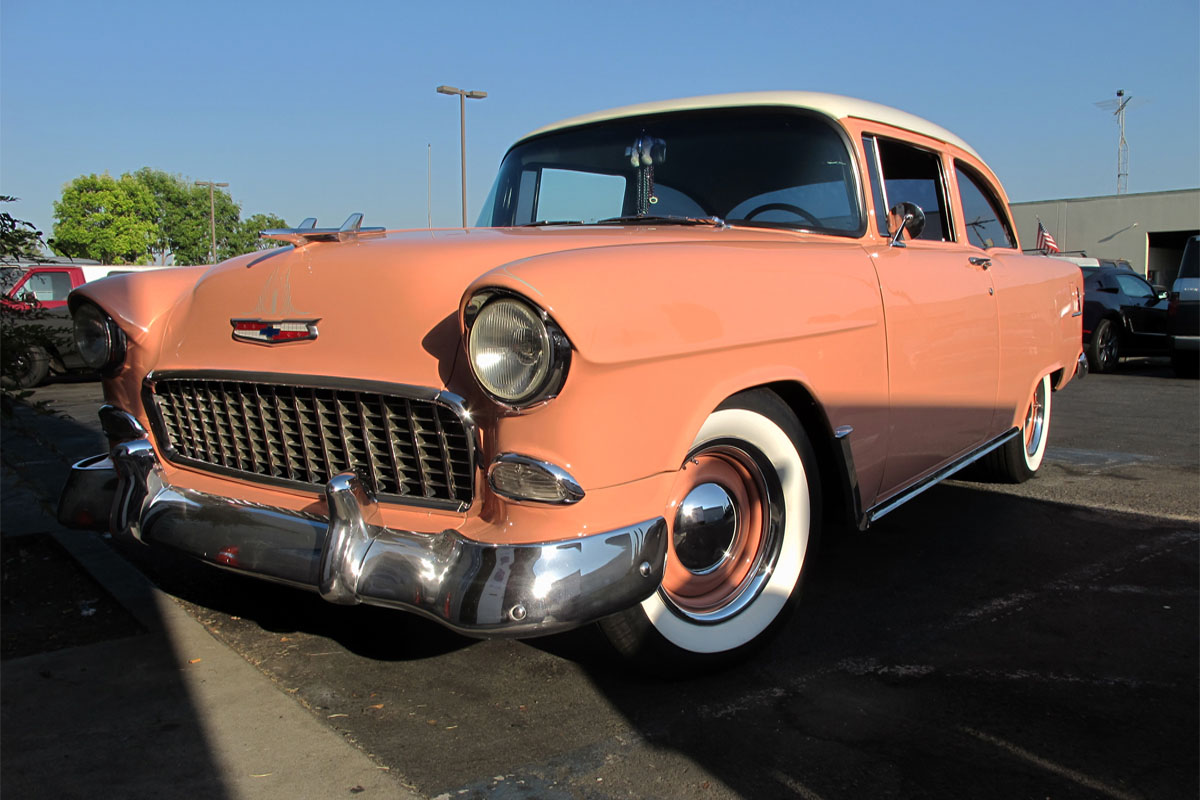
This Autumn Haze Tri-5 is a strong runner. The owner has driven it from Orange County to Las Vegas for various car shows for years as well as regular driving duties. It occasionally even hits the autocross track for fun.
First off was to lay out the gauges and the install kit to get a lay of the land. The gauges came beautifully packaged and completely avoided any possible chance of shipping damage. Reading through the instructions certainly helps to clear up any possible confusion with simple, and straightforward directions.


The Auto Meter Custom Shop gauges will sit right at home in this Auto Meter Tri-Five install kit (part #7702) specifically designed for this vehicle.
As with all electrical work, first disconnect the battery. After pulling a few screws out, the original equipment cluster is slightly pulled out. All factory connectors on the backside are disconnected. Luckily this Rod recently received a fresh wiring upgrade so all the wires are already marked, making the reassembly a ton easier. If you don’t have an aftermarket wiring harness in your car, you may want to take the time to tag each wire. Doing so will save you a massive headache later.


Without much fuss, the factory cluster is out of the vehicle.
The OEM and new Auto Meter gauges make an interesting juxtaposition. Technology, especially metering technology, has come a long way in the last 60 years. Here we’ve got an amazing contrast of Original Equipment gauges that are just a couple years older than the company that has the current top-of-line replacements. Often times aftermarket gauges are added to the vehicle in addition to the factory units so the driver knows more of what’s going on. The Auto Meter gauge kits allow form to no longer be trumped by function, providing an aesthetically pleasing command center.


What a difference six decades can make. The Auto Meter gauges are able to update the internals while keeping a classic vibe.
One of the big upgrades with these gauges is the LED lighting. Classic incandescent bulbs are available on the website when ordering if you want that classic, authentic look. The LED lights add a pure consistent light through-out the entire gauge face. The install kit also included LED lights and pig tails for the turn and high beam indicators. A couple metal brackets attach to the base plate; these attach to the dash via a pair of J-clips.
Each of the small gauges can be interchanged, place them in any order to match your preferences. Metal L brackets and attached to the base plate and metal J-clips are snapped into factory holes in the dash cavity providing a positive attachment point to the entire assembly. 


Depending on what gauges you choose, you may need to change out a few sending units. We ended up changing out the coolant temp sender, converted to an electric oil pressure sender as well as a digital speedometer sender. A couple mini harnesses were custom built to handle the ground and power for all the units. As mentioned before, this car had a complete new wiring harness strung through it recently which was a tremendous bonus when installing the gauges. Each aftermarket wire is already tagged with what its duty is. Connect a few more wires and then position the assembly into the cavity.


All the wires are connected and the assembly is screwed into place.
Per the instructions, the speedometer unit is to be installed last. The installation kit is designed to work with various 3-3/8-inch gauges by using six ribs that reduce the internal diameter of the hole. For our Custom Shop gauges, we needed to gently shave down each of the ribs gradually until the Speedo unit was able to slide in with a smooth and snug fit. Clip the chrome bezel onto the base and add the lower section of the steering wheel cover.


The Speedo unit is hooked up and put into place. Chrome trim pieces are clipped and screwed into place to finalize the install.
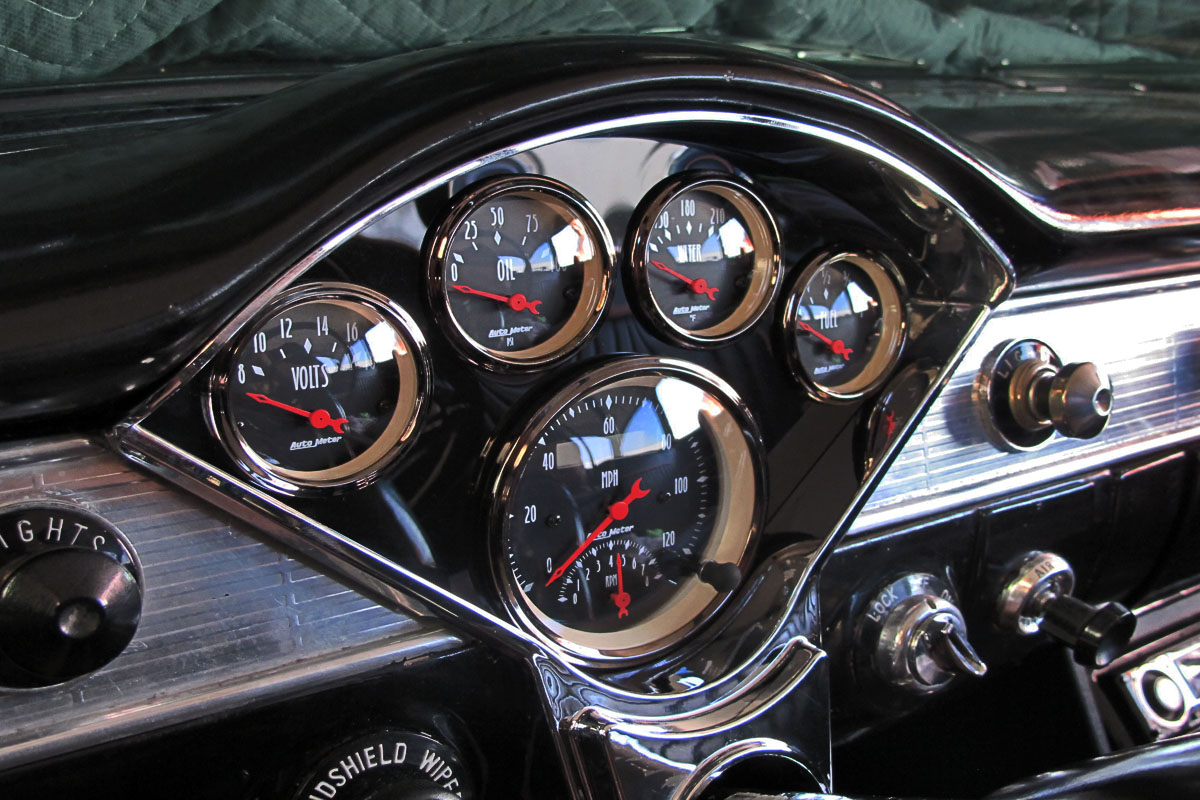
The final result is nothing short of gorgeous – form meets function in this classic Tri-Five.
In the end, we’ve upgraded behind the scenes as well as the face with an incredible balancing act of clean and retro looks. Hitting the road we love the confidence this added with the additional management info, and we can’t wait to clock some miles on our next road trip. Head on over to www.ampcustomshop.com to tap into the modern era and get your custom gauge set going.


