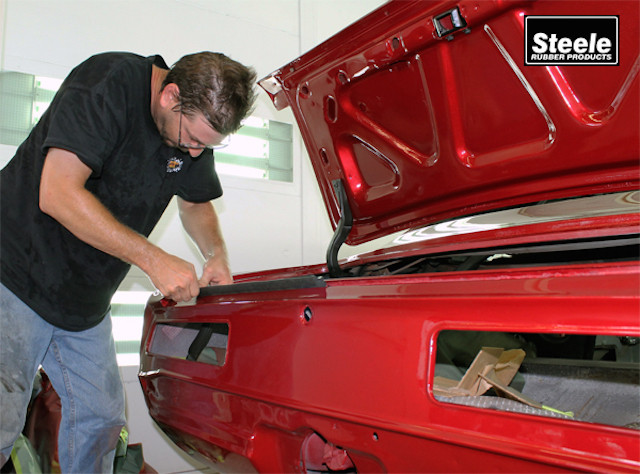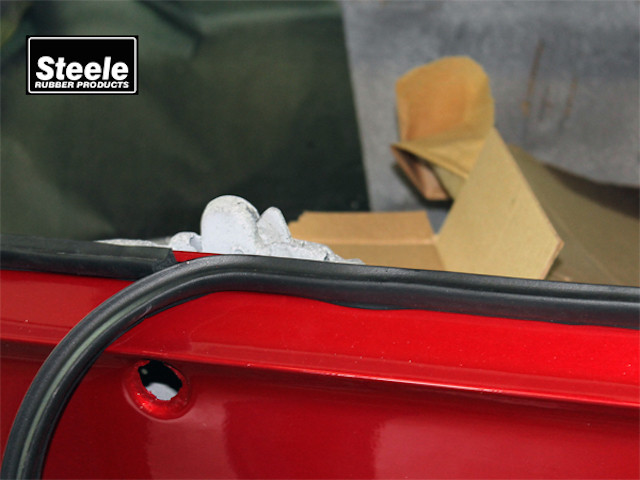
Lay the weatherstrip loosely in place without glue before staring the installation. Photos from steelerubber.com
Steel Rubber Products makes thousands of automotive weather-seal products at their North Carolina, facility. Frequently, they get to visit some of the retail shops that install their products. This is truly where the rubber meets the road (pun intended), and where great installation practices can be shared. One such trip resulted in a quick tech-tip session at Quarter Mile Muscle in Mooresville, North Carolina, where Steele Rubber and QMM provided five quick tech tips on weatherstrip installation.
Using a beautiful 1969 Camaro as the demonstration piece, the crew installed Steele Rubber Products’ brass-core door seals offering these tips:
Align First.
The team strongly recommends that anyone installing weatherstripping take the time to lay out the rubber without glue, pins or clips first. If the rubber strip requires some help to stay in place, the crew recommends the use of masking tape to hold it. Laying out the part will highlight any problems before you remove the old weatherstripping.
Use Less Glue
Weatherstrip glue is thick and strong, and only requires a small amount to get a good seal. The professionals recommend a thin bead, and let it dry for a few seconds before setting the weatherstrip. Less glue means less mess and an easier cleanup too.
Leave Excess
Weatherstrip is usually a “stretched on” installation, so it is a good practice to allow time for the weatherstrip to settle back to normal. The experts recommend leaving an excess of 1/4-inch to a 1/2-inch overlap so that when the rubber flattens into place, there is enough to create a perfect seal.
Test
Finally, our experts say the job can be considered complete after the door is closed and the seal is tested. The door will require some pressure to close it when the rubber is new and the seal is tight. Remember to leave time for the glue to dry before closing the door on the weatherstrip.
With these tips from Steele Rubber Products, we hope to help the do-it-yourselfer install weatherstrip on their project like a pro.


