
Vintage muscle is the heart and soul of our passion at Chevy Hardcore yet we are willing to admit that technology has improved over the years. Simple things like dash panels have gone from a plain gauge cluster of three gauges, and maybe a warning light or two, into something that looks like an air traffic control center. Granted, our vintage musclecars do not need as much information displayed as an F18 fighter jet, but you probably want more than just a speedo, fuel gauge and water temperature.
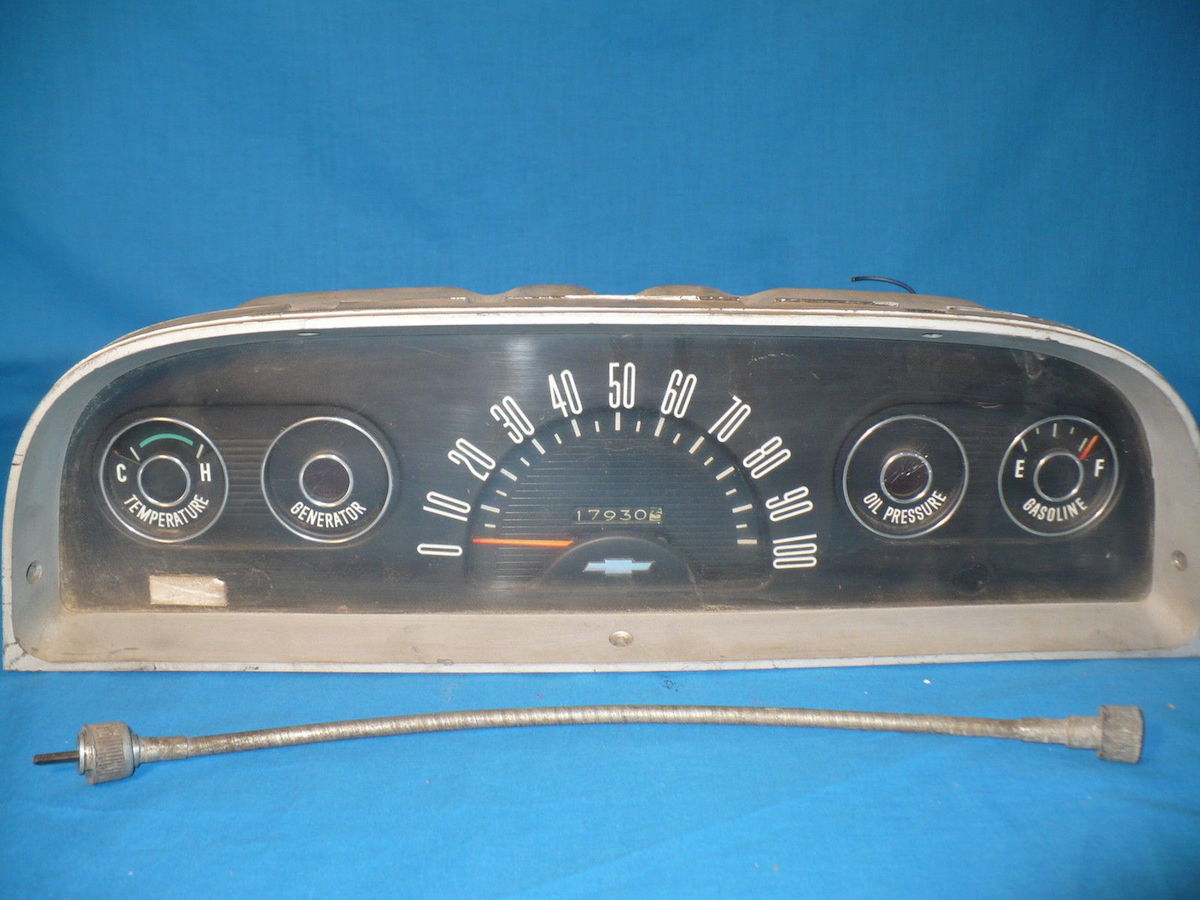
The factory original dash for the Chevy C10 trucks left a lot to be desired. Engine information was not as critical for the drivers during the early ’60s. With the modern engines of today, drivers need to know oil pressure and RPM.
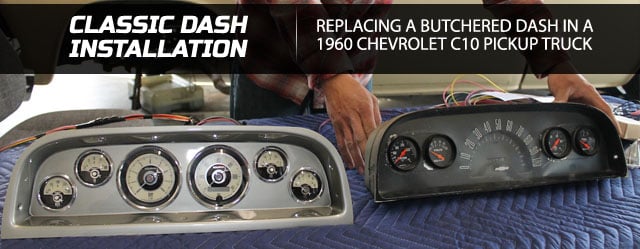
When it comes to adding more gauges to your classic car or truck, choices can be limited unless you are fully invested in customizing your entire dash. Our vintage truck had aftermarket gauges slapped into the original dash panel. Wanting to restore a classic look while taking advantage of additional engine monitoring gauges in the vintage 1960 Chevy C10 truck, we opted to use a dash panel from Classic Dash coupled with Auto Meter gauges. With the Classic Dash panel there was no need to fabricate new holes to house the extra gauges. This makes for a turnkey yet stellar looking finished product. Check out the results below.
Aftermarket Options
When it comes time to add gauges to your ride, you can go with something that uses modern technology and displays all the information that you could ever want. It might look too modern and out of place in your vintage cockpit though. You can also butcher your existing dash by cutting holes and adding extra gauges for that not-so-classy look.
We selected a Classic Dash kit that allowed for a classic modern appearance with the latest technology in engine gauges.
Nothing says, “I’m a second-rate, hack mechanic” like an instrument panel with raised bezels of different appearances slammed into a tortured old factory dash panel.
There are several things at play here, one of which is providing an increased level of information to the driver. – Greg Wambold

In the past, backyard mechanics that wanted extra gauges opted for the convenience of adding a duo or trio of aftermarket gauges in a holder under the dashboard in a cheap and quick approach, which ultimately ended up looking just like that: cheap and quick.
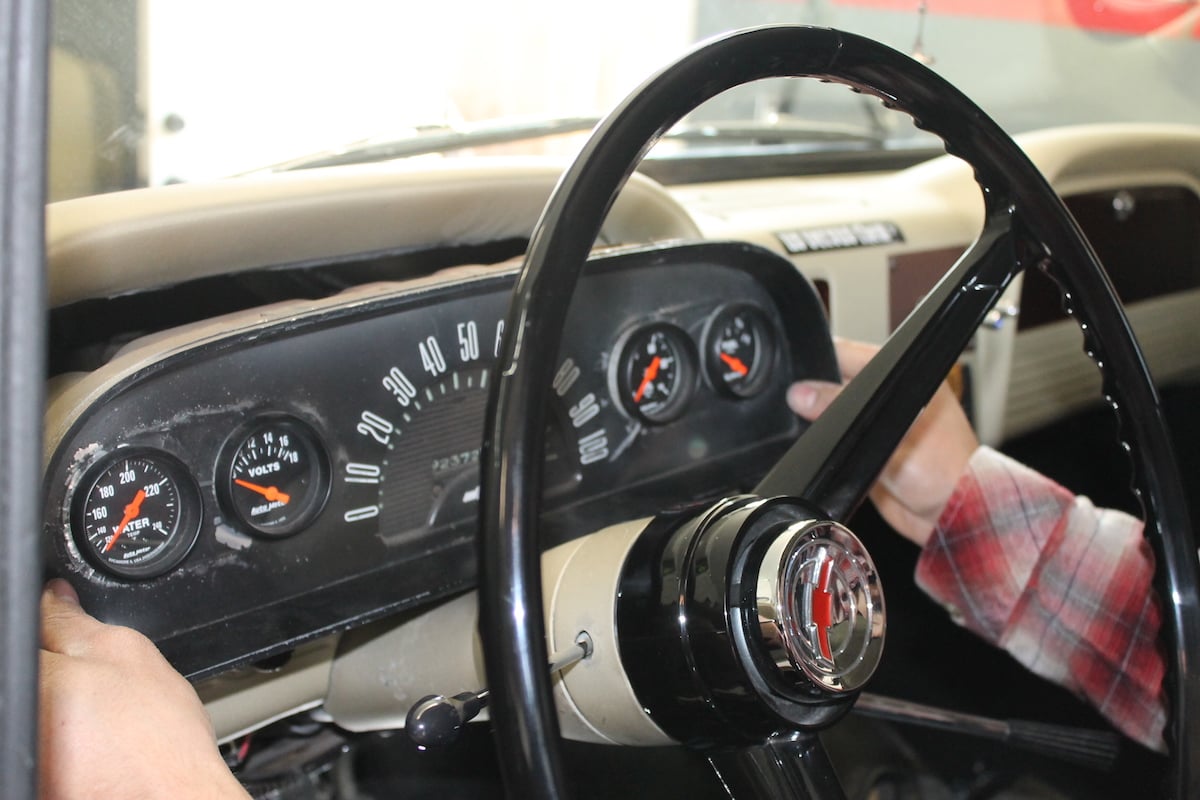
We removed the butchered old dash by removing the screws holding the instrument panel to the dash, then pulling out the panel so we could disconnect the wires from the gauges.
“Back in the day, owners of classic Chevys – including trucks – would attach an auxiliary gauge panel to the bottom of the dash,” explained Wambold. “Needless to say, reading gauges down by the trans tunnel can be a challenge, and more than one shin has been bashed by a below-dash panel.”
We found another choice for the enthusiast that wants all the modern technology along with the added engine information without sacrificing the retro look. Classic Dash offers the perfect solution for enthusiasts looking to upgrade their instrument cluster and dash while keeping the cockpit looking period correct; but individualized at the same time.
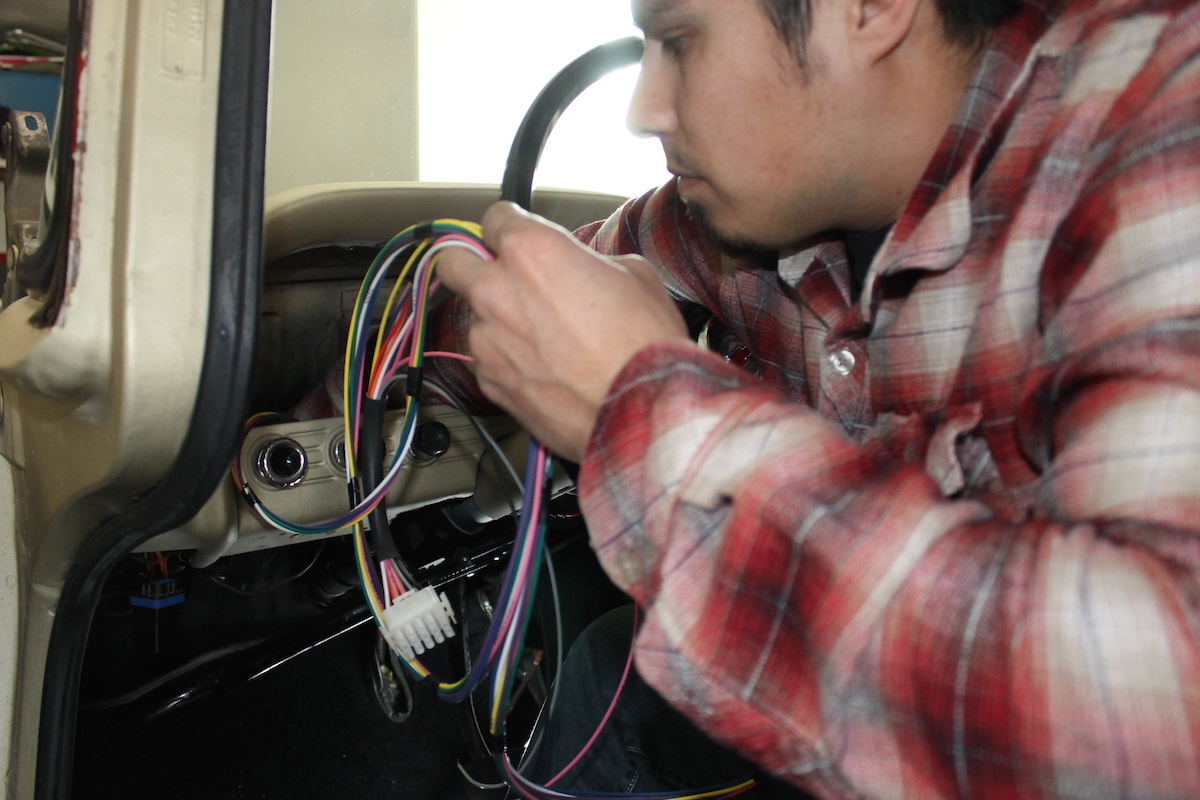
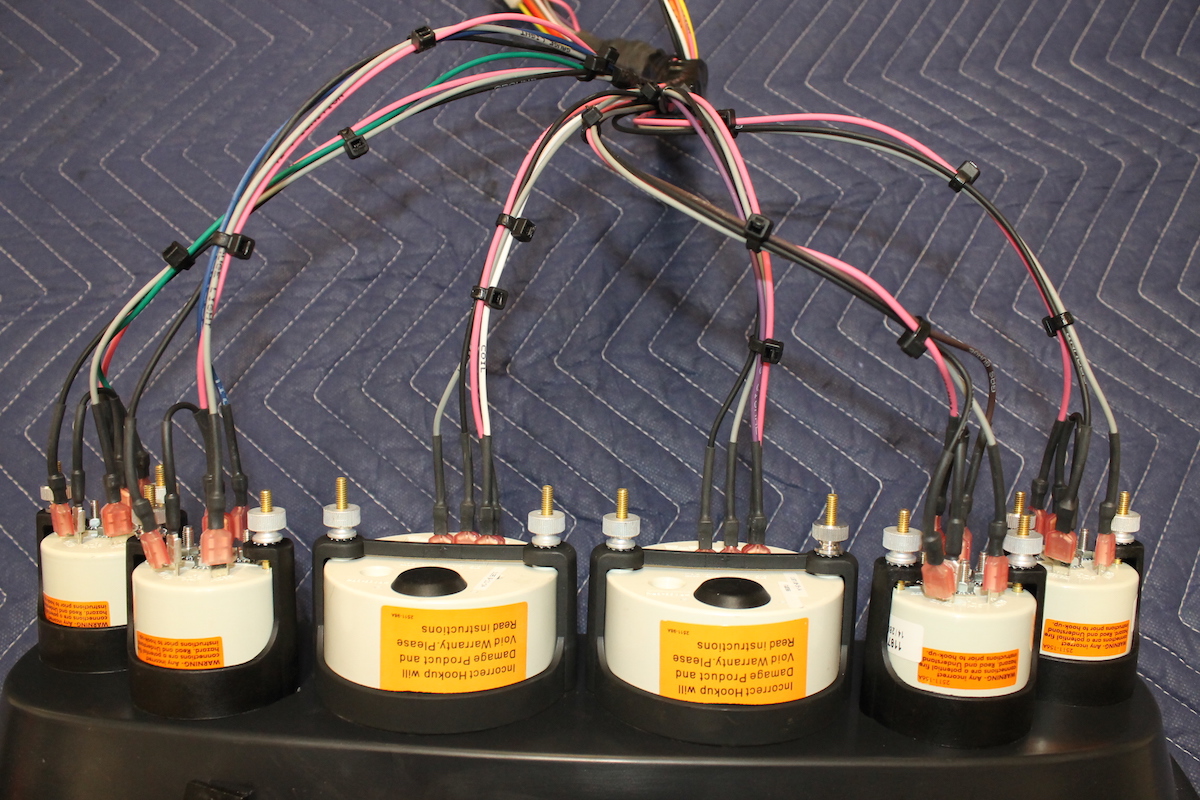
Once the factory instrument panel was removed, we could start cleaning up the old wiring and install the new wiring harnesses.
Wambold agrees, “Many enthusiasts are drawn to the three finishes we offer: matte black, brushed aluminum, and carbon fiber, as opposed to the cheesy OEM wood grain or faux leather. This gives enthusiasts the ability to have anything from a “high tech” to a “classic” look.”
About Classic Dash
Headquartered in Carson City, Nevada, Classic Dash is recognized in the industry as one of the pioneers in manufacturing molded ABS composite dashboards for muscle cars. Founded in 2002, Classic Dash has employed new manufacturing technology to expand their ever-growing list to over 60-applications.
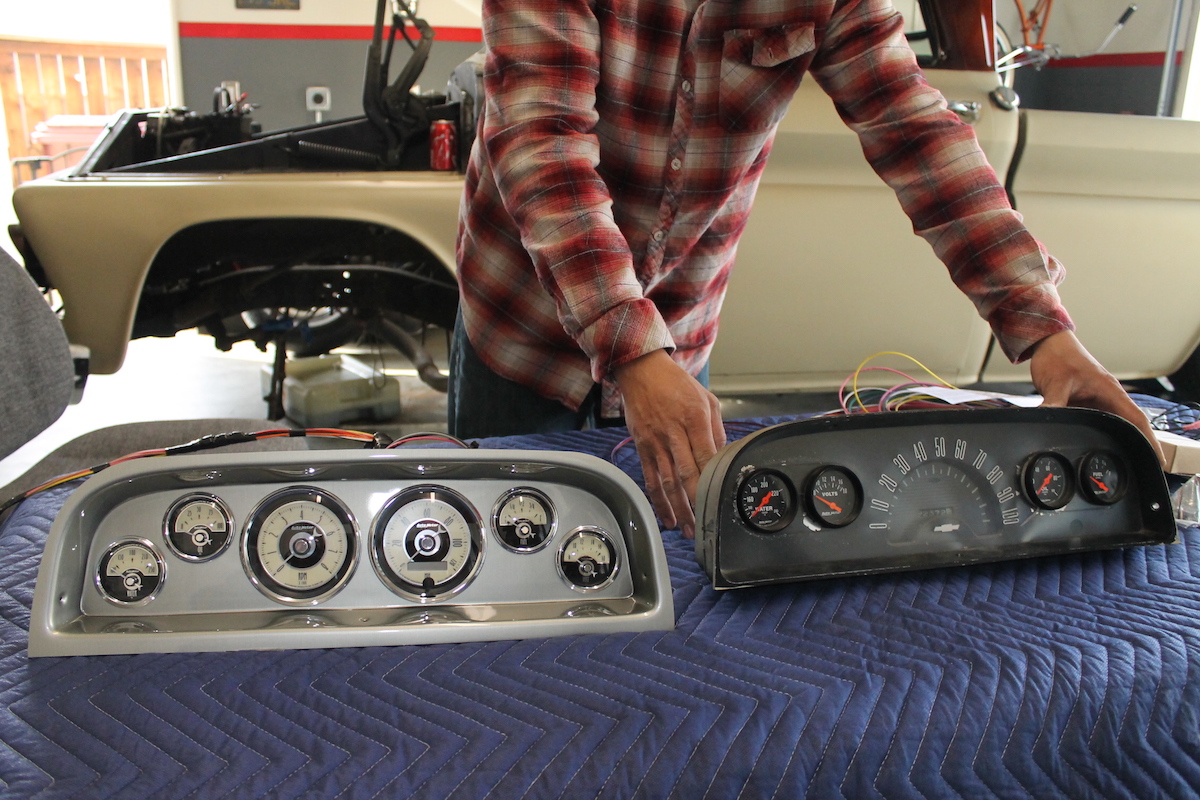
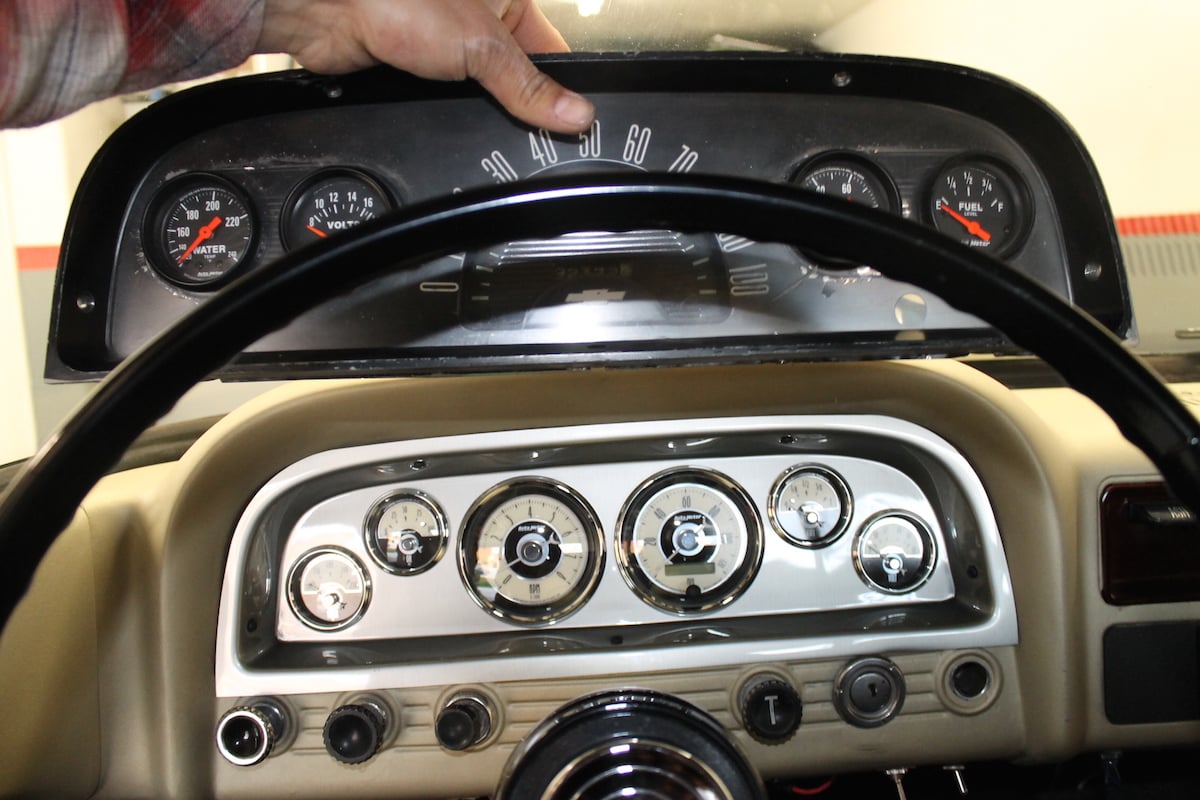
A side-by-side comparison of the Classic Dash panel to the factory instrument panels that has been “upgraded” with aftermarket gauges.
“Many enthusiasts like the durability of the Classic Dash panels, says Wambold. “They’re made of a UV-resistant ABS composite material and hold their shape well, even with exposure to the sun.”
The key to Classic Dash’s success is that the manufacturing process is done in-house to stringent quality control standards. Classic Dash’s dashboards are mostly sold as a complete package with a full compliment of Auto Meter or Thunder Road gauges, wiring kit and accessories.
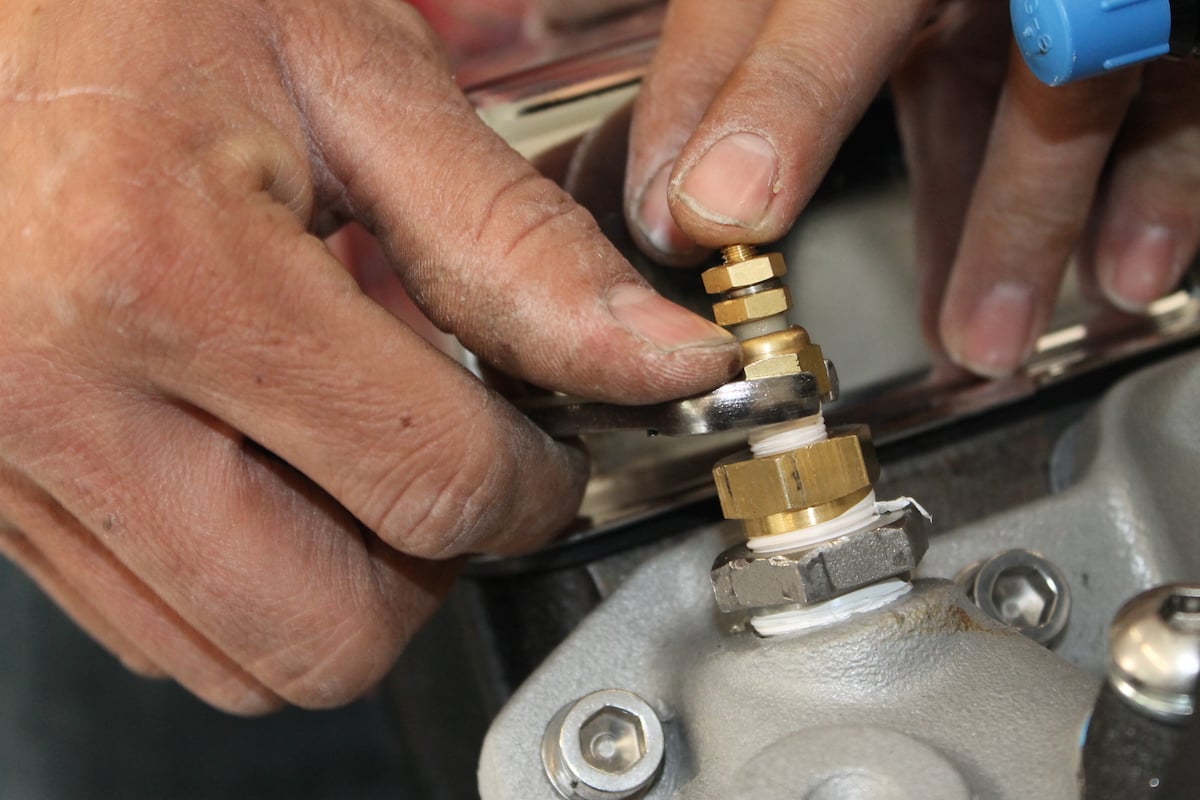
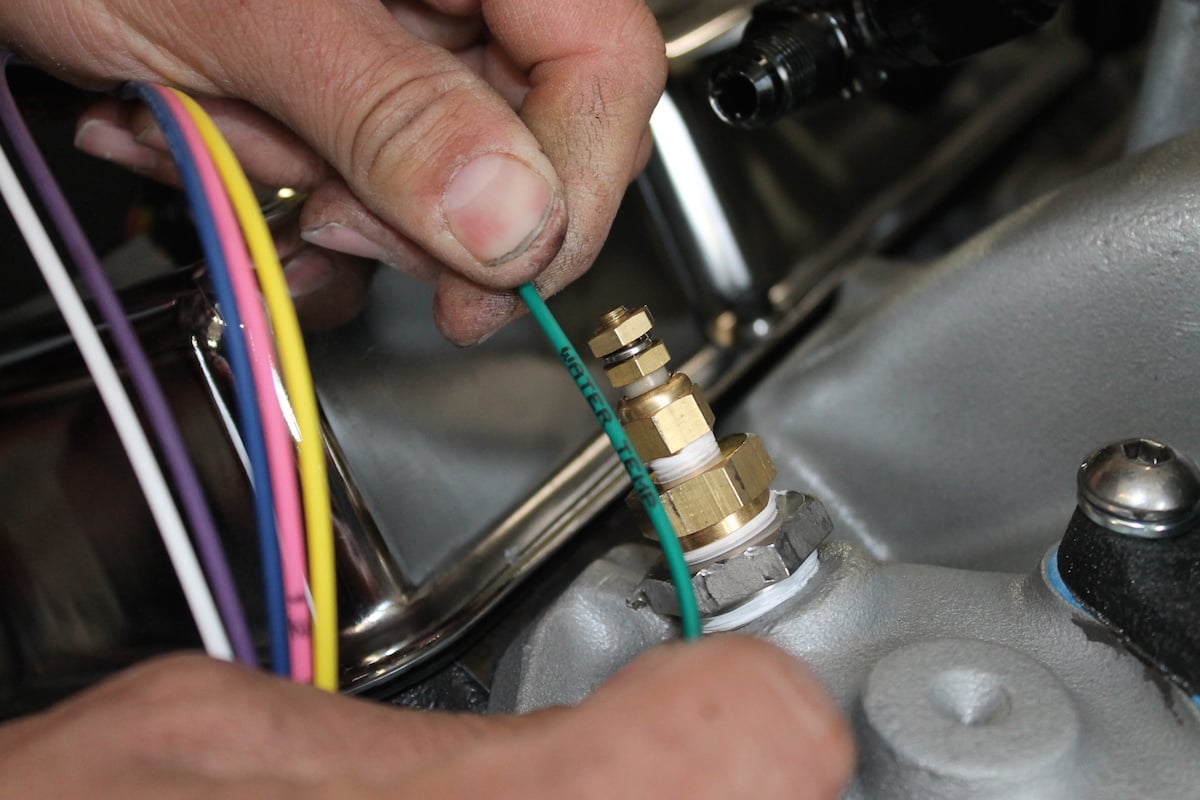
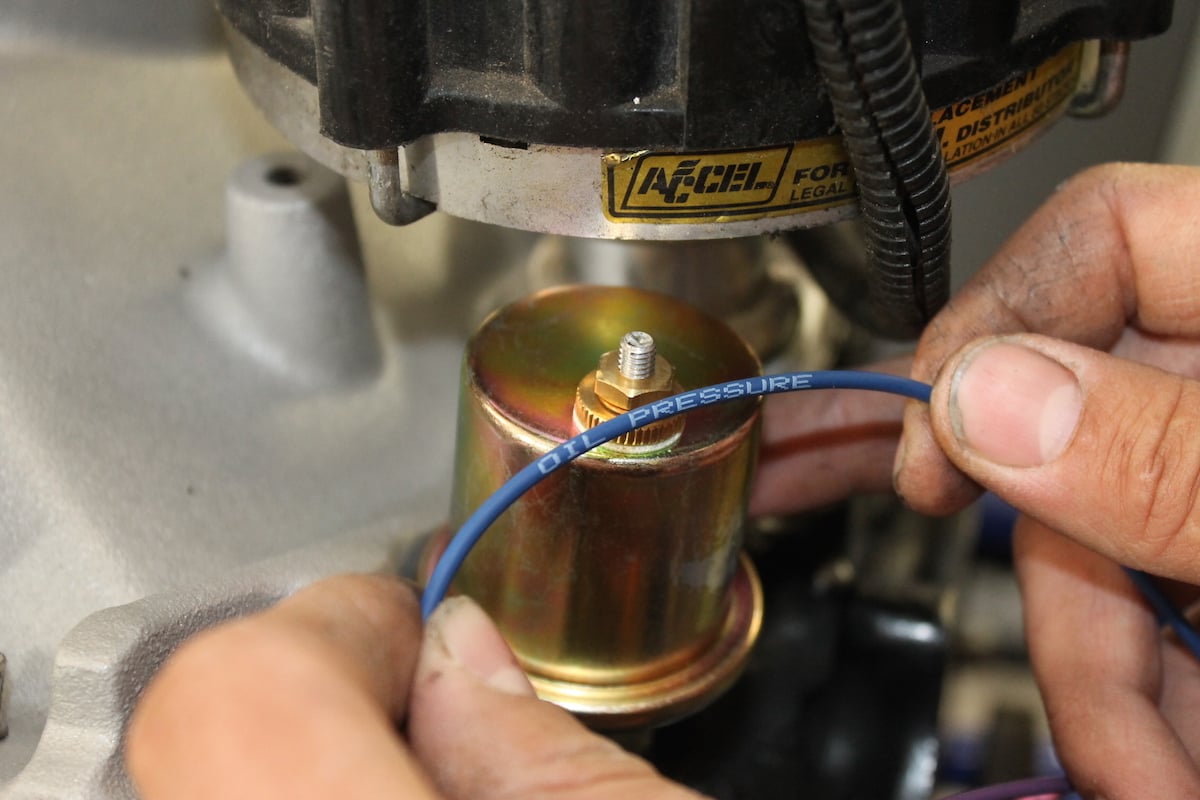
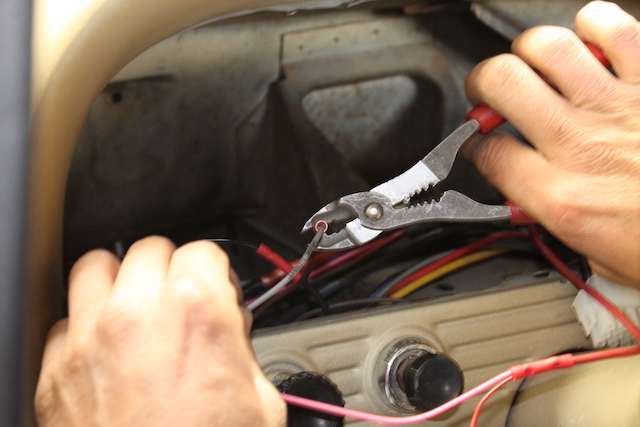
The wiring could not be easier. It's simply a matter of installing the sending units then attaching the correct wire. The wires are not only color coded, but the system is printed on the wire. Here we see the water temperature sending unit being installed and the water temperature and oil pressure wires.
The Parts
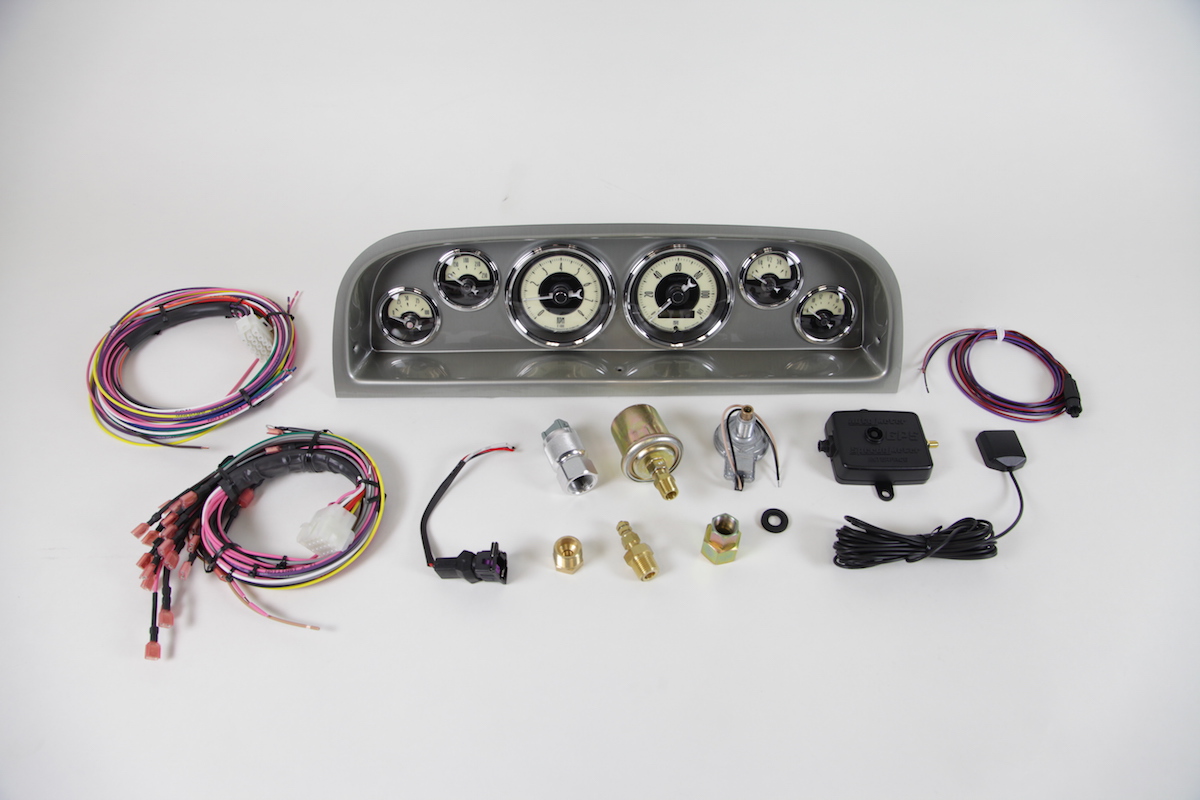
The foundation for our upgrade is Classic Dash’s 1960-63 Chevrolet Truck Complete 6-Gauge Panel. While there is not a specific SKU or part number listed for this product, you can just call the folks at Classic Dash or go to the dealer locator on the company’s webpage to order the exact kit and options that are needed.
The complete kit comes with a molded UV resistant ABS instrument panel that will replace the stock gauge panel. The panel comes complete with a choice of different styles of Auto Meter gauges. While the speedometer sending unit for electric gauges must be purchased separately, the rest of the kit is very complete.
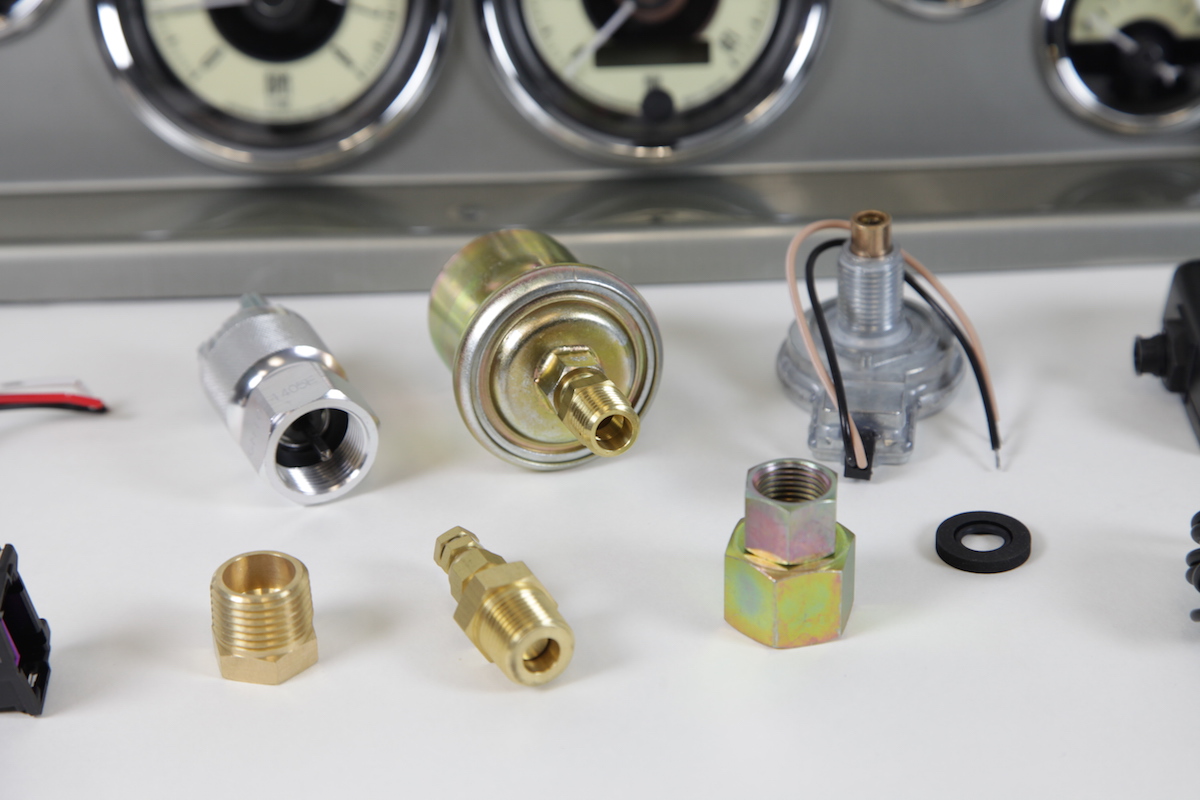
The instrument panel kit comes with just about everything you will need to install the new panel. The sending units and connectors are are part of the package. Overall, it is a very complete kit.
Complete package comes with:
- Wiring harness
- Oil and temp sending units
- Turn signal, high beam and parking brake indicators
- 3-3/8-inch speedometer
- 3-3/8-inch tachometer
- 2-1/16-inch fuel level gauge
- 2-1/16-inch oil pressure gauge
- 2-1/16-inch water temperature gauge
- 2-1/16-inch voltage gauge
Containing almost everything you could ever want in an instrument panel, there are several options to choose from. We decided to go with the no gauge option and pick up a completely different set of gauges from Auto Meter. By choosing “no gauges” you are selecting to get the dash panel and accessories. For gauges, Classic Dash is a distributor for Auto Meter gauges and you can find any look that you want, even if it’s something unique like the gauges we selected. Choices of a matte black dash panel, brushed aluminum dash panel or carbon fiber dash panel open up options from classic to ultra-modern in appearance.

We decided to add the Auto Meter universal GPS speedometer interface module for electric speedometers to our install.
Gauge set options for the kit range from “no gauges” to Auto Meter’s: C2 Gauges, Carbon Fiber, Cobalt, NV Gauges, Phantom & Phantom II, Sport Comp & Sport Comp II, Ultra-Lite & Ultra-Lite II, American Muscle, Ultra-Lite – Mechanical, Phantom – Mechanical and the Sport Comp Electric. All of which are top shelf gauges that provide enough options for every taste. We loved the choices but decided to go off the page and install the Auto Meter Cruiser AD gauges paired with a brushed aluminum dash.
After a moment of prep work to get our gauges installed into the panel, we were ready to complete the installation.
Auto Meter AD Cruiser Gauge Package
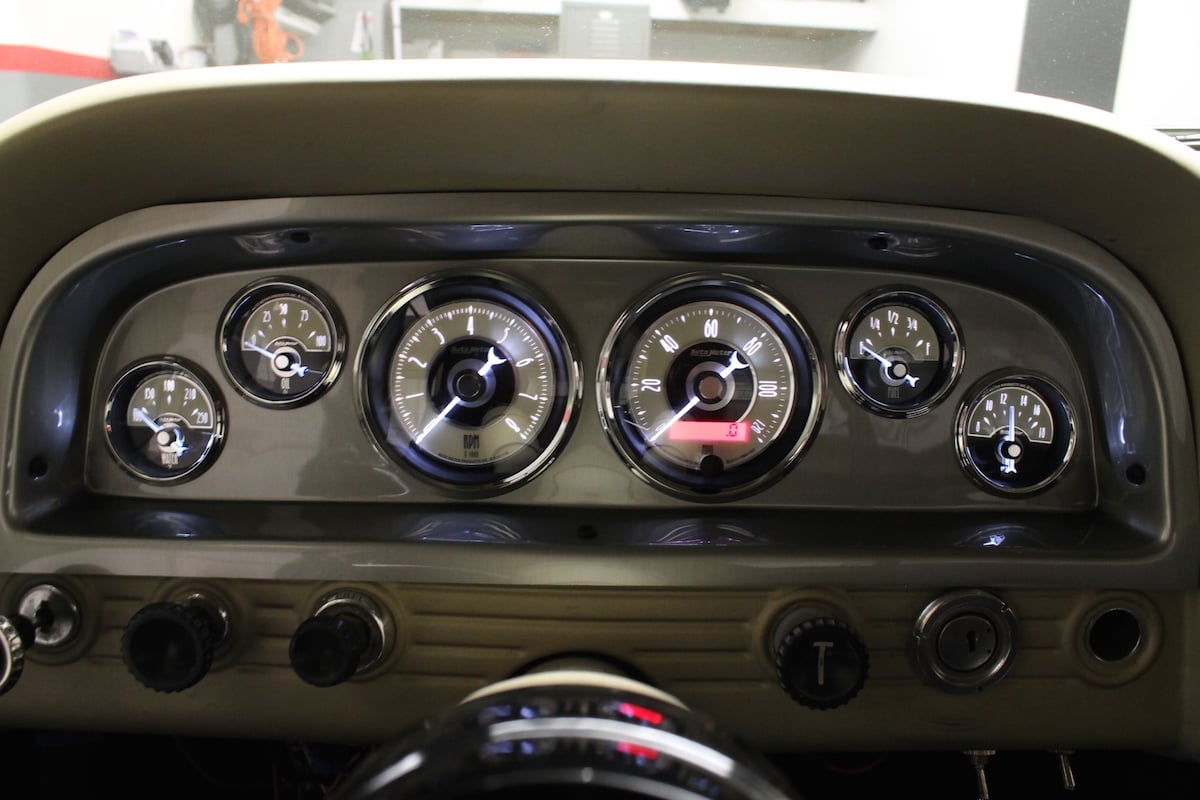
The gang at Auto Meter have assembled their most popular gauges into one kit with the Cruiser AD look. The kit includes a speedometer, water temperature, oil pressure, fuel level, and voltmeter, and includes all the necessary sending units (Fuel Sender, Oil Sender, Water Sender, VSS Senser) . The gauges use Auto Meter’s Hi-Def, through-the-dial white LED lighting, which we really like in classic cruisers.
“The Cruiser AD gauges really hit a great balance between a timeless, art deco look and modern functionality. Despite the classic styling, they are every bit the high tech performance gauge you’d expect from Auto Meter,” said Auto Meter’s Joseph Mills. “Highly accurate, bomb proof durability and easy to install. And with our cutting edge LED lighting, you get a great looking gauge that you can actually read at night.”
The kit also contains 3/8-inch NPT and 1/2-inch NPT adapter fittings, along with the required mounting brackets. The speedometer range goes from 0-120 mph, oil pressure range from 0-100 psi, and the water temperature range from 100-250 °F. The voltmeter registers from 8-18 volts.
“The gauges in this kit are all electric. While many years ago a mechanical gauge was the way to go for no compromises accuracy, our modern electronic gauges are every bit as accurate and just as reliable as the best mechanical instruments. They’re much easier to install, particularly if you’re dealing with limited space behind the dash and you avoid having to plumb fluids into the passenger area of the vehicle,” Mills stated. “In fact, our advanced digital stepper motor gauges are actually the most accurate instrument we offer.”

Recommended Tools For Dash Installation
- Soldering iron/butt connectors
- Electrical/crimping pliers
- Multi-meter
- Drill motor
- 5/32″ drill bit
- Super glue
- Center punch
- Tape measure
- Screwdrivers
- Razor blade/box cutter
- Hand files (fine and medium)
- Open end wrench or socket set (3/8″ through 9/16″)
- Shrink wrap/electrical tape
GPS speedometers are very accurate and we like playing nice and avoiding tickets in our cruisers. There are several court cases on record where GPS data has been used to overturn speeding tickets when the GPS logs showed the defendant traveling below the speed limit when they were ticketed. That is proof enough for us that a GPS signal is extremely precise and worth including in our build.
The Installation
The installation of the dash and gauges is a pretty straight forward process that does not require any specialized skills above normal maintenance ability.
There are a few common hand tools that the experts recommend having on hand before embarking on the installation. These tools are outlined in the sidebar on the right.
The part of the installation that many garage mechanics fear is the electrical and wiring harness assembly. Let us calm those fears by saying that the wiring harness sent in the Classic Dash kit is very complete, color coded and includes a very thorough – but simple – instruction manual.
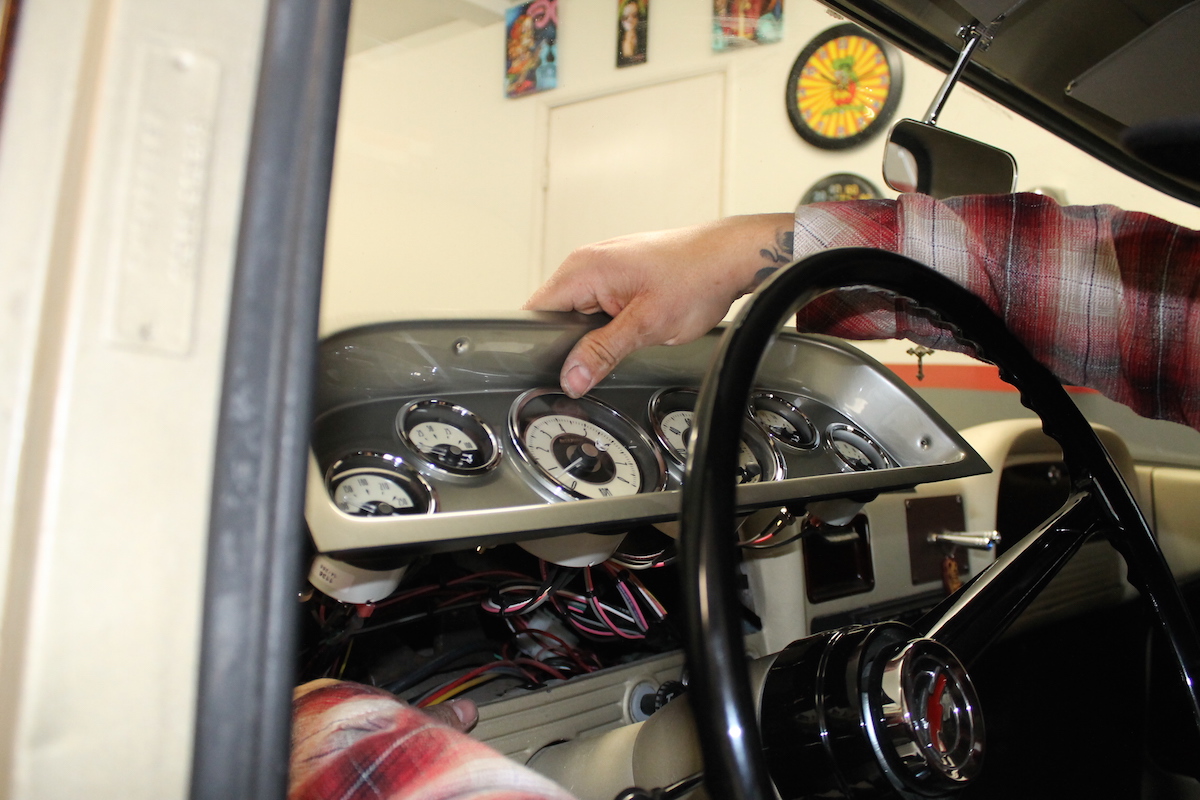
Once the electrical harness was in place and the correct wires connected to the appropriate sending units, the new Classic Dash instrument panel was dropped into place.
The first page of the instruction manual is an overview of the wiring harness, which is enough for most home mechanics to use for completing the install. There are gauge-by-gauge instructions in the following pages that provide clarifying information, along with step-by-step instructions for mounting each gauge.
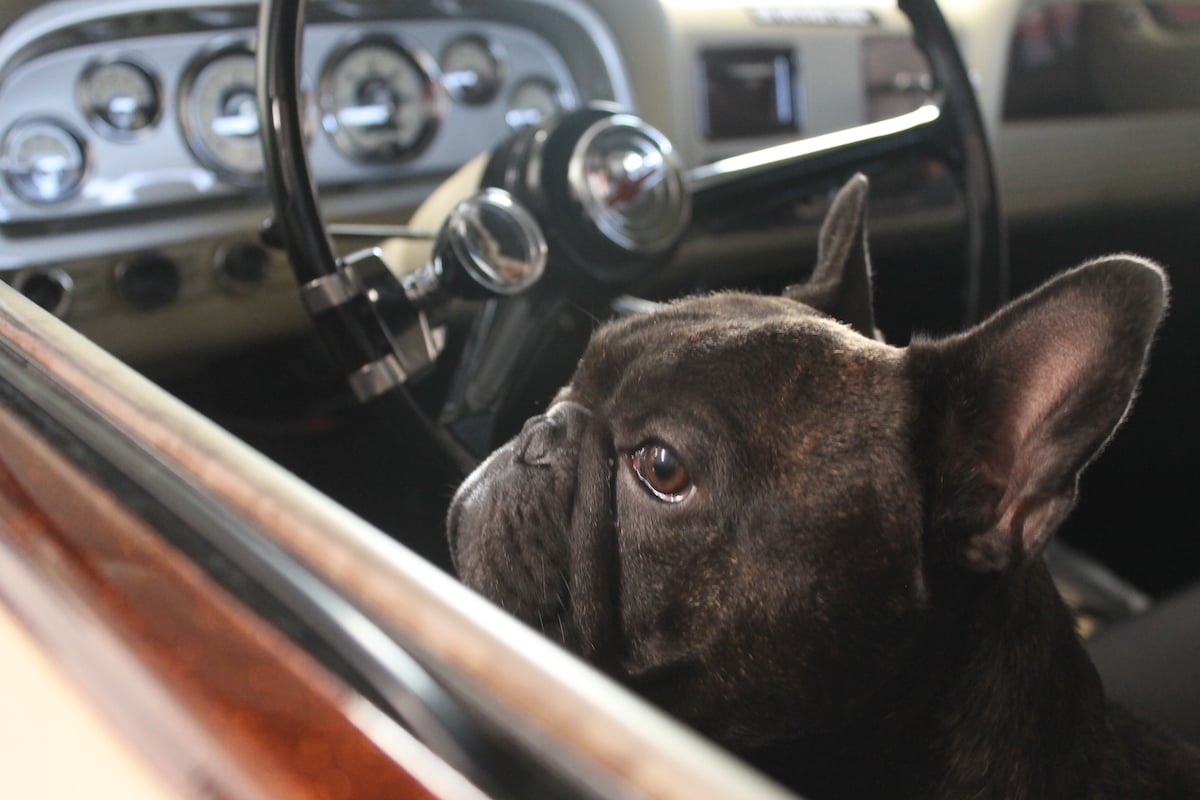
The final installation view shows how clean and classic the newly installed panel is compared to the instrument panel we removed. Even our Quality Control shop dog approved of the change.
Finishing Up
Once the wiring harness was inside the dash with the correct wires connected to the appropriate sending units, the dash panel could be put in place and held while the final electrical connections were made to the wiring harness on the back of the instrument gauges.
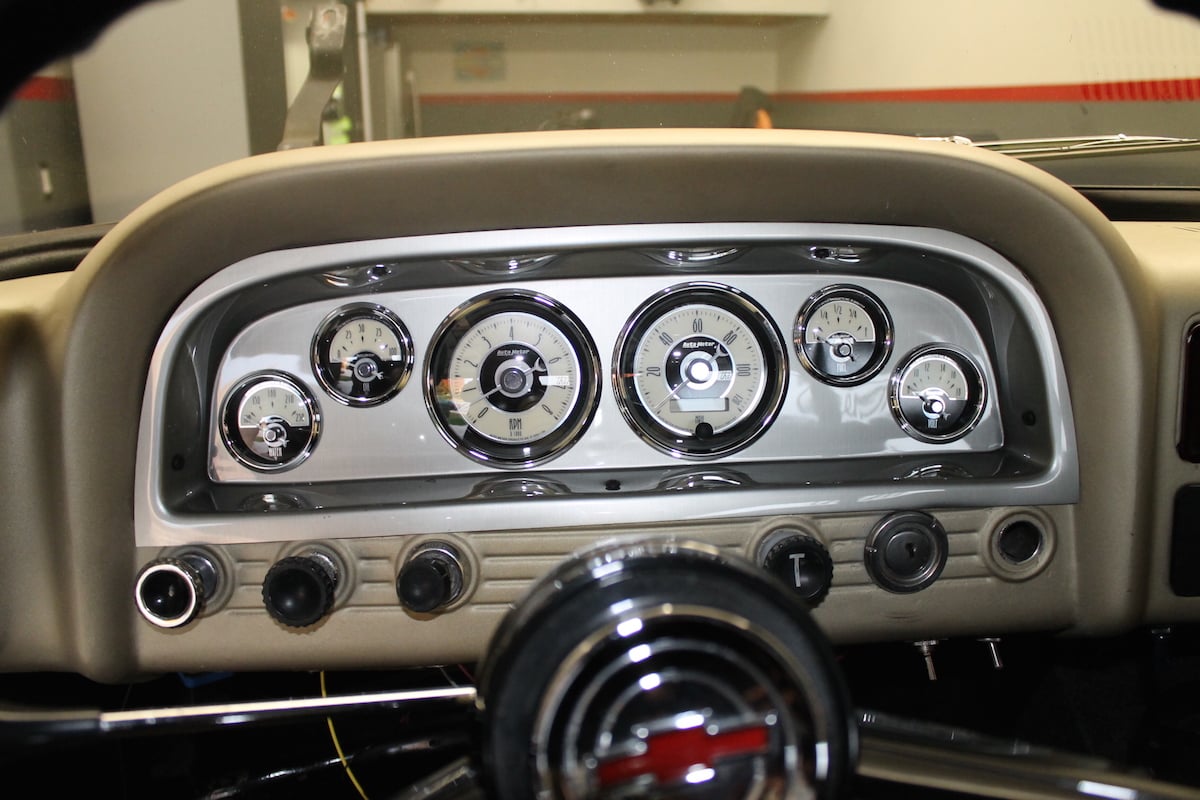
According to our installer, 'The new panel is slightly oversized which helps to hide a lot of sins that these dashes have been exposed to over the years.'
A quick check of the lighting system and turn signals then we were ready to calibrate the speedometer. Following the instructions, which call for a quick push and hold of the calibration button while the pointer sweeps the full scale. Releasing the calibration button, the fun can really kick into high gear while the operator drives a two-mile stretch of road at a constant speed. Press and release the calibration button to store the calibration. It’s as simple as that.


