There’s no question that the sixth-generation Camaro SS offers a ton of performance right out of the box. It’s a particularly tasty package when equipped with the manual gearbox, which brings a Tremec TR-6060 six-speed gearbox into the equation, making for a more involving driving experience and providing the driver with direct control over the transmission’s behavior at all times.
Yet like any production car, there are design concessions which must be made in order to keep the car accessible to the widest swath of buyers possible, both in terms of drivability and costs. But that just means the Camaro SS serves as a very solid canvas for enthusiasts to tailor to their needs, and with fantastic aftermarket support, they can mold Chevrolet’s muscle coupe into exactly what they’ve envisioned.

The sixth-generation Camaro SS is a great performance package right out of the factory, particularly when spec’d with the six-speed manual gearbox. But when it comes to the factory shifter, we’ve got a few gripes – its action is a pretty rubbery affair overall, and while the throws aren’t outrageously long, there’s certainly room for improvement here as well. Hurst’s short throw addresses both of those issues while avoiding the pitfalls of many other aftermarket short-throw shifters, like excessive noise and vibration transferred into the cabin from the transmission tunnel.
When it comes to the gearbox, it’s undoubtedly a sweet setup, but the shifter can be a bit tame for some. Although the engineers tasked with designing the gearbox setup wanted to provide customers with a sporty shifter feel, they also had external factors to consider, like the noise, harshness and vibration targets that needed to be meet, a limited amount of time to refine that design, and the requirement to keep manufacturing costs down. The result is that, while the shifter is quiet during operation, the throws are somewhat long and there’s a rubbery overall feel to the shifter when in use.
While that may be fine for most drivers, there are three-pedal enthusiasts among us who want more from their setup, and that’s where Hurst Shifters comes in with their Gen Six Camaro SS Billet/Plus short-throw shifter. Available with two billet aluminum shift handle options – the classic cue ball shift knob (PN 3916031) or a black pistol grip-style handle (PN 3916131) – these short-throw shifters offer a lot more than just an aesthetic upgrade. We wanted to check out this new short throw setup for ourselves, so we hustled a 2016 Camaro SS into the shop and got to work. But before we dive into the installation, let’s take a closer look at the details of the shifter and its advantages over stock.
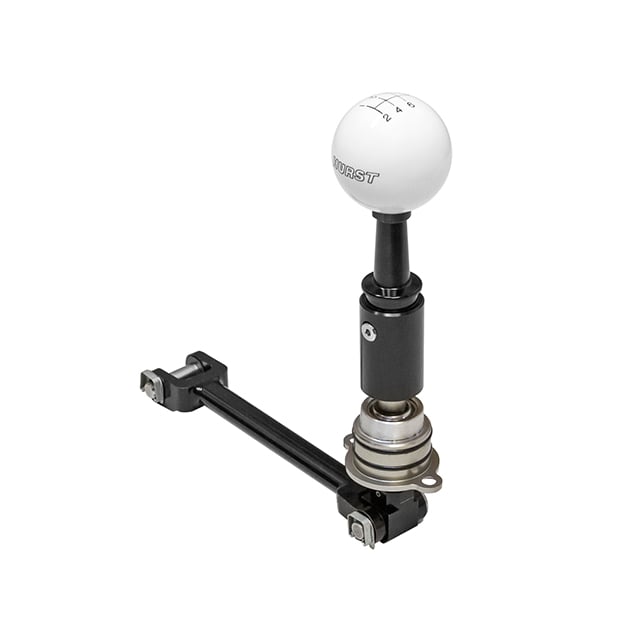
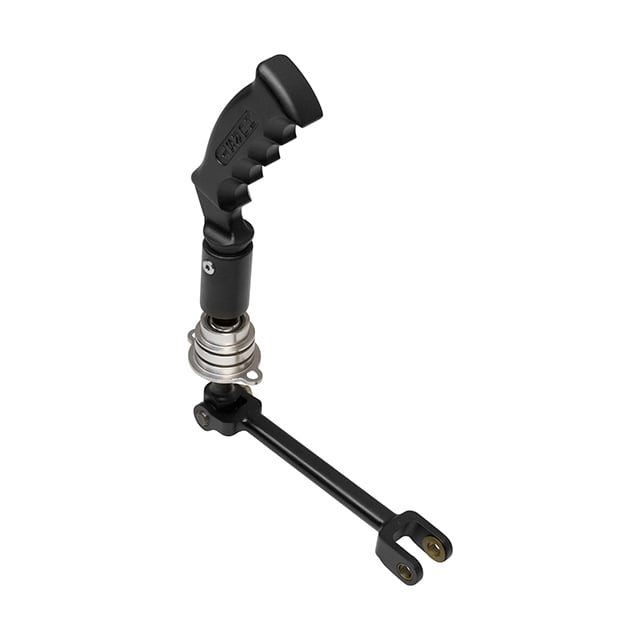
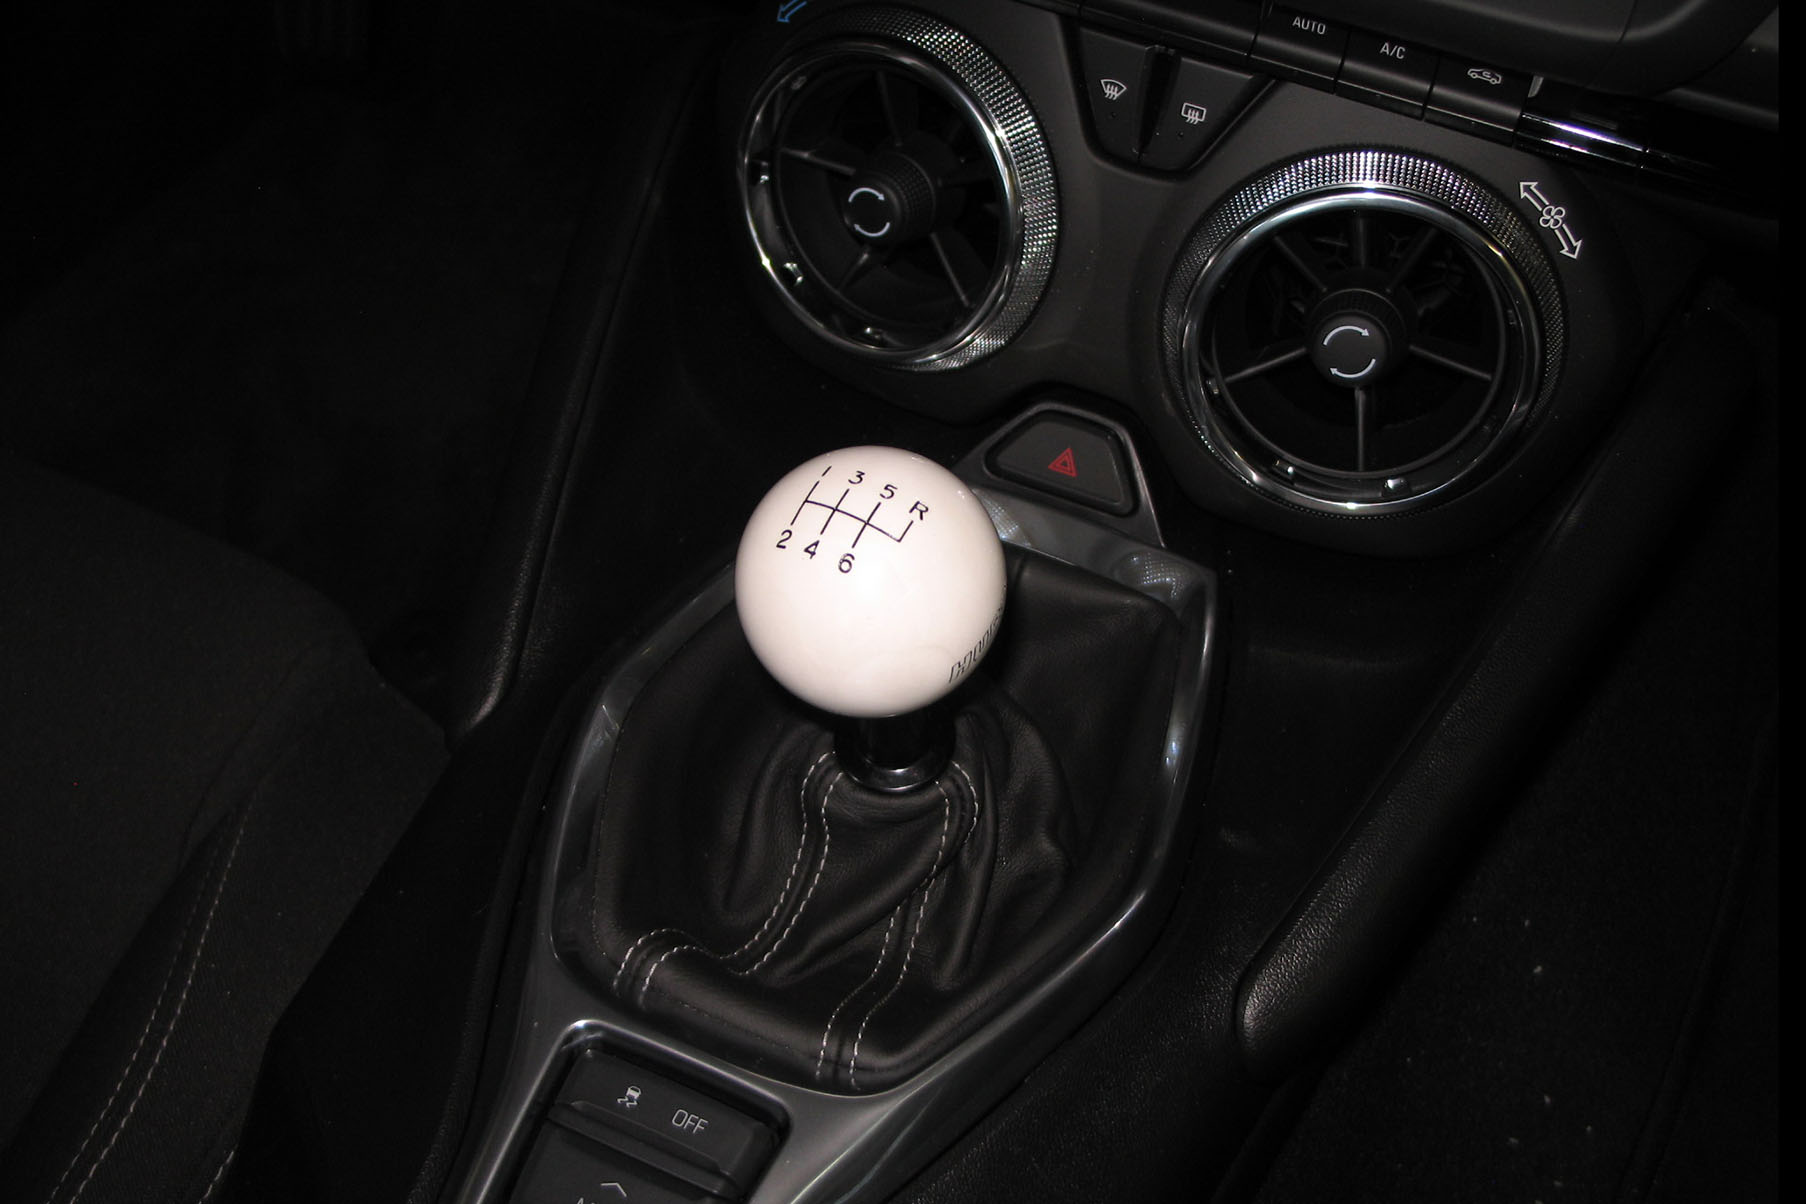
Sixth-generation Camaro SS owners have two style options when it comes to Hurst short-throw shifters--the cue ball-style shift knob, which gives the shifter a throwback vibe, or black pistol grip-style shift handle. Both use machined billet aluminum in their construction and are identical aside from the shift handle, so it's really just a matter of preference.
Going Short Throw
Hurst says this shifter is designed to “put the feel of performance” back into shifting. That certainly sounds pretty good to us, but what exactly does that mean? Well, the most immediate and quantifiable difference versus the stock shifter is a 40 percent reduction in shift throws. In terms of performance driving, that provides a host of benefits in everything from drag racing to track days.
Reducing the distance of travel for each shift cuts down on how long it physically takes to change gear, which in turn equates to faster acceleration in general – when the transmission and engine are decoupled during shifts you’re slowing down, so anything you can do to reduce that down time will improve straight line performance.

While the Hurst short throw is coupled up with some of the factory shifter housing components when installed, the hardware that dictates the shifter’s functionality is all Hurst equipment. Included in the kit is the pivot assembly, link bar, shifter stick, shift knob, bushings, assorted required hardware, and installation instructions.
“We’ve reduced the throw by 40 percent with this short throw shifter, and it provides a solid, crisp shift feel as well,” says Dale Dotson of Hurst parent company Driven Performance Brands. “This shifter features Hurst’s classic and iconic white shift knob for that old-school muscle car look while maintaining modern performance.”
Noise may be an issue with some performance shifters, but with our isolation design, we reduce noise that may otherwise be resonated from the transmission while still providing a solid feel in hand. – Dale Dotson, Driven Performance Brands

Crucially, Hurst has also considered overall refinement in their design as well. “Noise may be an issue with some performance shifters,” explains Dotson. “But with our isolation design, we reduce noise that may otherwise be resonated from the transmission while still providing a solid feel in hand.”
Now that we’ve got a better sense of what to expect from this upgrade, let’s get it in the car so we can hit the street and experience it in action.
Installation
While swapping out the stock shifter for the Hurst unit is a fairly hassle-free proposition, there’s a number of steps involved in order to access the shifter for removal, so you’re going to want to set aside a few hours to knock this out and keep the installation guide handy.
“The install was pretty straightforward,” explained Rory Fontana, the owner of the Camaro. “But it’s definitely a lot easier if you have a lift to use, as the swap requires removing some large components under the car to access the shifter assembly from underneath the car, and the transmission crossmember will need to be supported as well.” Fortunately, Fontana is also the owner of Fontana Motorsports in Simi Valley, California, so he of course had a shop with a lift at his disposal for the install.
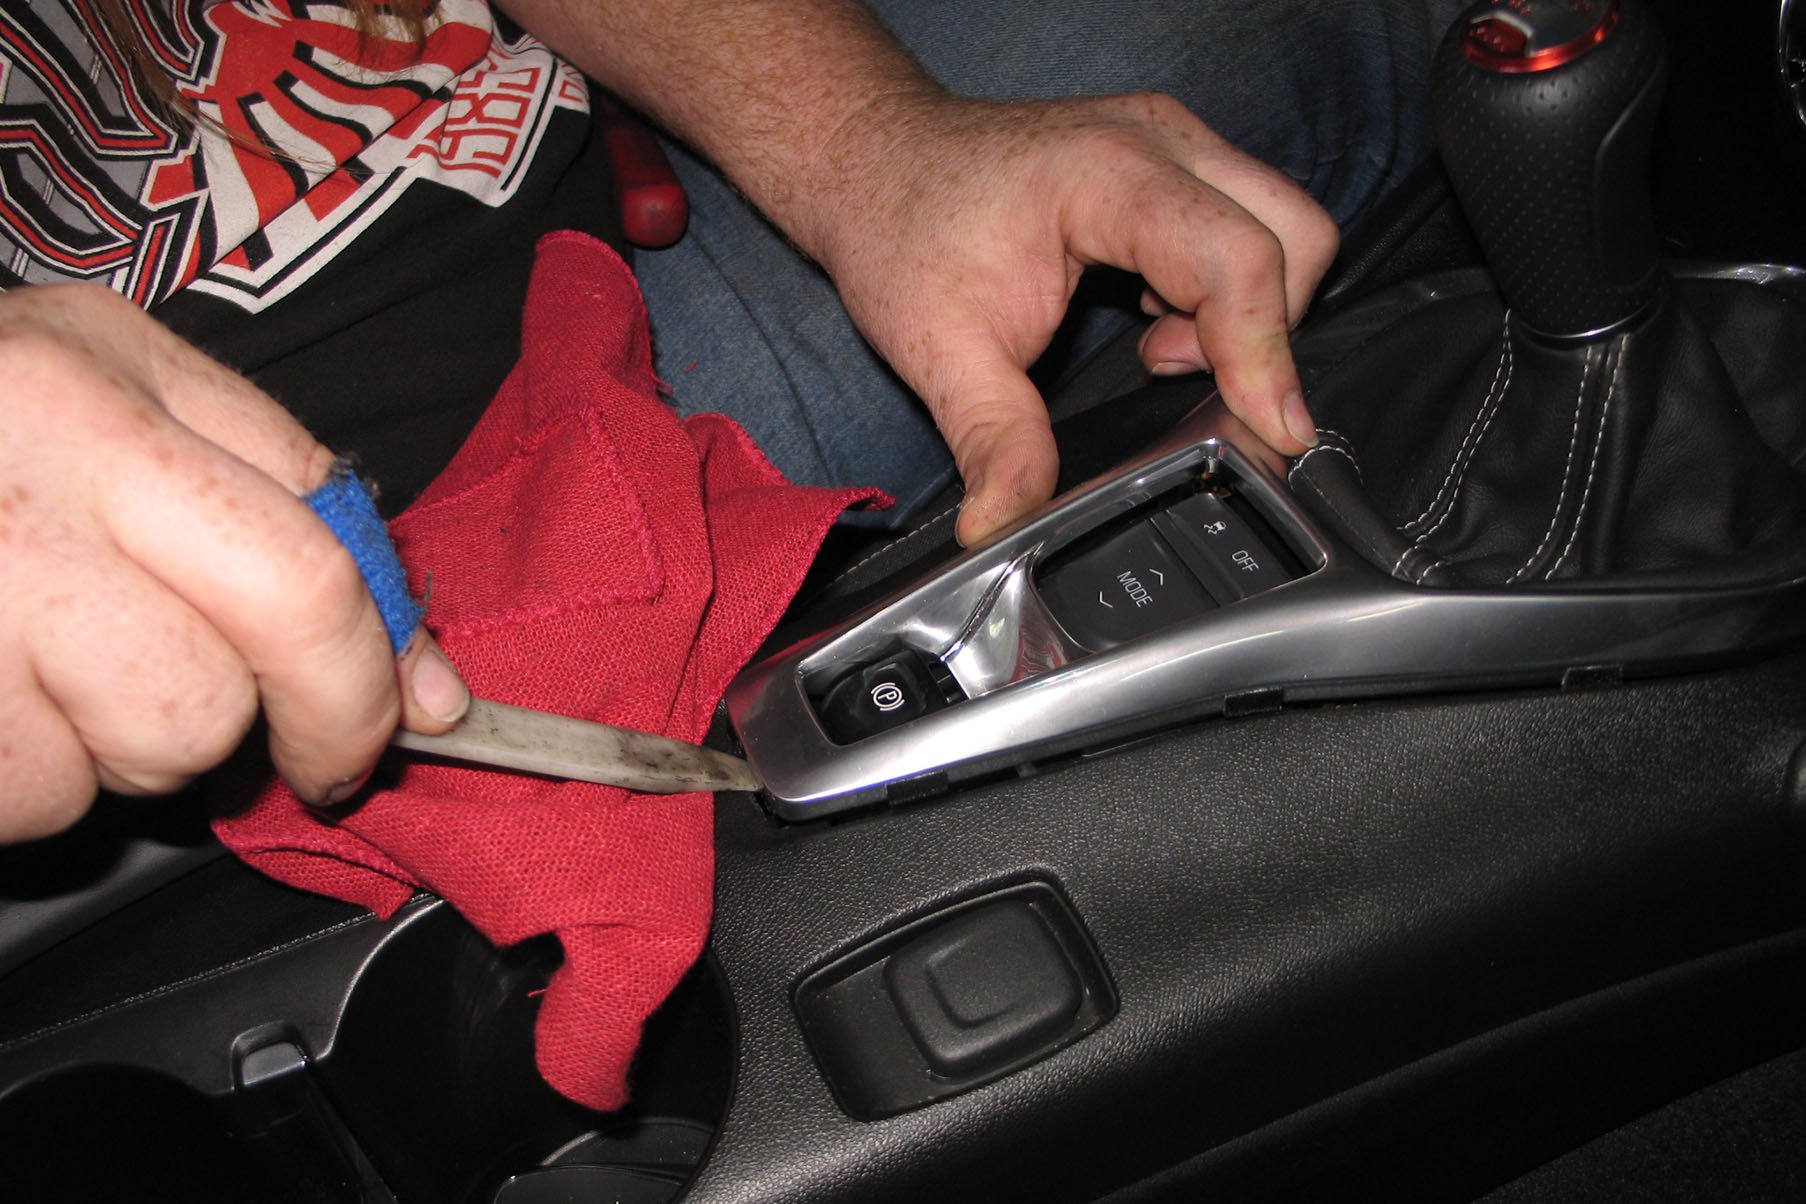
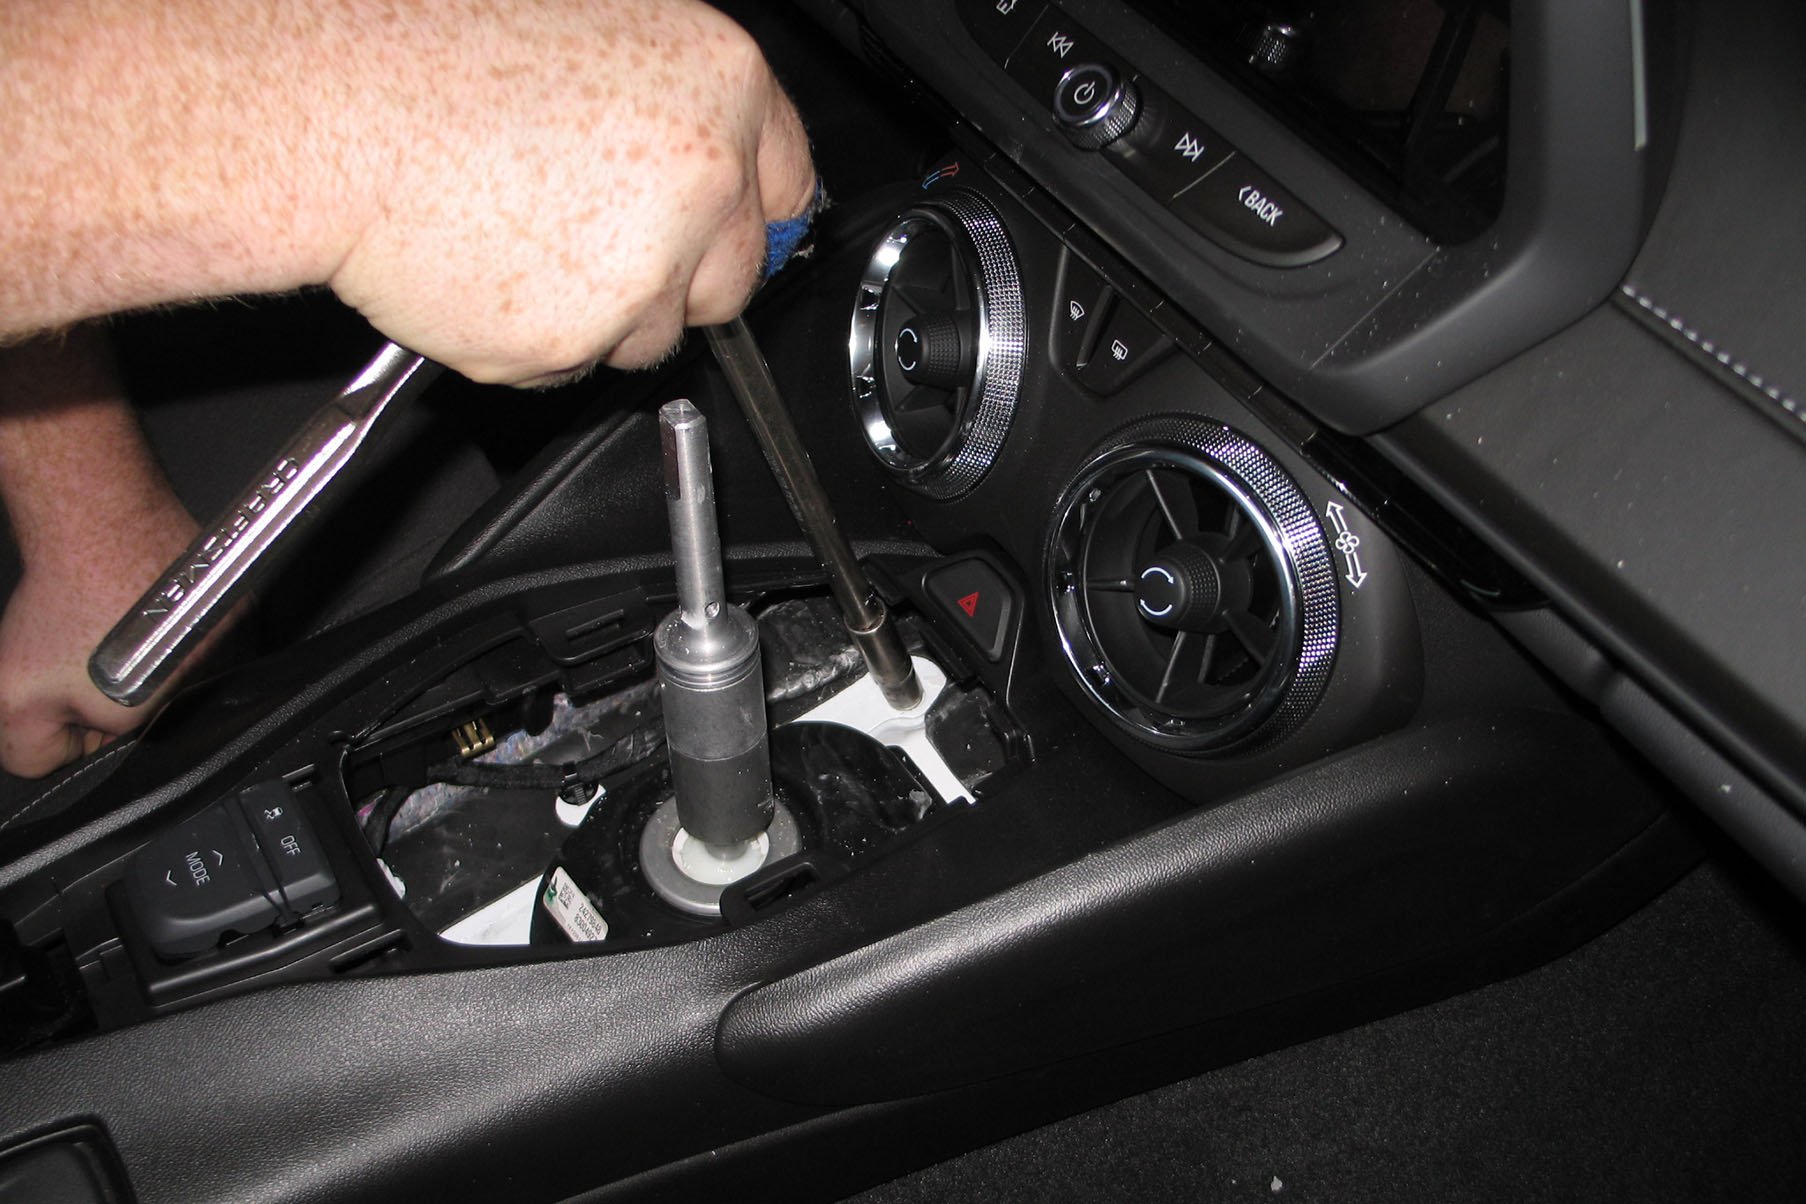
Although the majority of wrenching occurs underneath the car, the installation will obviously start and end inside the car at the center console. If you want to avoid scuffing up your shifter bezel and console, we'd recommend using interior trim pry tools to remove the bezel. Grab it from the edge behind the parking brake button and pry upward toward the instrument panel. Once the bezel, boot and shift knob are out of the way, remove the four bolts that secure the rubber shift boot to the transmission tunnel. Once these initial steps are taken care of, you'll be ready to get the car lifted up in the air for the rest of the disassembly required.
Before you get started, you’ll want to make sure you’ve got some interior trim tools available so you can unfasten the shifter bezel from the center console without causing any damage to either part while freeing the bezel from its attachment points.
Our first order of business was to remove the shift boot, bezel and shift knob as one assembly. Using a trim tool, pry up on the chrome bezel from the edge behind the parking brake button. Once that’s removed, you’ll have access to the bolt that mounts the shift knob. After unfastening that bolt, the shift knob, boot and bezel can be removed. After removing the four bolts that attach the rubber boot to the transmission tunnel, we can move our focus to underneath the vehicle.
Since the exhaust comes out as one piece, you’ll want to raise the car at all four corners. The job can be done with a jack and jack stands, but if you have access to lift, it will definitely make your lift easier for this particular job.

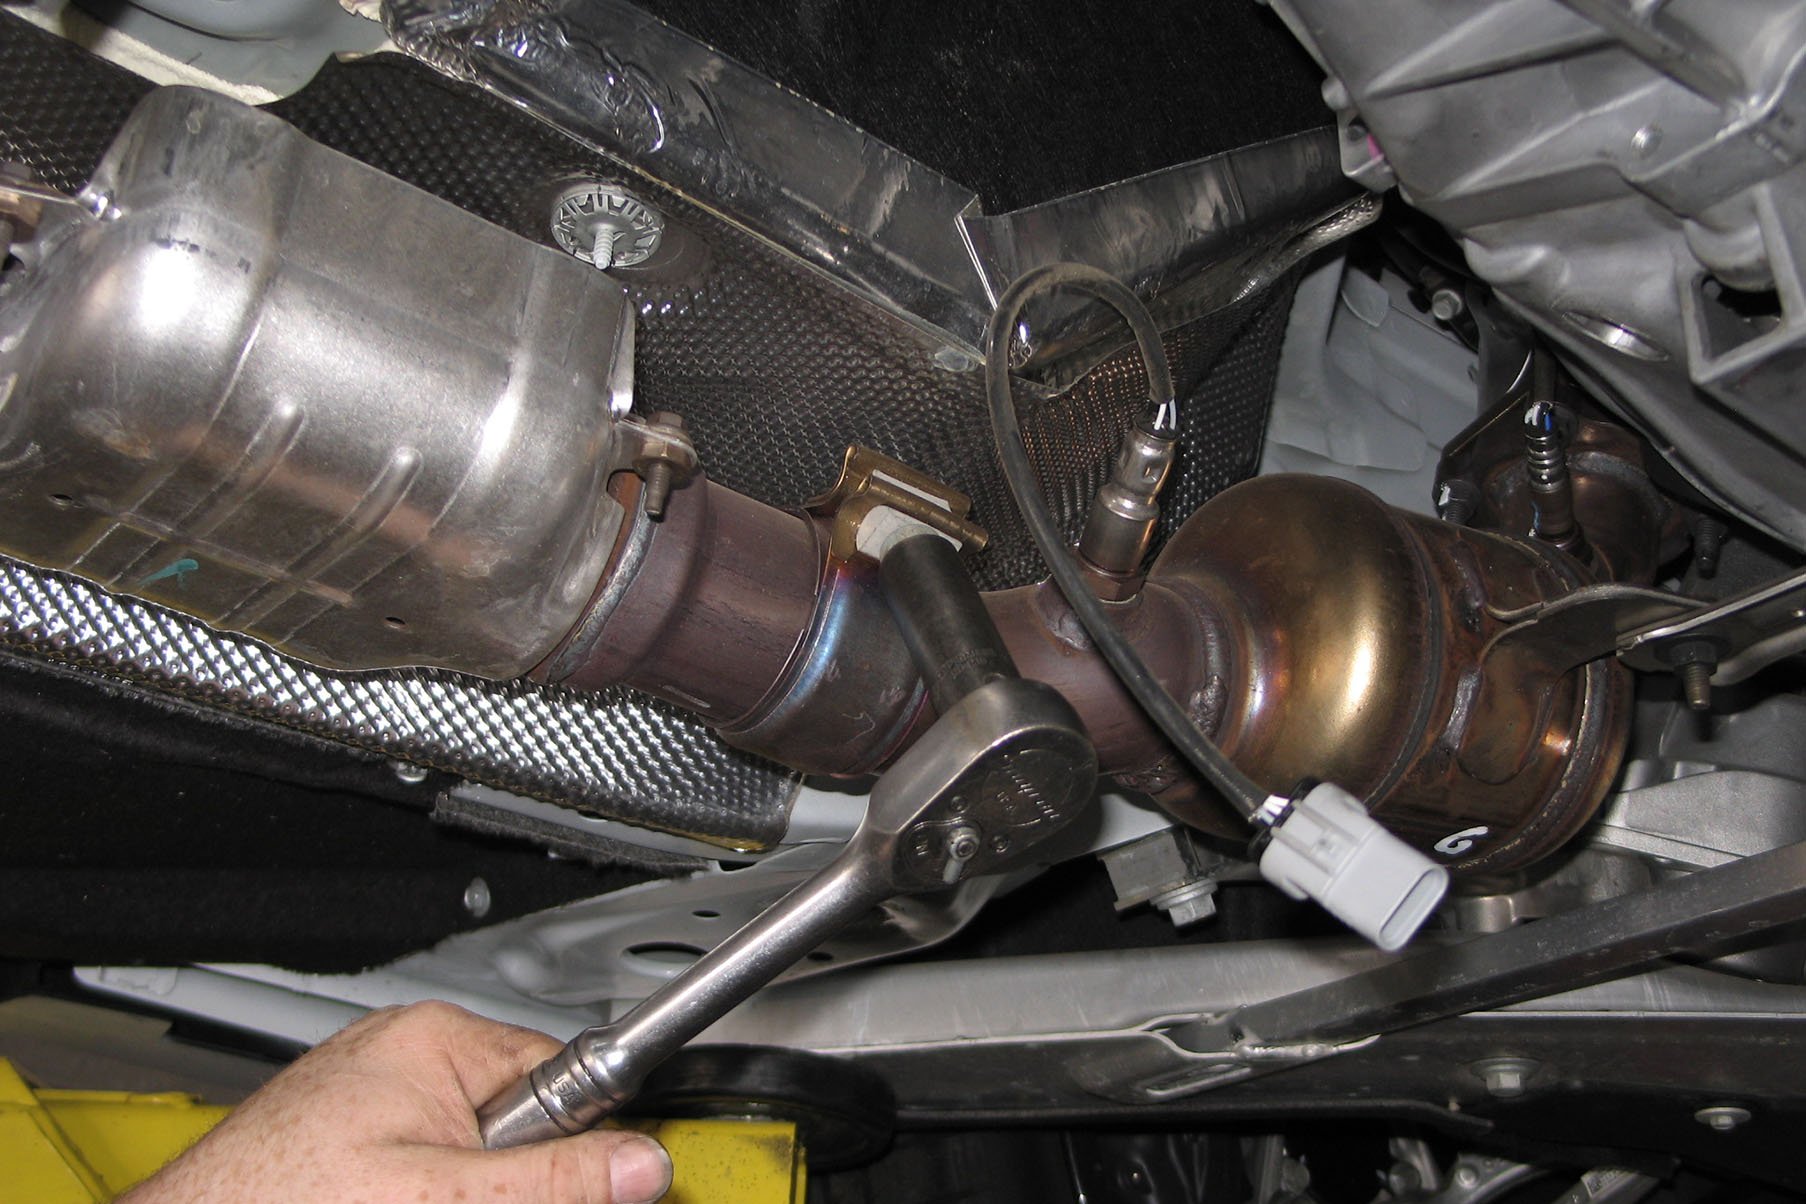
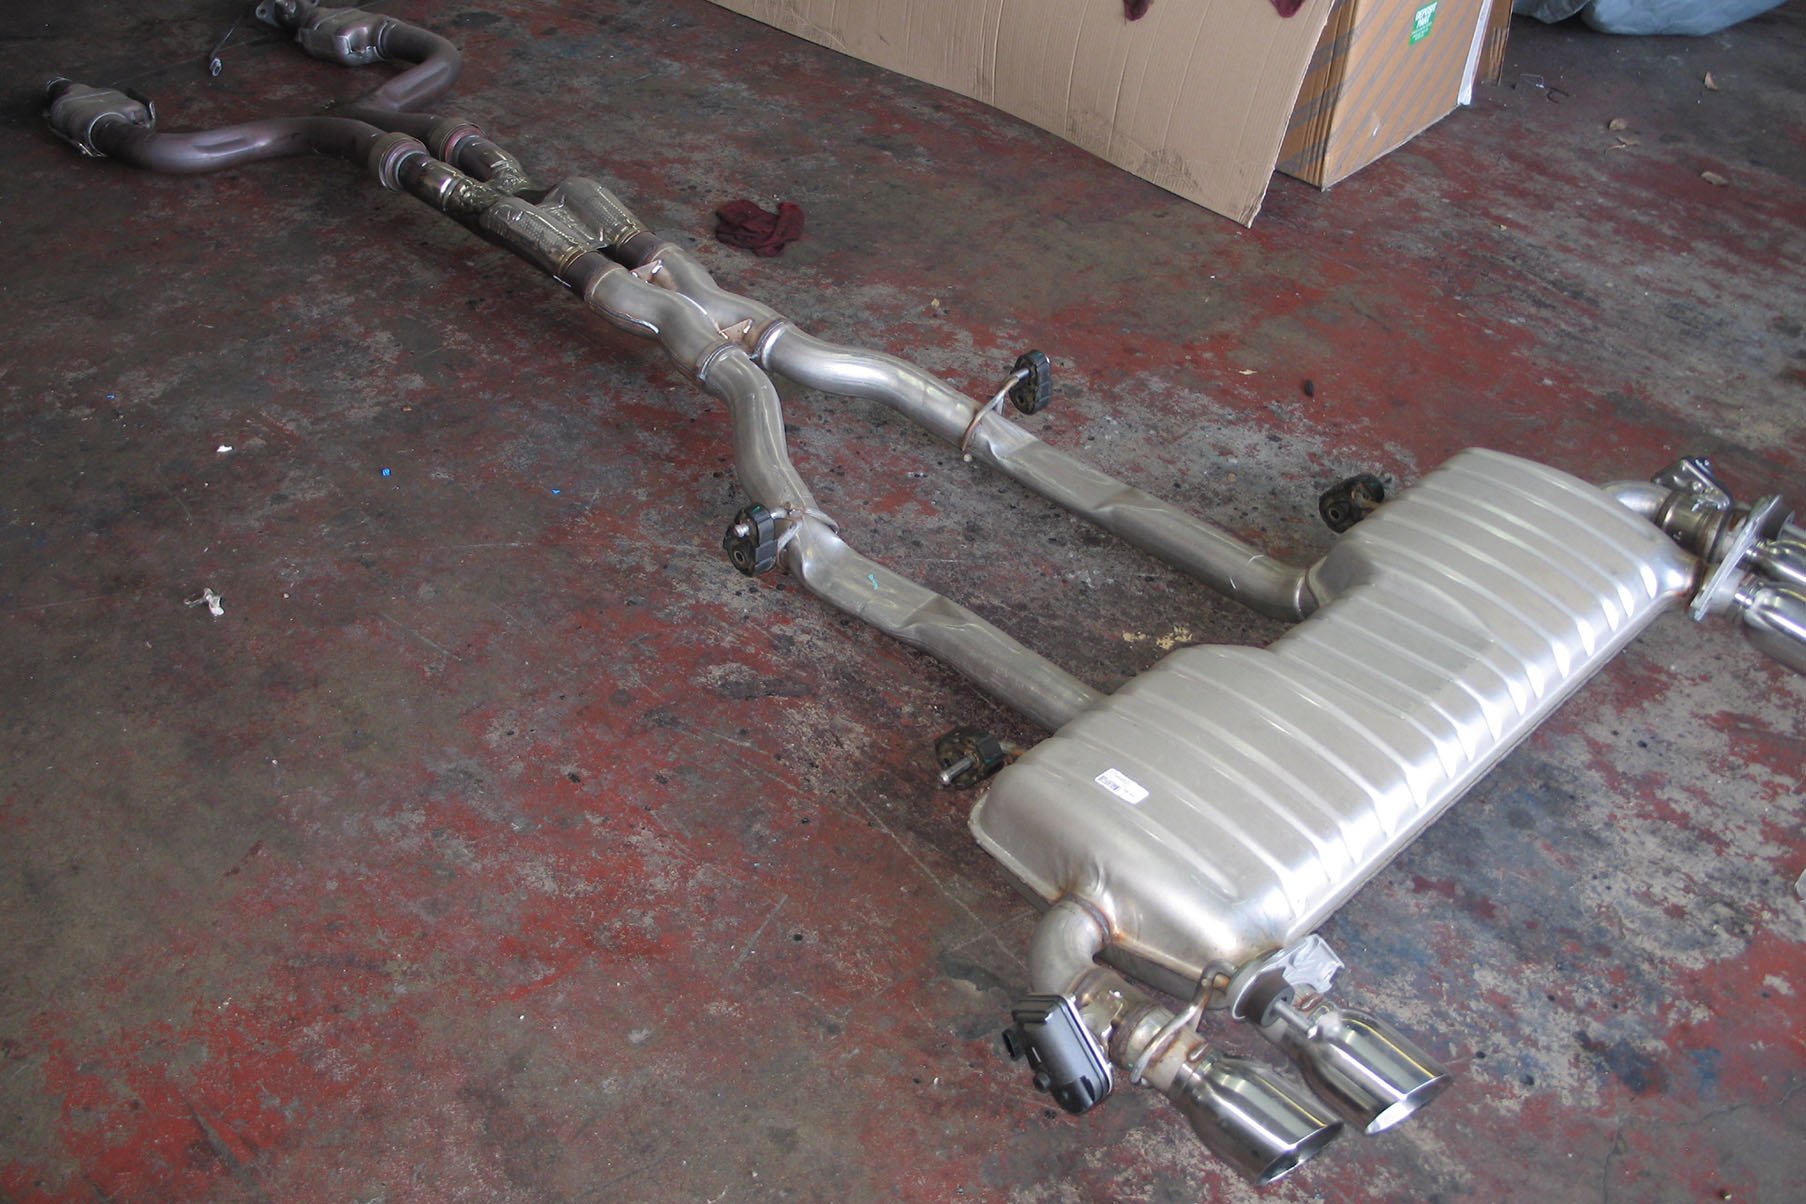
The first order of business will be removing the exhaust system. As you'd expect there's a number of hangers, oxygen sensors, and other odds and ends you'll need to disconnect before you can free the system from the car. It is removed as one piece, so having a lift is particularly useful for this part.
After removing the crossbrace and supporting the exhaust system with a transmission jack or similar solution, you’ll begin the process of unbolting the exhaust system. There’s a number of fasteners involved, along with the oxygen sensors and a wiring harness for the active exhaust system for cars equipped as such, so be sure to follow each step of the instructions carefully.
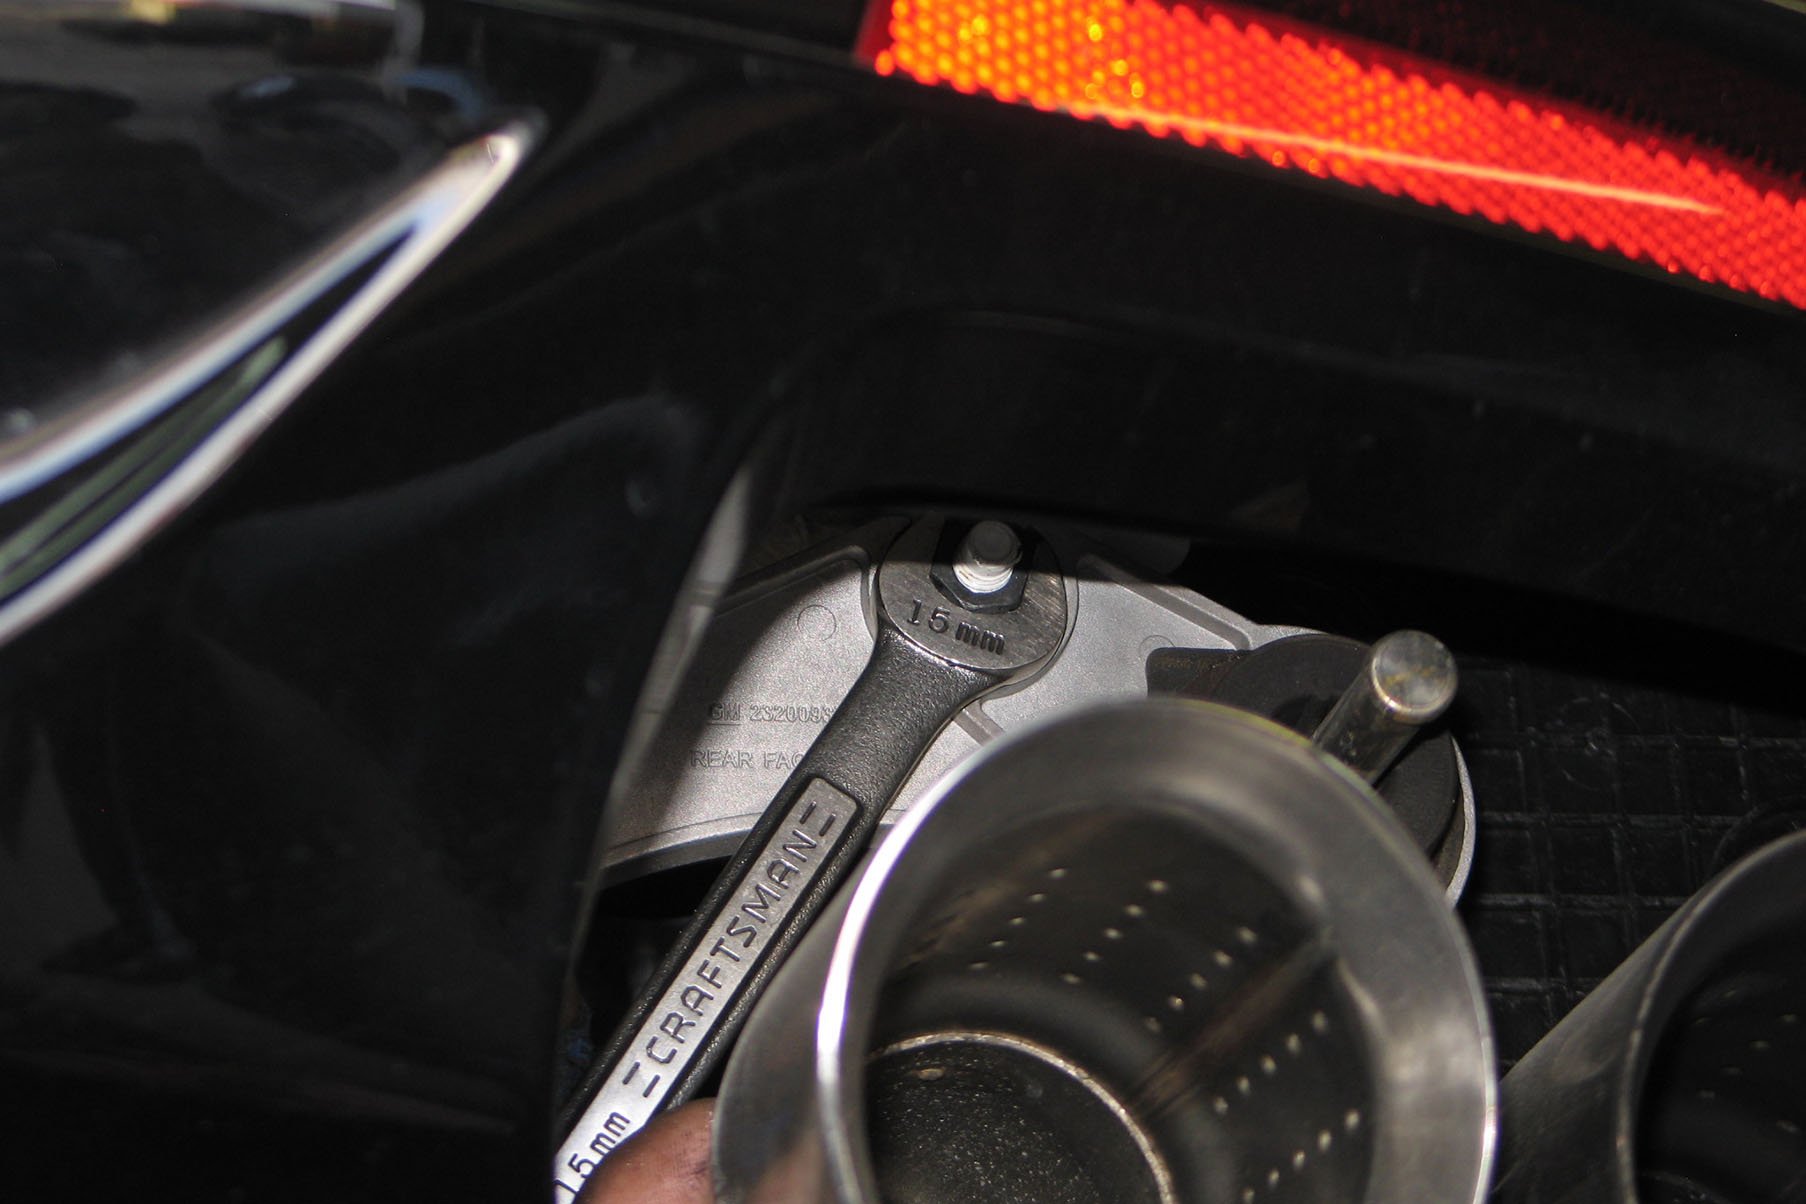
You’ll need to get to the driveshaft next, and in order to remove it, there’s a tunnel brace and a heat shield that will need to come off as well. Once the driveshaft is out, you’ll need to support the transmission with a jack and remove the two 10mm bolts from the rear of the shifter housing. From here the transmission crossmember will be removed, allowing you enough room to lower the rear end of the transmission to gain access to the front of the shifter housing.
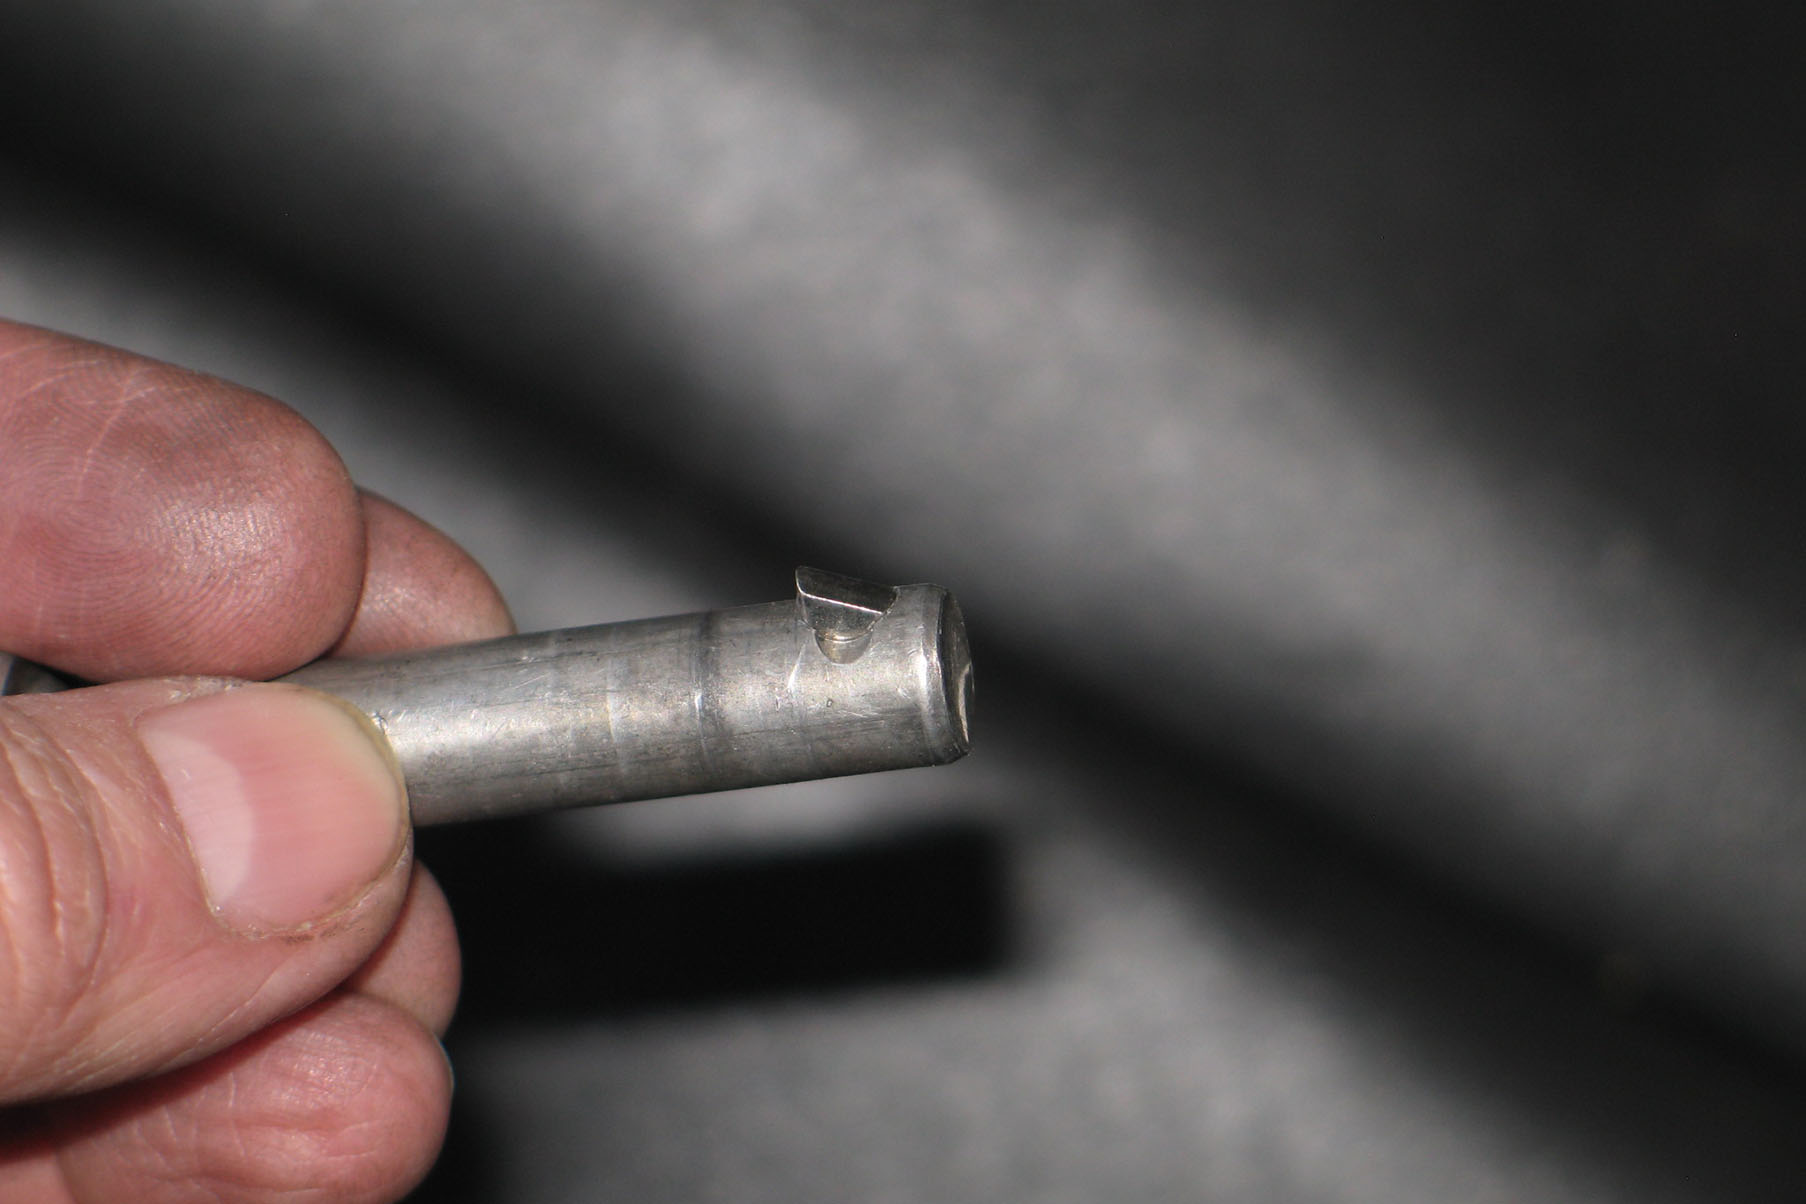
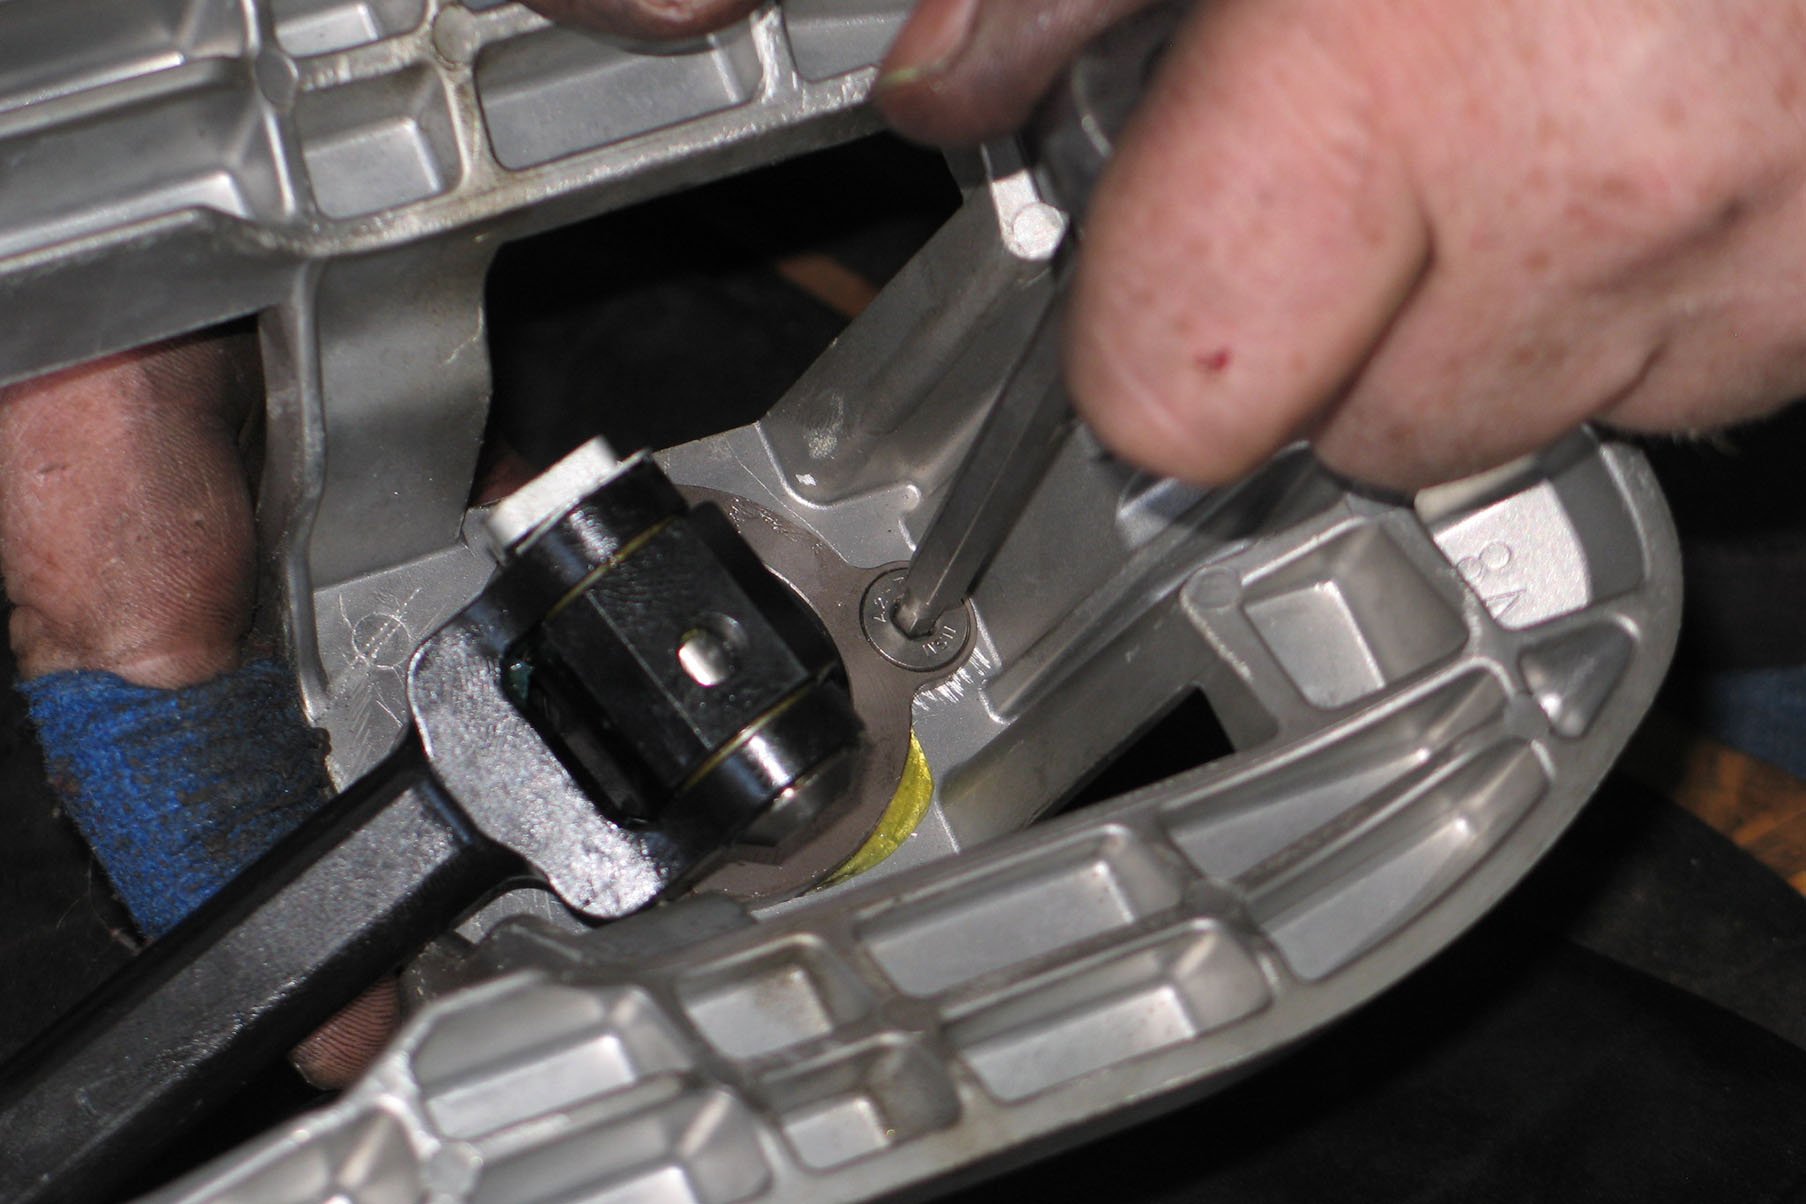
As noted in the instructions, the shifter housing is connected to the transmission with a pin on the left and right side. The pin has a spring lock at the end of it as shown here. Remove the pin on the left and right side by pushing the spring lock down while using a screw driver to pull the pin out until it stops. The pin can be rolled to gain access to the spring lock.
After removing the spring loaded pin and a few C-clips, you should be able to remove the entire shifter assembly from the vehicle.

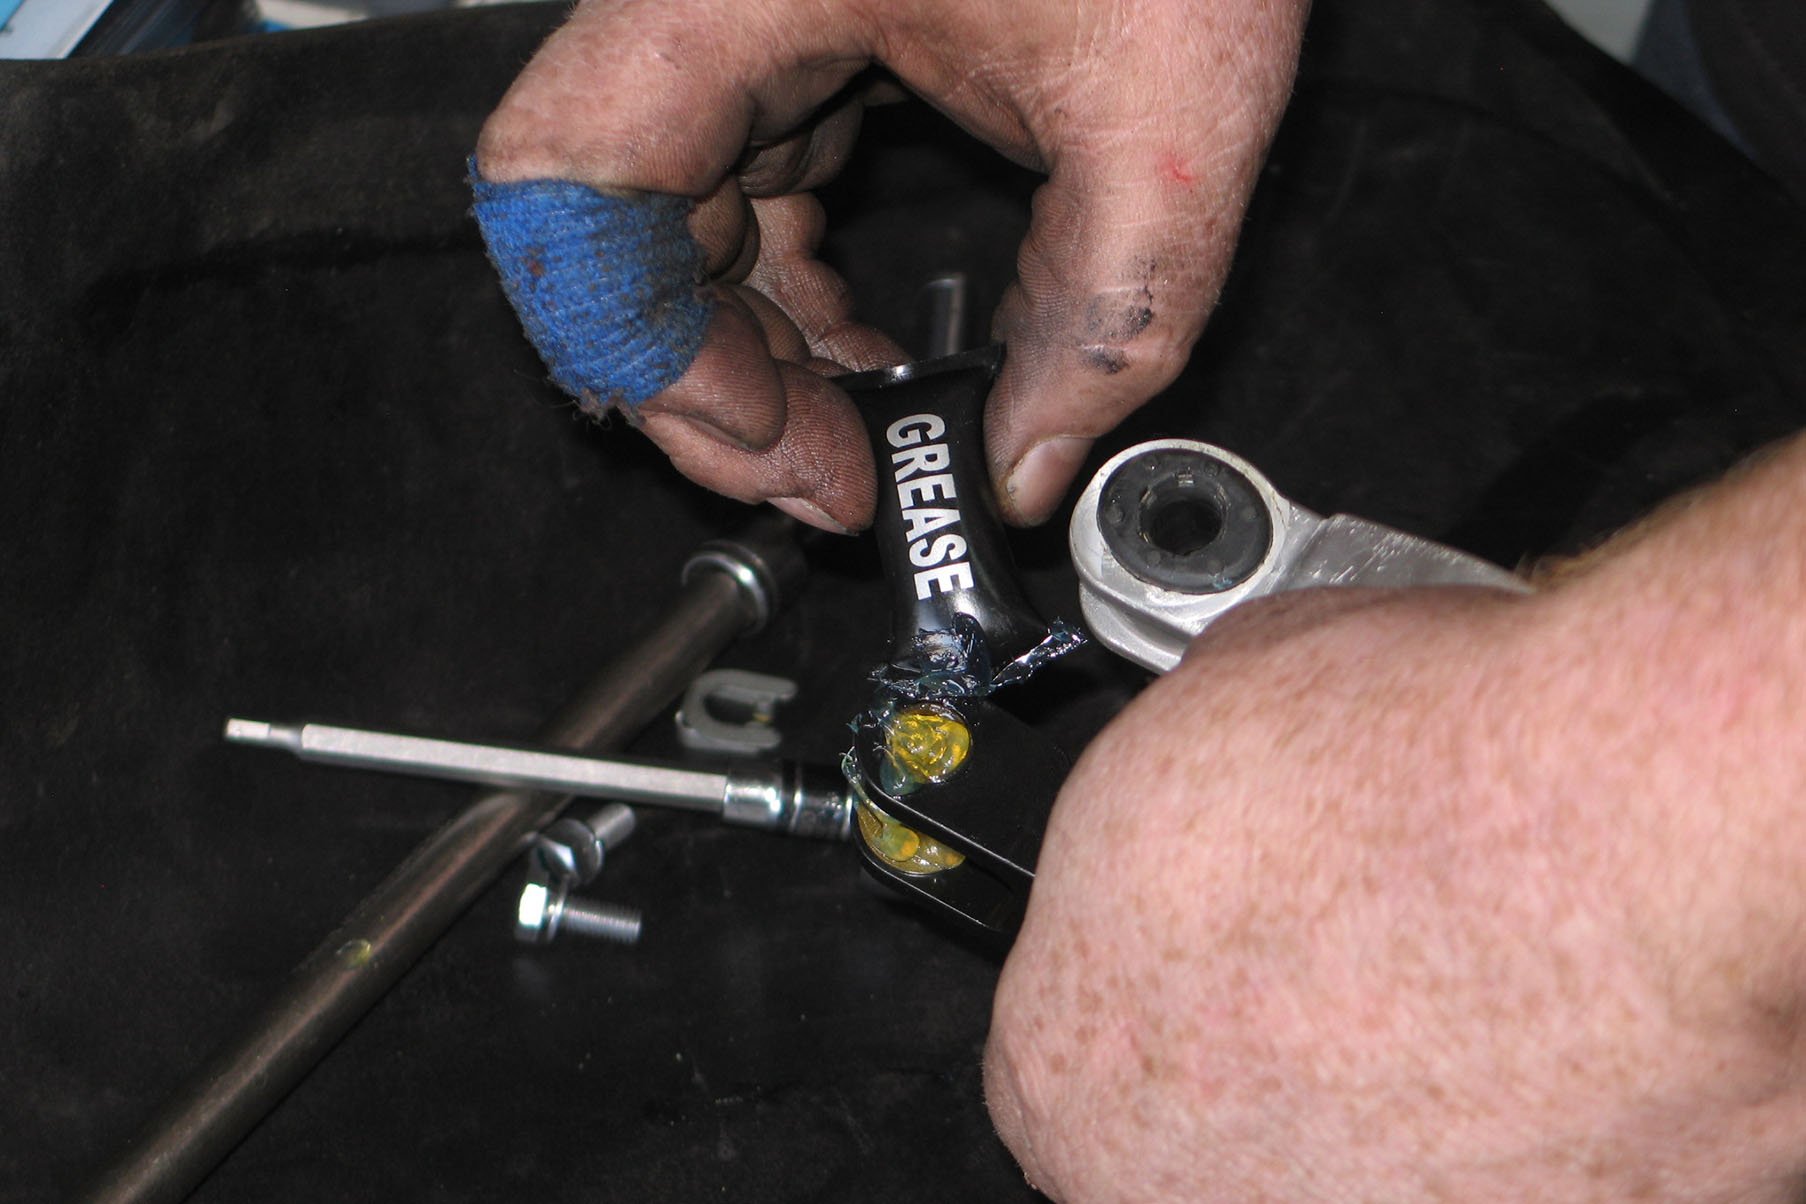

Once the entire shifter assembly is out of the car, you can get the new short throw unit married up to the factory housing. Don't forget to apply grease to the supplied bushings and O-rings while assembling the new shifter. The factory rubber boot will be reused with the new shifter, so don't toss it once you've removed the stock shifter.
From here you’ll be merging the shifter housing components with the new Hurst shifter. After putting those components together and properly greasing the new bushings, the shifter can be reinstalled and you can simply reverse the disassembly process to button everything back up, making sure to torque the various components to factory torque specs.
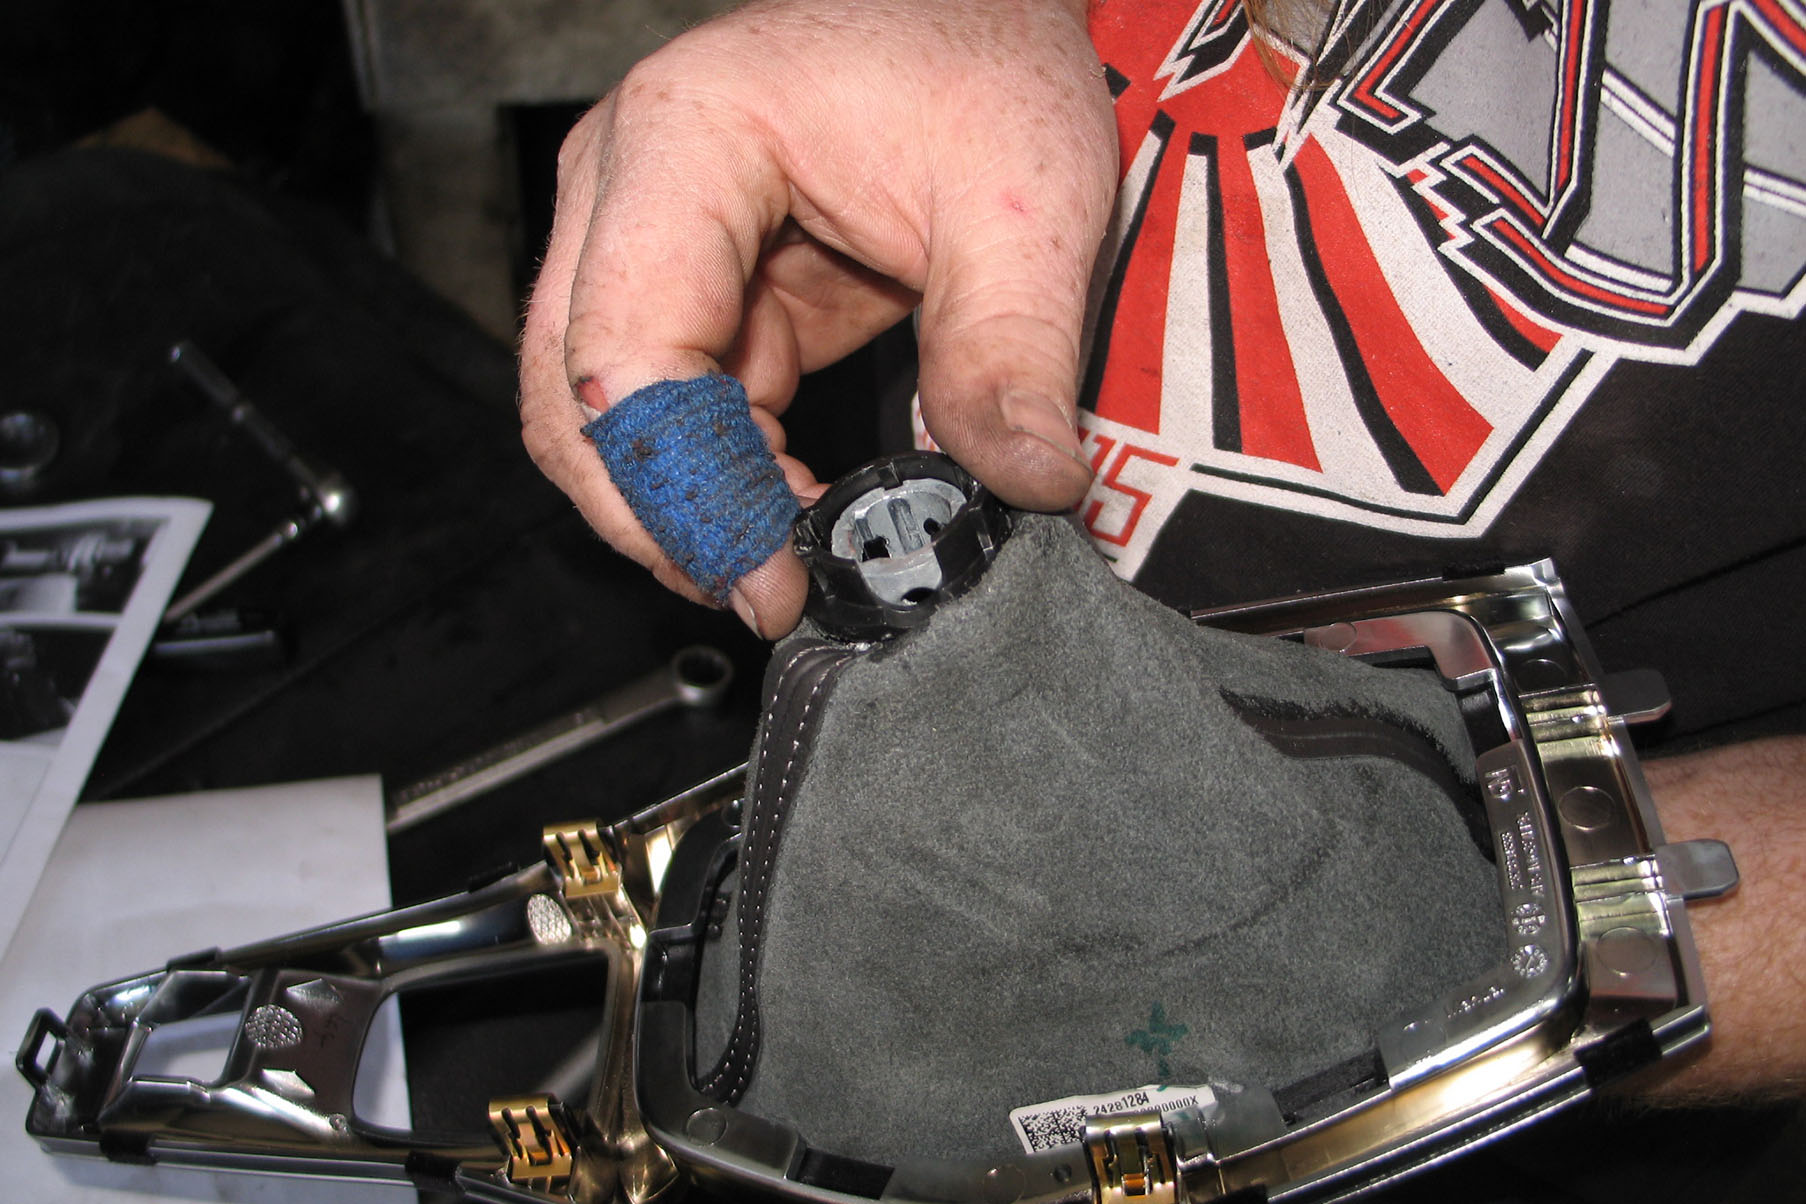
To install the new shifter in the factory boot you’ll need to remove the factory shift knob from it. To do so, invert the shift boot and pry in on the two plastic tabs that secure the shift knob to the shift boot ring. You’ll also need to remove the boot ring from the shift boot. Note that this piece is glued on, so take care not to rip the shift boot.
On The Road
While it takes some wrenching to pull the factory shifter out in order to get the new Hurst unit swapped in, Fontana tells us it was well worth the effort. “The shifter feels great – short front to rear throws, but the gates also aren’t too close, as is the case with some of the short-throw shifters I’ve used.”
Hurst’s efforts to isolate resonance from the transmission into the cabin proved to be effective as well. “There’s been absolutely no noise or vibration at all, at any RPM, from this new Hurst short throw,” Fontana reports.
Not only does the Hurst shifter provide some old school cool to the modern Camaro, it also provides real-world performance benefits with its shorter throws, more precise feel, and excellent noise isolation.
Are you a three-pedal diehard looking to enhance the performance of your sixth generation Camaro SS? This short-throw shifter from Hurst Shifters offers a sharp aesthetic, substantially shorter throws, and none of the drawbacks that are commonplace with many aftermarket short-throw shifters, making this an upgrade that doesn’t require concessions when it comes to refinement and noise. That sounds like a win-win to us.