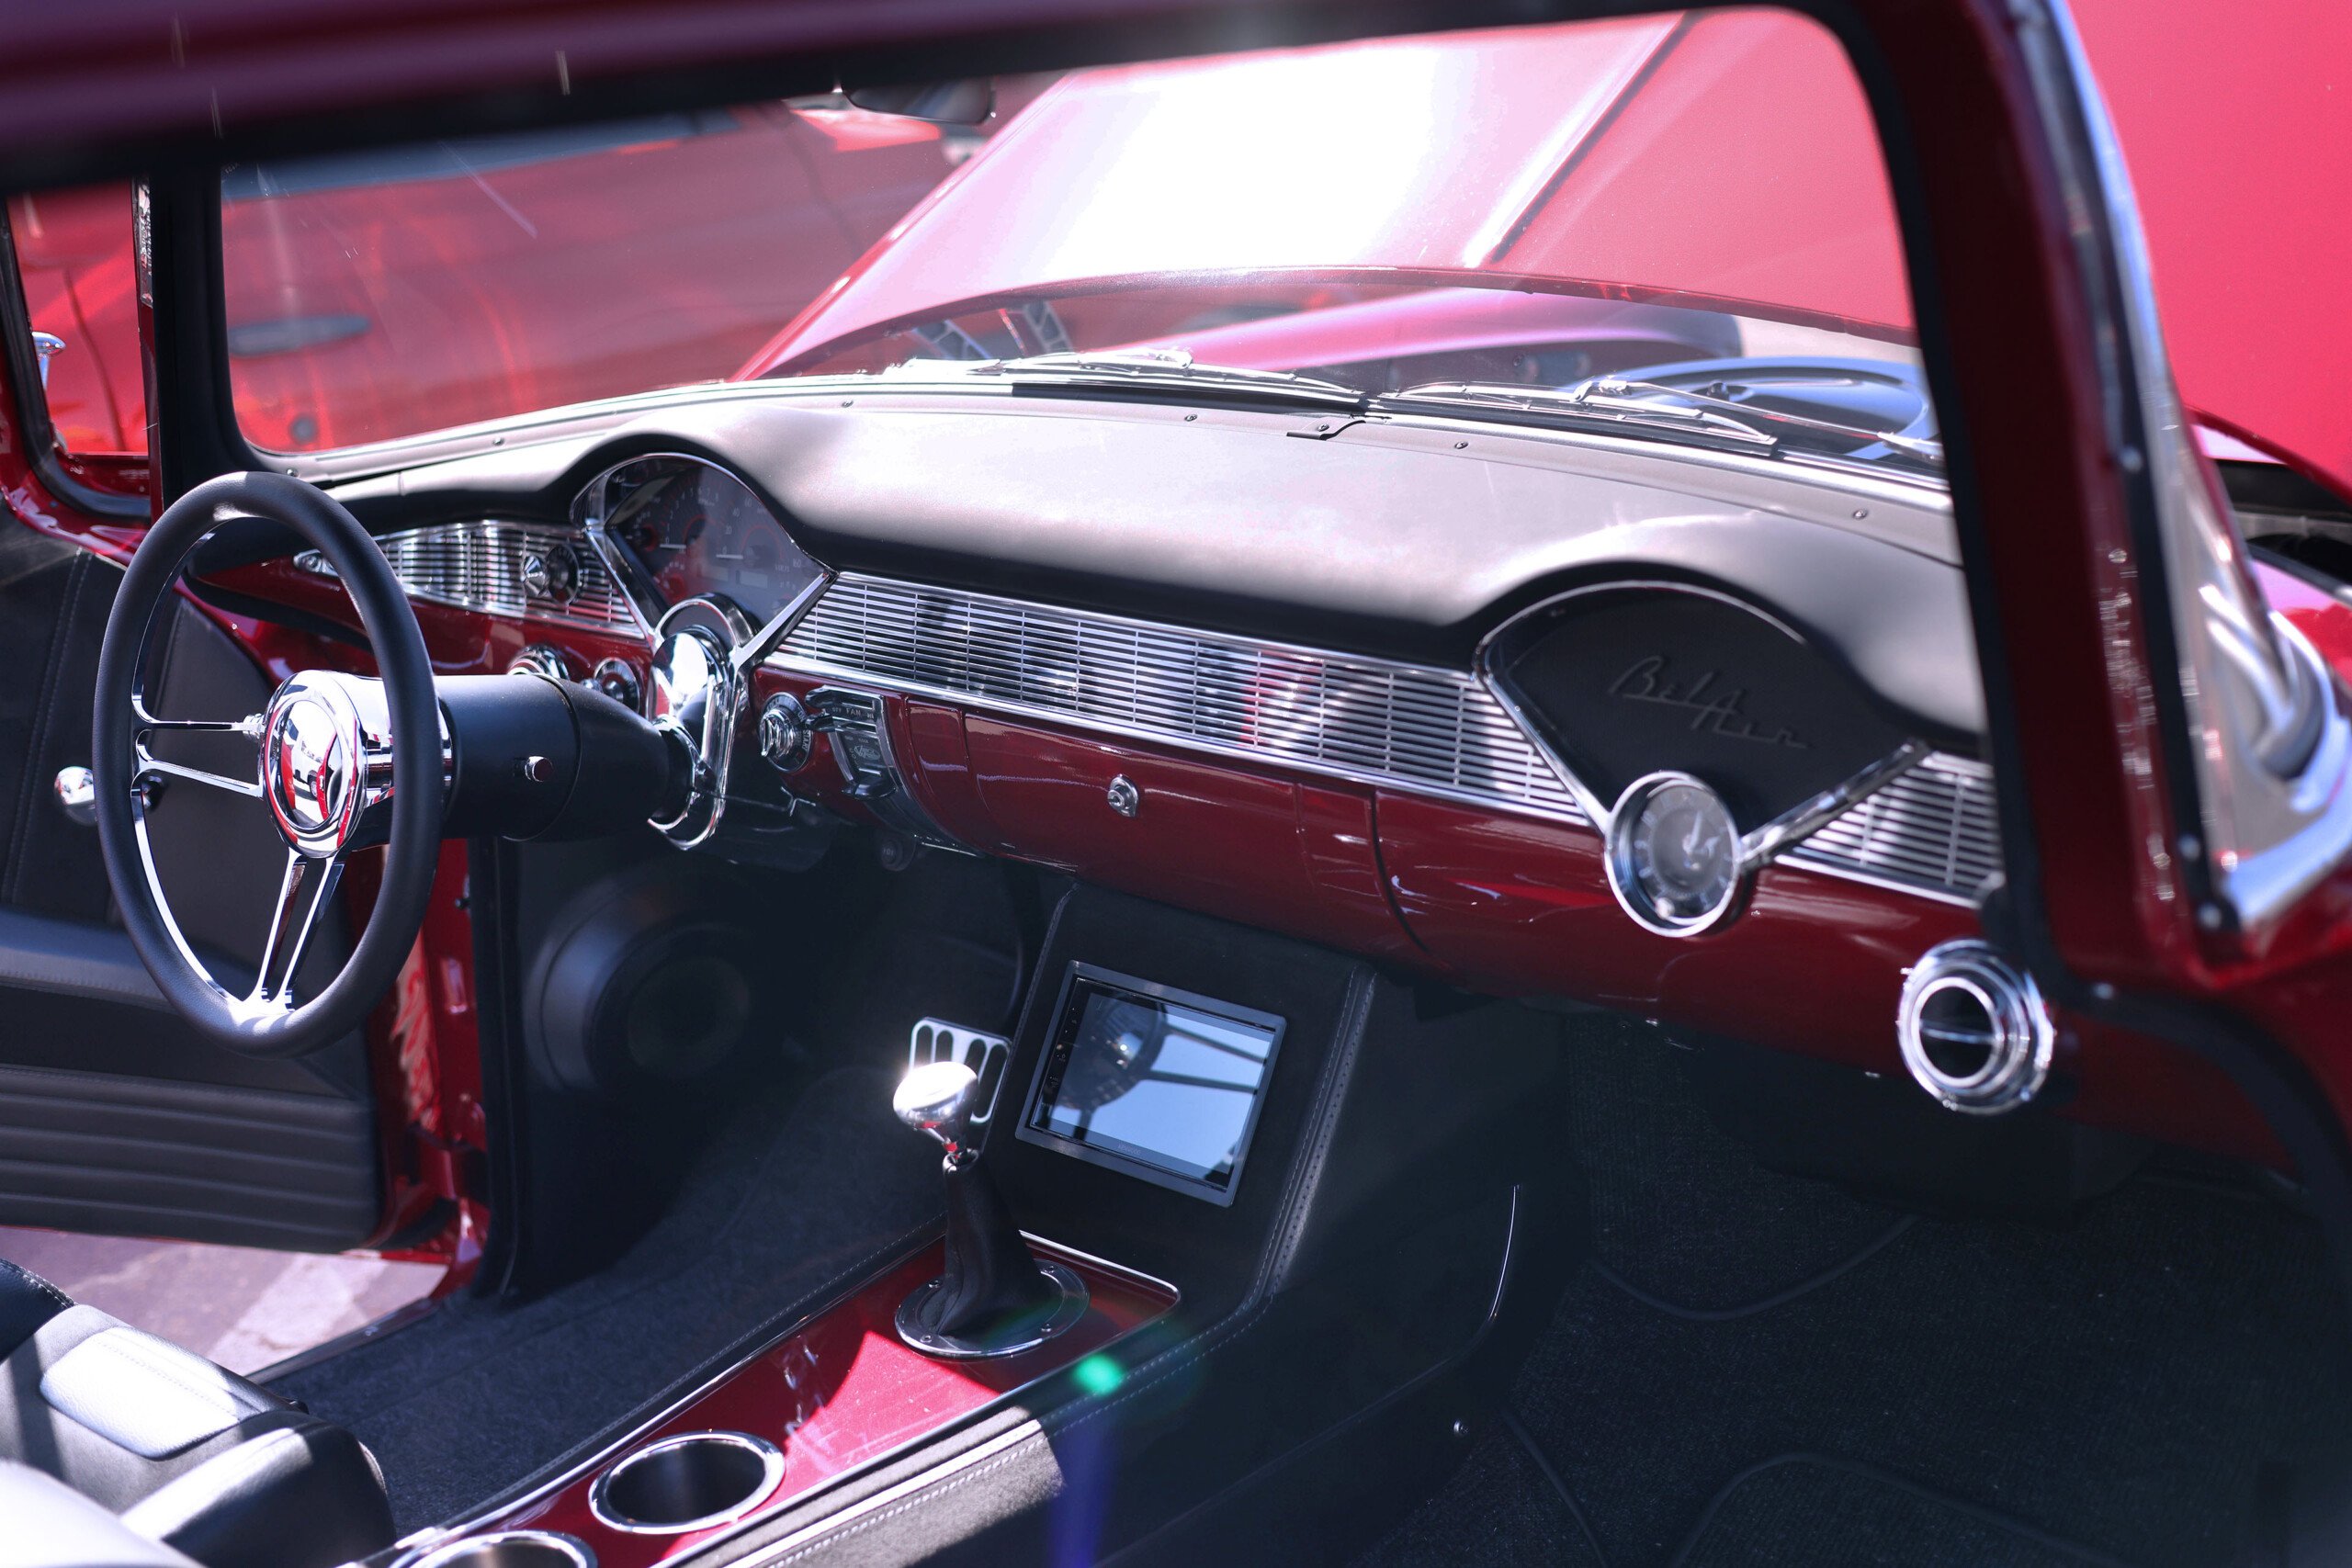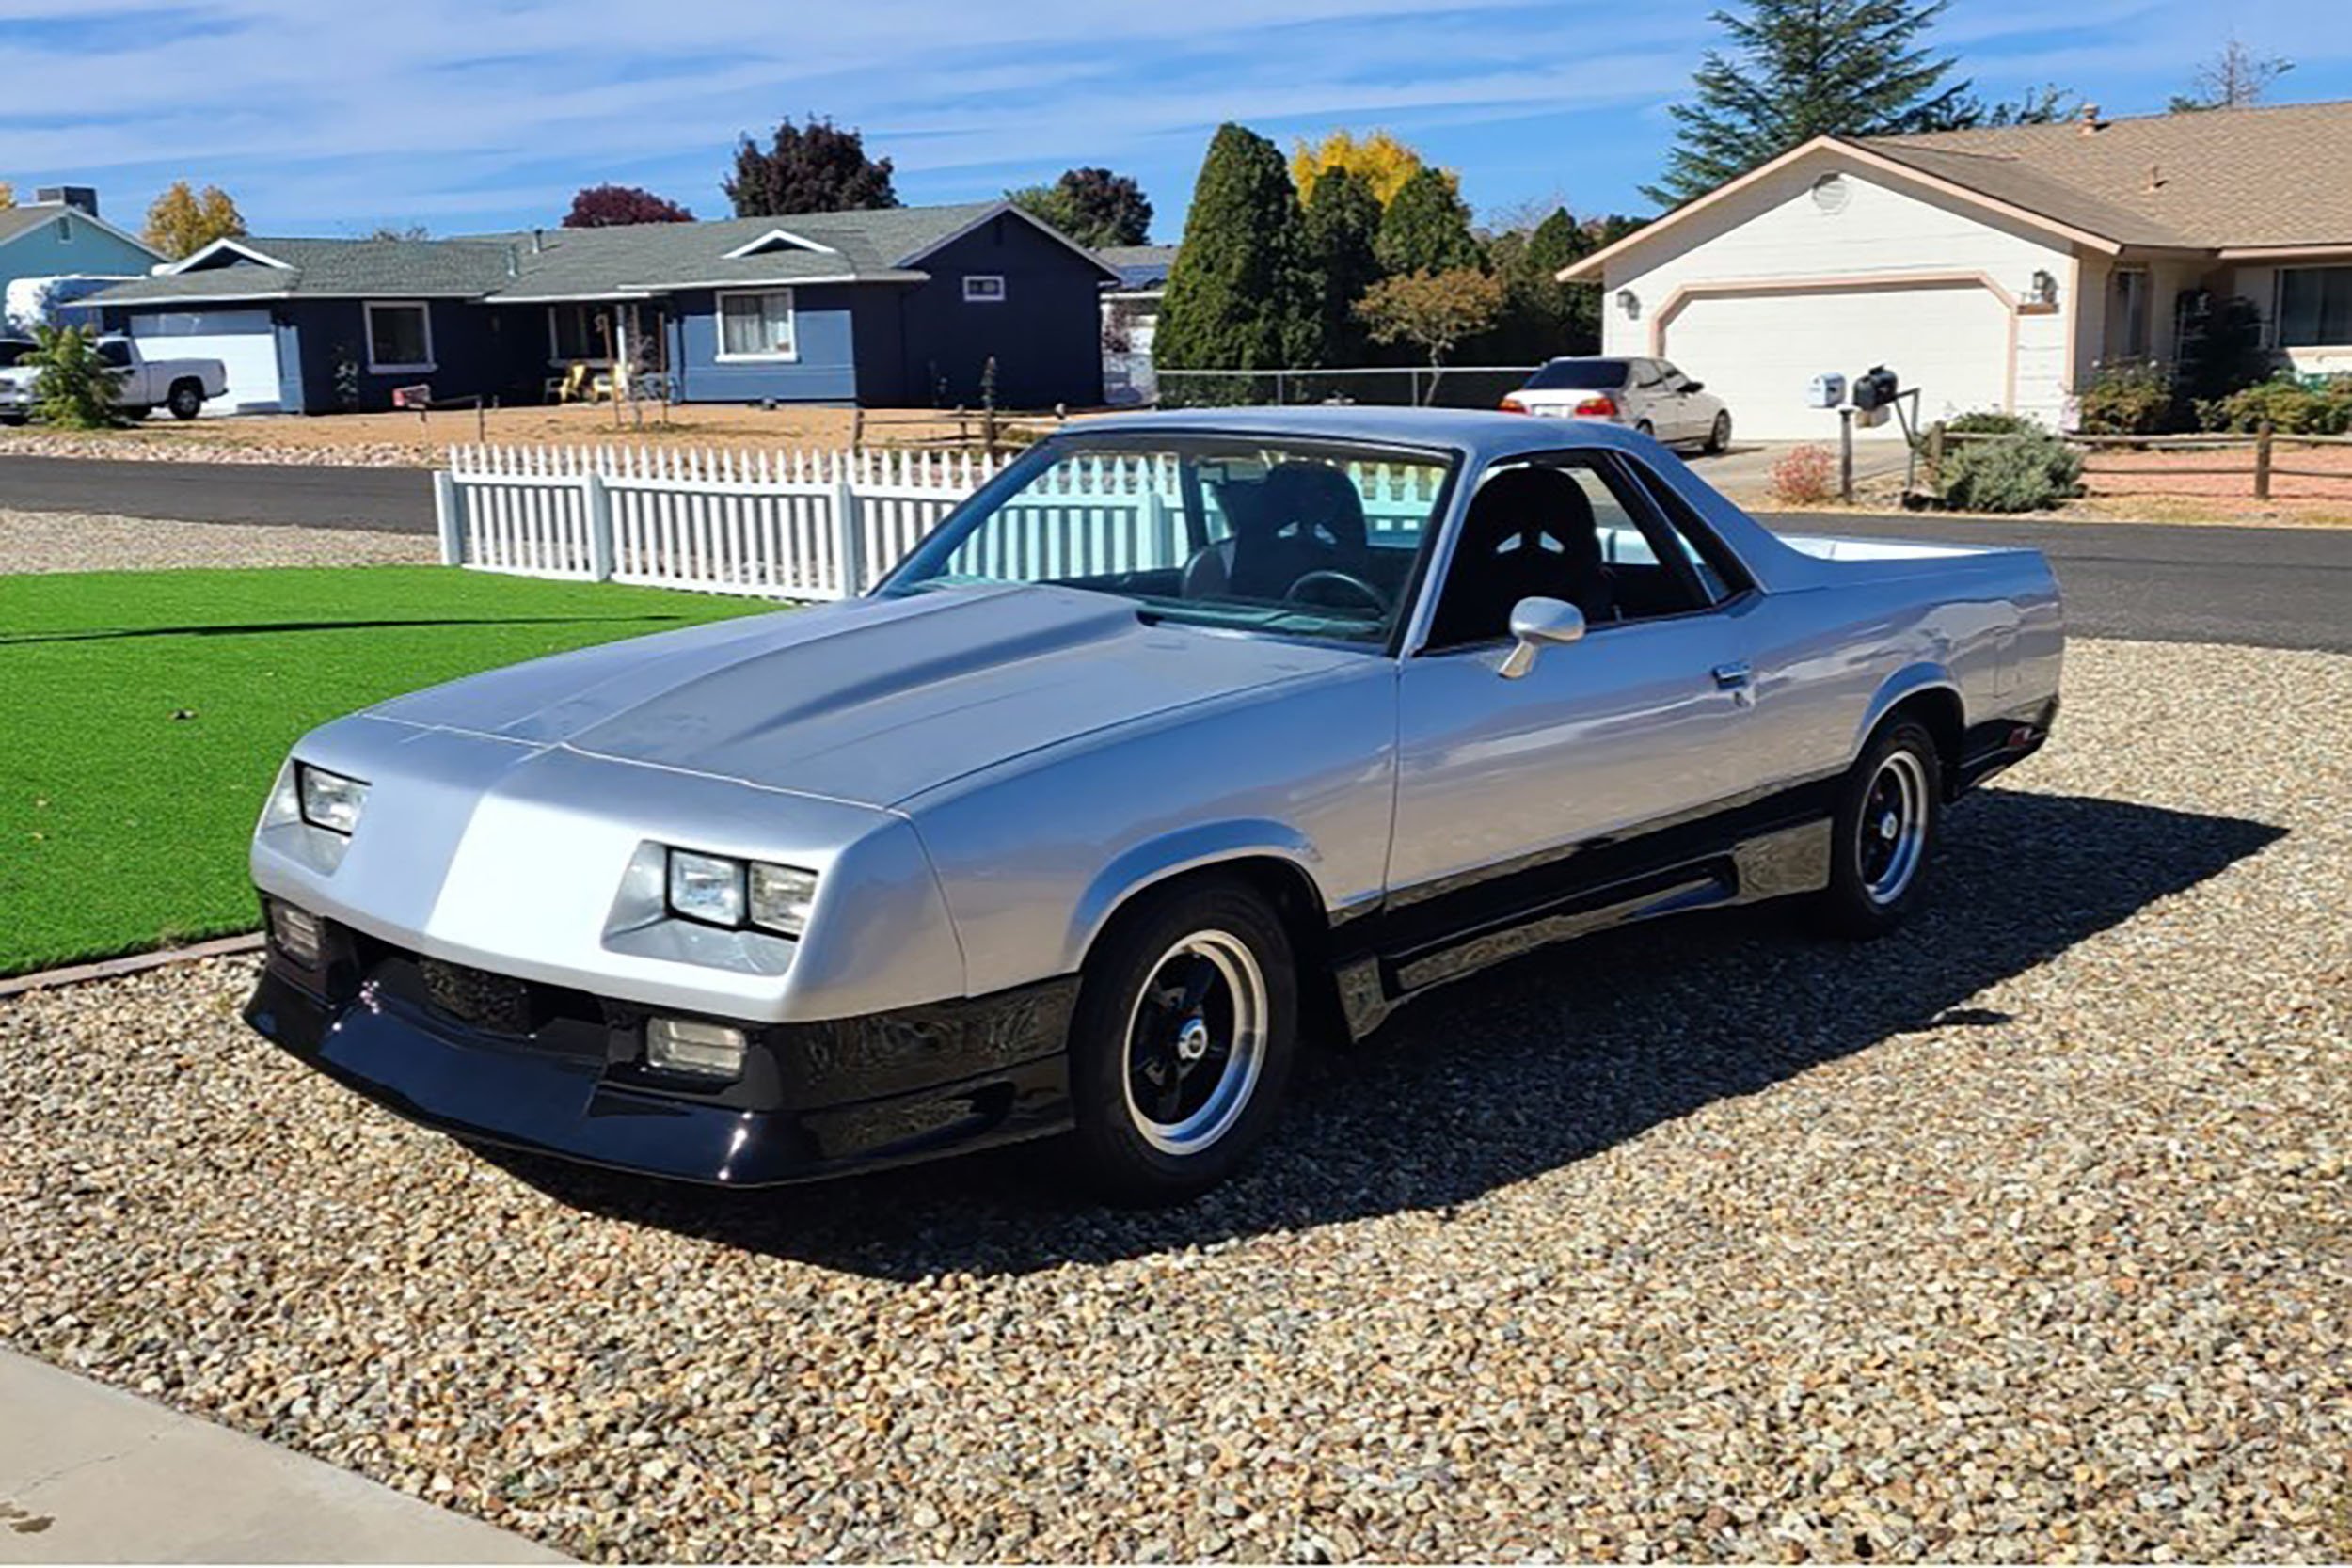
Weatherstripping can protect your interior from the elements, keeping water away from areas where it could cause rust and seals on the cowl prevents breathing nauseous fumes from the engine compartment. Don’t wait to replace damaged weather stripping.
Weatherstripping might be the most unappreciated, least valued item in a restoration project, yet it is vital to protecting your investment according to our friends at Steele Rubber Products. It protects your interior from the elements, keeping water away from areas where it could collect and cause rust. Rubber on the cowl protects you from breathing the nauseous fumes from the engine compartment.
Bumpers in your hood, doors, and deck lid keep things aligned and rattle-free, plus the rubber in the suspension system gives you a smooth ride. As much as rubber does for your ride, it seems that it is at the bottom of the priority list and only noticed when it’s missing or failing.
Part of the problem might be that most people do not know how easily it can be installed. Most parts available today are ready to install without modifications. If you have access to a service manual for your vehicle, that’s a plus because the service manual can guide you through the process. If not, then use your common sense and follow the directions that come with the part. Don’t be afraid to call for information if you are unsure of the procedure. Steele Rubber Products carries a huge selection of weather stripping and restoration products to help do the job correctly.

Clean with a cloth treated with adhesive remover and use a plastic scraper to remove all the old adhesive.
Items like door, roof rail, and trunk weatherstripping are easily replaced. Parts like windshield, back windows, and door ventilator weatherstrip require greater attention. Plan your job before diving into it. We’ll use a door weatherstrip replacement as an example.
The most common error is not checking the new parts for correctness before throwing away the original. Hang on to your original until the job is completed and you are satisfied with the results. It can save you from a serious headache later. It may also help manufacturers justify making modification to their parts and molds when a problem is identified.
The toughest part of the job may be the removal of the old weatherstrip. Spray an adhesive remover on the rubber to soften the old adhesive. Do this before attempting to pull the old rubber off. It might take several applications before it has softened the adhesive enough to separate it from the door or rubber.
Pulling prematurely might pull paint off the door. Rub the adhesive off with a rag. Stubborn parts might need to be scraped with a plastic scraper that will not scratch the paint. The door needs to be thoroughly cleaned before applying the new weatherstrip.
Apply a thin coat of adhesive, let it dry and install the new weatherstrip.
Next, make sure you know which side is left (driver’s side) or right. Break the job down to 2-3 foot sections to make it manageable. Apply a thin layer of adhesive to the door and weatherstrip. According to the experts at Steele Rubber Products, surgical gloves are the best thing since sliced bread for this job. They will keep your hands clean and can be discarded after use.
After applying a small bead of adhesive, use your finger or a popsicle stick to spread it thinly so it covers the entire gluing surface. Allow this layer of adhesive to dry. When it feels dry to the touch, apply another coat of adhesive to the weatherstrip.
At this point the weatherstrip is ready to apply to the door. Do not let the weatherstrip adhesive touch the door adhesive until you are sure it is in the correct location. You will not be able to move it if it is wrong. Apply it carefully by trying not stretch the rubber and working from key points out. Weatherstrip with nylon clips should also use adhesive between the clip placements.
Once the all of the rubber is installed, clean any excess adhesive with a general purpose cleaner. Allow to dry as recommended by adhesive manufacturer before closing door. It is as easy as that. Now that you can see how easy it can be, don’t put off replacing that weatherstrip any longer.


