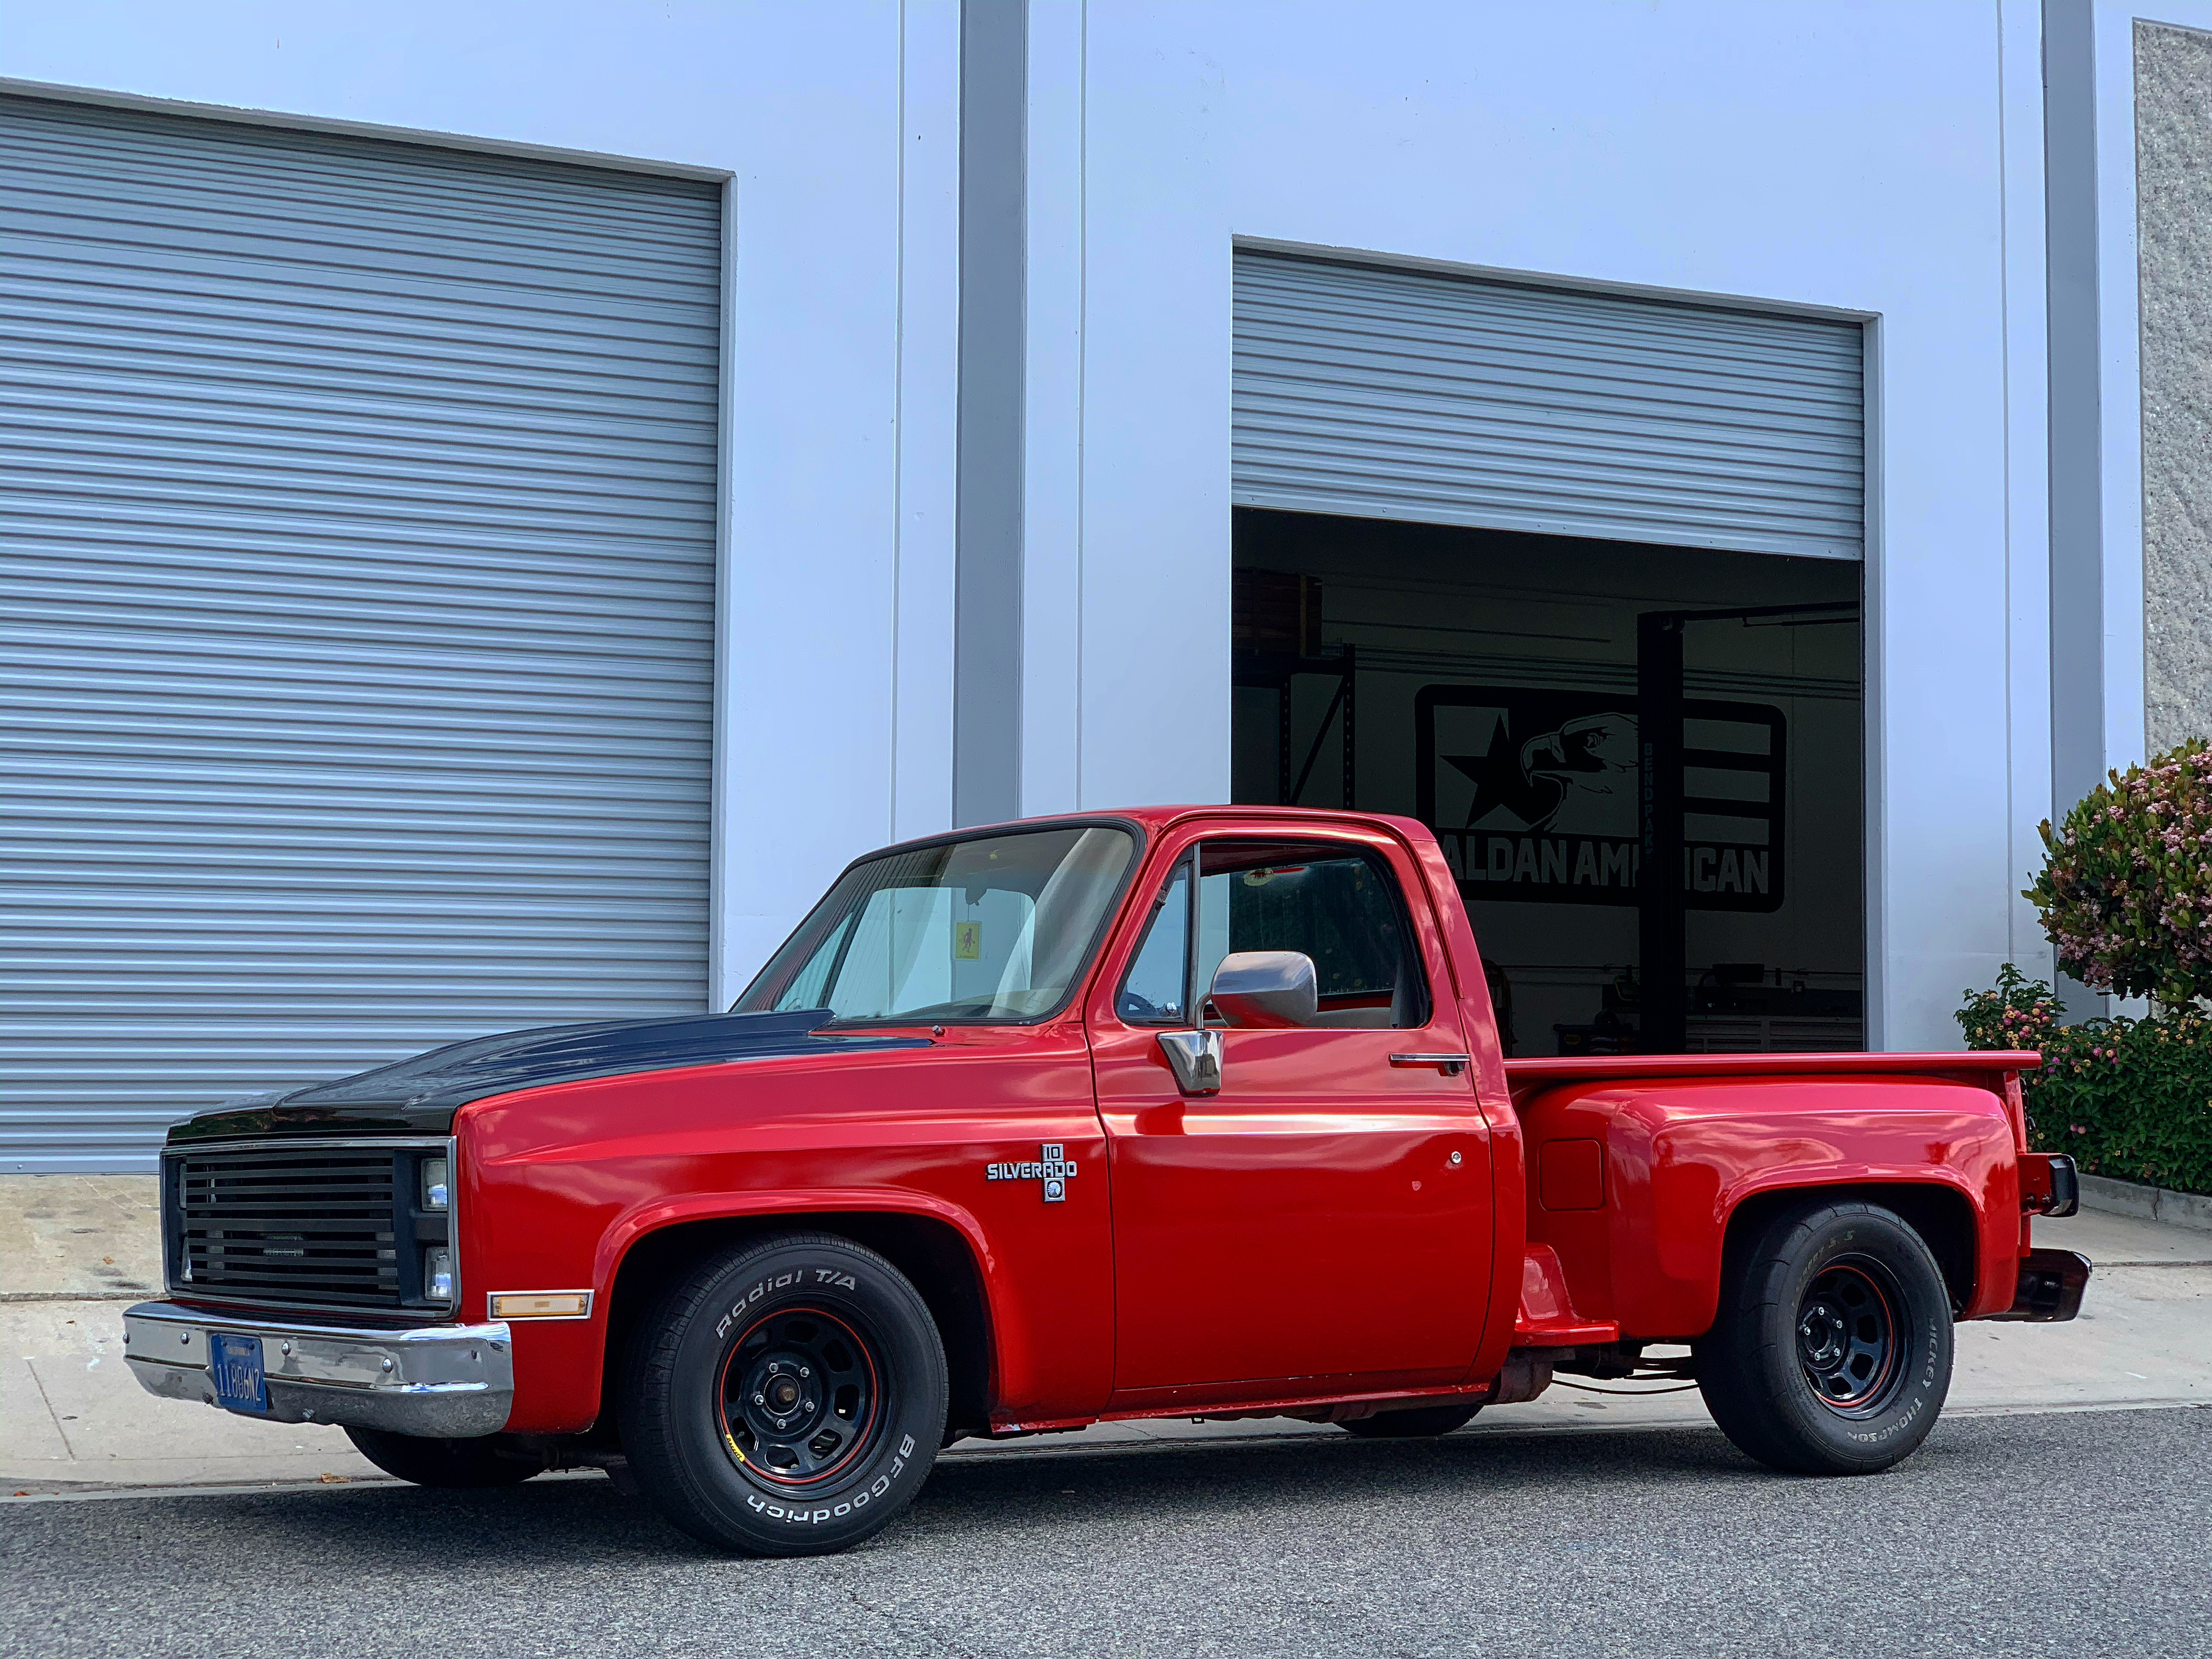
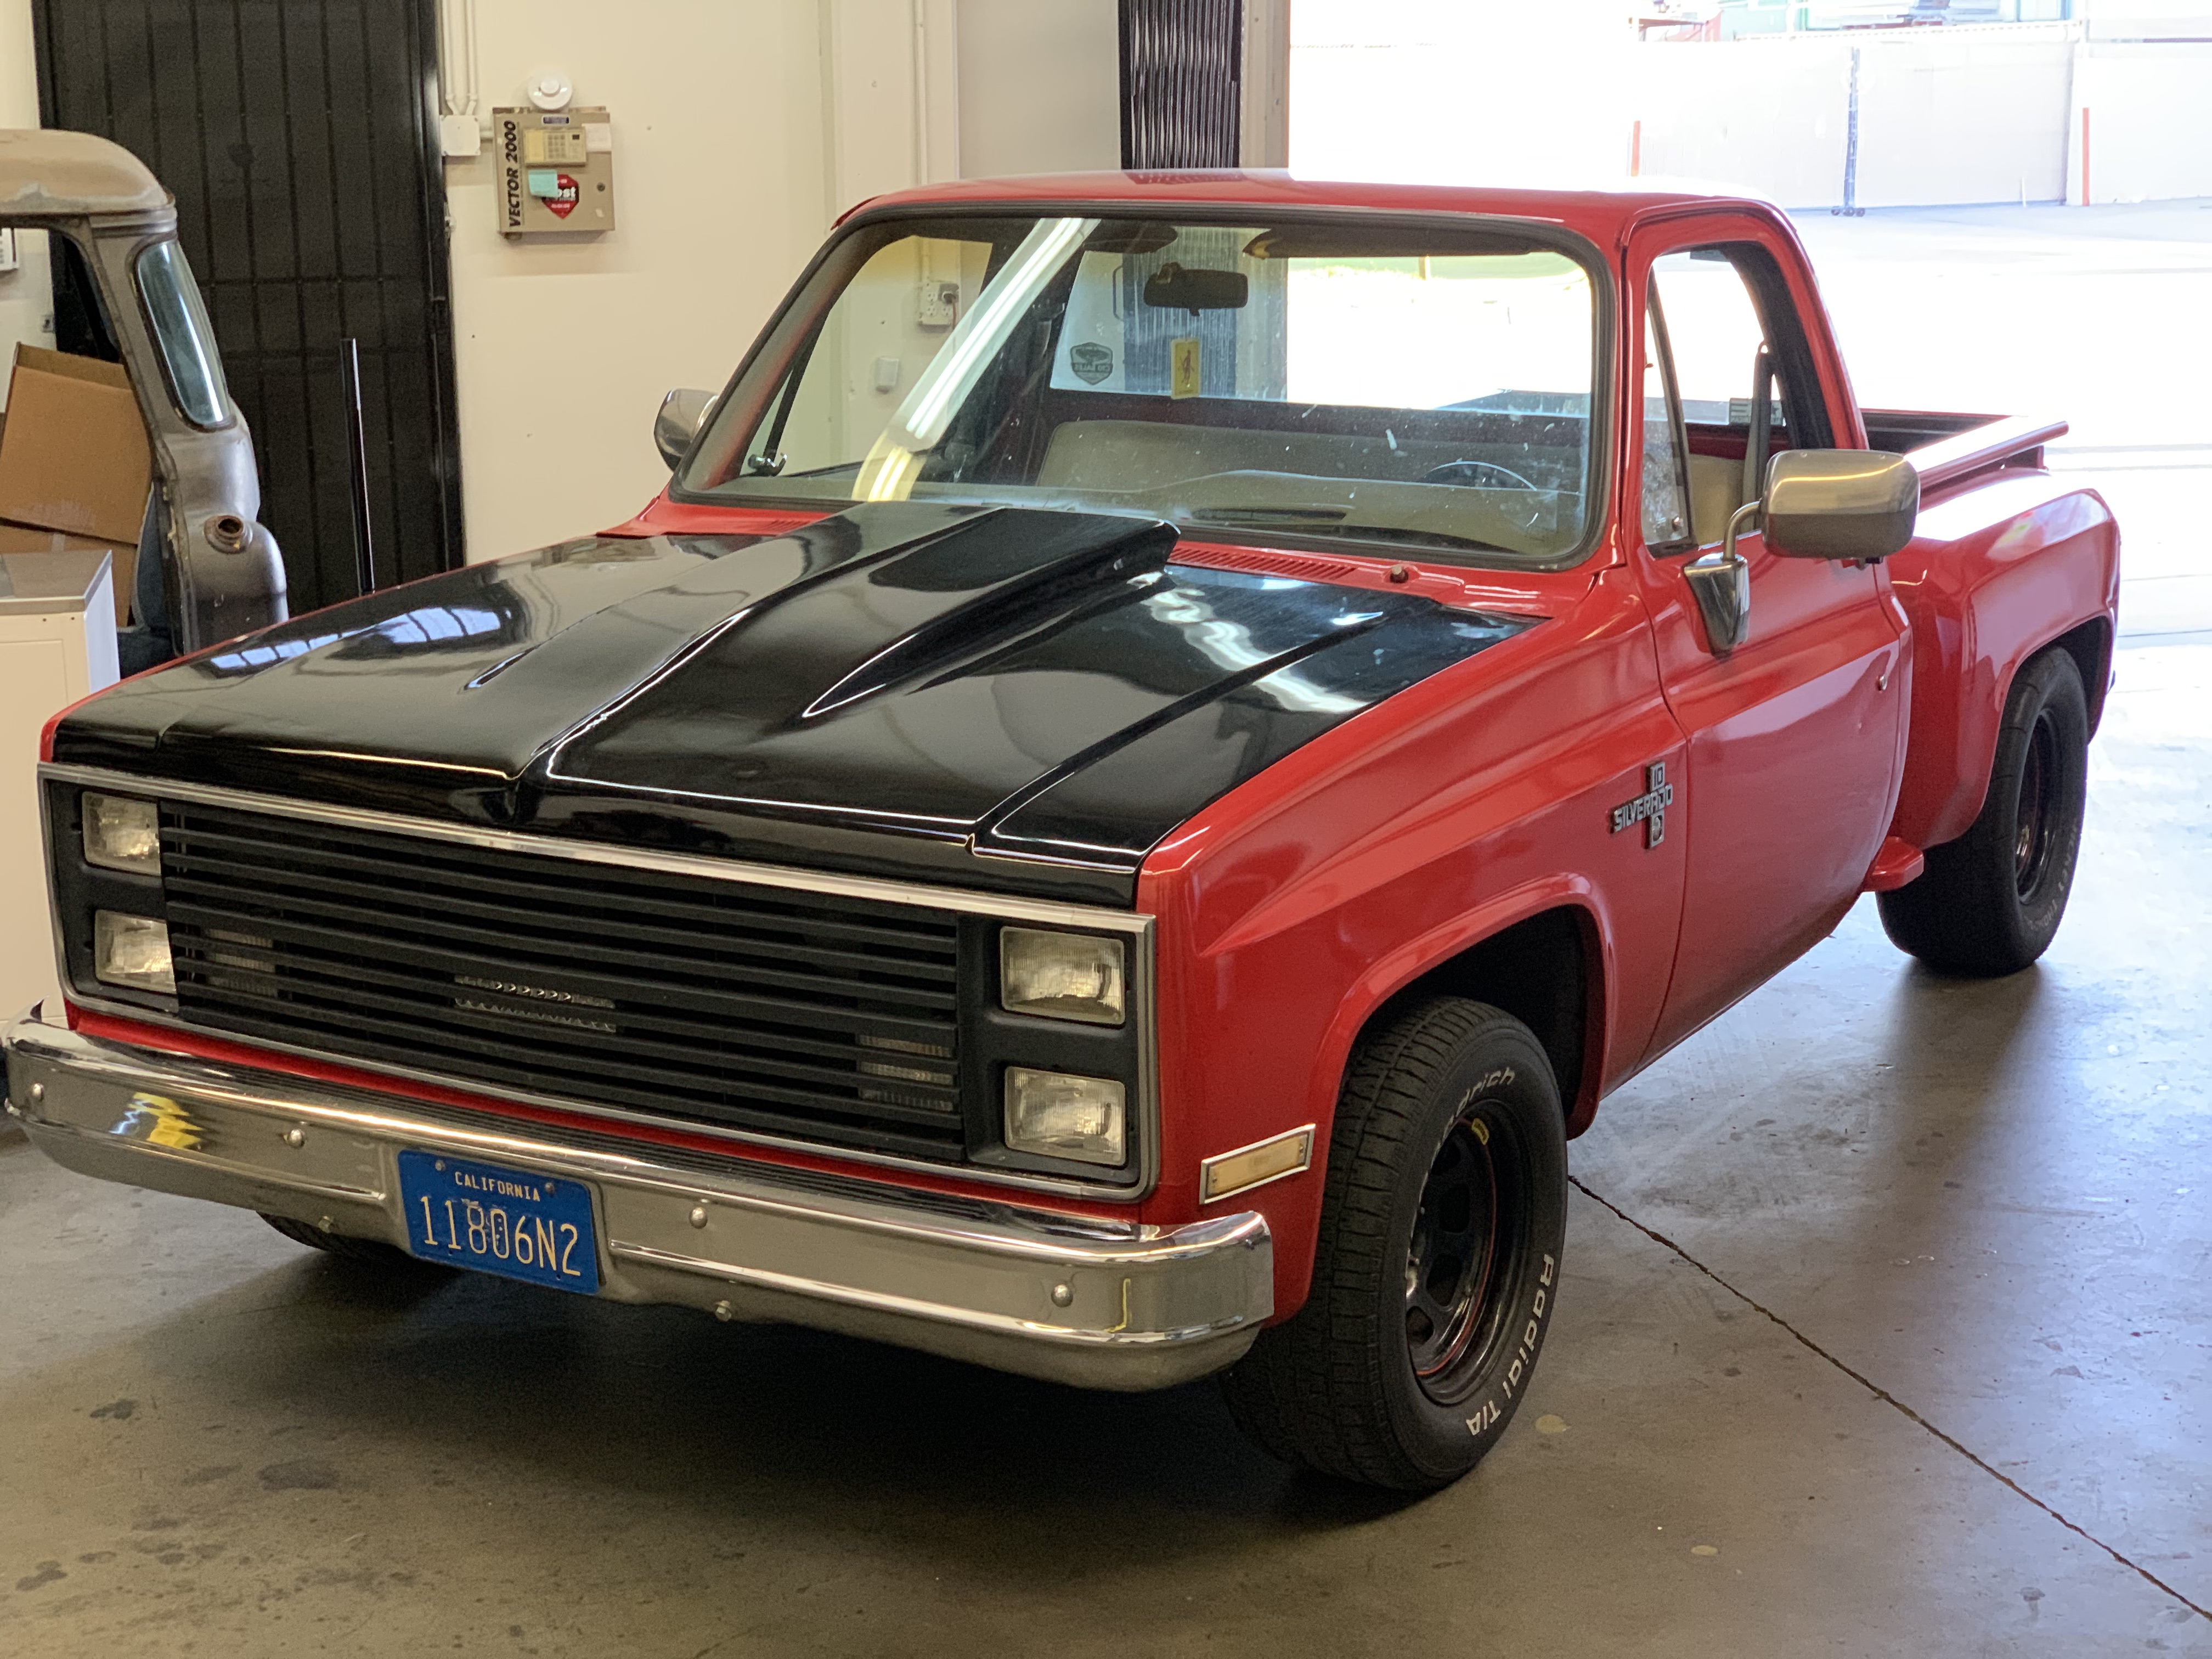
Let this vlog recap serve as not only an introduction to our new project, El Diablo – the 1984 Chevy C10 you see here, but also as a guide for those looking to tackle the installation of the Aldan American coilover conversion for ’73-’87 C/K series Chevy trucks.
We came upon this little red stepside by doing a little bit of horse-trading for an old El Camino we had laying around. It was pre-smog, and that made it more desirable to the new owner. For us, the desire to build a squarebody Chevy has been there for a long time, and with aftermarket companies producing everything for them nowadays, it just seemed like the right time.
Couple that with the fact that the trade coincided with a fortuitous turn of events which allowed us to purchase a GM 5.3ls engine for next to nothing, and the recipe for a killer little street truck was clear.
The first step in that process was addressing the C10’s performance from the ground up, which meant taking a look at the suspension. The first thing we did was tackle the replacement of the well-worn body bushings with Energy Suspension. That upgrade, while fruitful, exposed the wanting suspension.
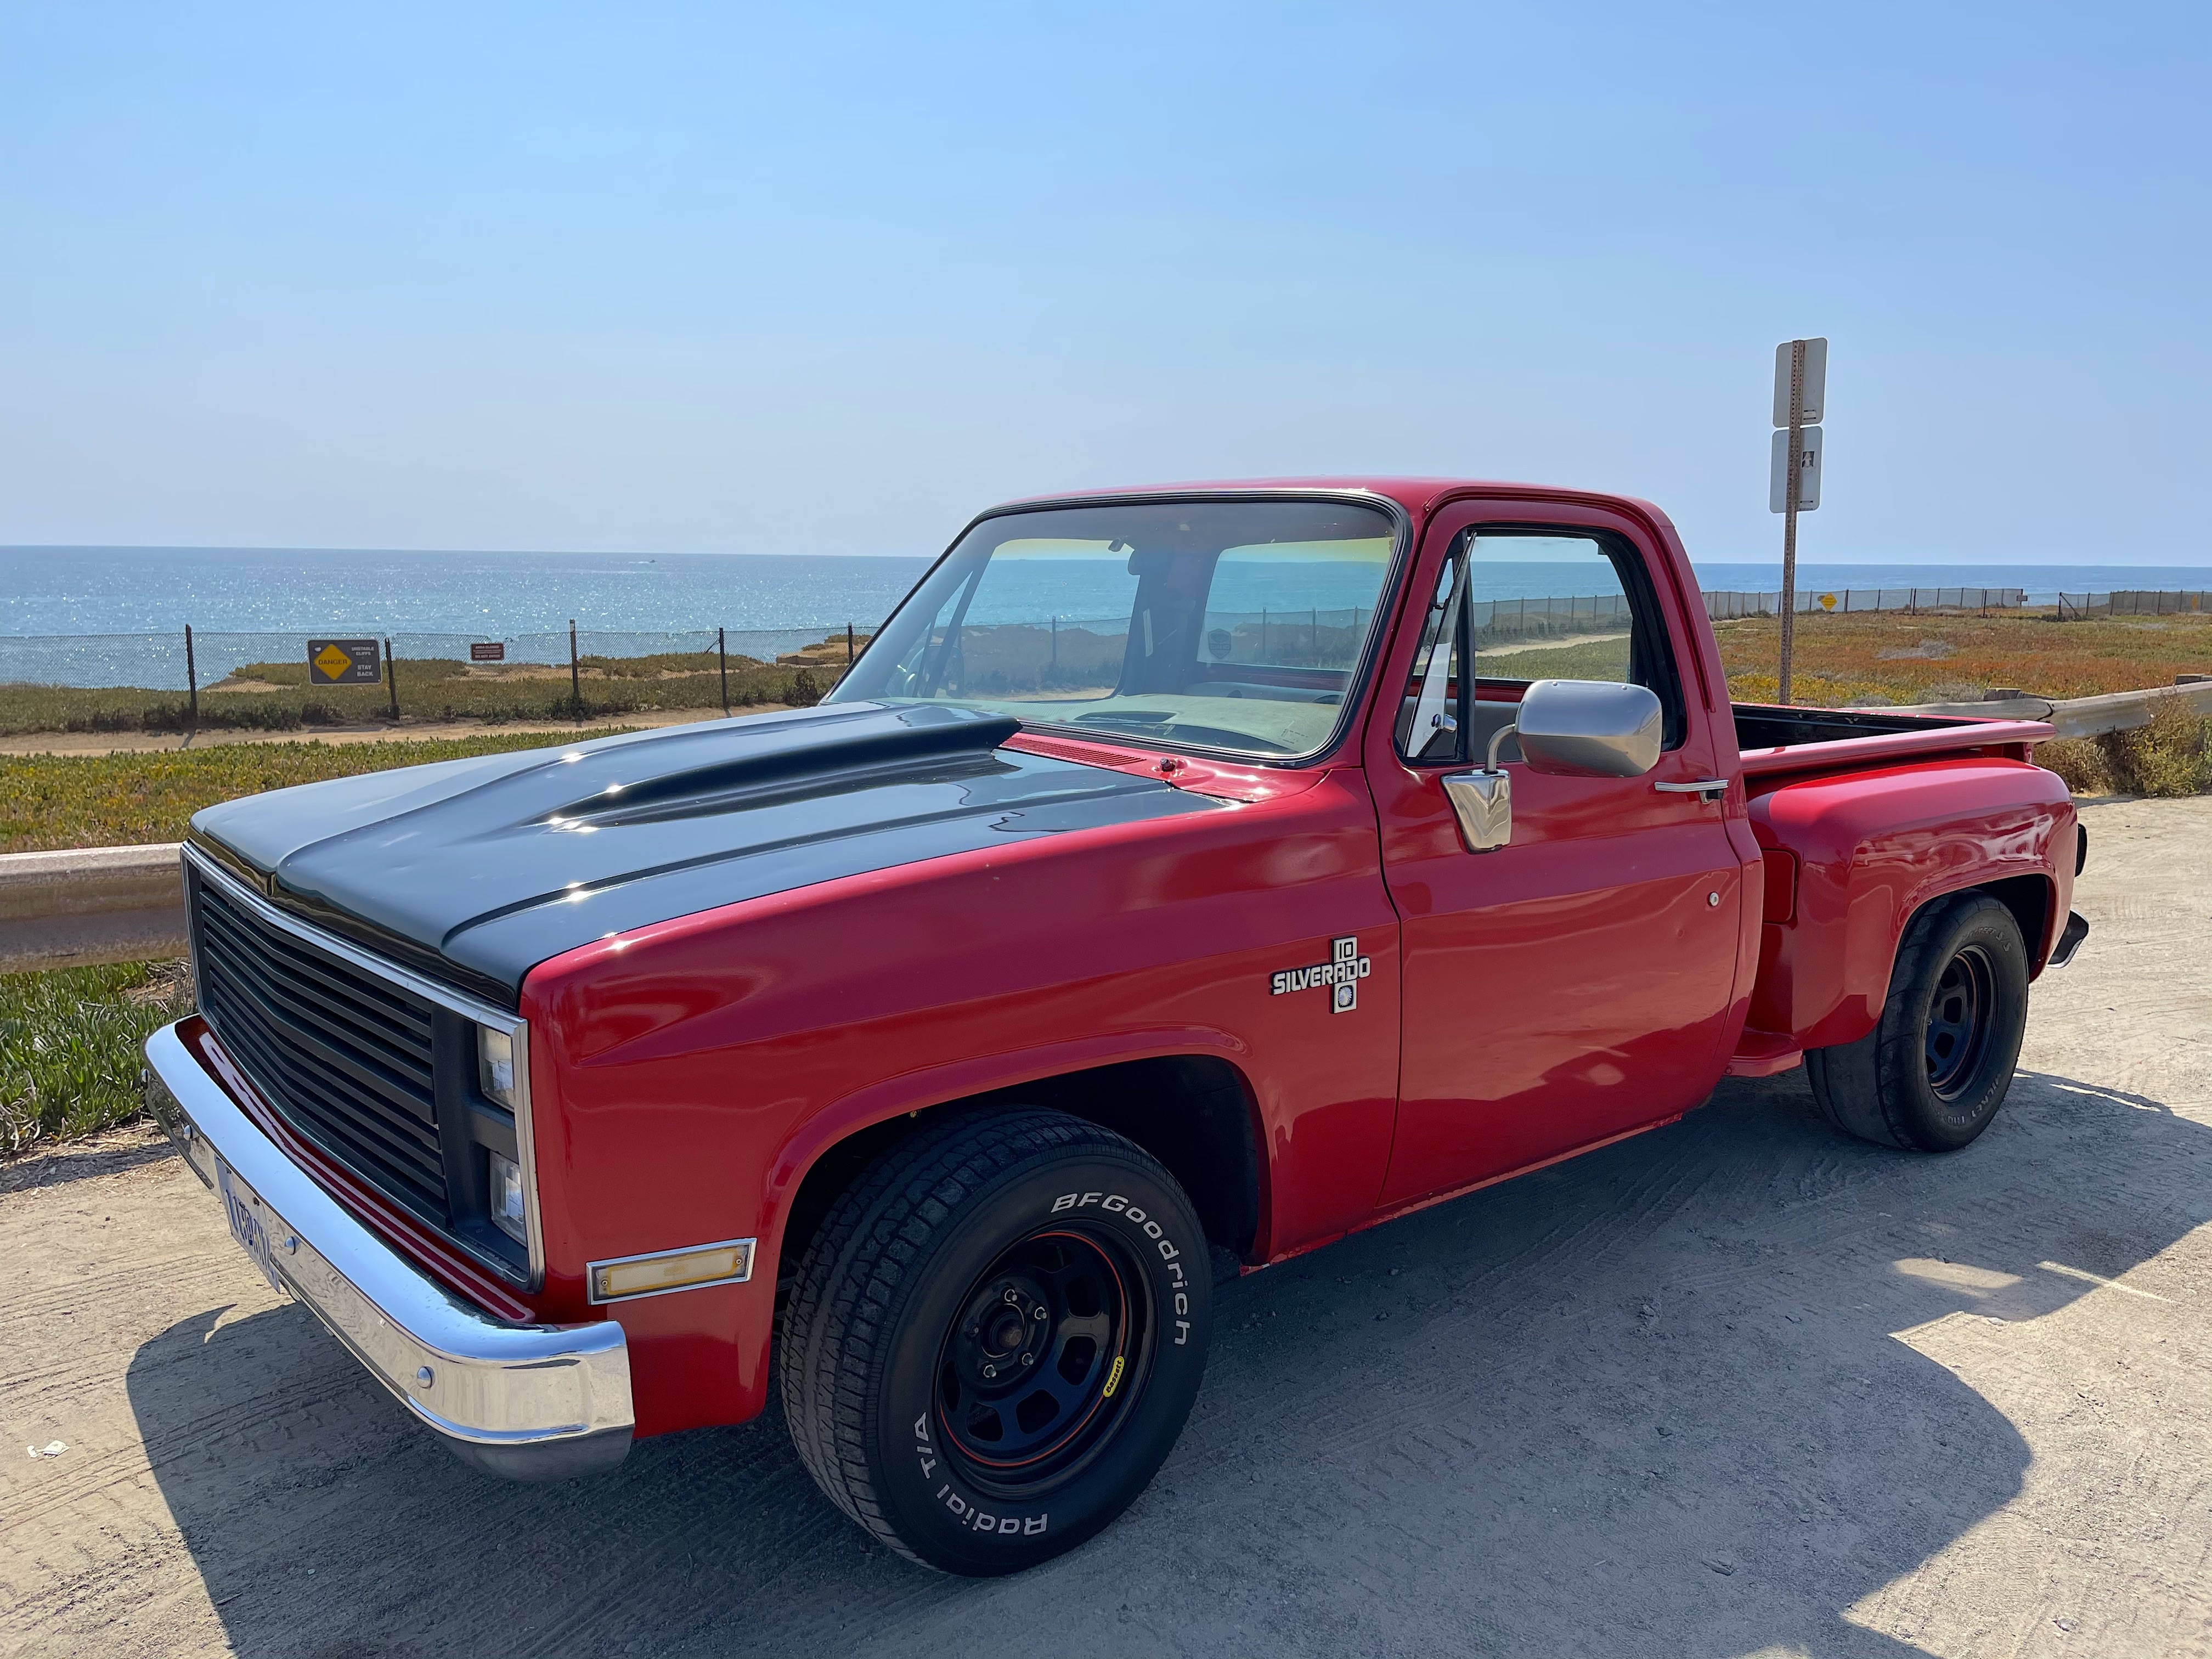
The day we dropped off the little red devil it had a great stance, but the ride quality is a sacrifice we aren’t willing to make. Enter Aldan American…
The Old Setup
The truck came to us lowered on an older system comprised of lowering springs and shocks up front and a flip kit in the rear. Being simple and cost-effective is the key to the success of systems like those, but that doesn’t make them the best for performance and ride quality.
While the system does utilize tubular components, the ride quality suffers because lowering springs by themselves rely on shorter coils to drop the truck without concern for drop spindles or suspension geometry as a whole. The word “bouncy’ comes to mind. It is simply a less sophisticated system than what we have gotten used to in recent years – namely the advent of coilovers on just about everything.
The New Parts
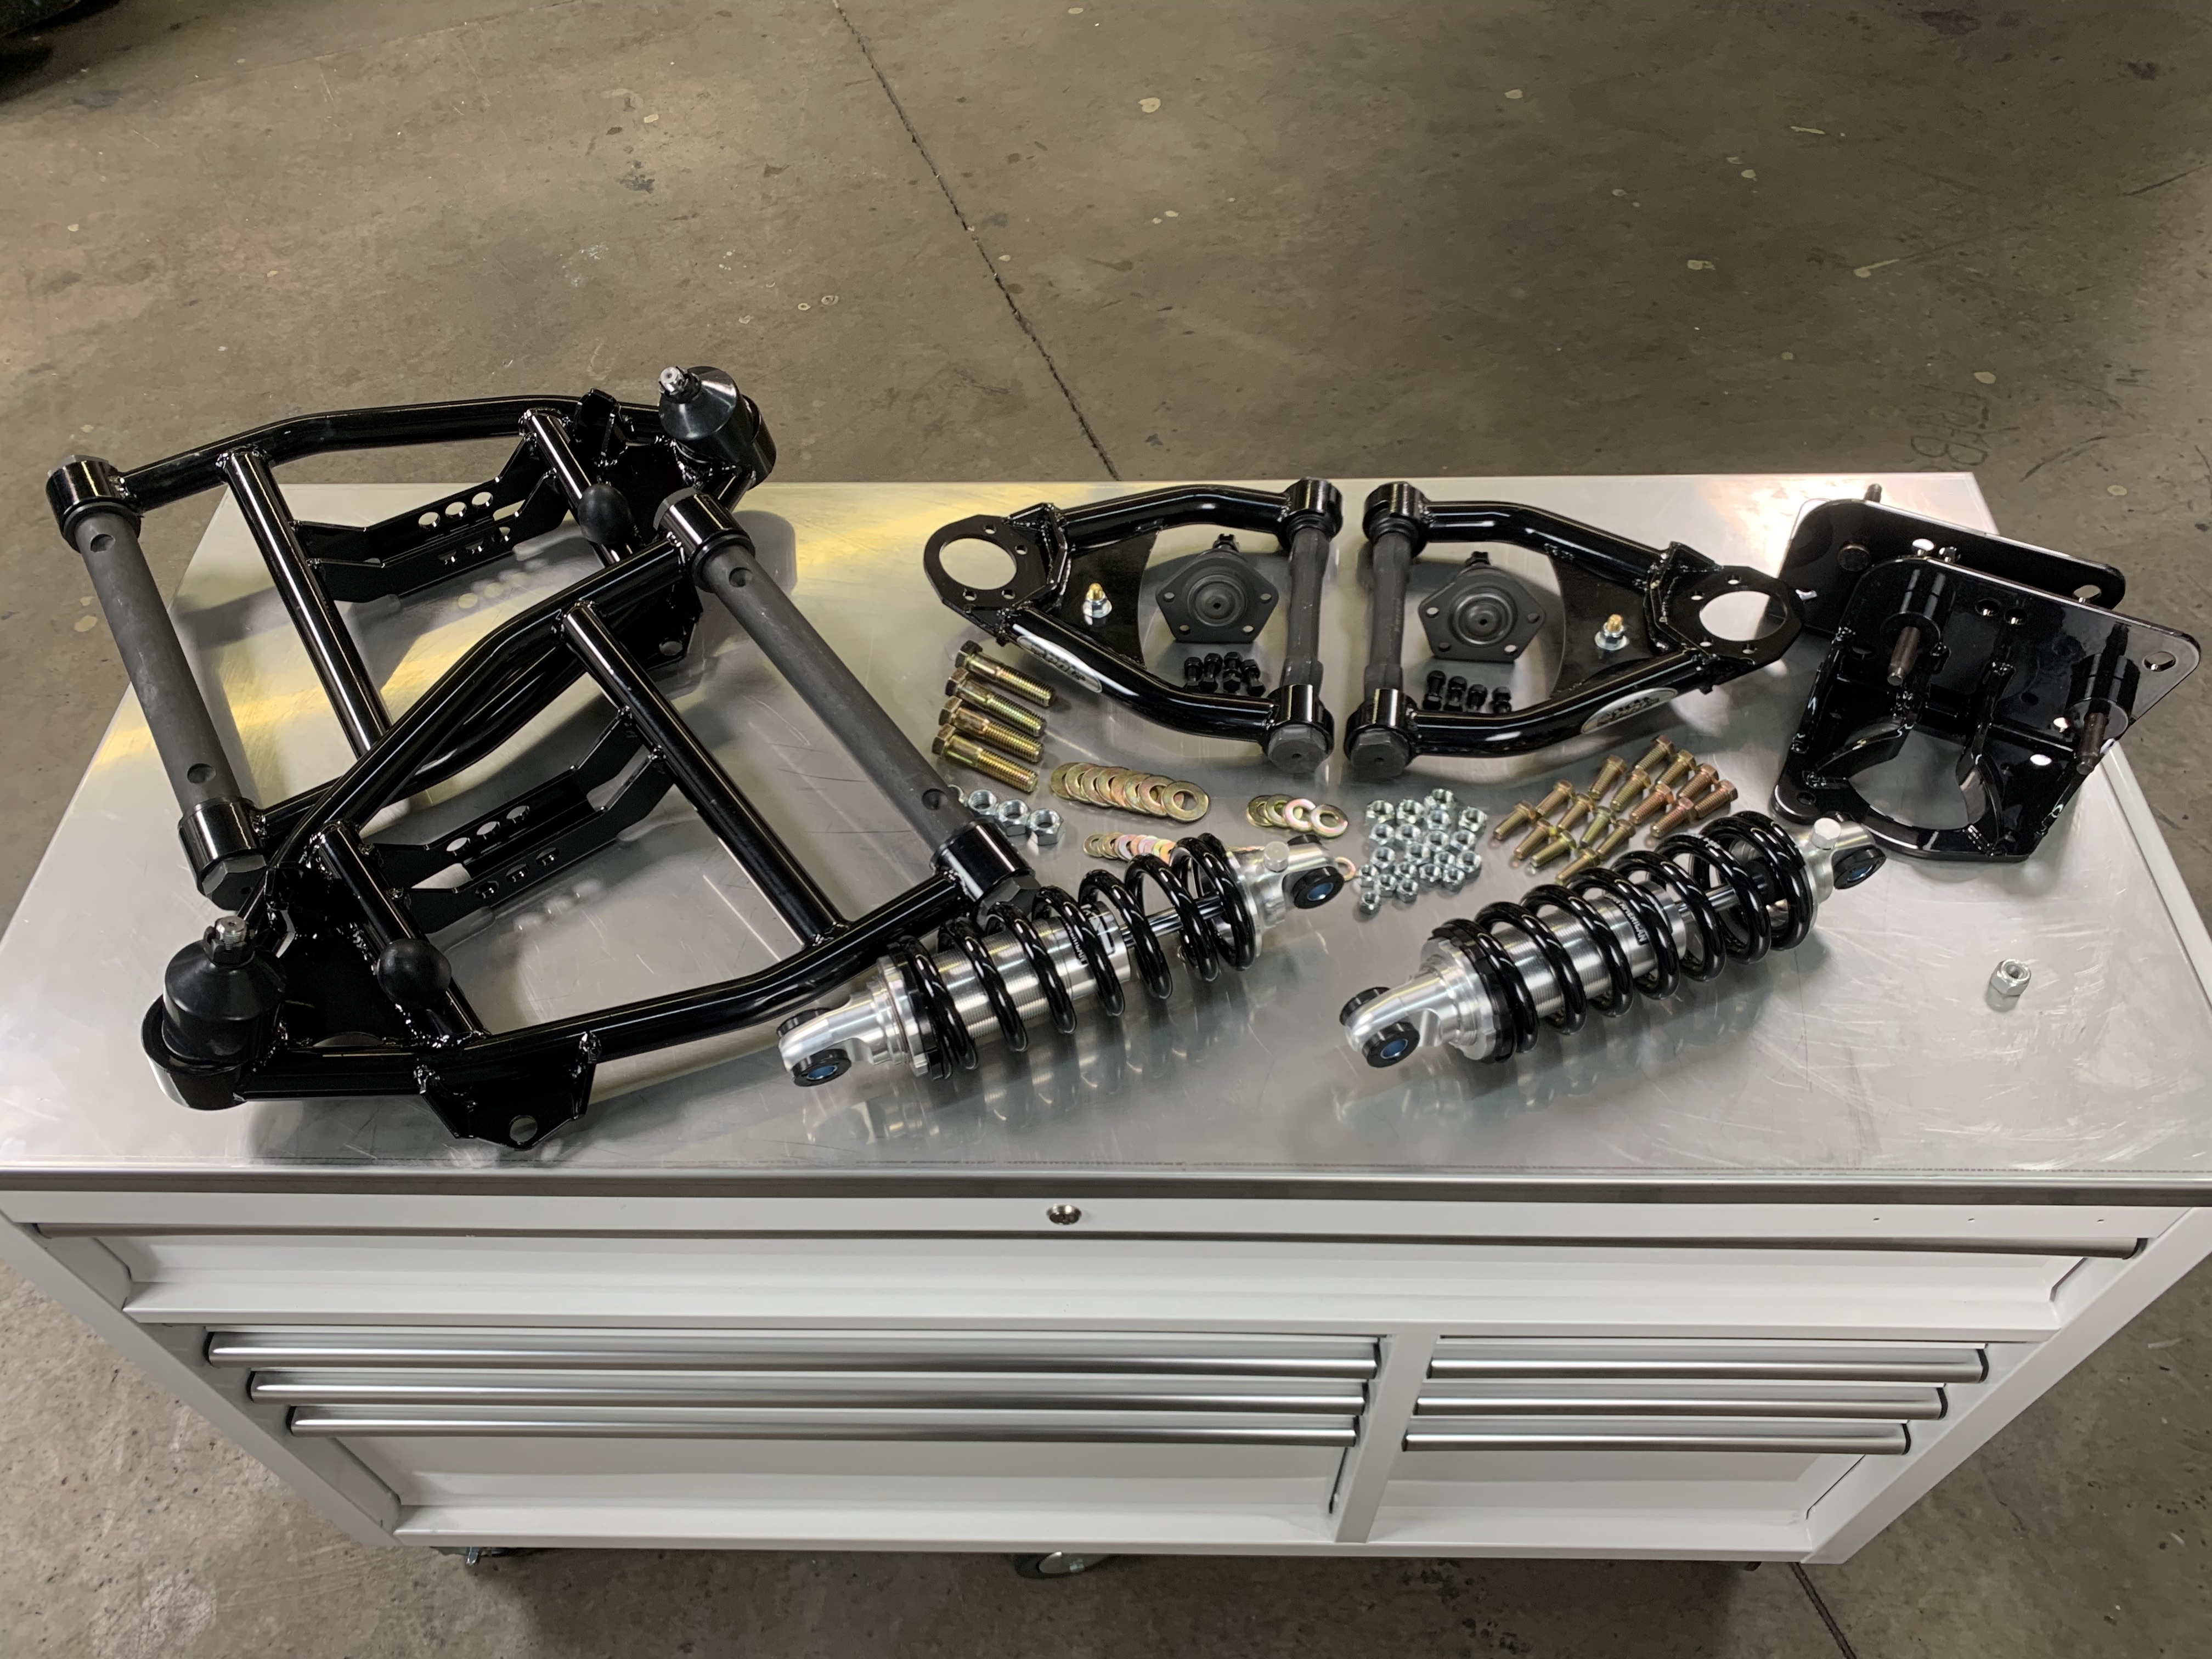
The coilover conversion system from Aldan American is as ingenious as it is robust. Just check out those beefy brackets and control arms!
Making the move to Aldan coilovers instead of the conventional setup accomplishes a number of things. Adjustability is the major highlight to consider if you’re thinking about doing the same. Not only do the Aldan coilovers allow users to alter ride height, but they also enable them to adjust shock rebound and compression for sporty stiffness, or softer comfort.
Once the system is installed, those adjustments can be made rather simply by turning a knob on the shock housing and adjusting the collars using a supplied spanner wrench. Before that happened for us, the installation had to go down.
The Installation
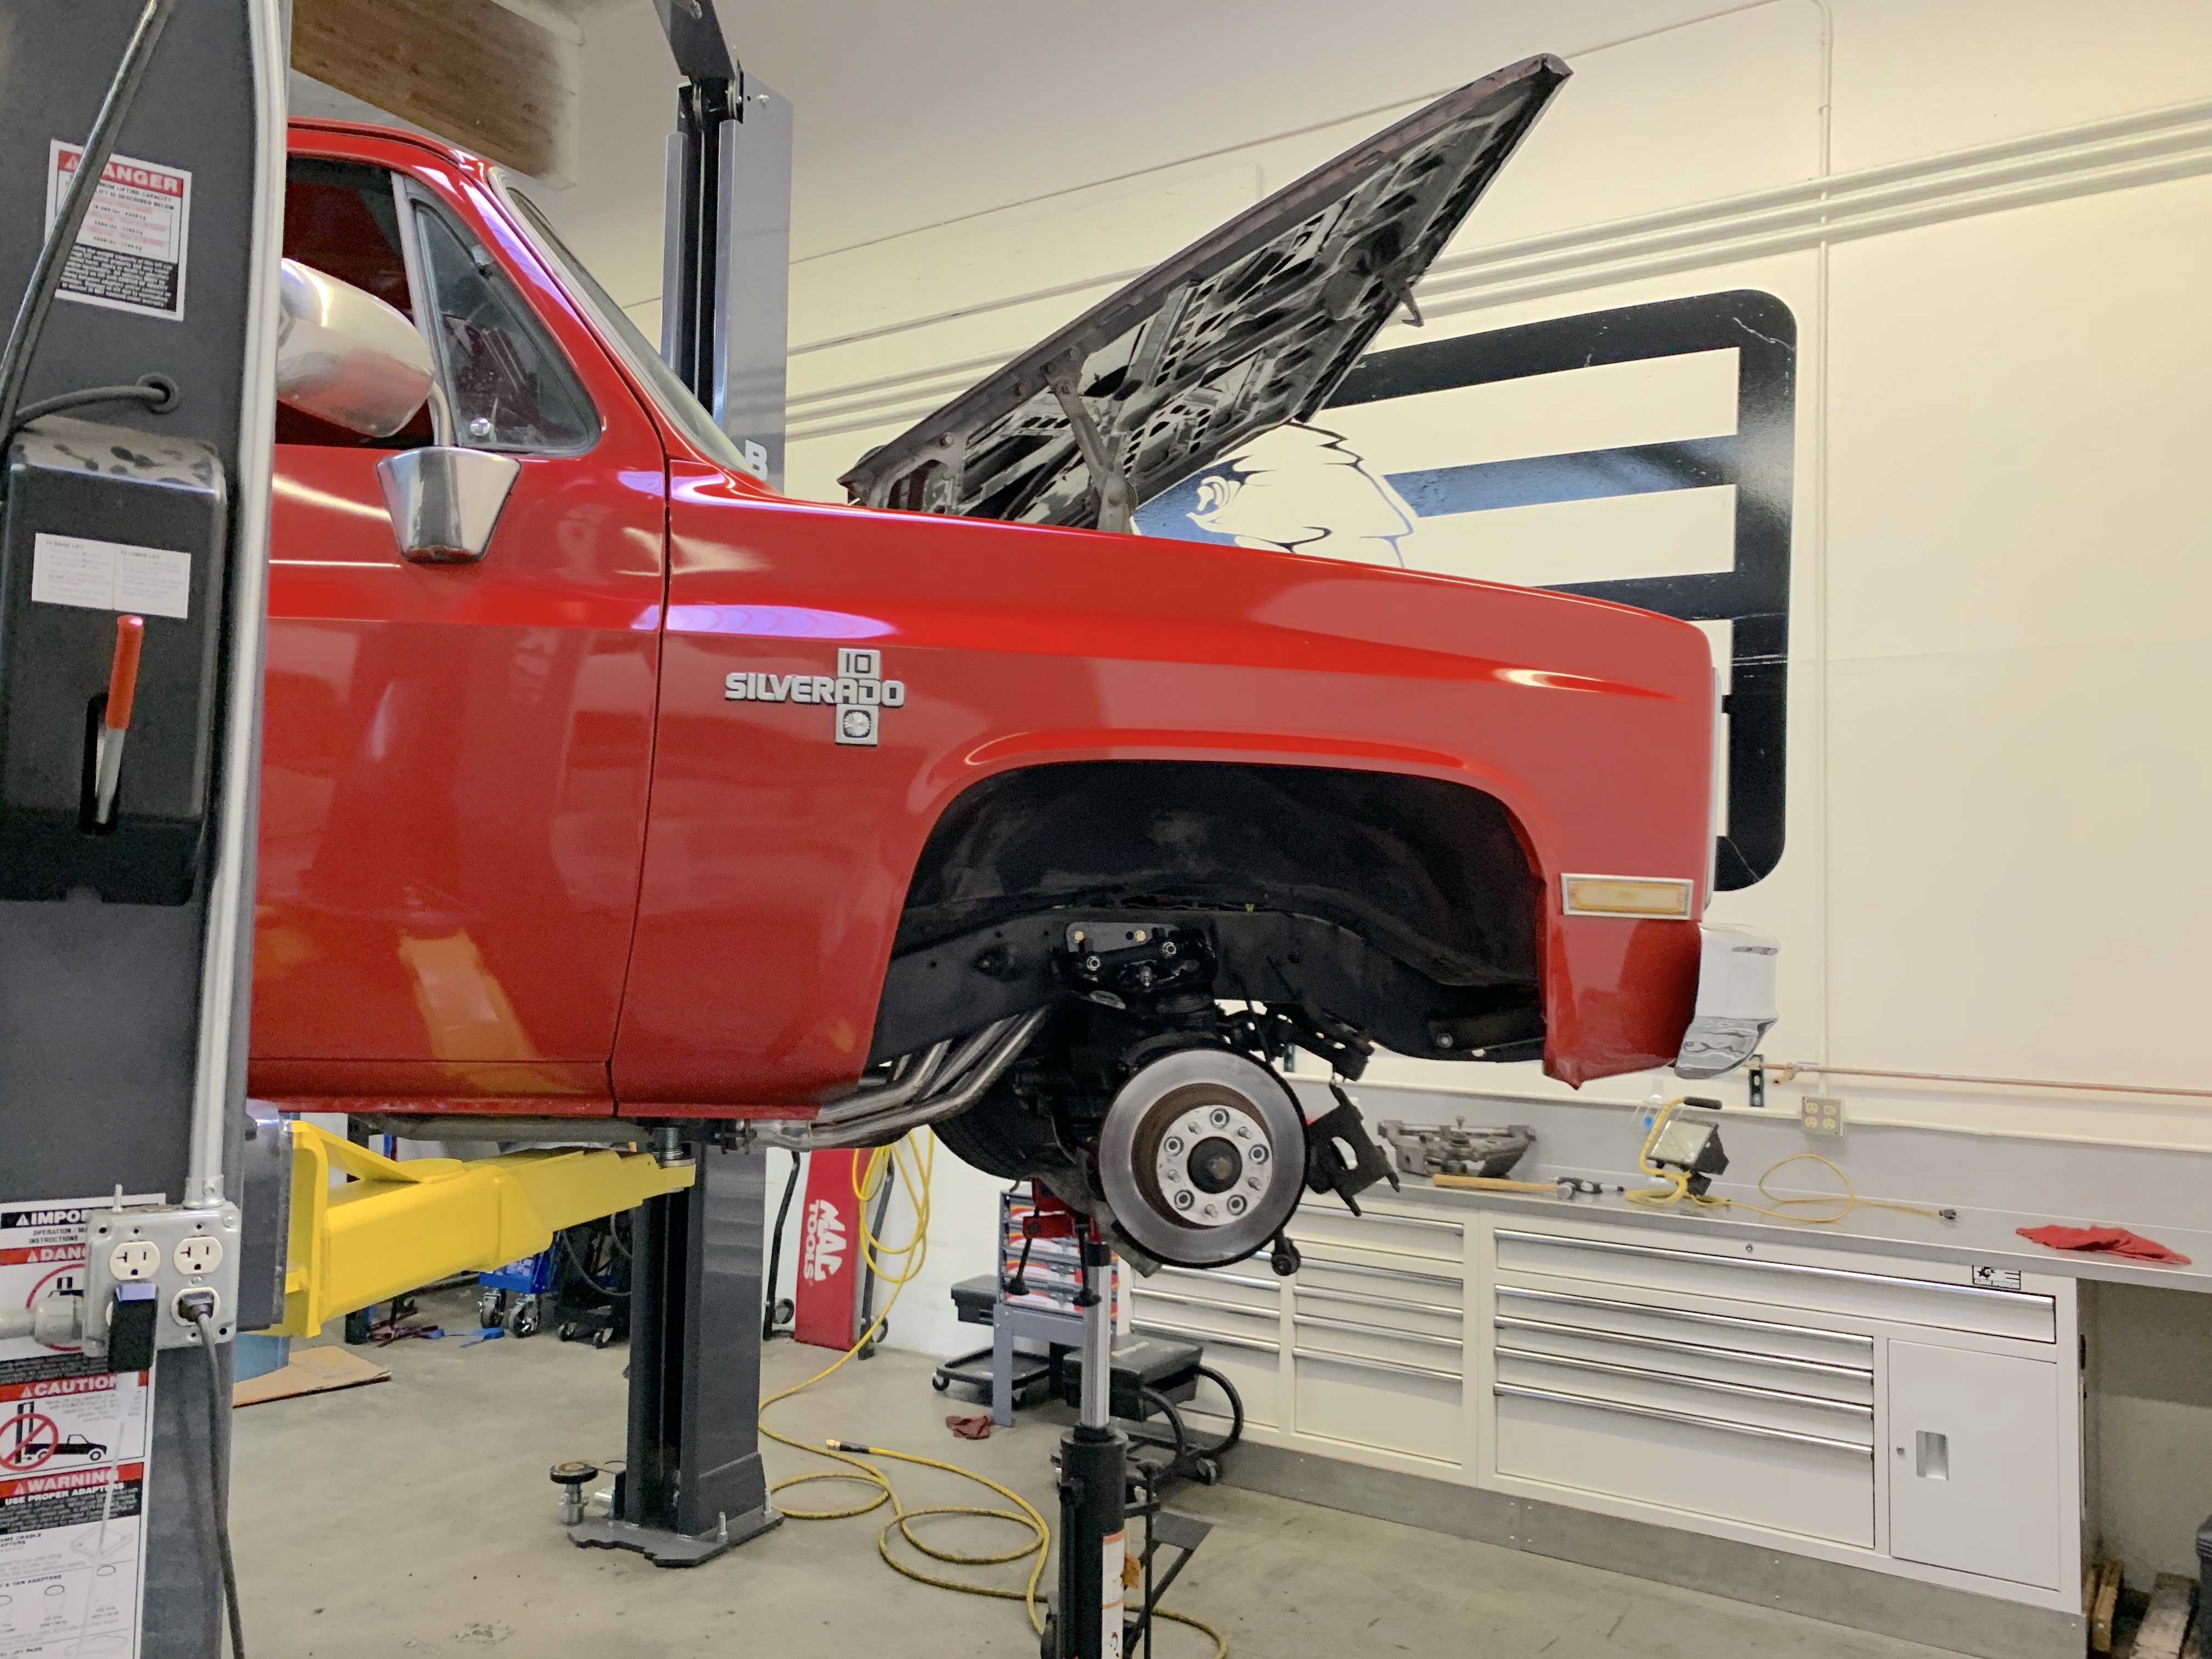
After a few hours of work on day one, Gary had the passenger side all buttoned up.
The installation was not without its challenges, but none of them were close to insurmountable. Especially since we had Gary of Aldan American tackling the install. He is the engineer who created the C10 coilover conversion, after all. As mentioned in the video above, the system is rather ingenious.
It is comprised of beefy with a capital “B”, tubular control arms, and heavy-duty brackets that attach to the frame using the factory bolt holes for the stock control arm brackets. The only “major” difficulty one might run into when tackling the install in a home garage with hand tools is drilling out the spring pocket to accommodate the coilover pass-through.
After removing the original bracket from the frame and spring pocket, the new coilover bracket attaches using the same bolt holes. The coilover passes through the newly widened spring pocket hole and is sandwiched between the two control arms.
The control arms come pre-assembled from Aldan and bolt right into the factory locations, so that saved us a considerable amount of time. We didn’t need to press in new ball joints or bushings. They also sport plenty of heavy-duty zerk fittings so future maintenance is easy.
We ended up re-using the factory spindles and they bolted right up. We may end up installing drop spindles in the future, but for now, the end result is just about perfect for what we have planned in the future in terms of wheels, tires, and ultimate use of the truck.
The Final Drive
The day we picked up El Diablo was an exciting one. Not only was the altitude adjustment great for the handling and road manners, but it freed up some much-needed space in the front wheel wells.
After just a couple of days’ work (the whole install could have been completed in a single day were we not filming), Gary had the whole coilover conversion buttoned up and even made time to install some new rear shocks for us as well. We picked the truck up from Aldan’s install shop and turned around to drive the altitude adjusted C10 about an hour and a half home to North County San Diego.
The new coilovers and tubular control arms made the world of difference as far as handling is concerned. Coupling the new poly bushings with modern suspension has totally turned things around in terms of road manners and feel. The truck no longer wanders from lane to lane like a drunken frat boy stumbling home from a night of boozing. It now handles more like a thoroughbred flying around Churchill Downs.
The hour and a half drive home from LA county to San Diego was worlds apart from the prior trip to LA. The truck no longer wanders from lane to lane or bounces around at the sight of a small bump or pothole. It handles well through the curves without sacrificing comfort for a tight suspension.
Although the anemic 305ci leaves much to be desired by way of power and speed, when we put the spurs to her now, what little power is there is felt through the rigidity of the suspension components in the best way possible. When loading up on a freeway on-ramp and speeding around a loop on the interstate, no longer do we need to say a quick prayer to the patron saint of rubber friction coefficient. We simply lay into the throttle and try to keep from sliding around on the slick bench seat.
We can only imagine how well it will handle once we get some new sticky rubber underneath it and a killer LS powerplant under the hood. You can look forward to both of those things happening in this vlog series soon. We’ve already begun working on the LS rebuilding the valvetrain with some killer components, so stay tuned for that video coming very soon.
To find the coilover conversion kit we used, follow the link to part number SKU: 300137.