The internet is filled with articles on automotive painting with every “would-be” expert explaining how much money you can save by doing the job yourself. If all things were equal, saving money would be an automatic truth, but let’s be honest: Not everything is equal. There are some folks that should never attempt to paint a car.
Prep work can make or break the final appearance.
We’re going to bring you the down-and-dirty truths of auto painting. That is what is going to make this article different than the plethora of other DIY auto painting articles you have read in the past. Painting your car is still going to cost you money, but the opportunity to save some cash is there. It will cost you time – lots of it – and the finished product may not achieve the expert level you were told you would get, but you can get decent results.
If you can live with hundreds more in your pocket, have the time to invest, and accept a finish that is commensurate with your experience level, then read on. There are some tips here that may bump up the quality of your finished product. If not, then some of this information will help you pick a painter that will get you good results.
Who Should Attempt A DIY Paint Job?
If you are the type of person that commits to a weekly bowling league but only makes it to 75-percent or less of the games … painting a car may not be for you. It takes a full-level of commitment to pull this off. Look, throwing paint on metal is not that tough. Earl Scheib painters pass enough material through their spray guns that they are experts at laying down a great coat of paint.
So why does everyone think they don’t have top-shelf paint jobs? Here’s the honest truth: The final result is more about the prep work than spraying paint. Most people who take their car to a quickie paint booth believe they will save money doing the prep work themselves. In the end, you get what you put into it. We’ve seen some great jobs come out of a budget painter’s shop. But the prep work was extensive to get those results.

Where will the paint be applied? A professional-type facility or outside in your backyard?
Likewise, we’ve seen some stunningly impressive spray bomb aerosol can paint jobs done in a garage – and we’re not too shy to admit that. Frankly, some of the paint quality in aerosol cans is very good. The mixtures are spot on, and the delivery system is consistent. The drawback is the cost. It takes a lot of paint cans to do a complete car correctly. The cost will end up far greater than taking your car to a shop and having it sprayed in a booth.
The bottom line to a quality-finish paint job is the detail work invested in the project. Detail work takes time. — lots and lots of time. If you are the type of person that has an eye for details, will not skip steps or cut corners … then you have a better chance of doing this successfully.
Selecting the right paint for your project car is more than just looking at the price tag. Talking with experts will guide you in the right direction.
Cost Comparison
We checked around the local area for the cost of different paint jobs. A cheap paint job where no or minimal prep work is done by the paint shop averages somewhere around $550. That’s just paying for the paint and the time for a paint slinger to shoot a couple of coats. Masking and bodywork are done by the car owner. Many car owners are unhappy with the final results of this type of paint job. Let us remind you, you will get out of it what you put into it, or pay someone else to do prep work.
A mid-level paint job from a commercial painter like Maaco will range from $1,000 to $3,000. This will include some prep and detail work. Some consumers will be happy with the finished project and call it a showroom-type finish.
However, there are a large number of enthusiasts that are looking for something a little more. Something that catches people’s eyes like a nice metallic paint, or multiple colors. If you want special graphics like flames or ghost flames, then a custom paint job is required. The cost for something of that nature can range from $4,000 and up. The sky is the limit.
If you strip away the skill, experience, talent, prep work, cost of tools, cost of labor, and everything else that goes into an eye-popping paint job, the material costs are simple. A gallon of enamel paint will cost in the starting range of 60 bucks. A gallon of urethane starts at $75 bucks, and a two-stage urethane paint kit is around $200.
The two biggest and often most overlooked factors when planning your paint job is the size of the vehicle and color. It is easy to understand why the size of your vehicle affects the cost of a paint job, but color plays a huge role in the price as well.
A gallon of refrigerator white may cost $100 a gallon, but some of the “ticket me” reds can be as much as $250 a gallon. That’s just for the material. If you pay a skilled painter to spay the material for you, some colors are more difficult, more expensive, and require special equipment to shoot. This adds to the price.
Yes, a do-it-yourselfer can save money, but expect to pay in time or quality of the finished product – and most likely both.
Different Levels
A basic paintjob, one that most DIY painters can pull off in a well-prepared home garage or a basic paint booth, is the ground floor. Sure, we could add the rattle can paint job to the bottom rung, but these tend to be hastily done over a longer period of time with poor prep. They can also be expensive when you total up the number of rattle cans you must use to pull off a decent glossy finish.
The basic paint job we are talking about includes a single-stage enamel paint over a decently prepped body. This type of paint job can decently restore the vehicle’s appearance for a couple of years but won’t win any “best-in-show” awards.
Have a good idea of how detailed you want your paint project to be. Do you want to paint the interior? The door panels? How well your project turns out will be predicated by how much planning you do.
The next step up would be a well-prepped body with a single-stage urethane paint that is a bit more durable than the enamel finishes. It costs a little more for urethane paint, but most would agree that it is worth it. Regulations are rapidly changing, so these paints may not be available everywhere.
Another level up would be the two-stage application. This process uses a color coat over a well-prepped surface, followed by a glossy finish. This may even be sprayed over with a urethane sealer for extra protection. Obviously, the two-step process will cost more due to extra material and time needed to complete the job, but the finished appearance almost certainly will last three or four times longer than a basic paint job.
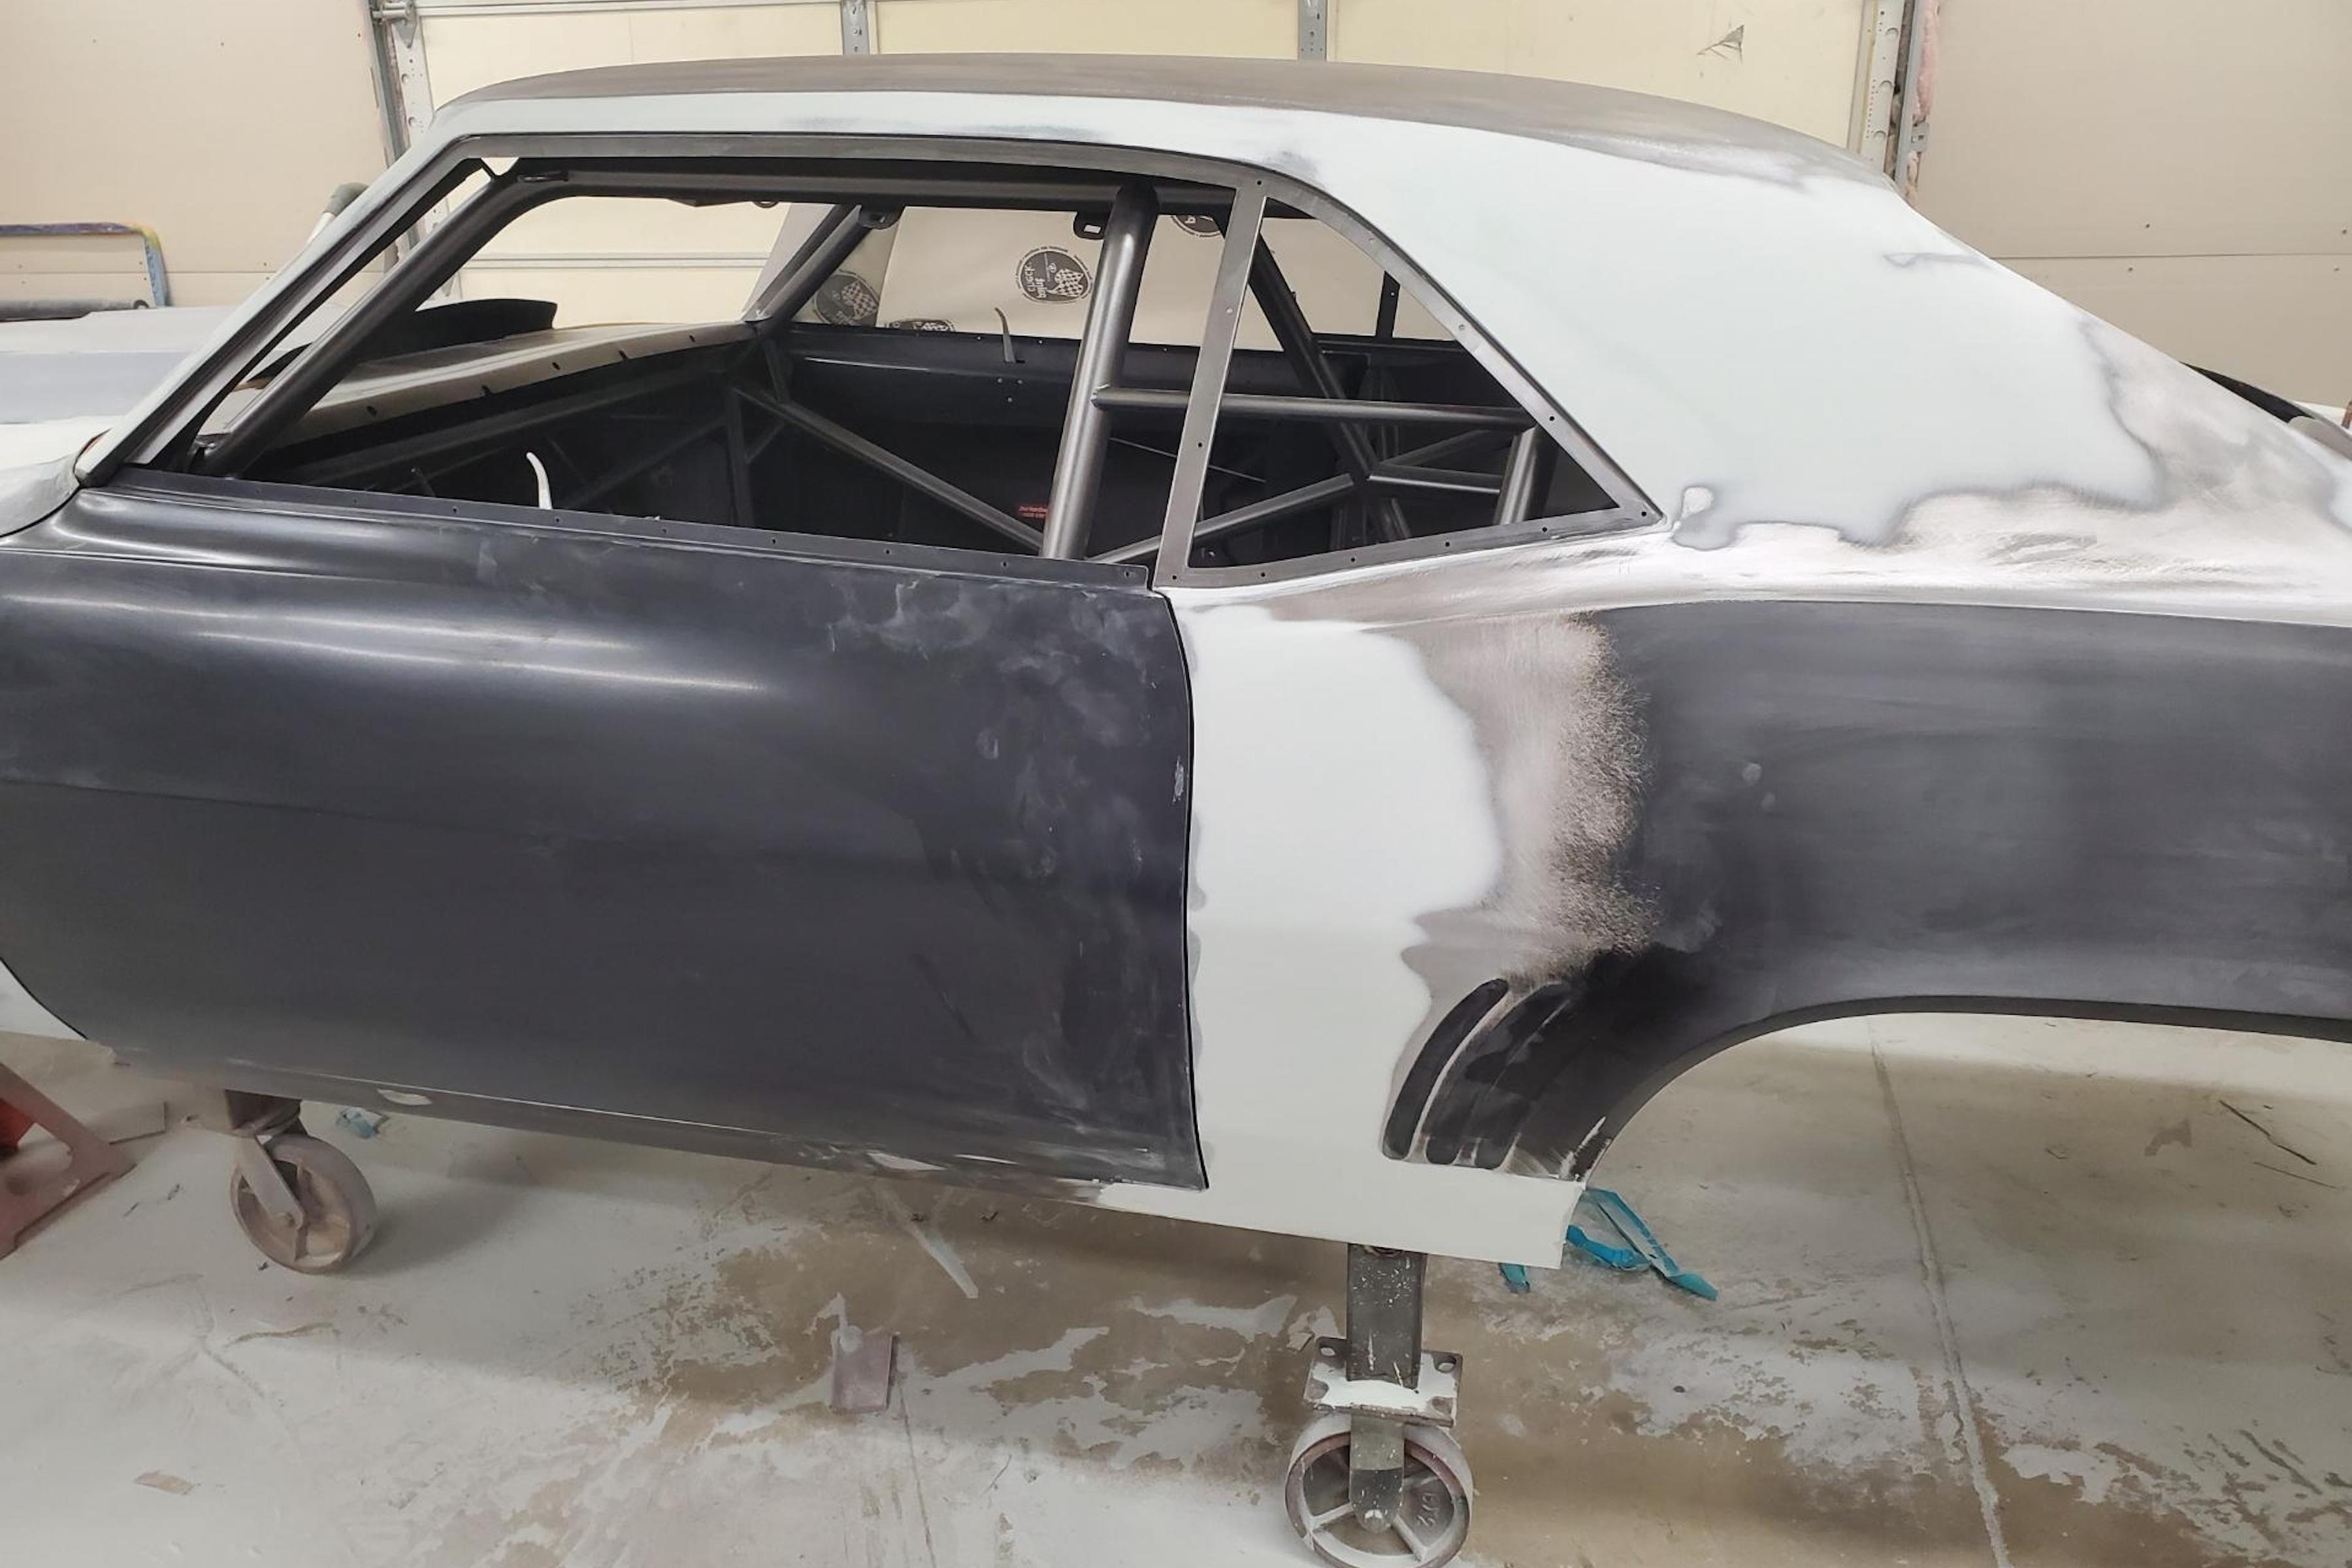
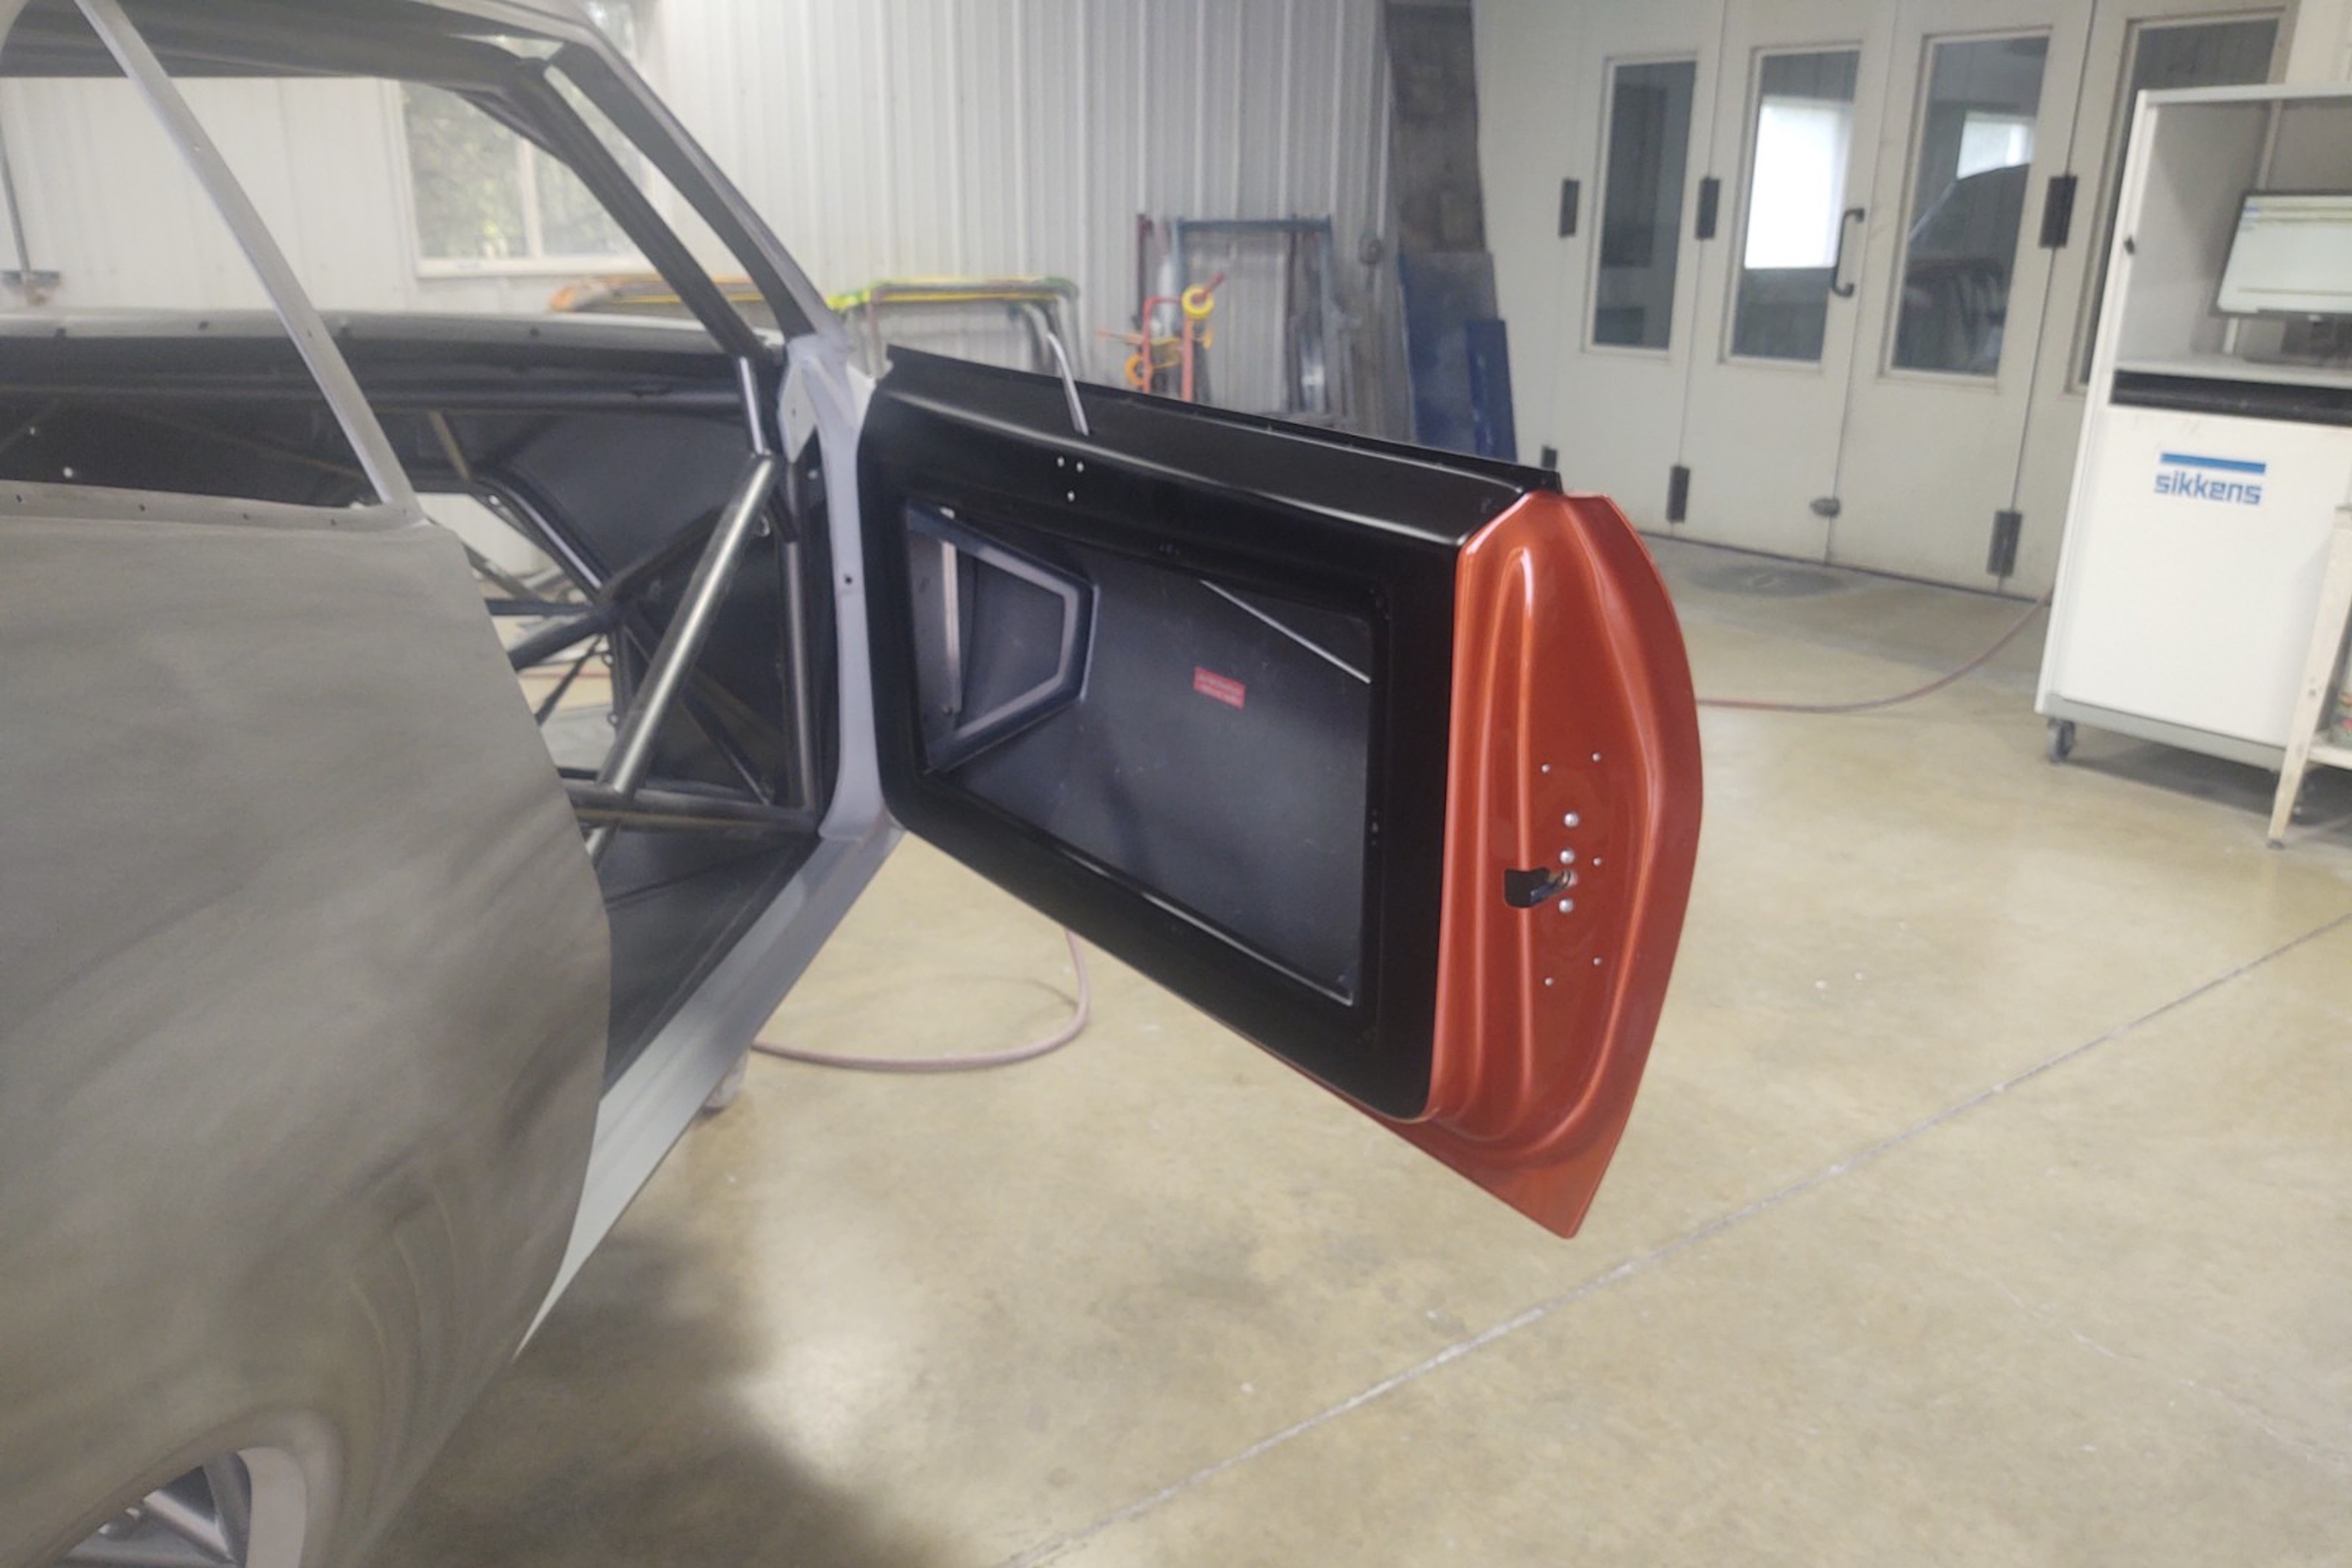
A show car finish includes painting areas that most other levels ignore. For example, door jambs, inner door seals, trunks, and engine bays are commonly stripped and painted. This requires more paint, more prep, more time, and certainly more skill.
For those very ambitious Do-It-Yourselfers, a show car finish with detailed priming work, block sanding between coats, rubbing the color coats, and using primer-sealer and a finish urethane sealer will earn you mad respect among your peers.
The Process
Now that we have your full attention and have decided that you have what it takes, let’s briefly talk about the process. We will be going into greater detail in part two of this series, but covering the basic steps is important in planning your project.
What type of paint job you are after will determine the steps toward completing the project. For example, there will be fewer steps involved in a single-stage enamel paint job for a daily driver than a premium show-car finish using a two-stage application. Get it?
For simplicity, let’s go with the steps that a normal DIYer is likely to take on: A basic paint job with a single-stage enamel that is applied to refresh the project car’s appearance. We’re shooting for a decent color match to the interior with a nice gloss on the vehicle.
Gather all the supplies you will need to get the job done. This includes a healthy supply of wet-and-dry sandpaper (1,200 through 2,000 grit), electric sander and sanding blocks, a metric ton of masking tape, and newspapers or other mask material.
Other essentials include a decently sized air compressor and spray gun that can handle the material you plan on spraying. Face masks and safety glasses are warranted. Renting a dust extractor will help keep the overspray and dust from being a huge issue. The extractor or fan should have a filter to catch the airborne paint particles that are moved away from the paint area. Keeping the area clean is really critical for a decent finished appearance.
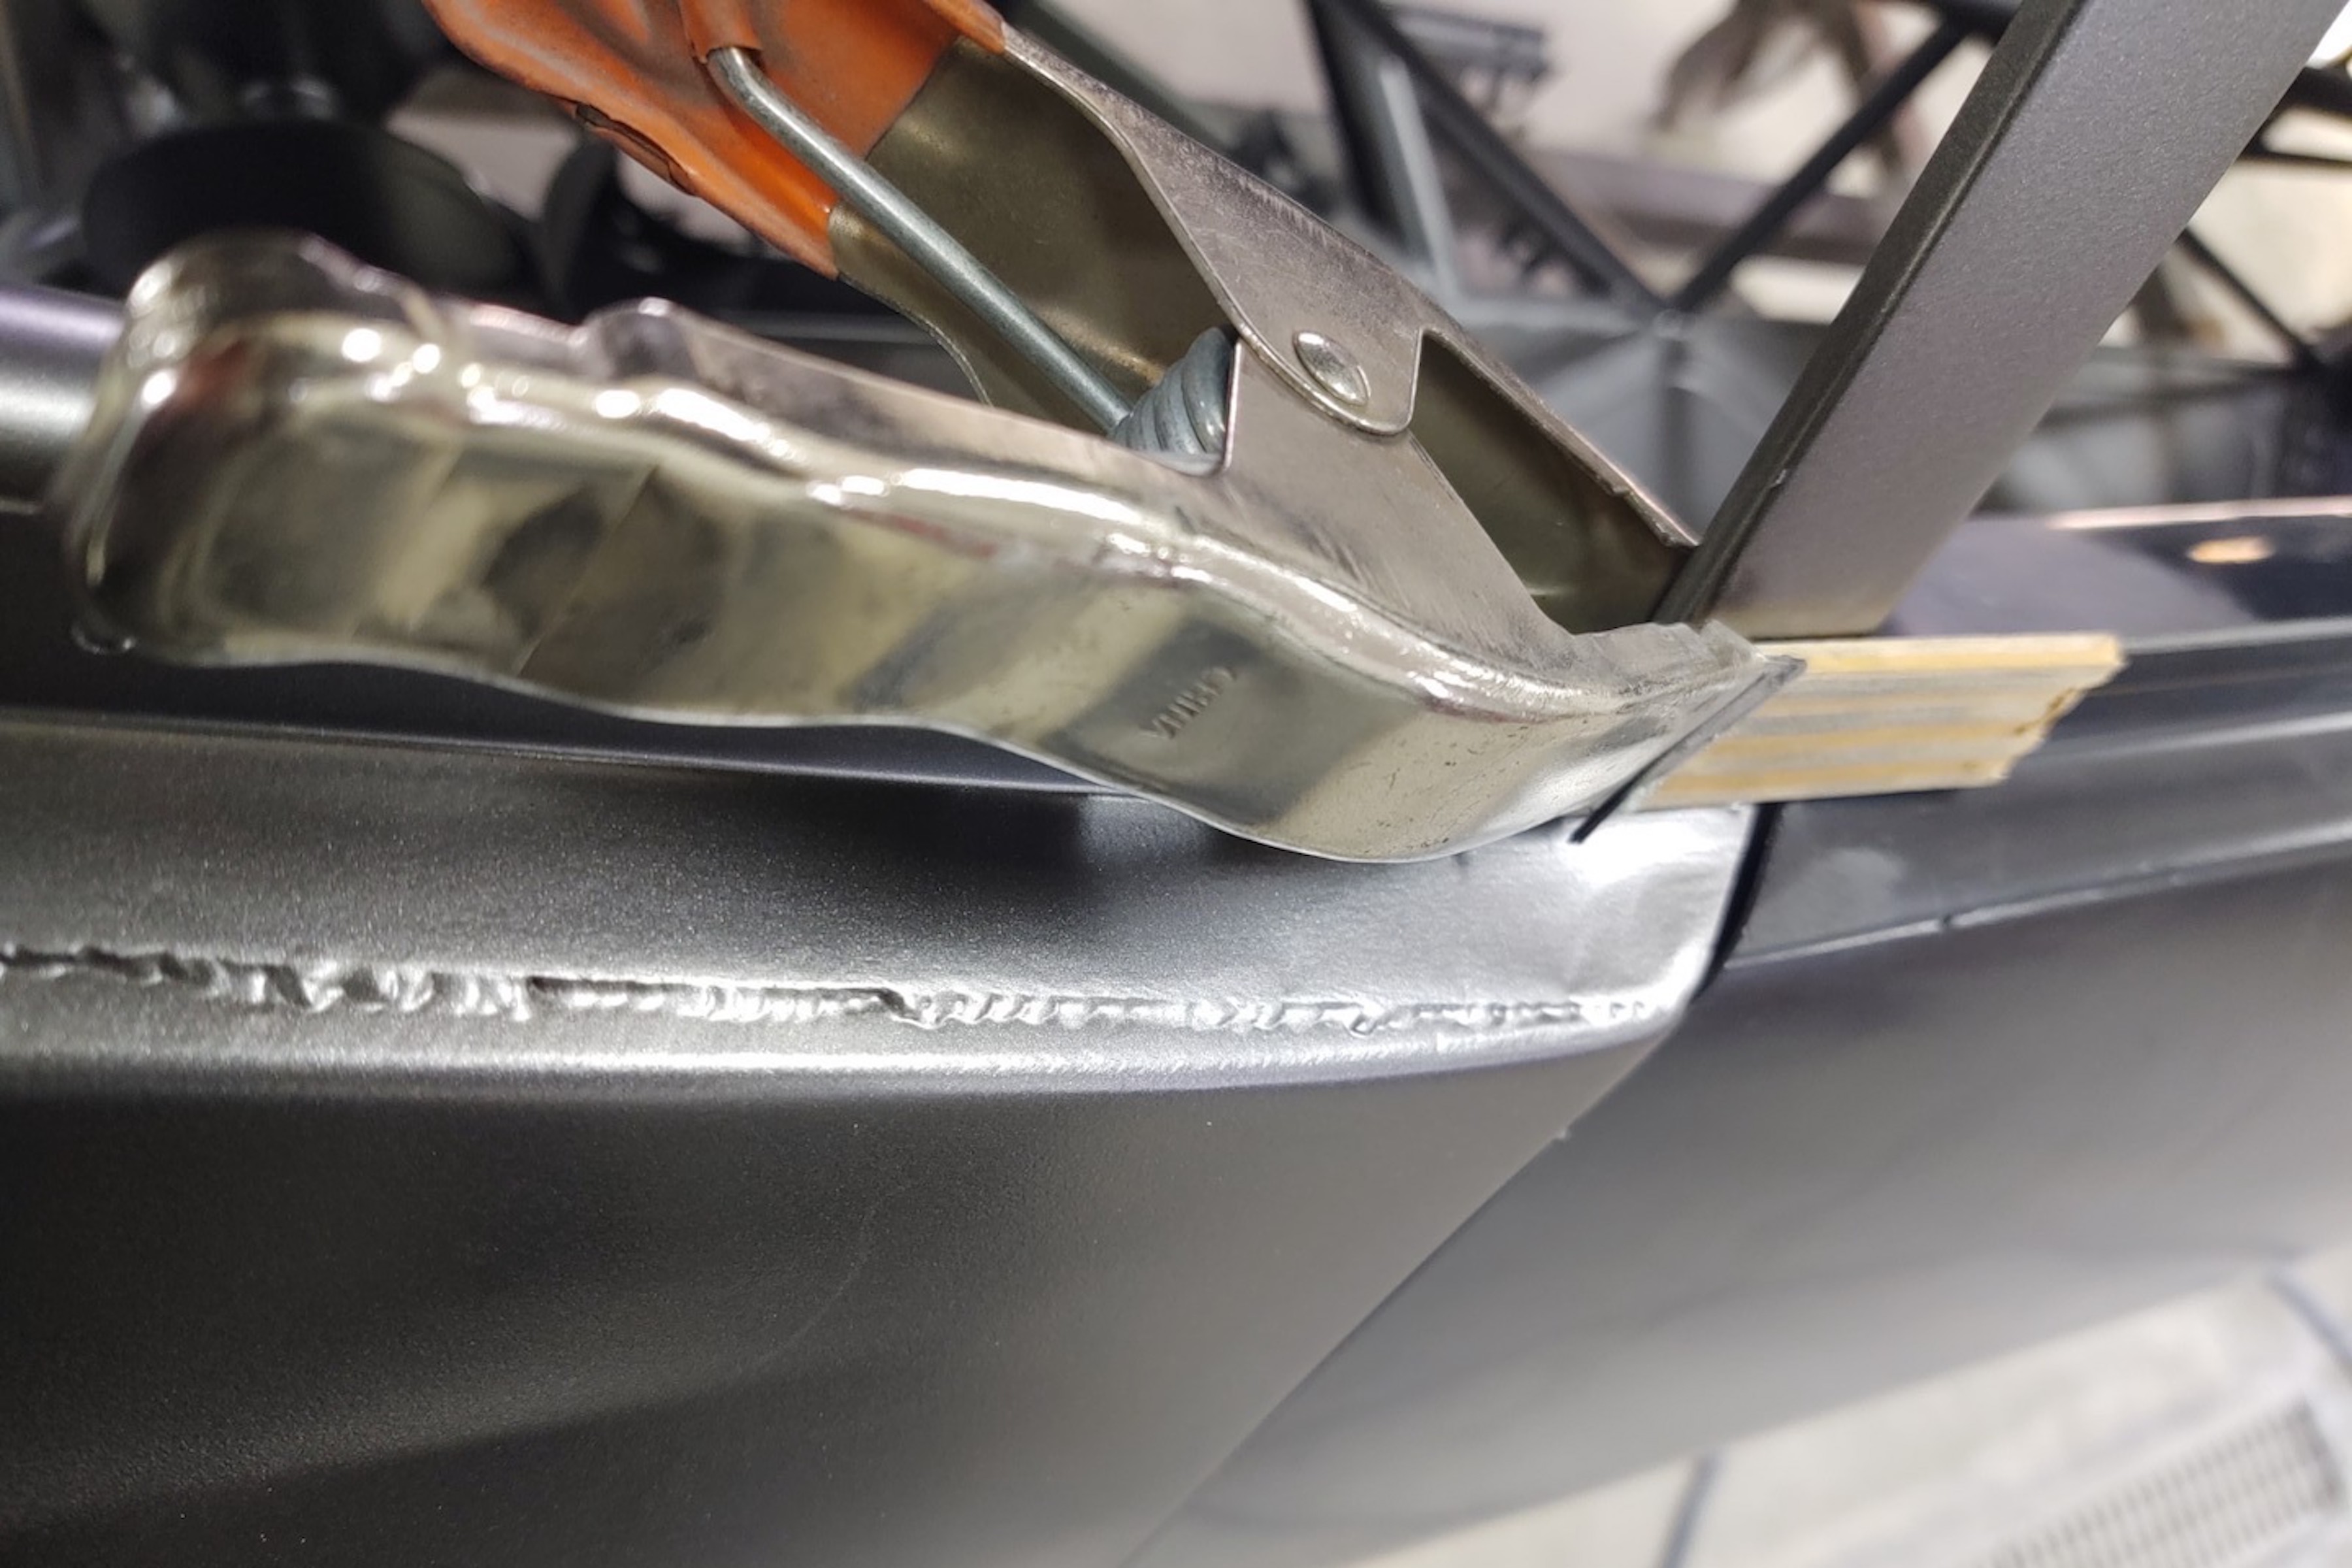
Taking things down to bare metal and doing any bodywork before priming is the best method.
Prepare The Workstation And Getting Started
Know where you plan on stripping the car’s existing finish, doing the bodywork, and most importantly, where you plan on shooting the paint. If these are to be done in the same area, keeping the site clean is essential. Starting with a clean, bare area with plenty of room to work is the best. It’s hard enough to shoot paint, but attempting it in an obstacle course is impossible.
Now it’s time to get to the nitty-gritty. Seriously. You need to start by stripping off the old layers of paint, which means sanding. Lots of it. While many use electric or pneumatic sanders, the corners and crevices will need to be sanded by hand.

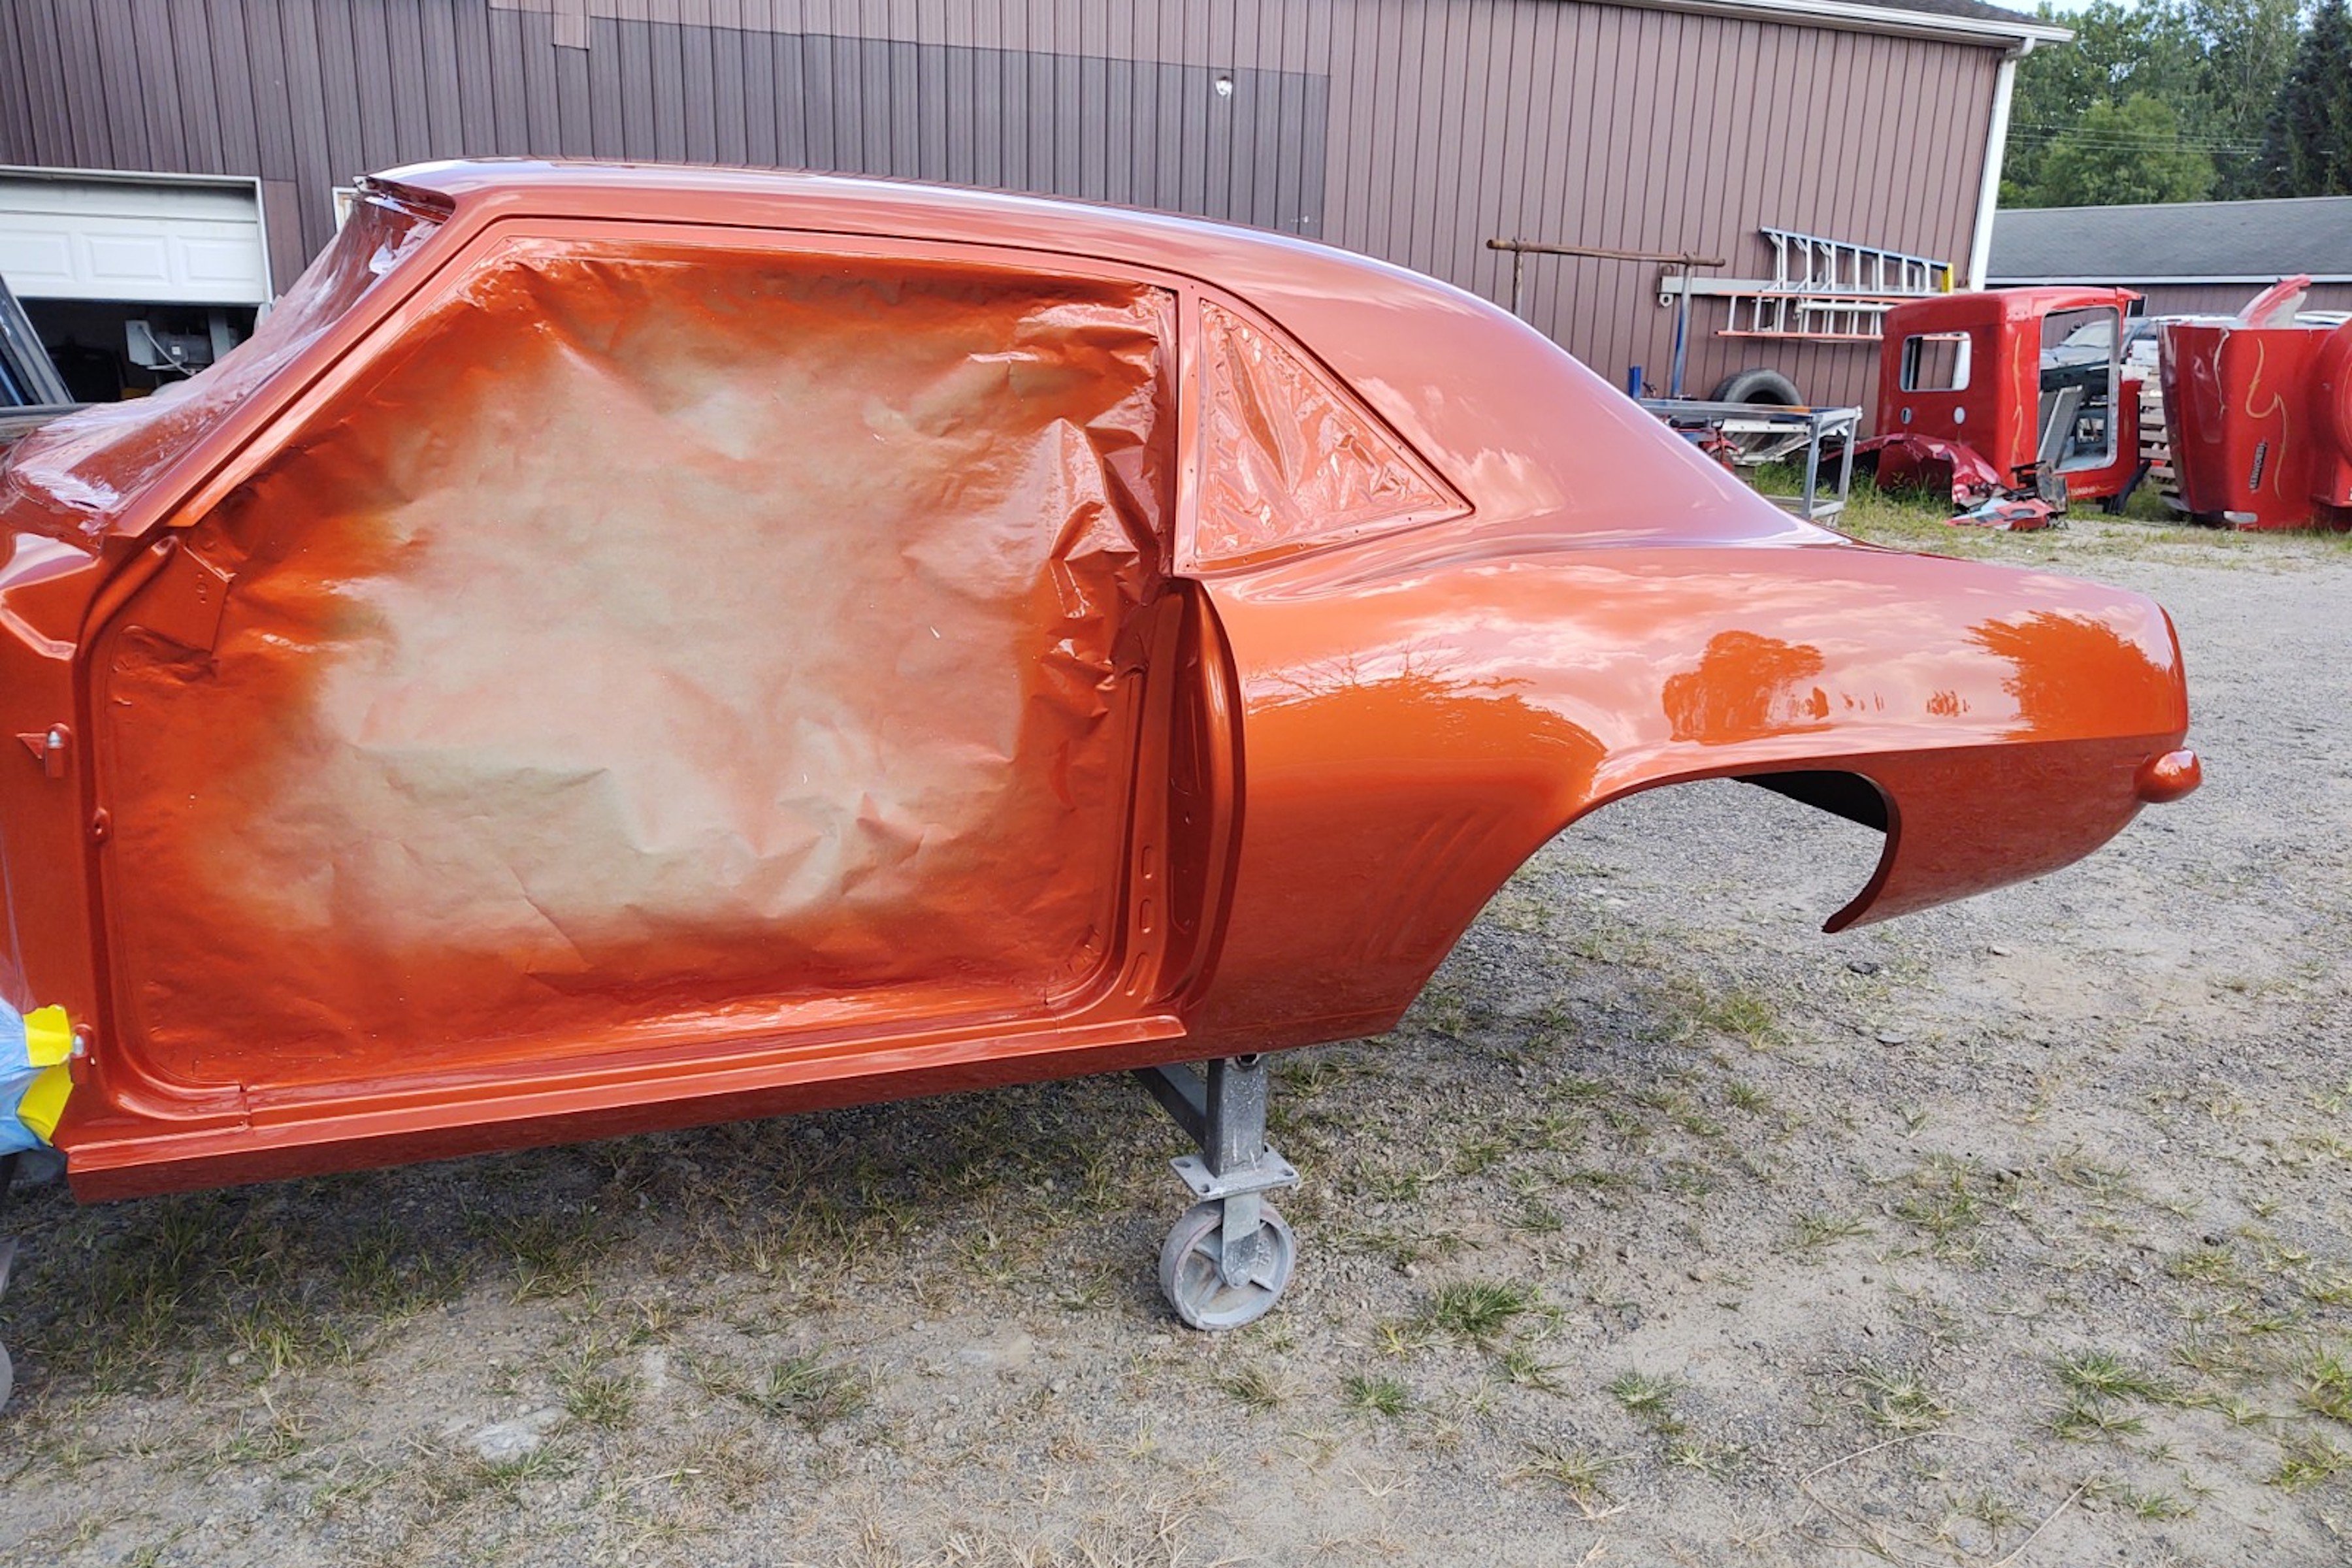
Masking is critical at many stages of the painting process.
There are some paint strippers on the market if you plan on taking things down to bare metal – which we strongly recommend. This surface gives the primer a good surface on which to adhere. The smoother the surface, the more glass-like the paint layer will appear. Once you’ve finished sanding, wipe down the surfaces to be painted with a lint-free rag and paint thinner to remove dust, residue, and debris.
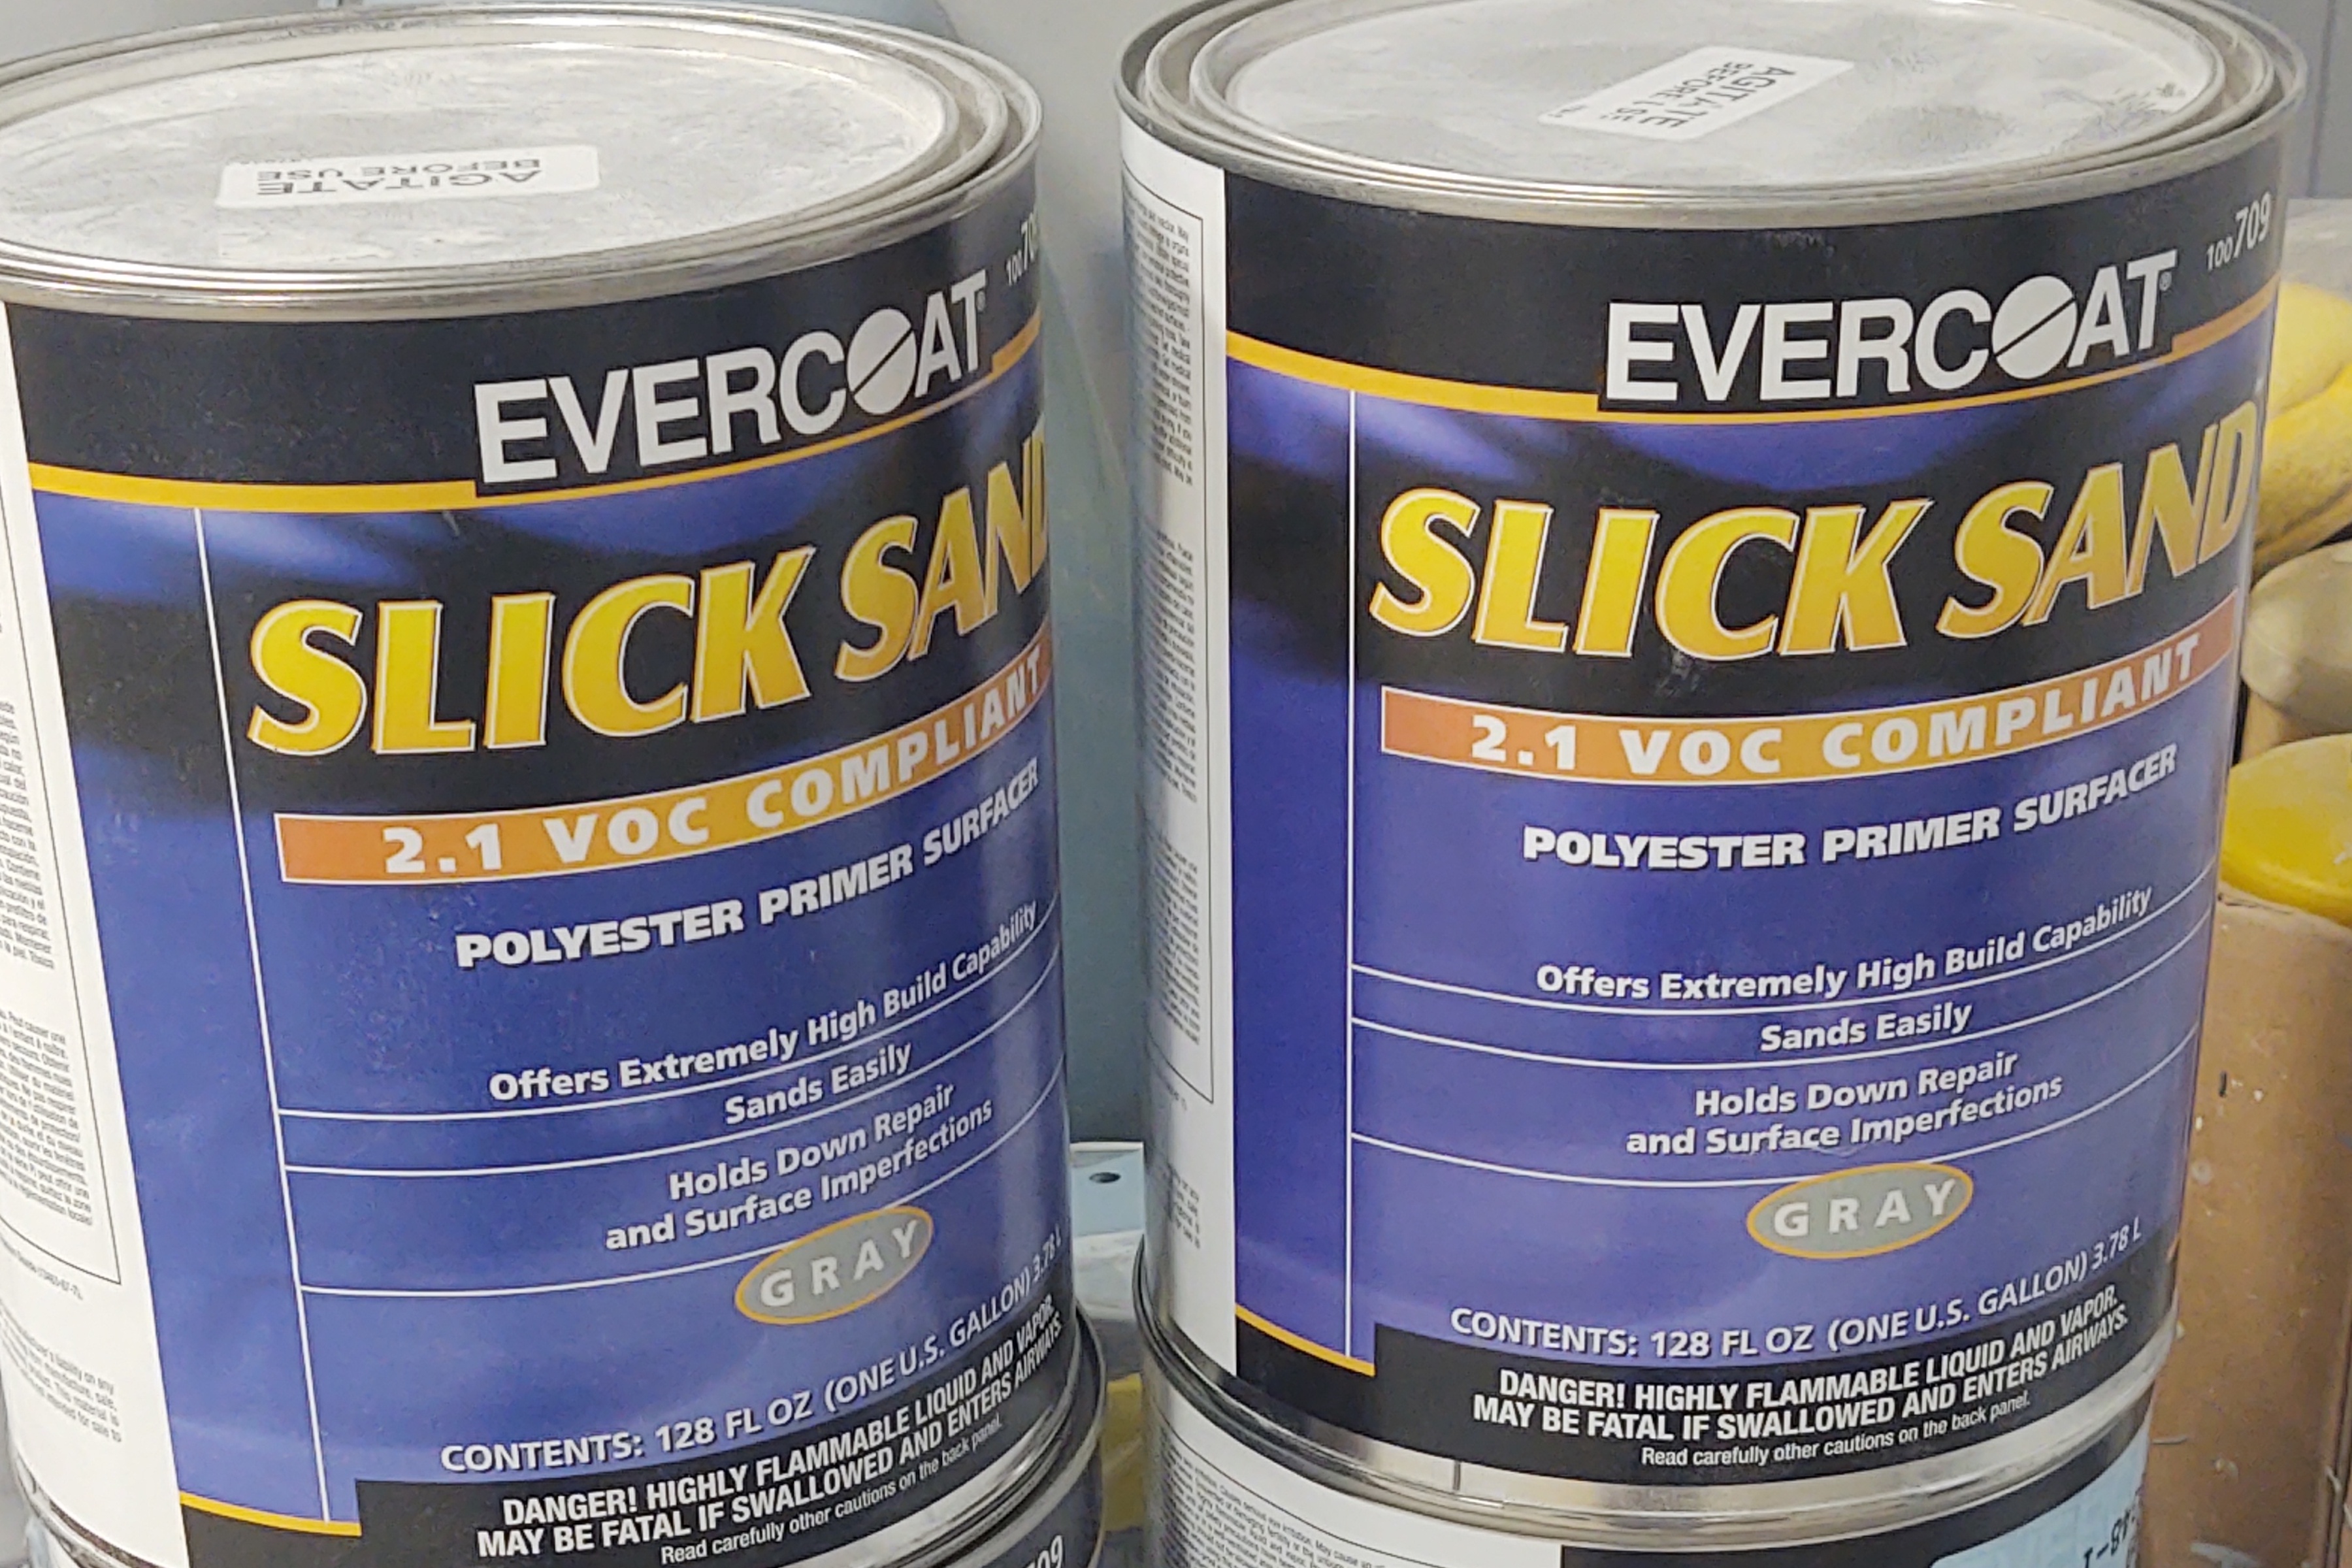
Priming
Body filler should not be applied over primer or sealant, so any bodywork requiring body filler should be done before spaying primer. Mask all areas that you don’t want to be coated with primer, then follow the directions on preparing the primer. Some require mixing with thinner for proper application. Spray a test piece of metal with the primer to get the settings correct, then move to the exterior of your project.
When spraying, it is best to have a method and the most often used is working from the roof down. Focus on using thin even coats of primer or paint. Plan on spraying two or three coats to fully cover the surface with each layer. Each coat of paint takes about 10 minutes to apply. It generally takes about 25 minutes to an hour for the primer to cure between coats.
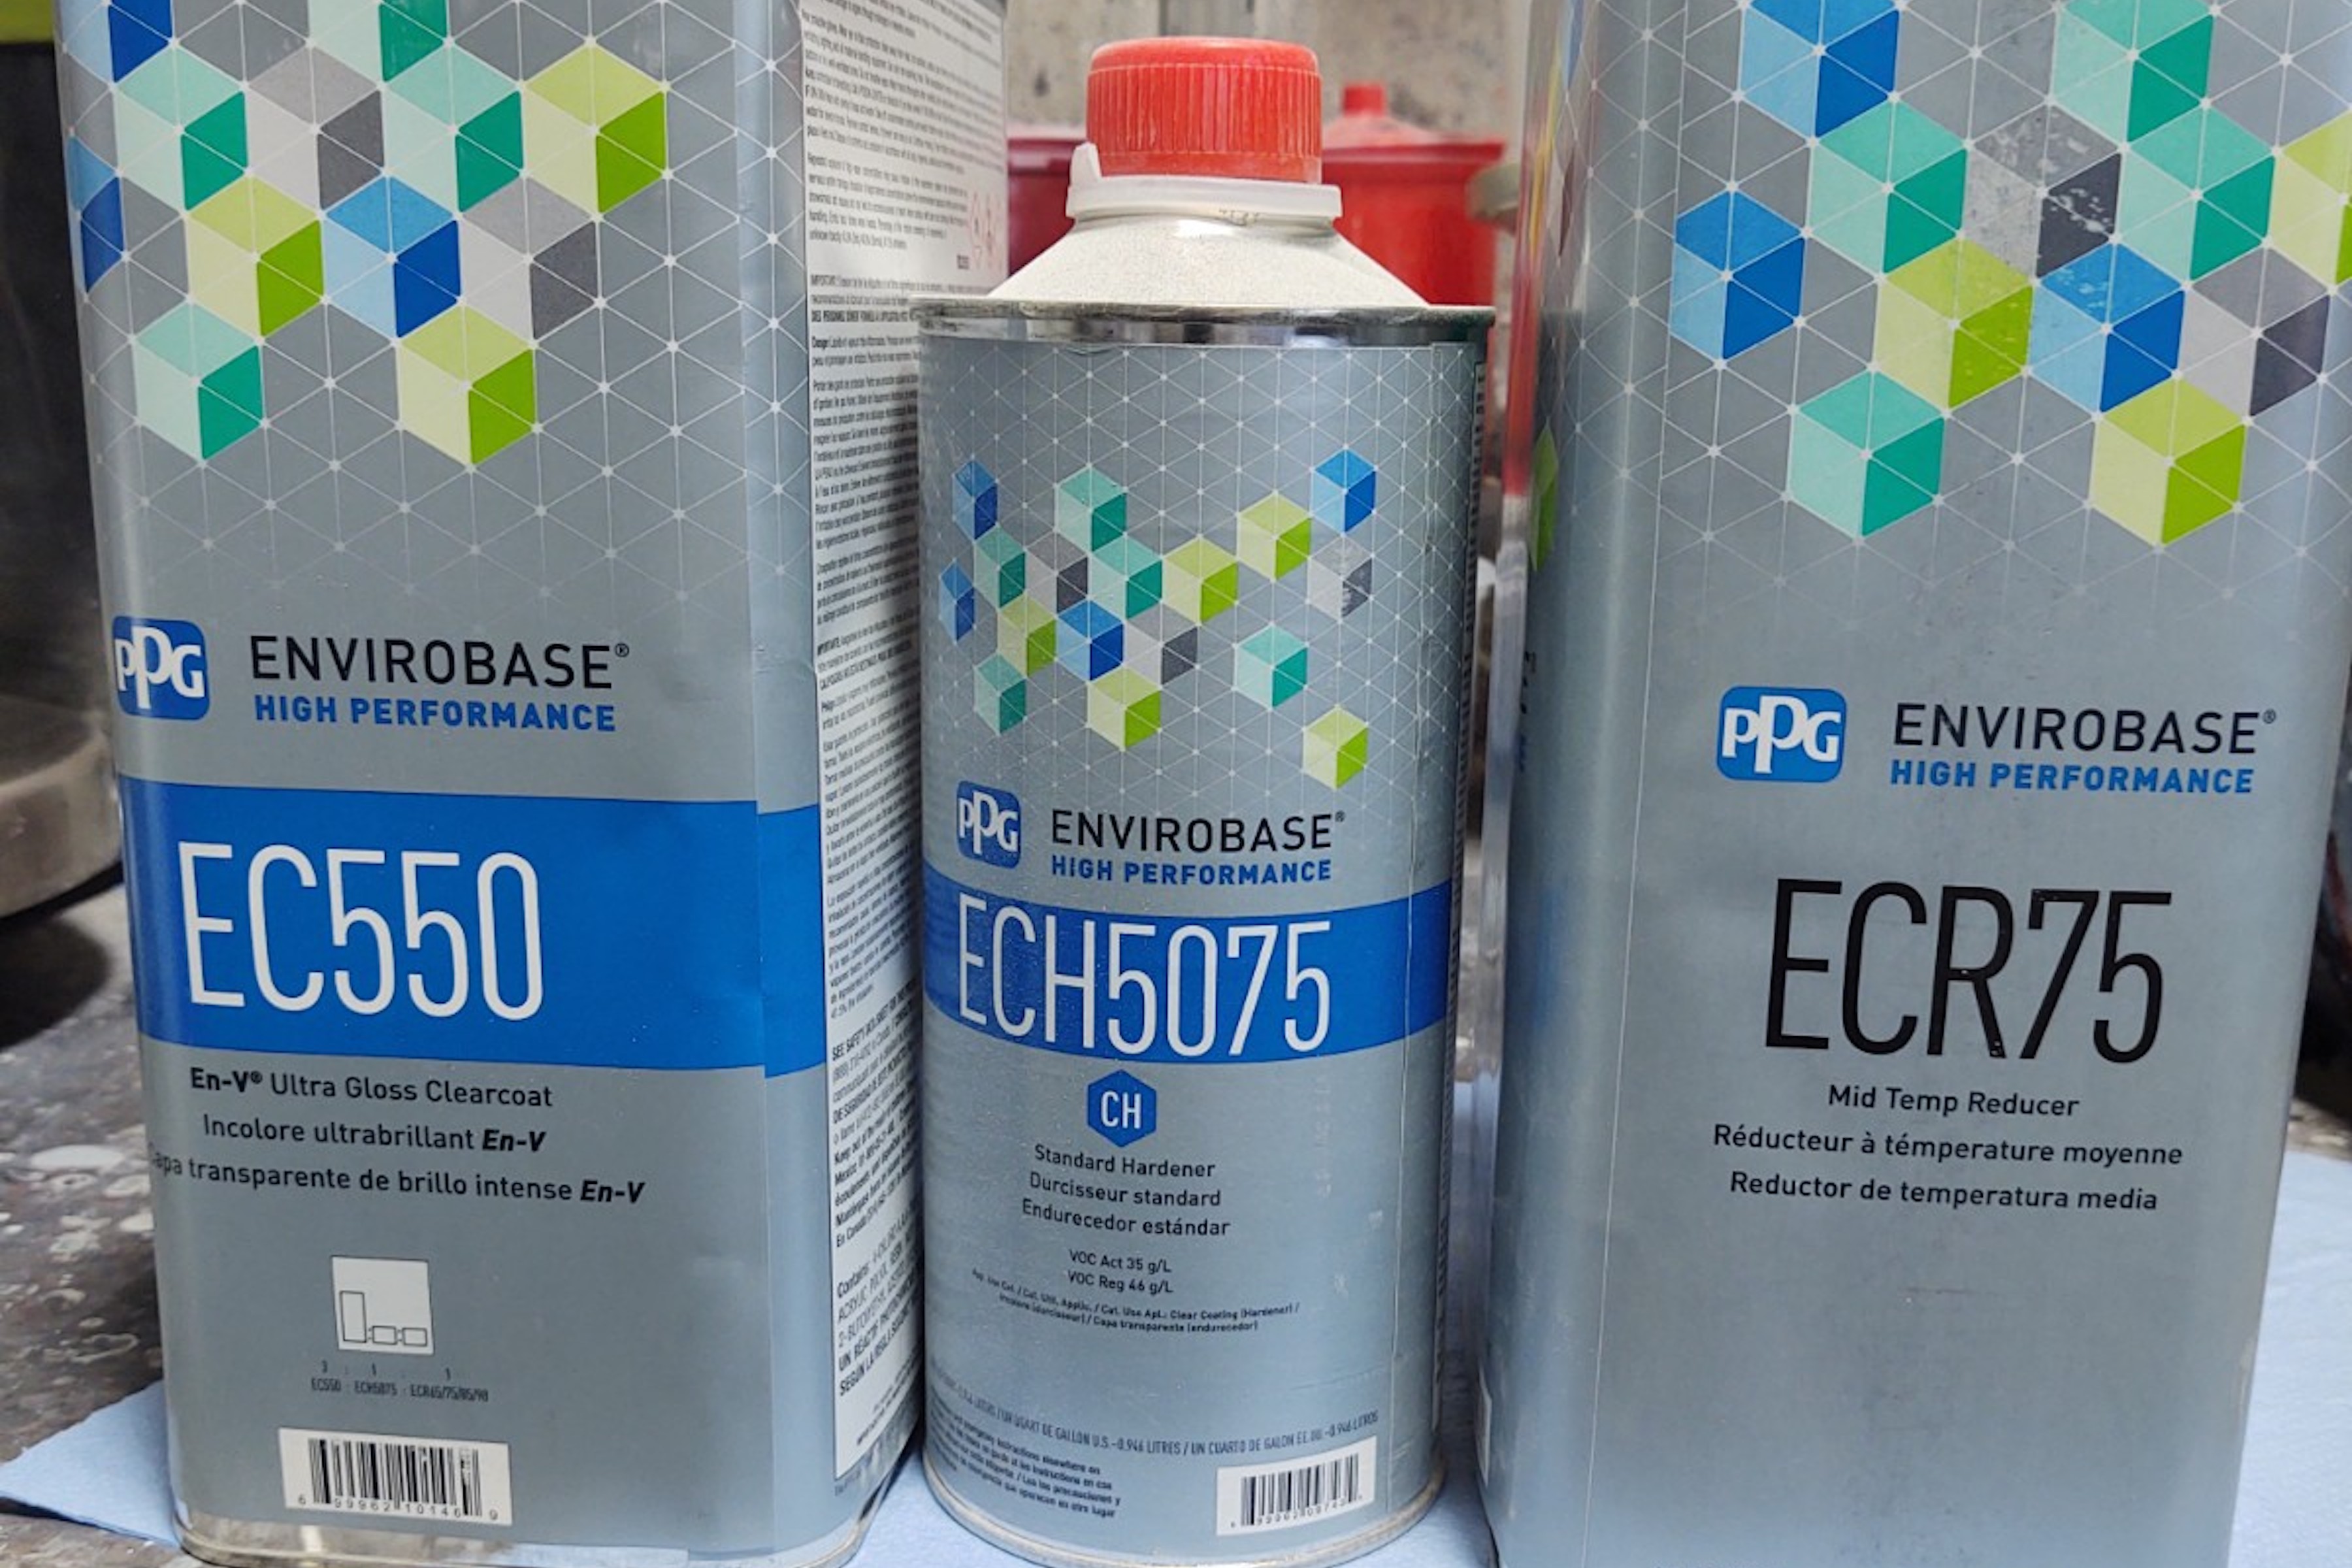
Using help from the experts at PPG, determine what type of primer and color coat is needed for the application.
When cured, the primer coat will have a suede-like finish which will need to be wet-sanded with 2000-grit wet-and-dry sandpaper. Most painters will shoot a guide coat prior to wet sanding the primer. A guide coat is usually a black color coat that helps detect low spots, sand scratches, or other minor imperfections that show up as you sand the primer.
If imperfections or low spots need to be filled, a glazing putty can be used on the guide coat and primer. Another guide coat should be applied along with another wet-sanding to ensure the surface is ready for the color coat.
A drop of dishwashing soap in a bucket of water helps keep the sandpaper clean. After the surface is smooth, it should be wiped down again with a lint-free rag with paint thinner to remove dust and residue.
Color Coat
Now you are all set to paint. Follow the instructions on mixing and prepping the paint for spraying. There will be ratios of thinner to mix with the paint based on humidity and temperature. It pays to stick to those guidelines.
Spray the topcoat using the same method as you used when spraying the primer layer. Depending on the type of paint, it may take about 20 minutes to an hour for the paint to cure between applications. It will probably take three or four coats to do an adequate job of covering the body panels correctly.
Before you apply the last color coat, make sure to lightly remove any powder with extra-fine (2,000-grit) wet and dry sandpaper, then wipe the surfaces down with a clean, lint-free rag.
Finally, you can shoot any clear-coat, or a flow coat after the final color coat has dried. Many painters remove the masking tape before the clear coat dries but use caution against getting the tape stuck on wet or drying paint.
Let the paint cure then inspect for dust, runs, or other imperfections. Sand and touch-up spray where ever needed to fix those areas.
Using care and having a process will help almost any painter achieve an acceptable do-it-yourself paint job, and perhaps some green doing it.
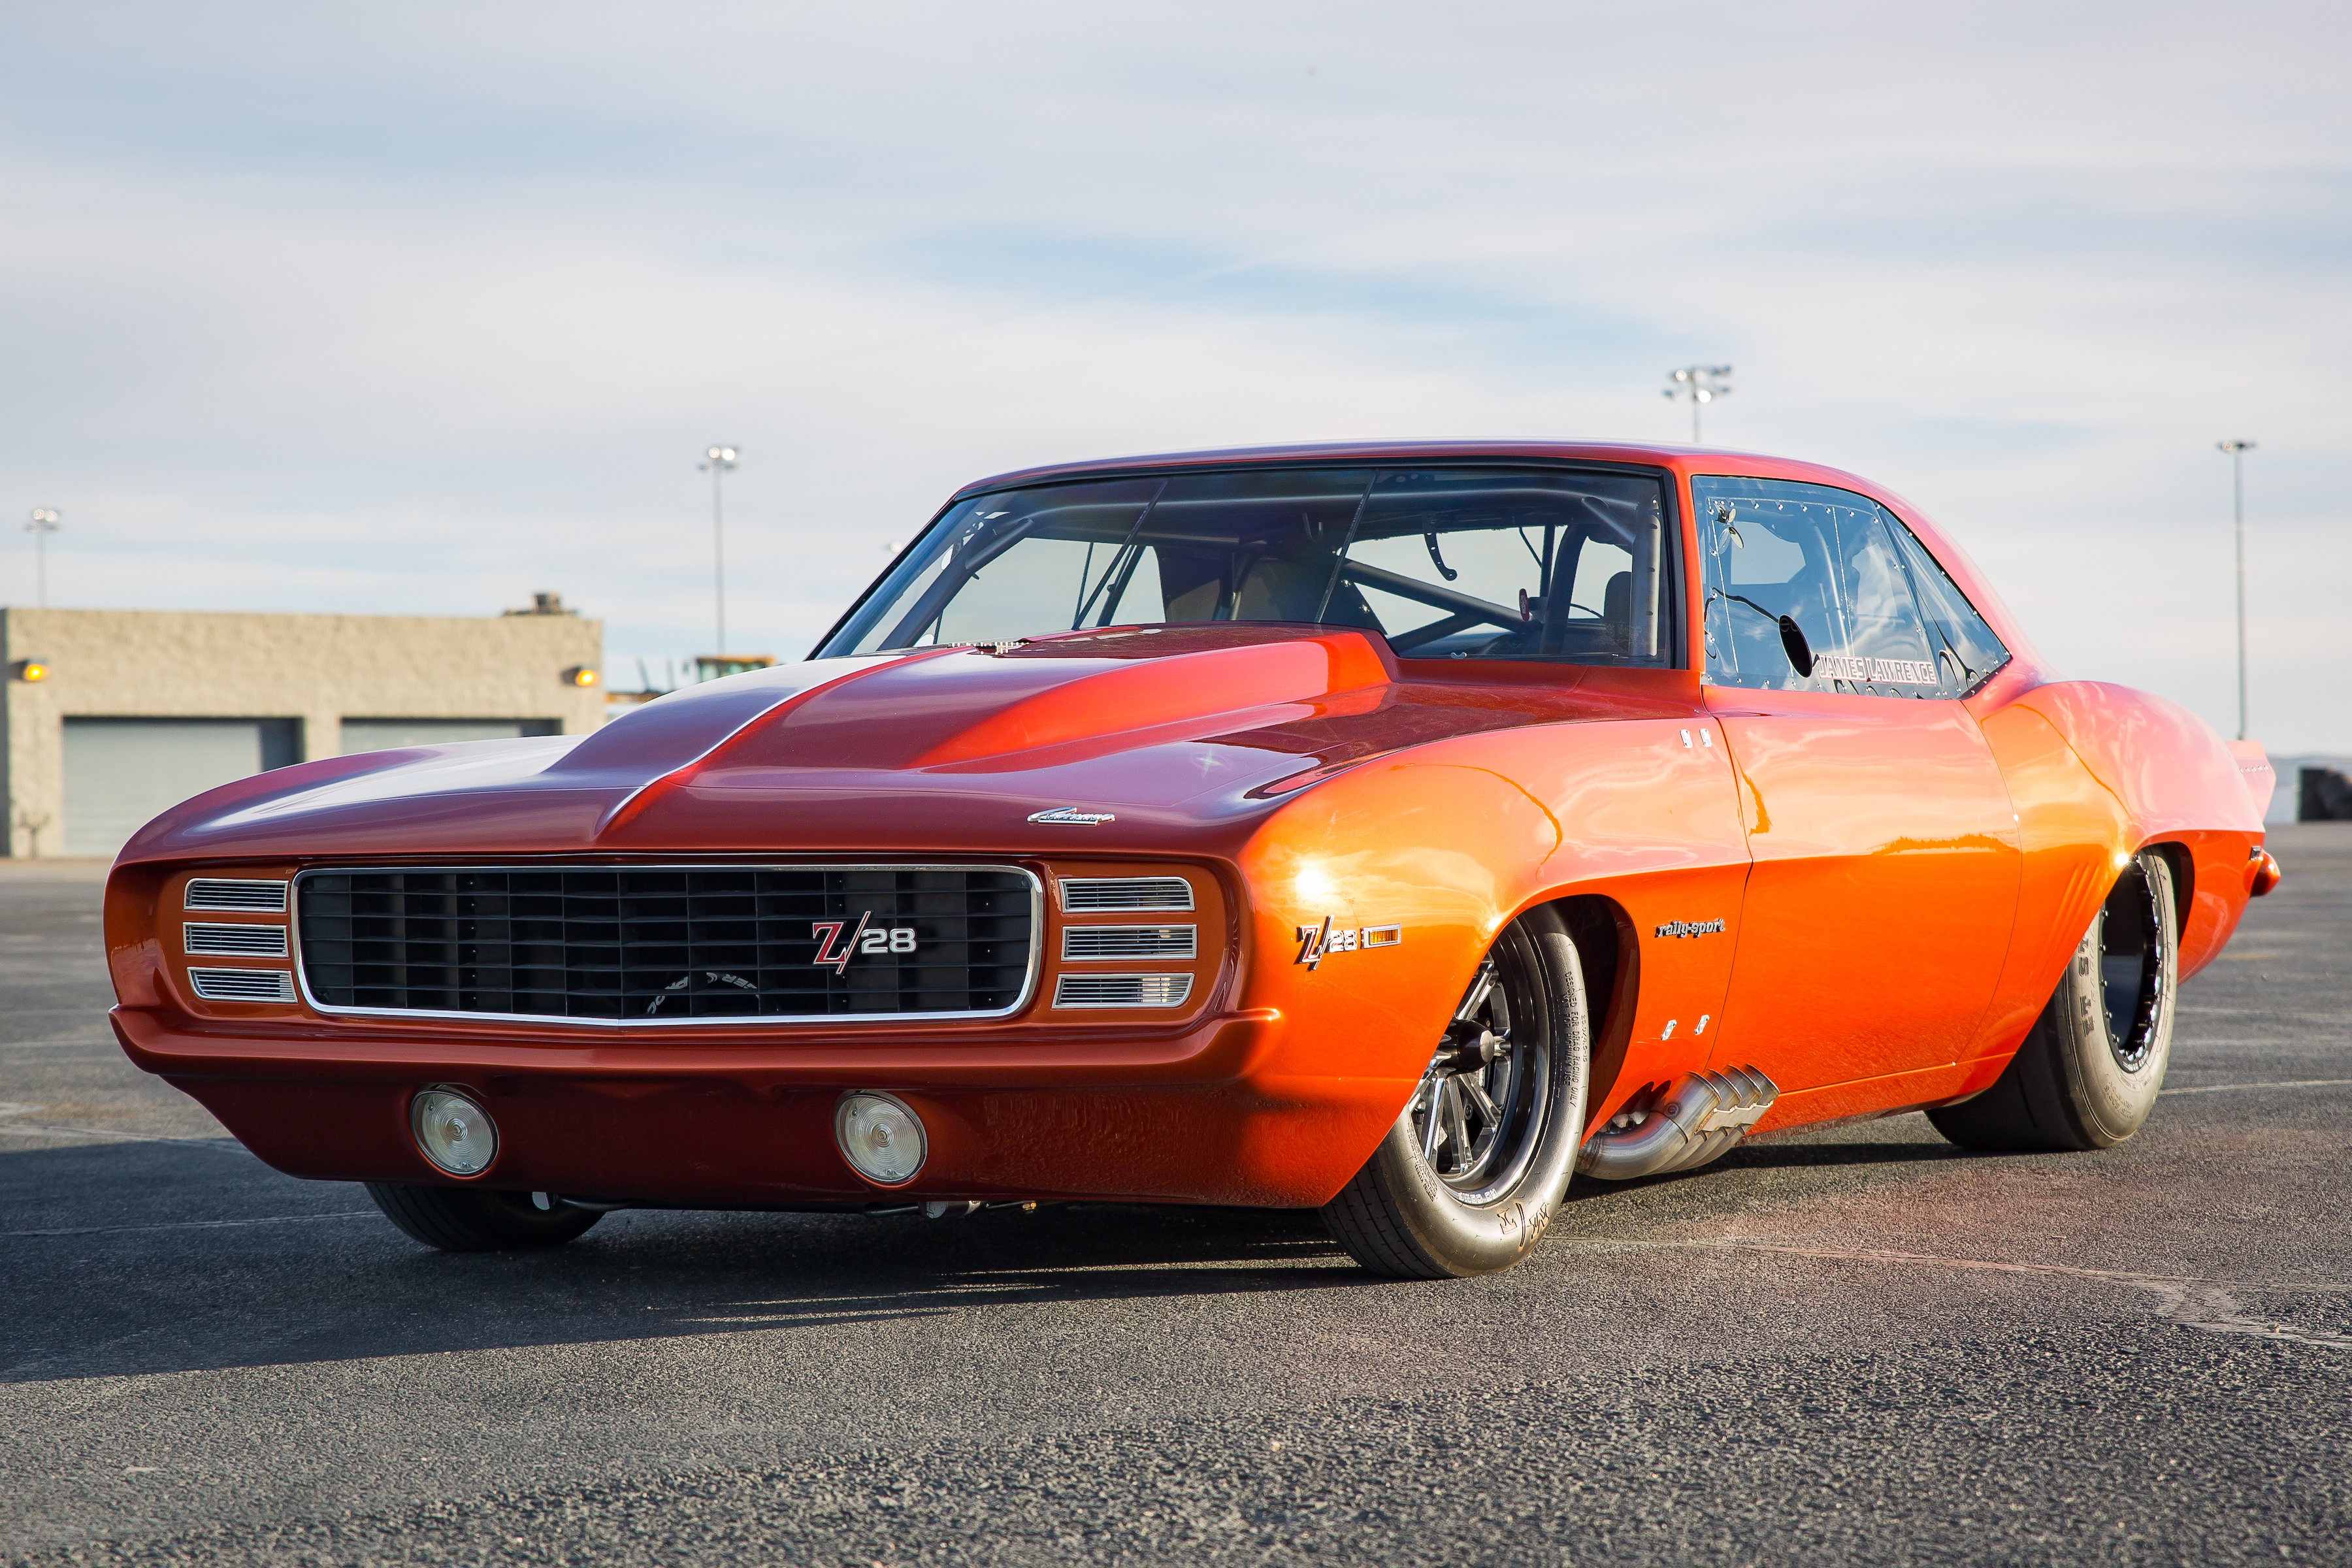
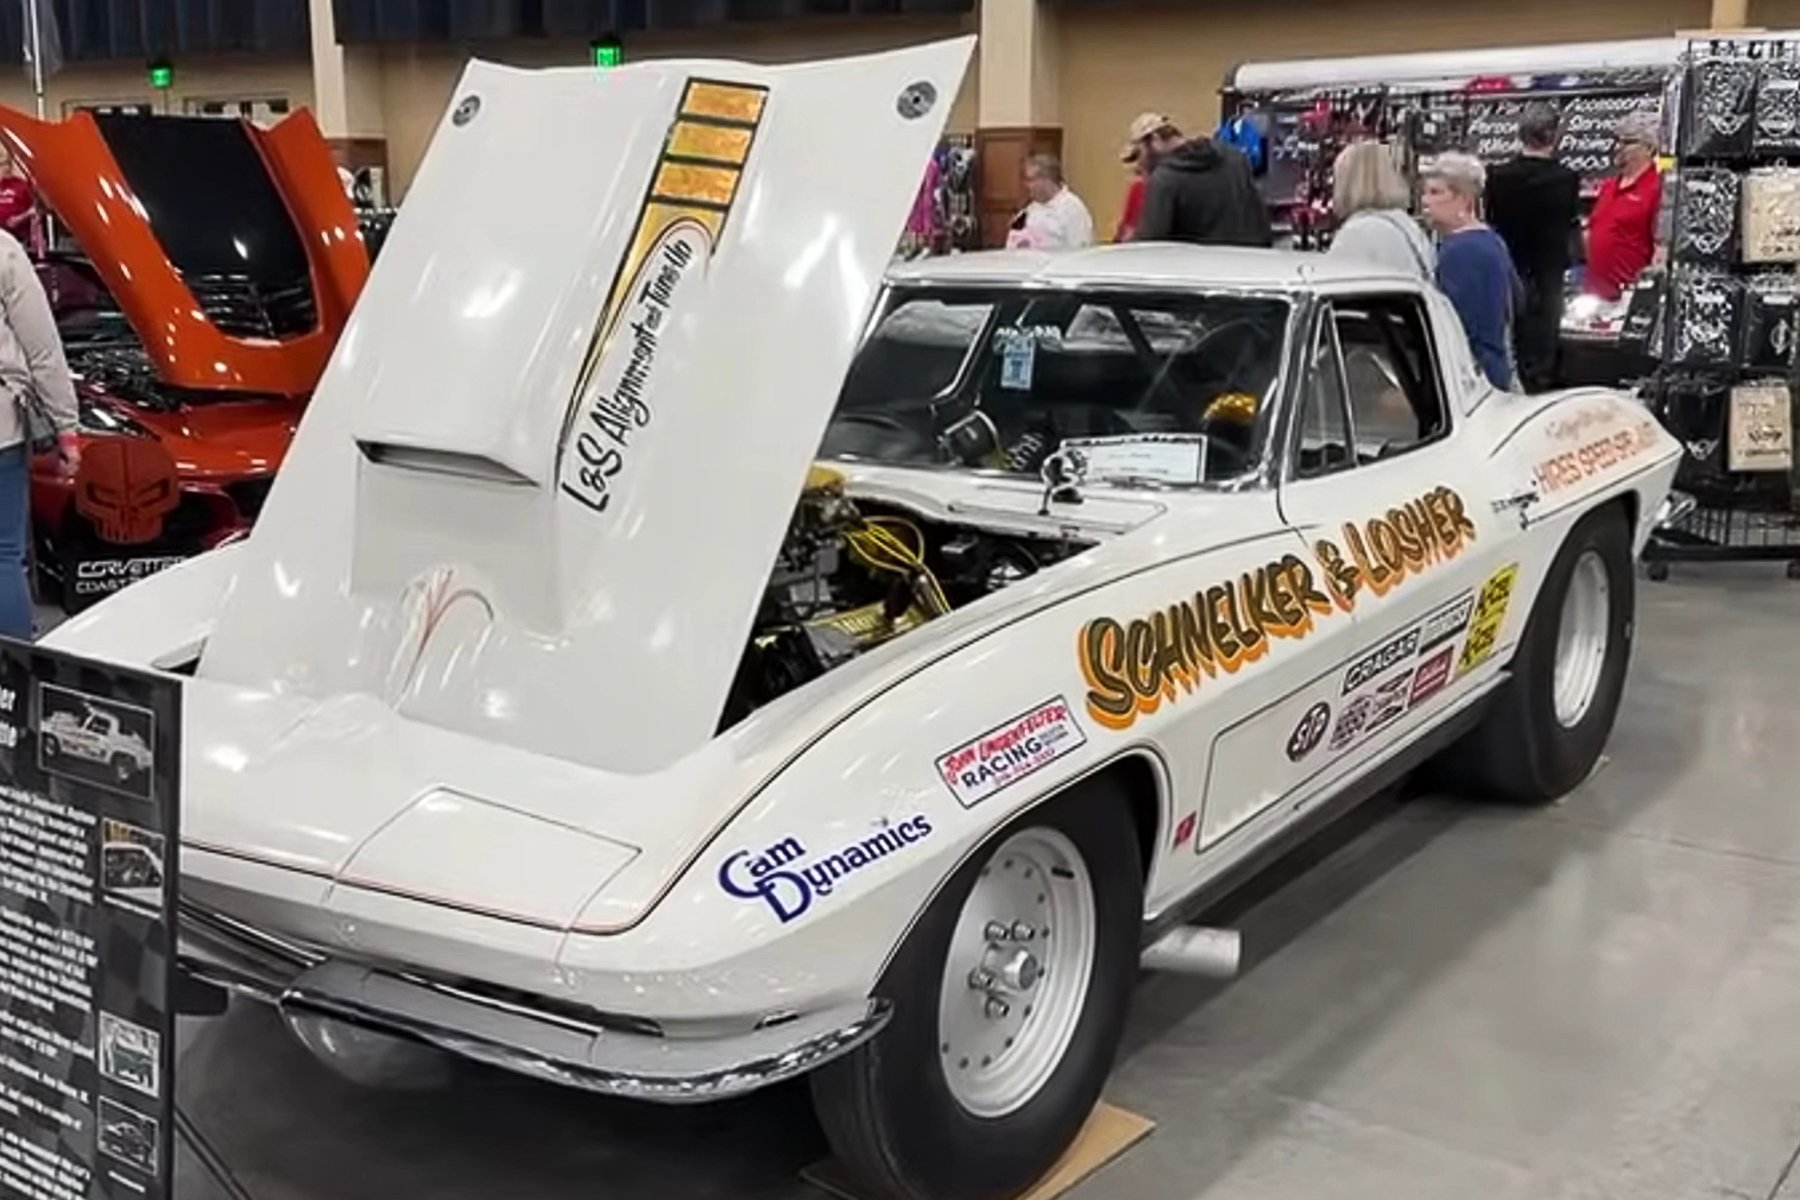
Here is the final result of our most recent paint project. Find out how it was done in part two of this series.
Next Time
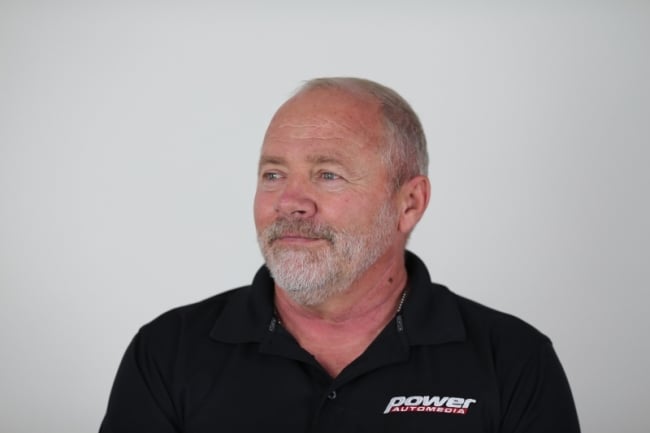
Stay tuned for part two of this series as we show the step-by-step process professional painter Alan Pennywitt used with PPG Paint to cover our racecar project. Pennywitt has some tips and tricks that will help almost anyone do a respectable job on their own project vehicle.