In a previous installment of Rebuilding A Junkyard LS Engine Part 1, we went through a high mileage junkyard LS engine and rebuilt the short block. With the engine torn down, we dropped the block, rods, and pistons off at KPE Racing to have them cleaned. And while we did reuse some of the existing engine components, we installed many new parts as well. We used a set of King main and rod bearings while assembling the rotating assembly. We also upgraded the factory oil pump with a unit from Melling along with their performance camshaft, timing set, expansion plug kit, and a few other parts. With the internals buttoned up, we turned our attention to the oil pan and front and rear covers. We used ARP bolts and Mr. Gasket gaskets to secure these components. The long block is now complete and it’s time to turn our attention toward the rest of the engine, starting with the heads.

Head Games
As you may or may not know, with any used LS engine, it’s pretty common to find broken exhaust manifold bolts. We had two broken bolts that needed to be removed — we were able to thread a nut on one of them — and with the help of a jam nut, it came out with no problem. The second one was not as simple and required a welder since it was broken off flush. We zapped what was left of the bolt a few times with the MIG welder and then extracted it with a set of vice grips. With the right tools, it’s a pretty easy process. However, if you don’t have the tools needed, we recommend visiting a machine shop to extract them. This will cost you some money, but it’s better than ruining a head.
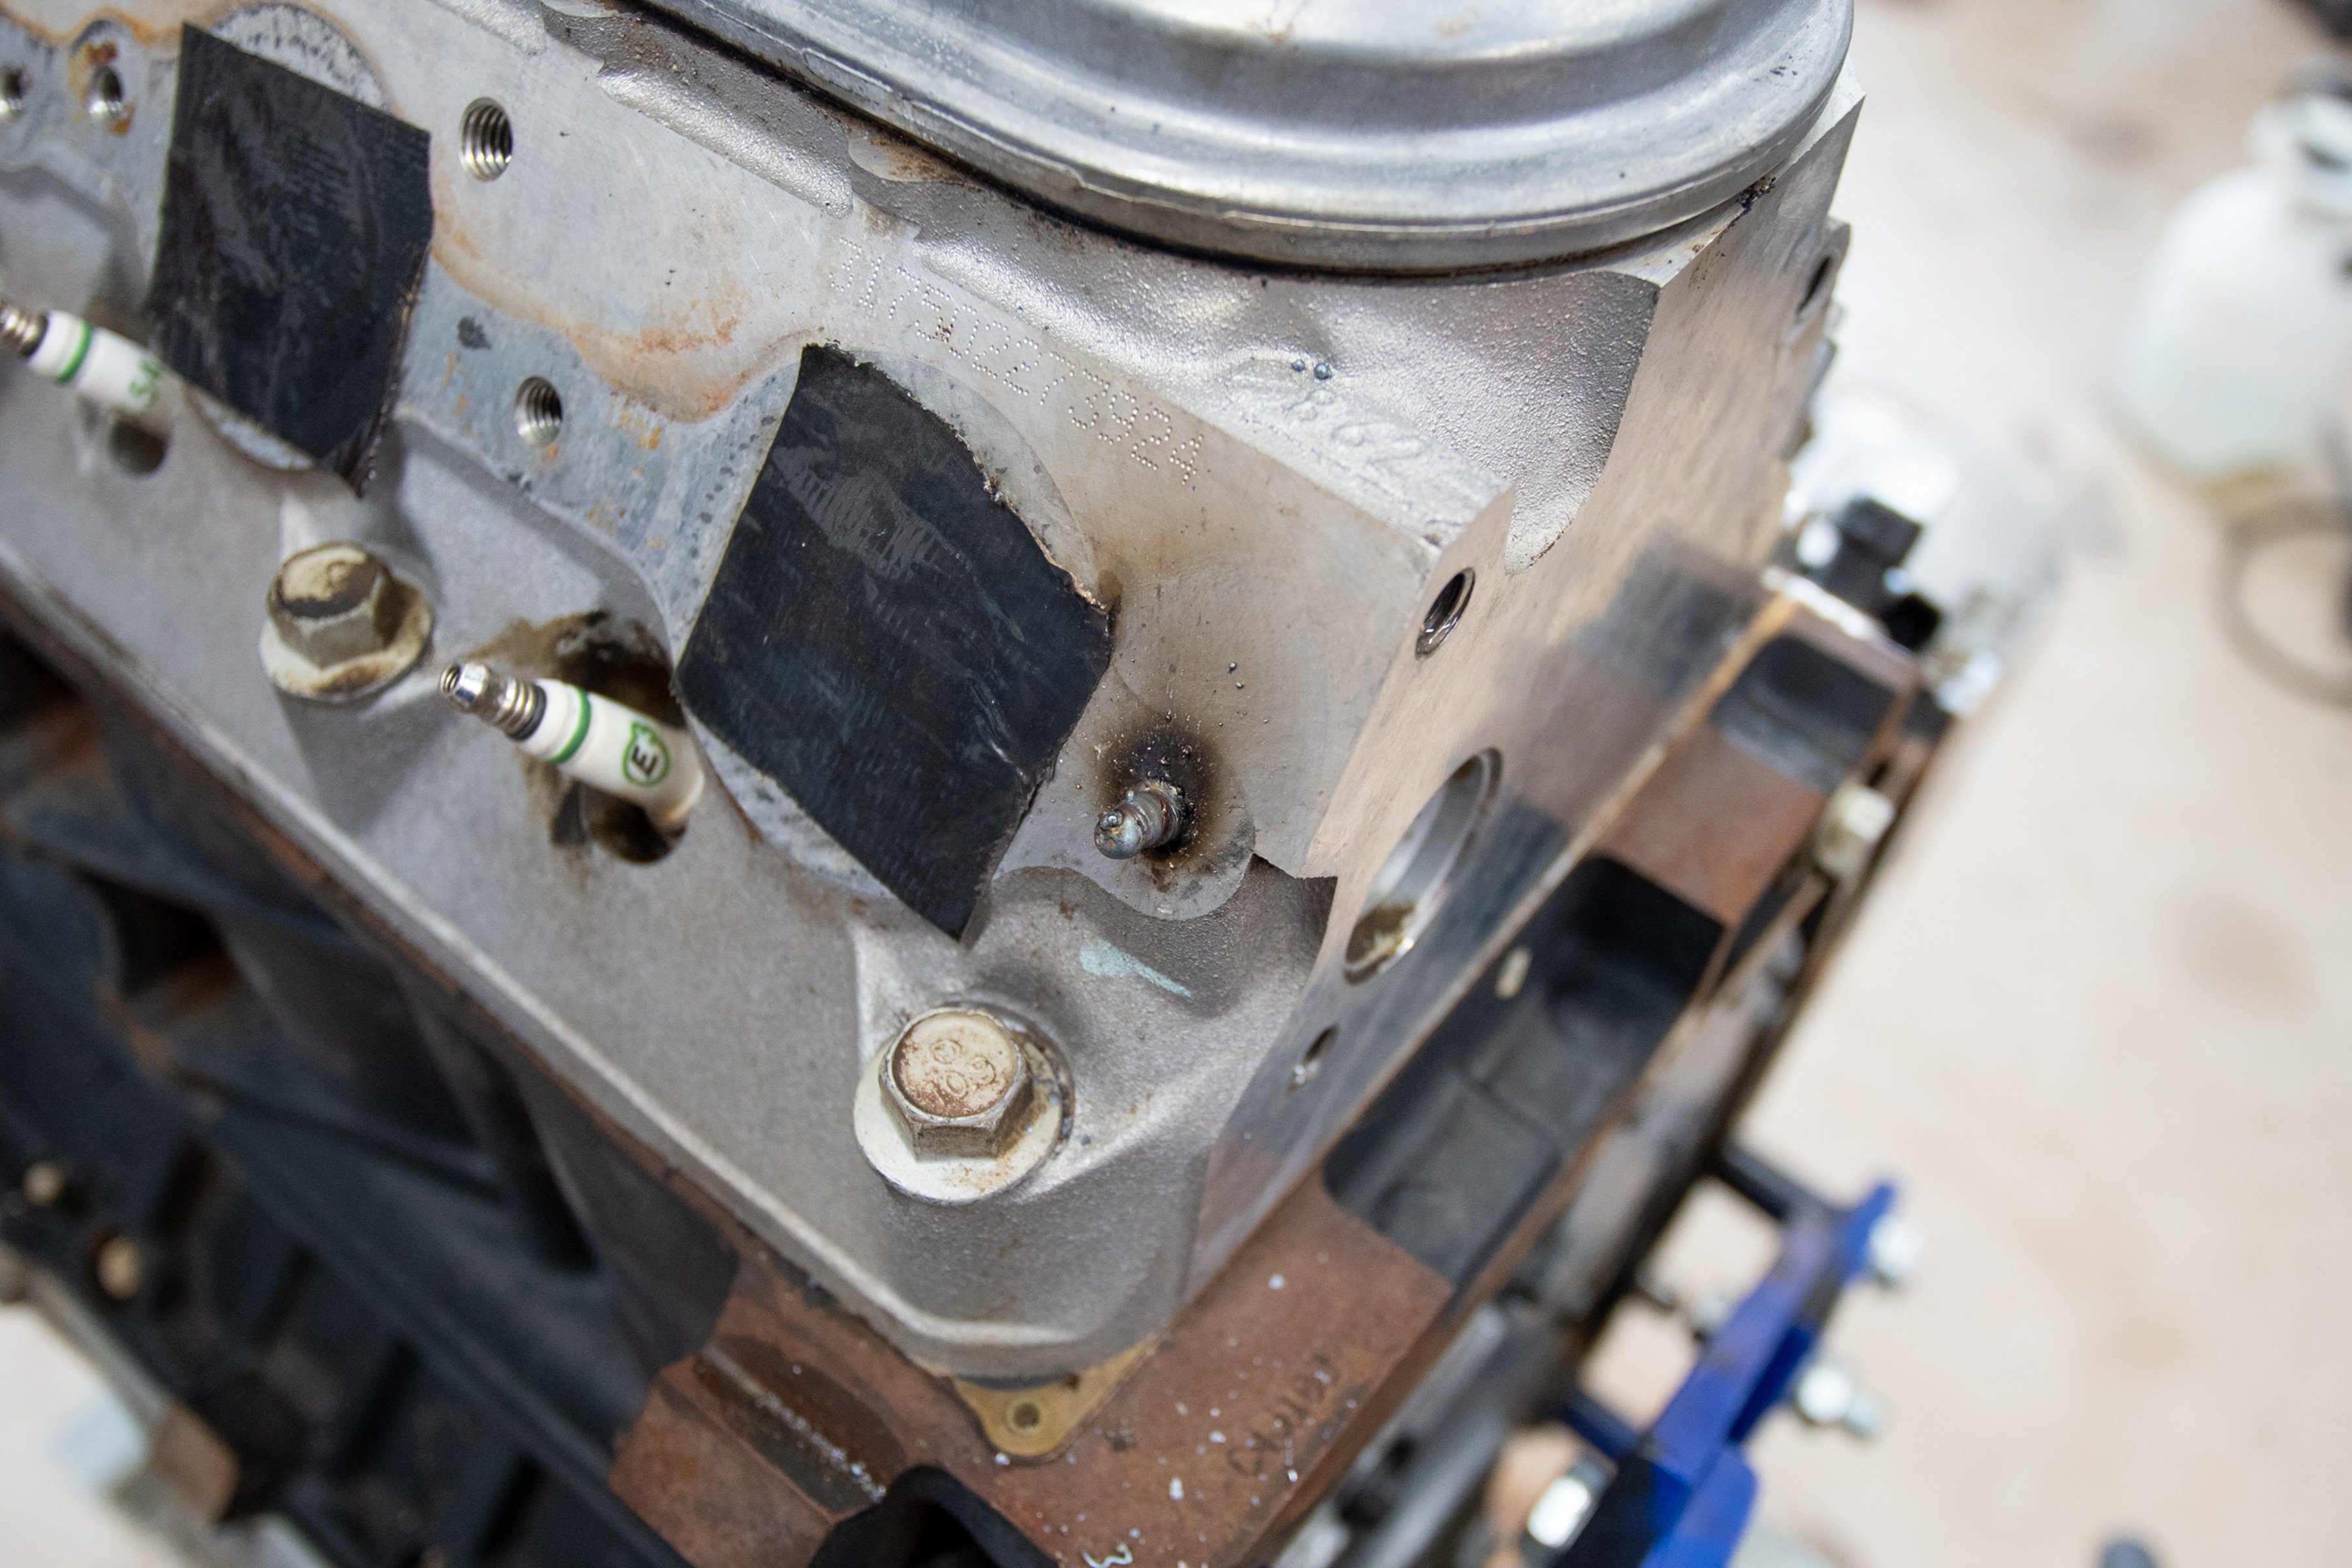
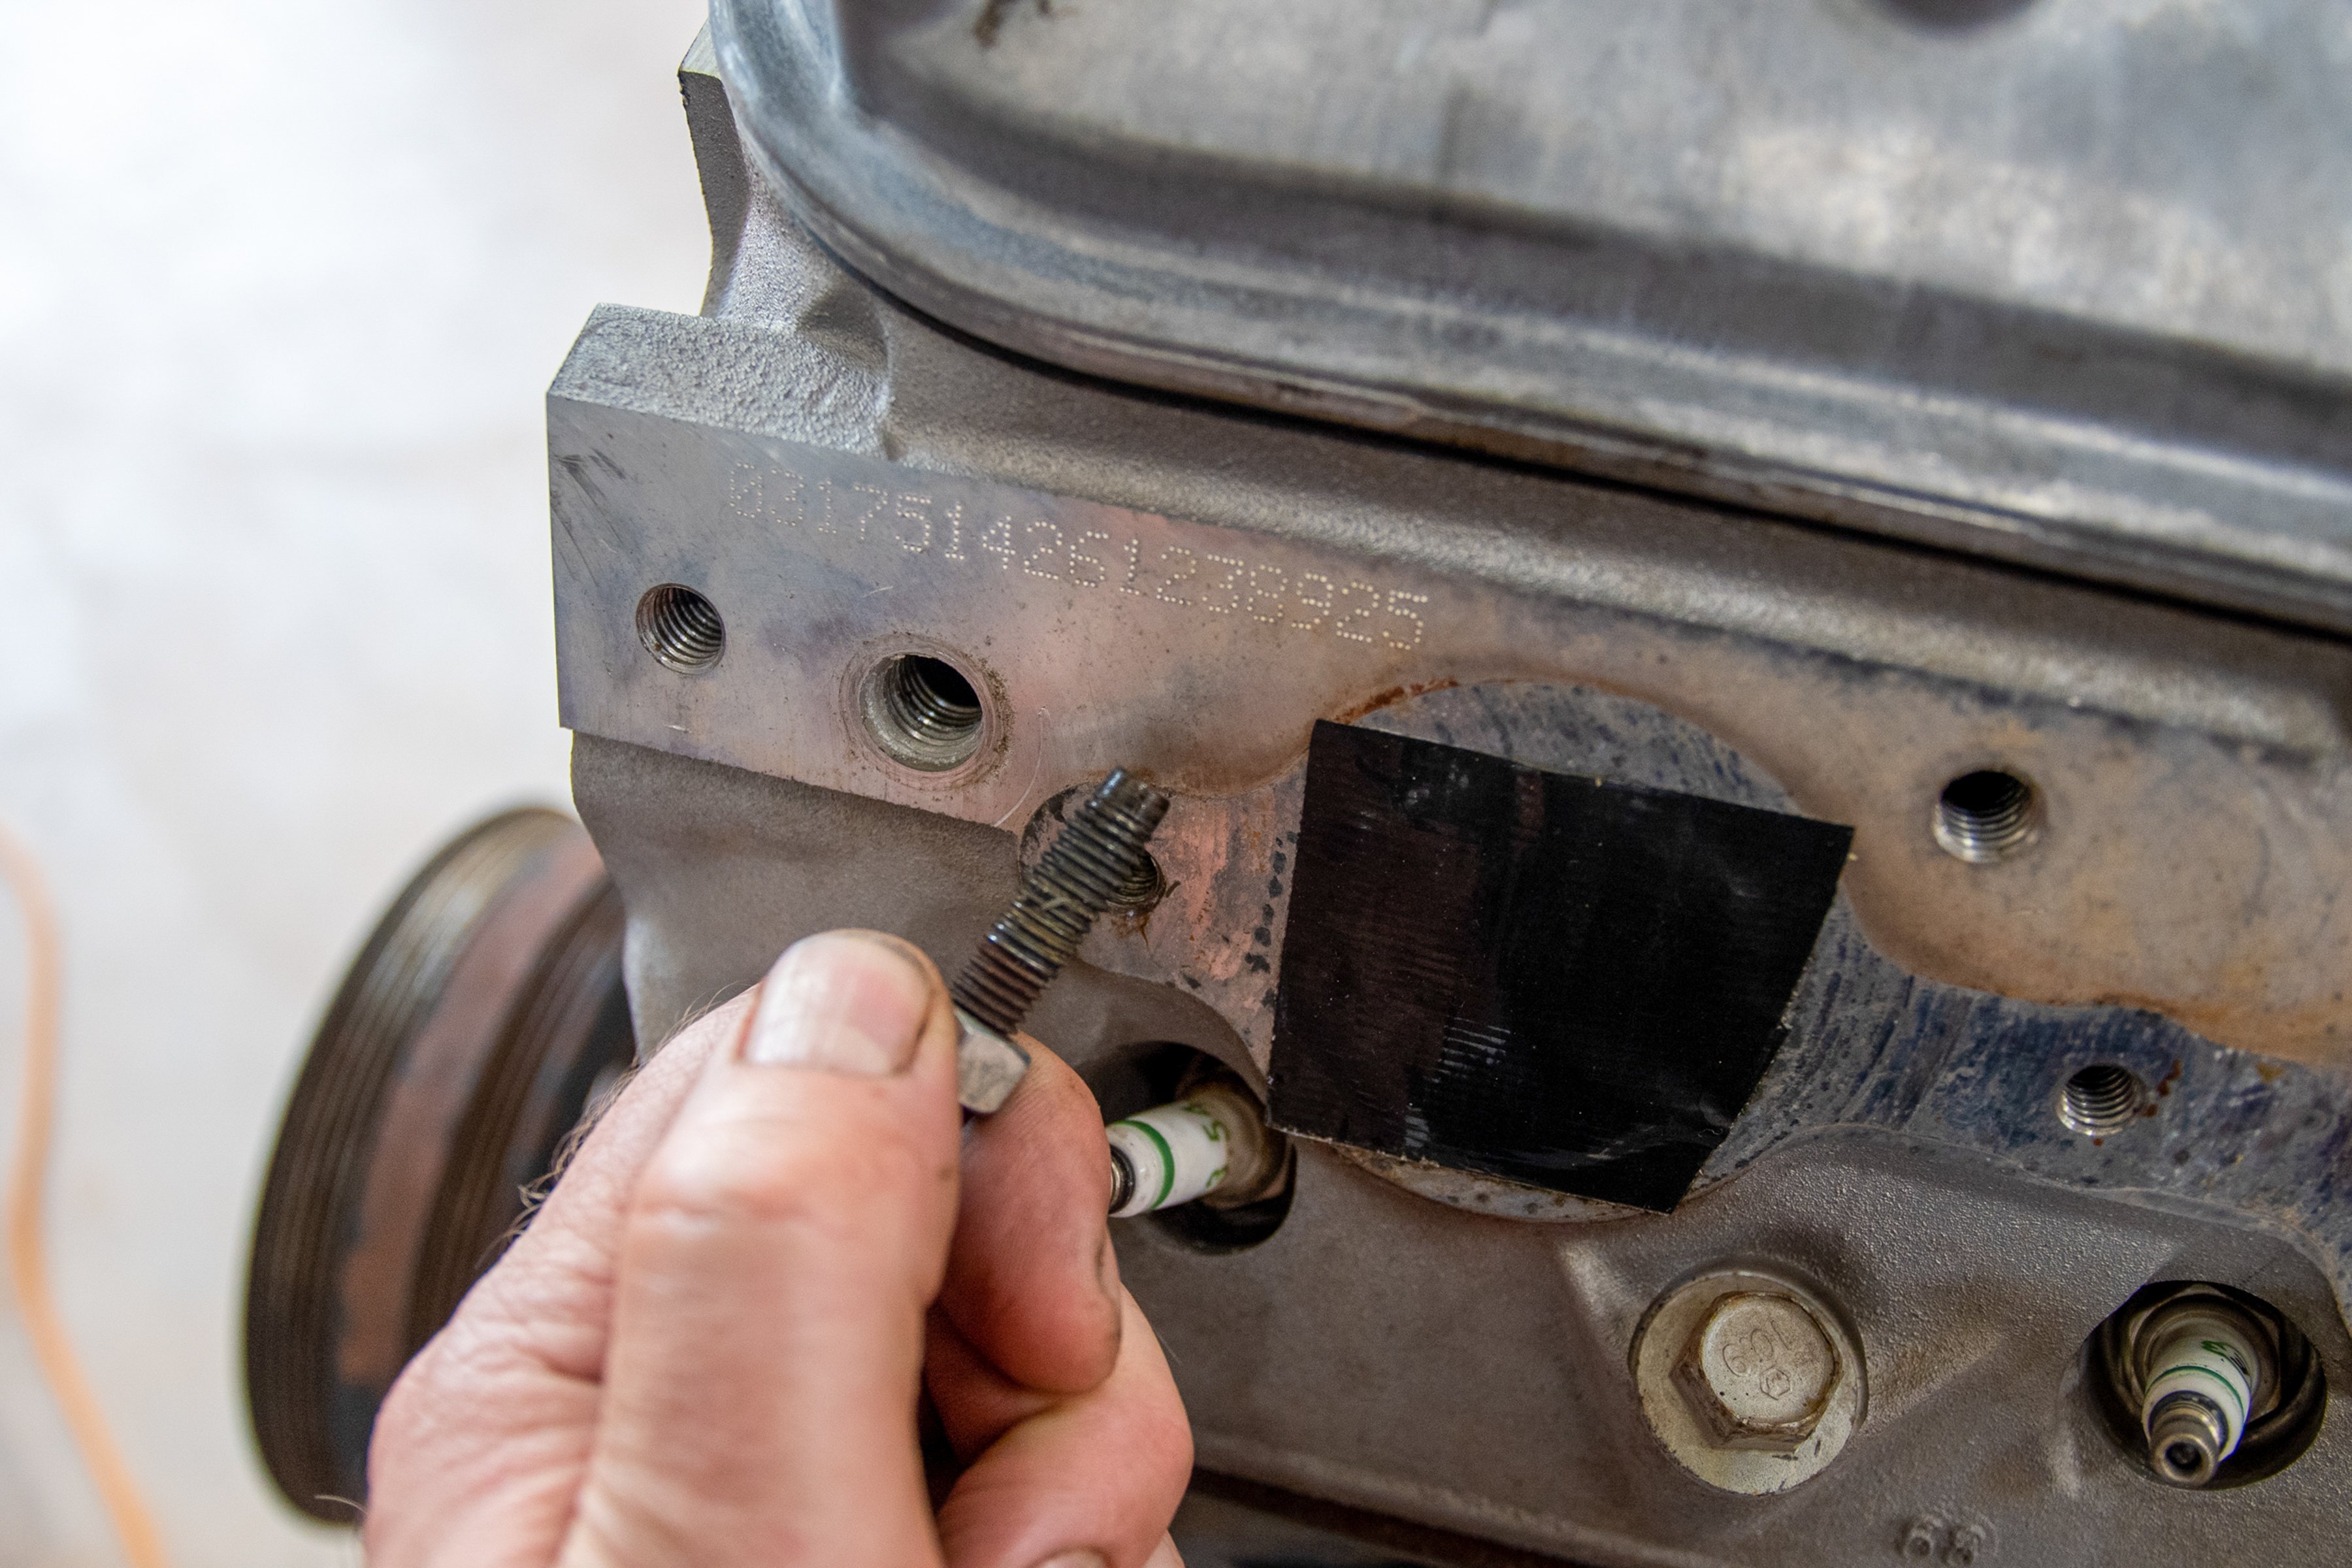
LS engines are notorious for having broken exhaust bolts. We used a welder on one of the bolts to give us enough material to grab it with a set of vice-grips and unthread it. The second bolt was not broken off flush with the head and unthreaded with little effort.
Rebuild Your Heads At Home
Our next move was to clean the heads up. Instead of going to the machine shop, we decided to take care of this process at home. With the razor blade in hand, we cleaned up the heads, being cautious not to scratch the machined surface. You’re just trying to knock the residue off the heads from the gaskets, so there’s no need to get aggressive here. Just work slowly and be gentle, because if you slip, the head will need to be resurfaced at the machine shop, costing you time and money.
We were able to clean up our heads quite nicely with a razor blade, Scotch-Brite, and some brake cleaner.
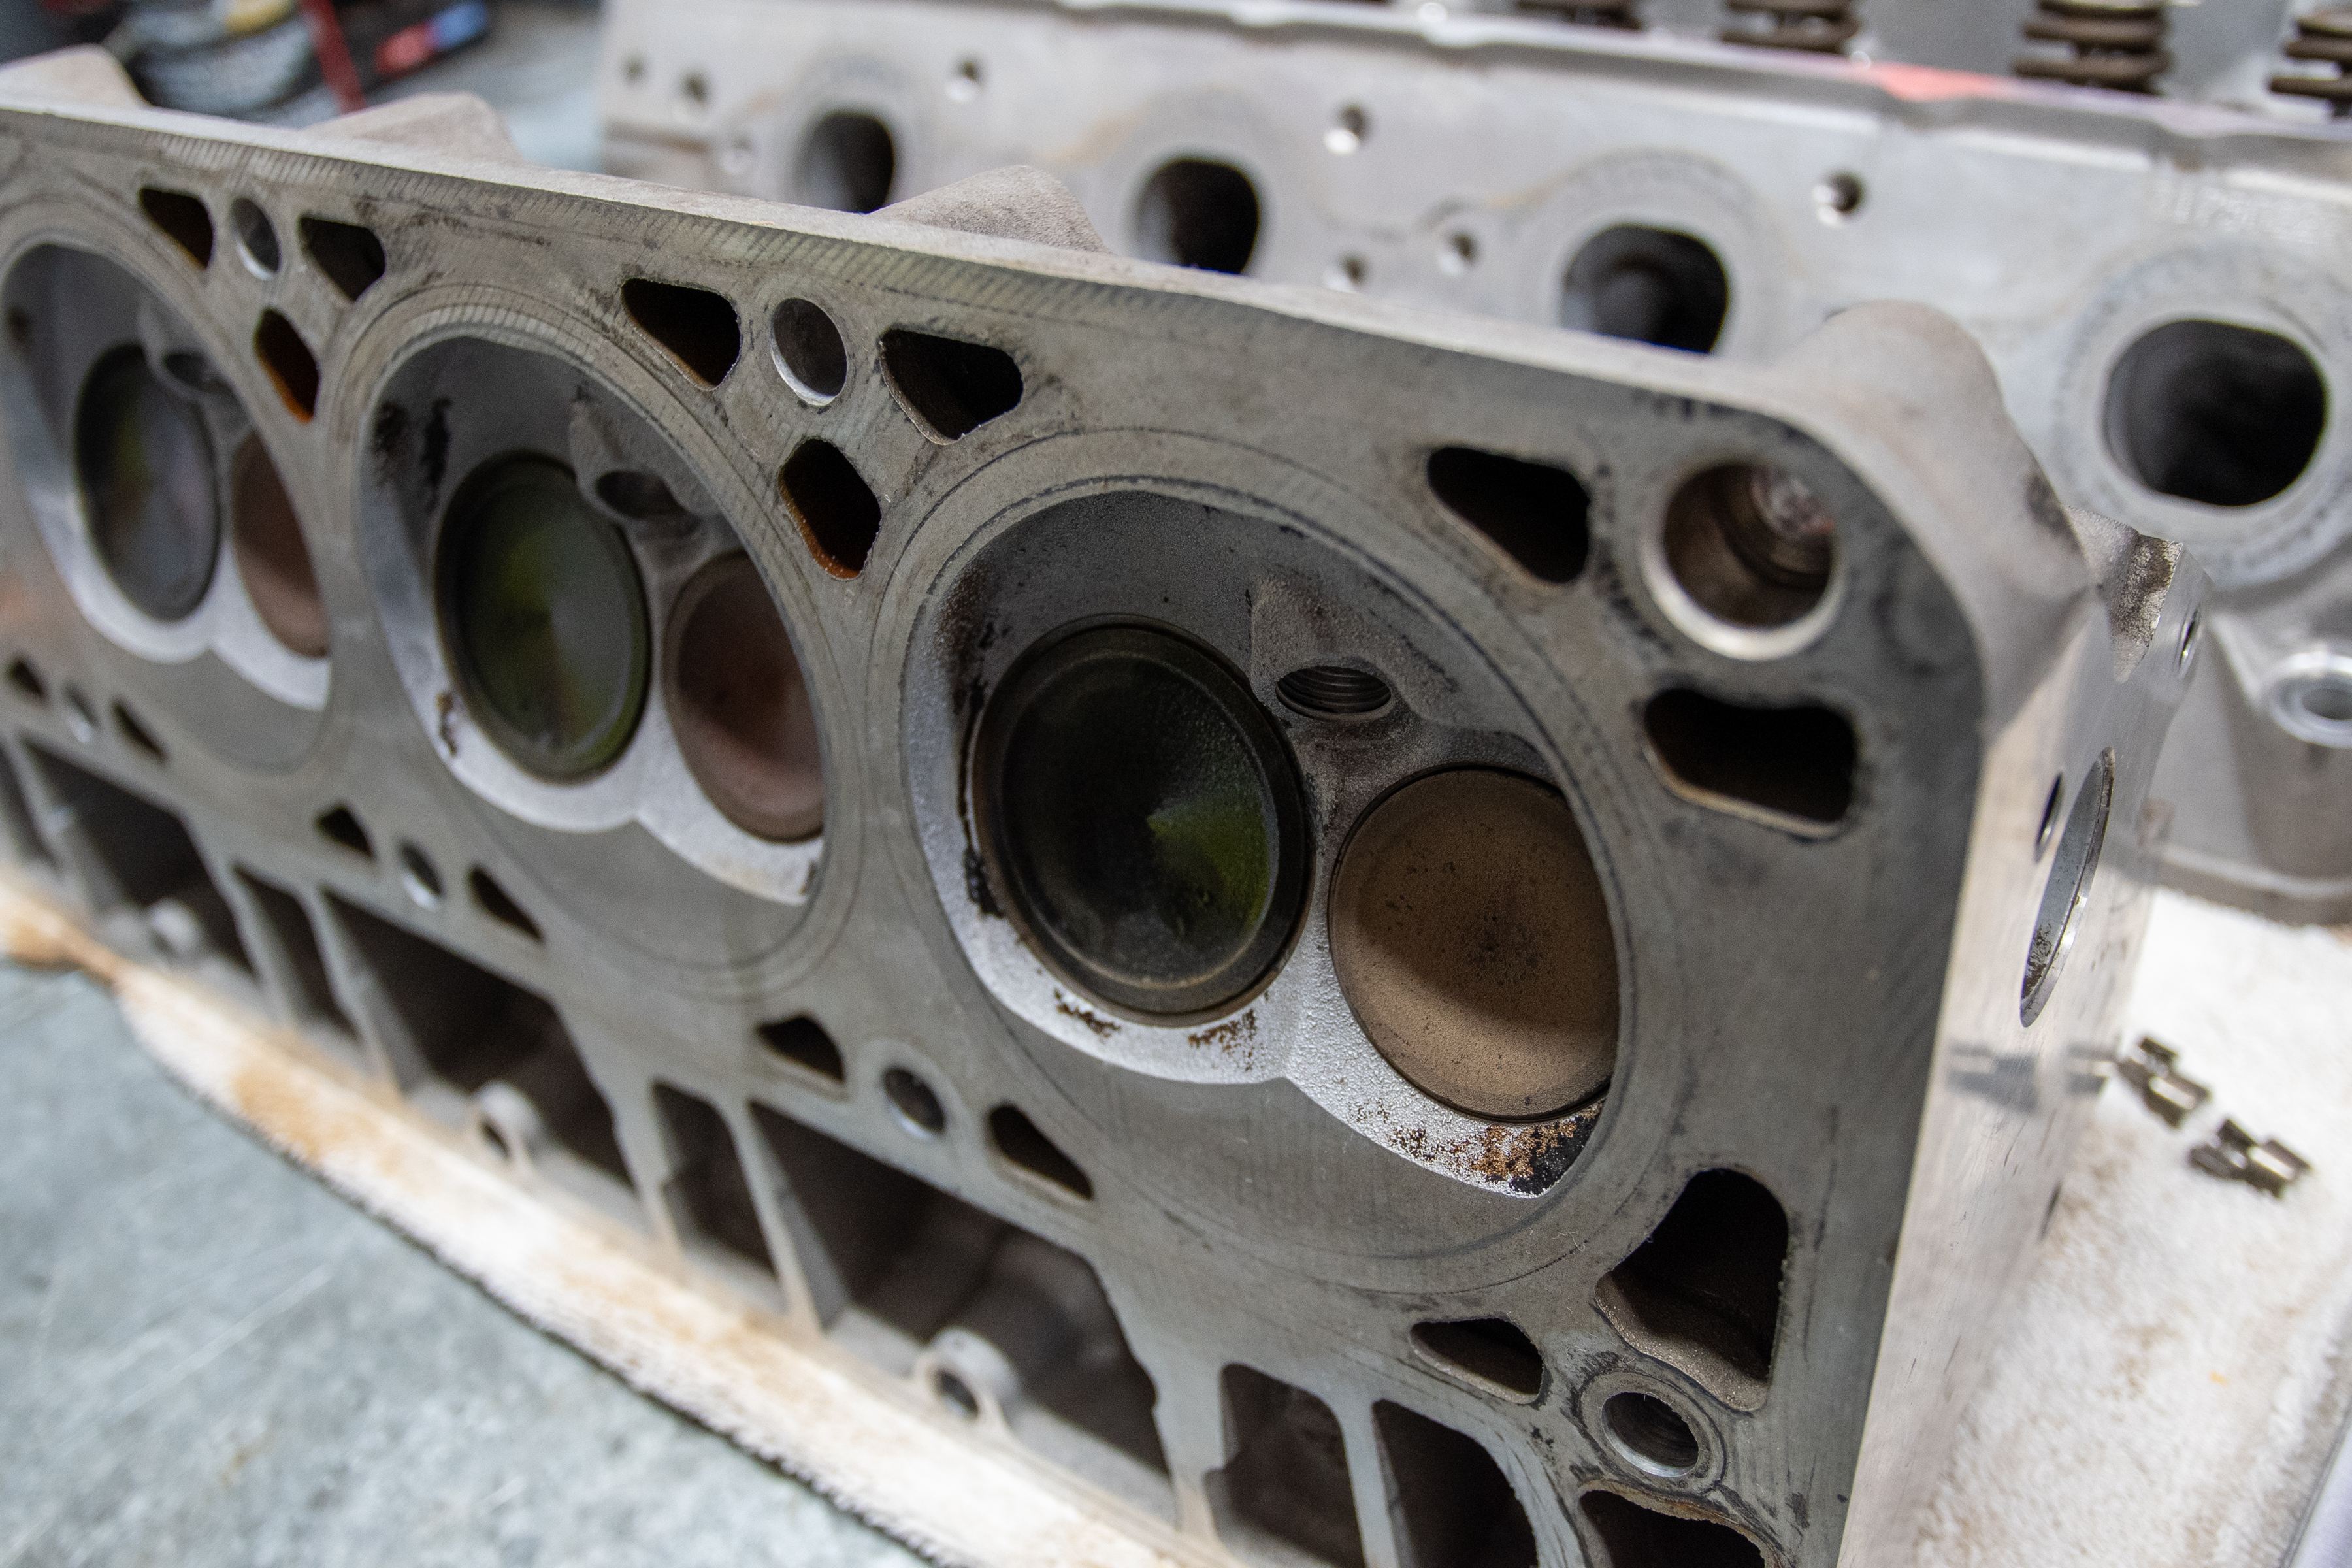
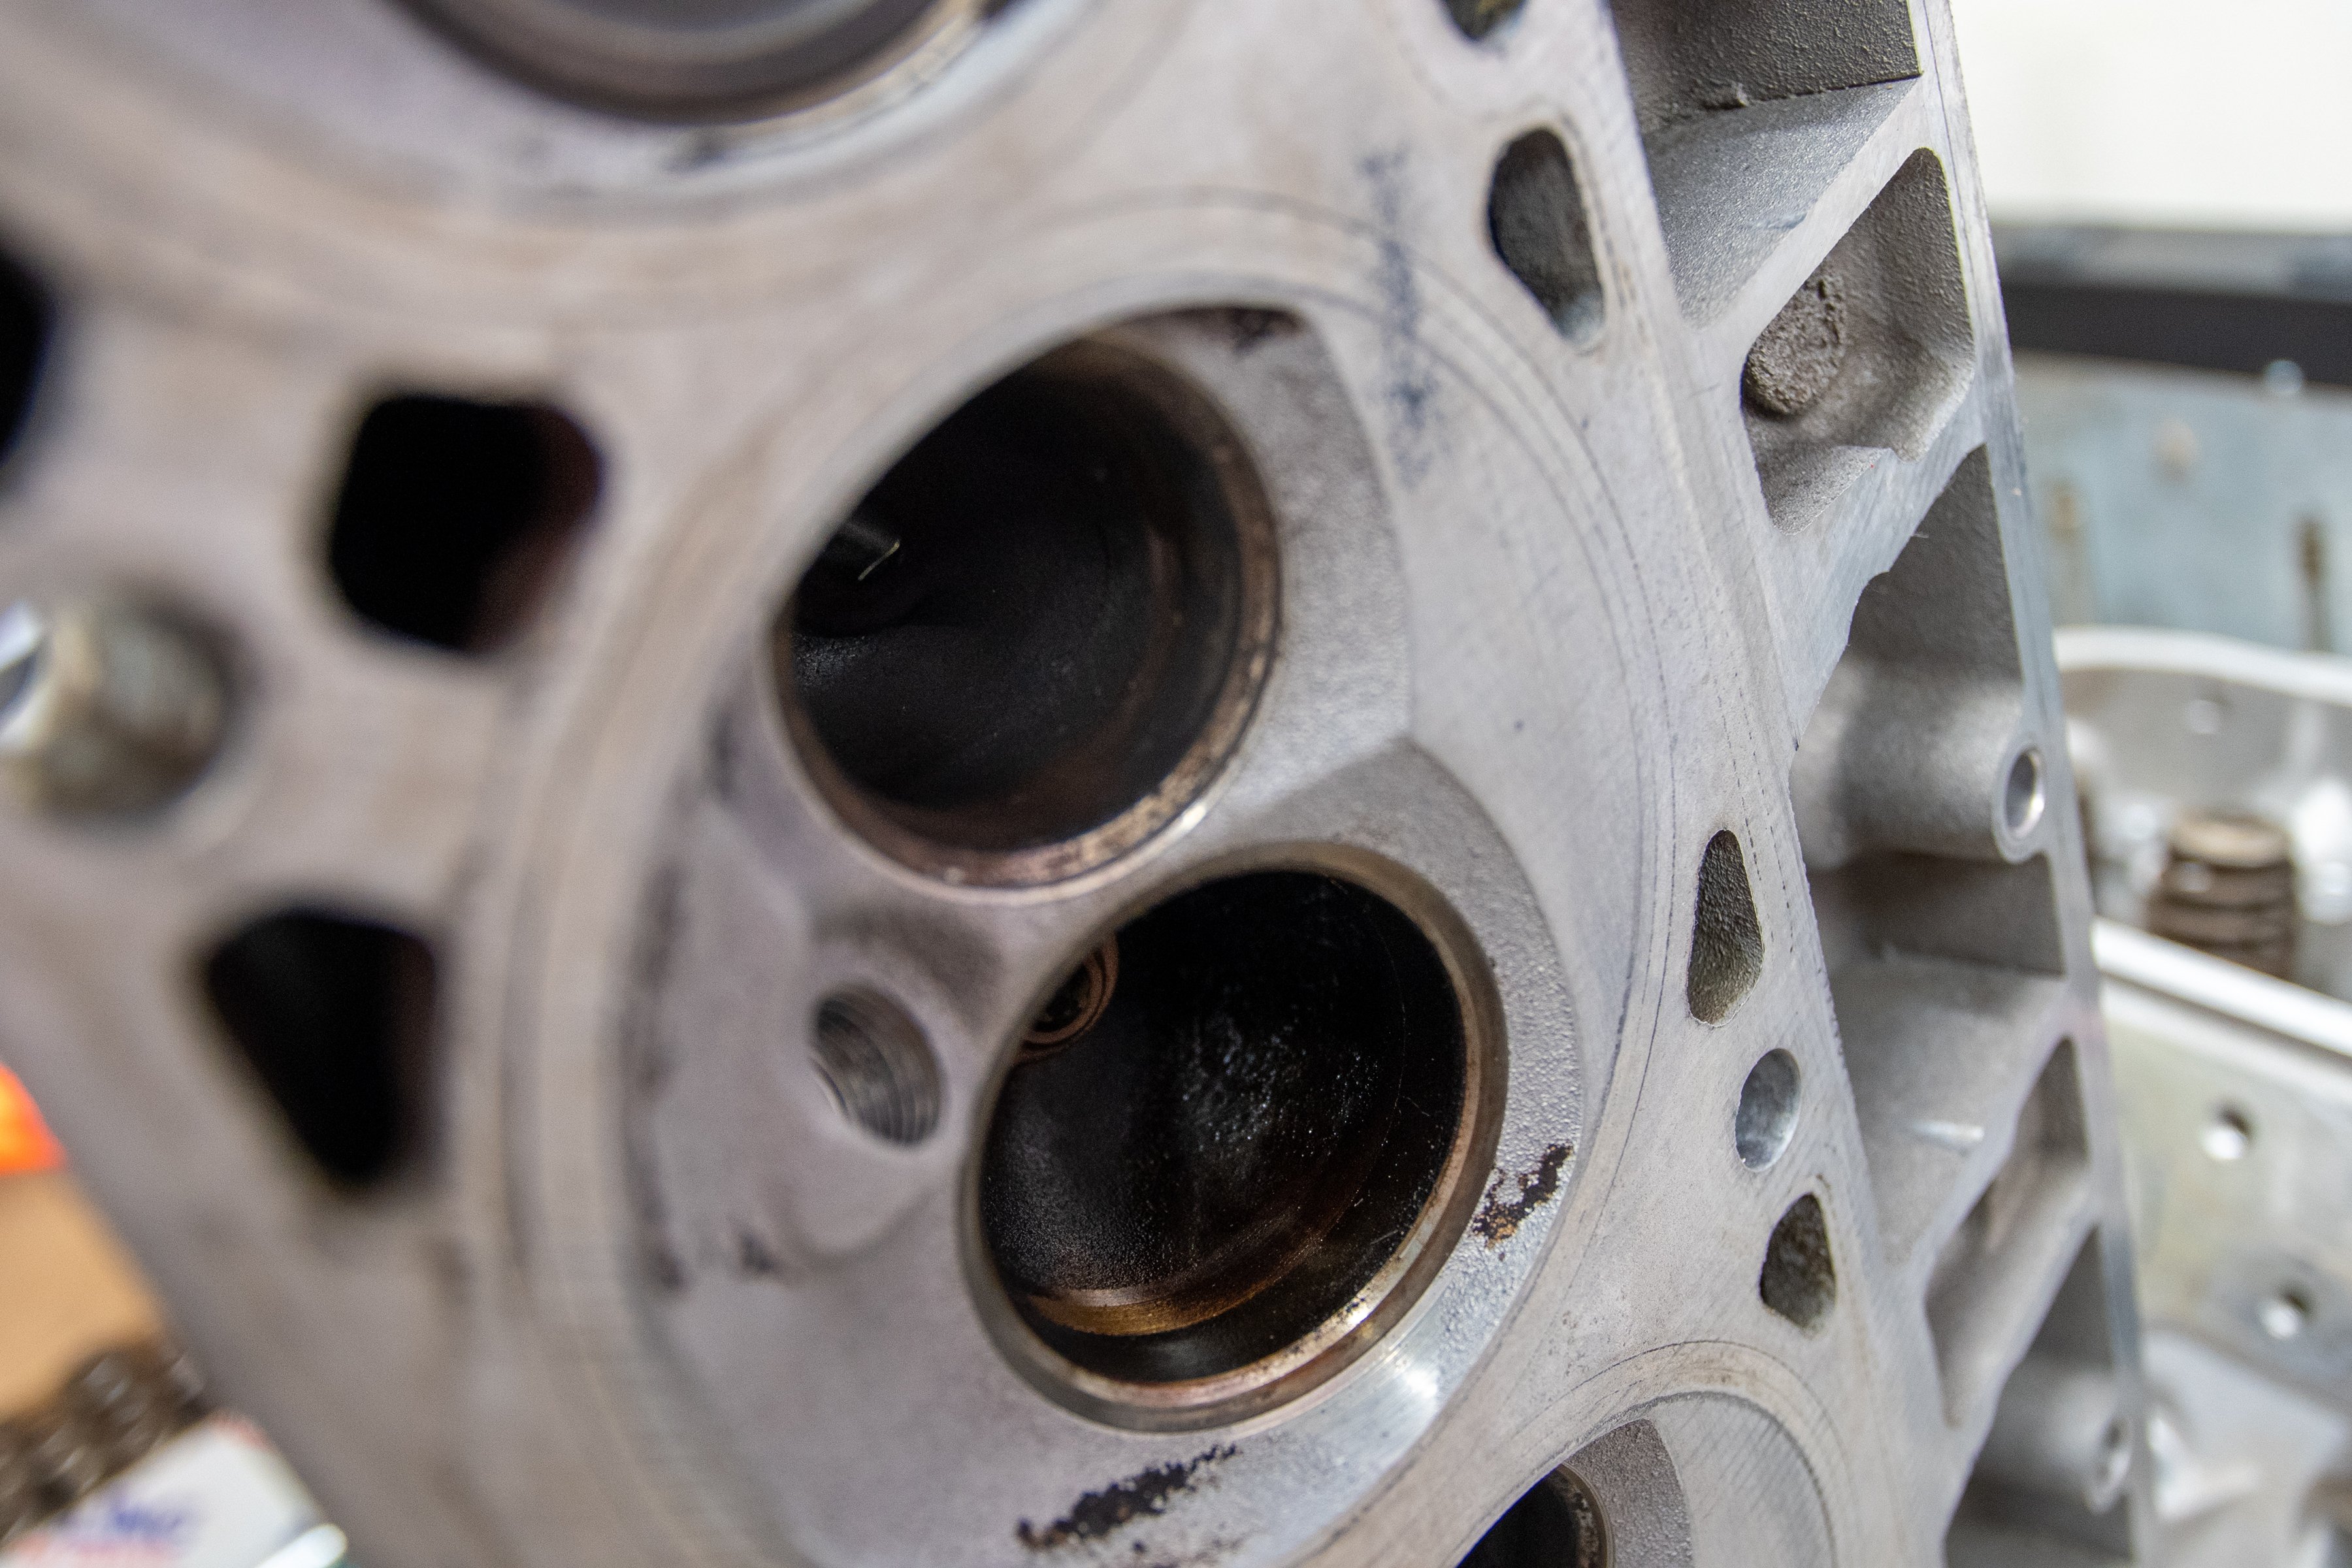
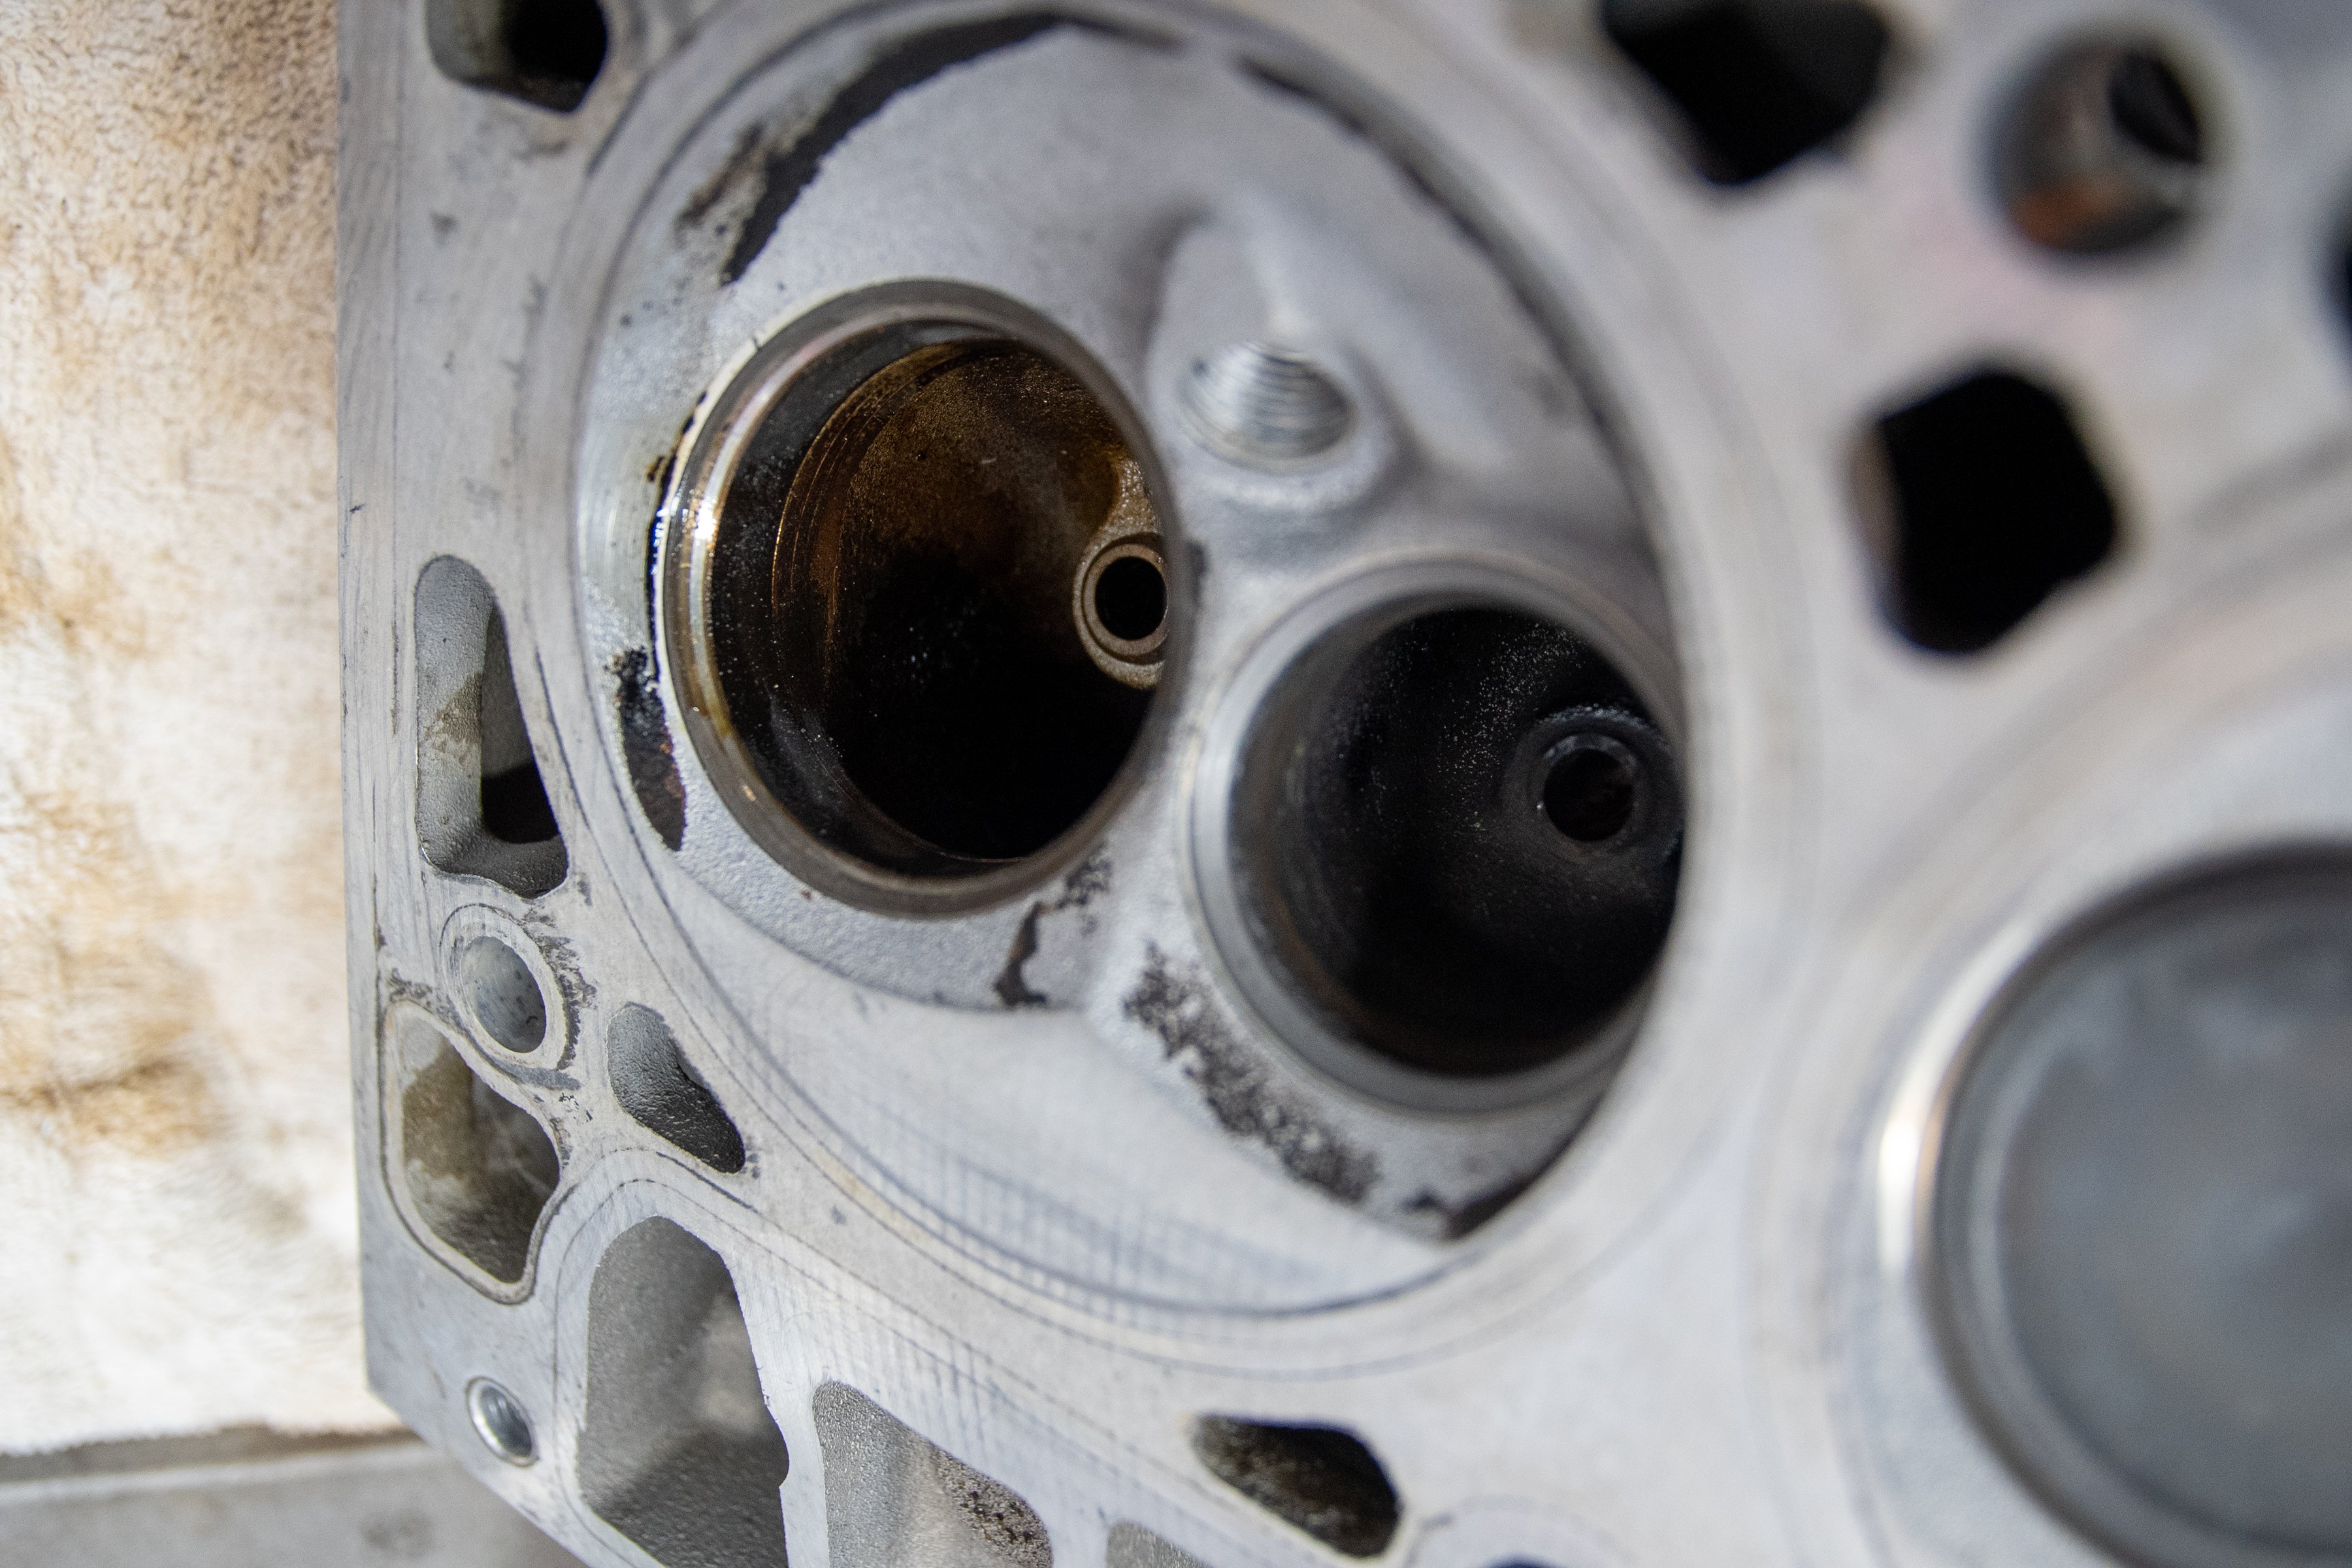
After we had the surface of the heads cleaned up, we then moved our attention to the combustion chambers. The easiest way to tackle the carbon build-up here was to spray the Scotch-Brite pads with brake cleaner and scrub each chamber down until you’re happy with the results. This process takes a while but is relatively easy and nets good results.
Before we dismantled the heads, we scrubbed them with soap and water and then blasted them with a pressure washer. This removed all of the oily residues that had built up over 175,000-miles. We were surprised at the outcome of our efforts, as the heads turned out looking great.
DIY Valve Job
If you’re on a tight budget and trying to save some money, here is a way to clean up the seats and valves. This process is not as good as having a machine shop perform a valve job, but it will work if your heads are in fair condition.
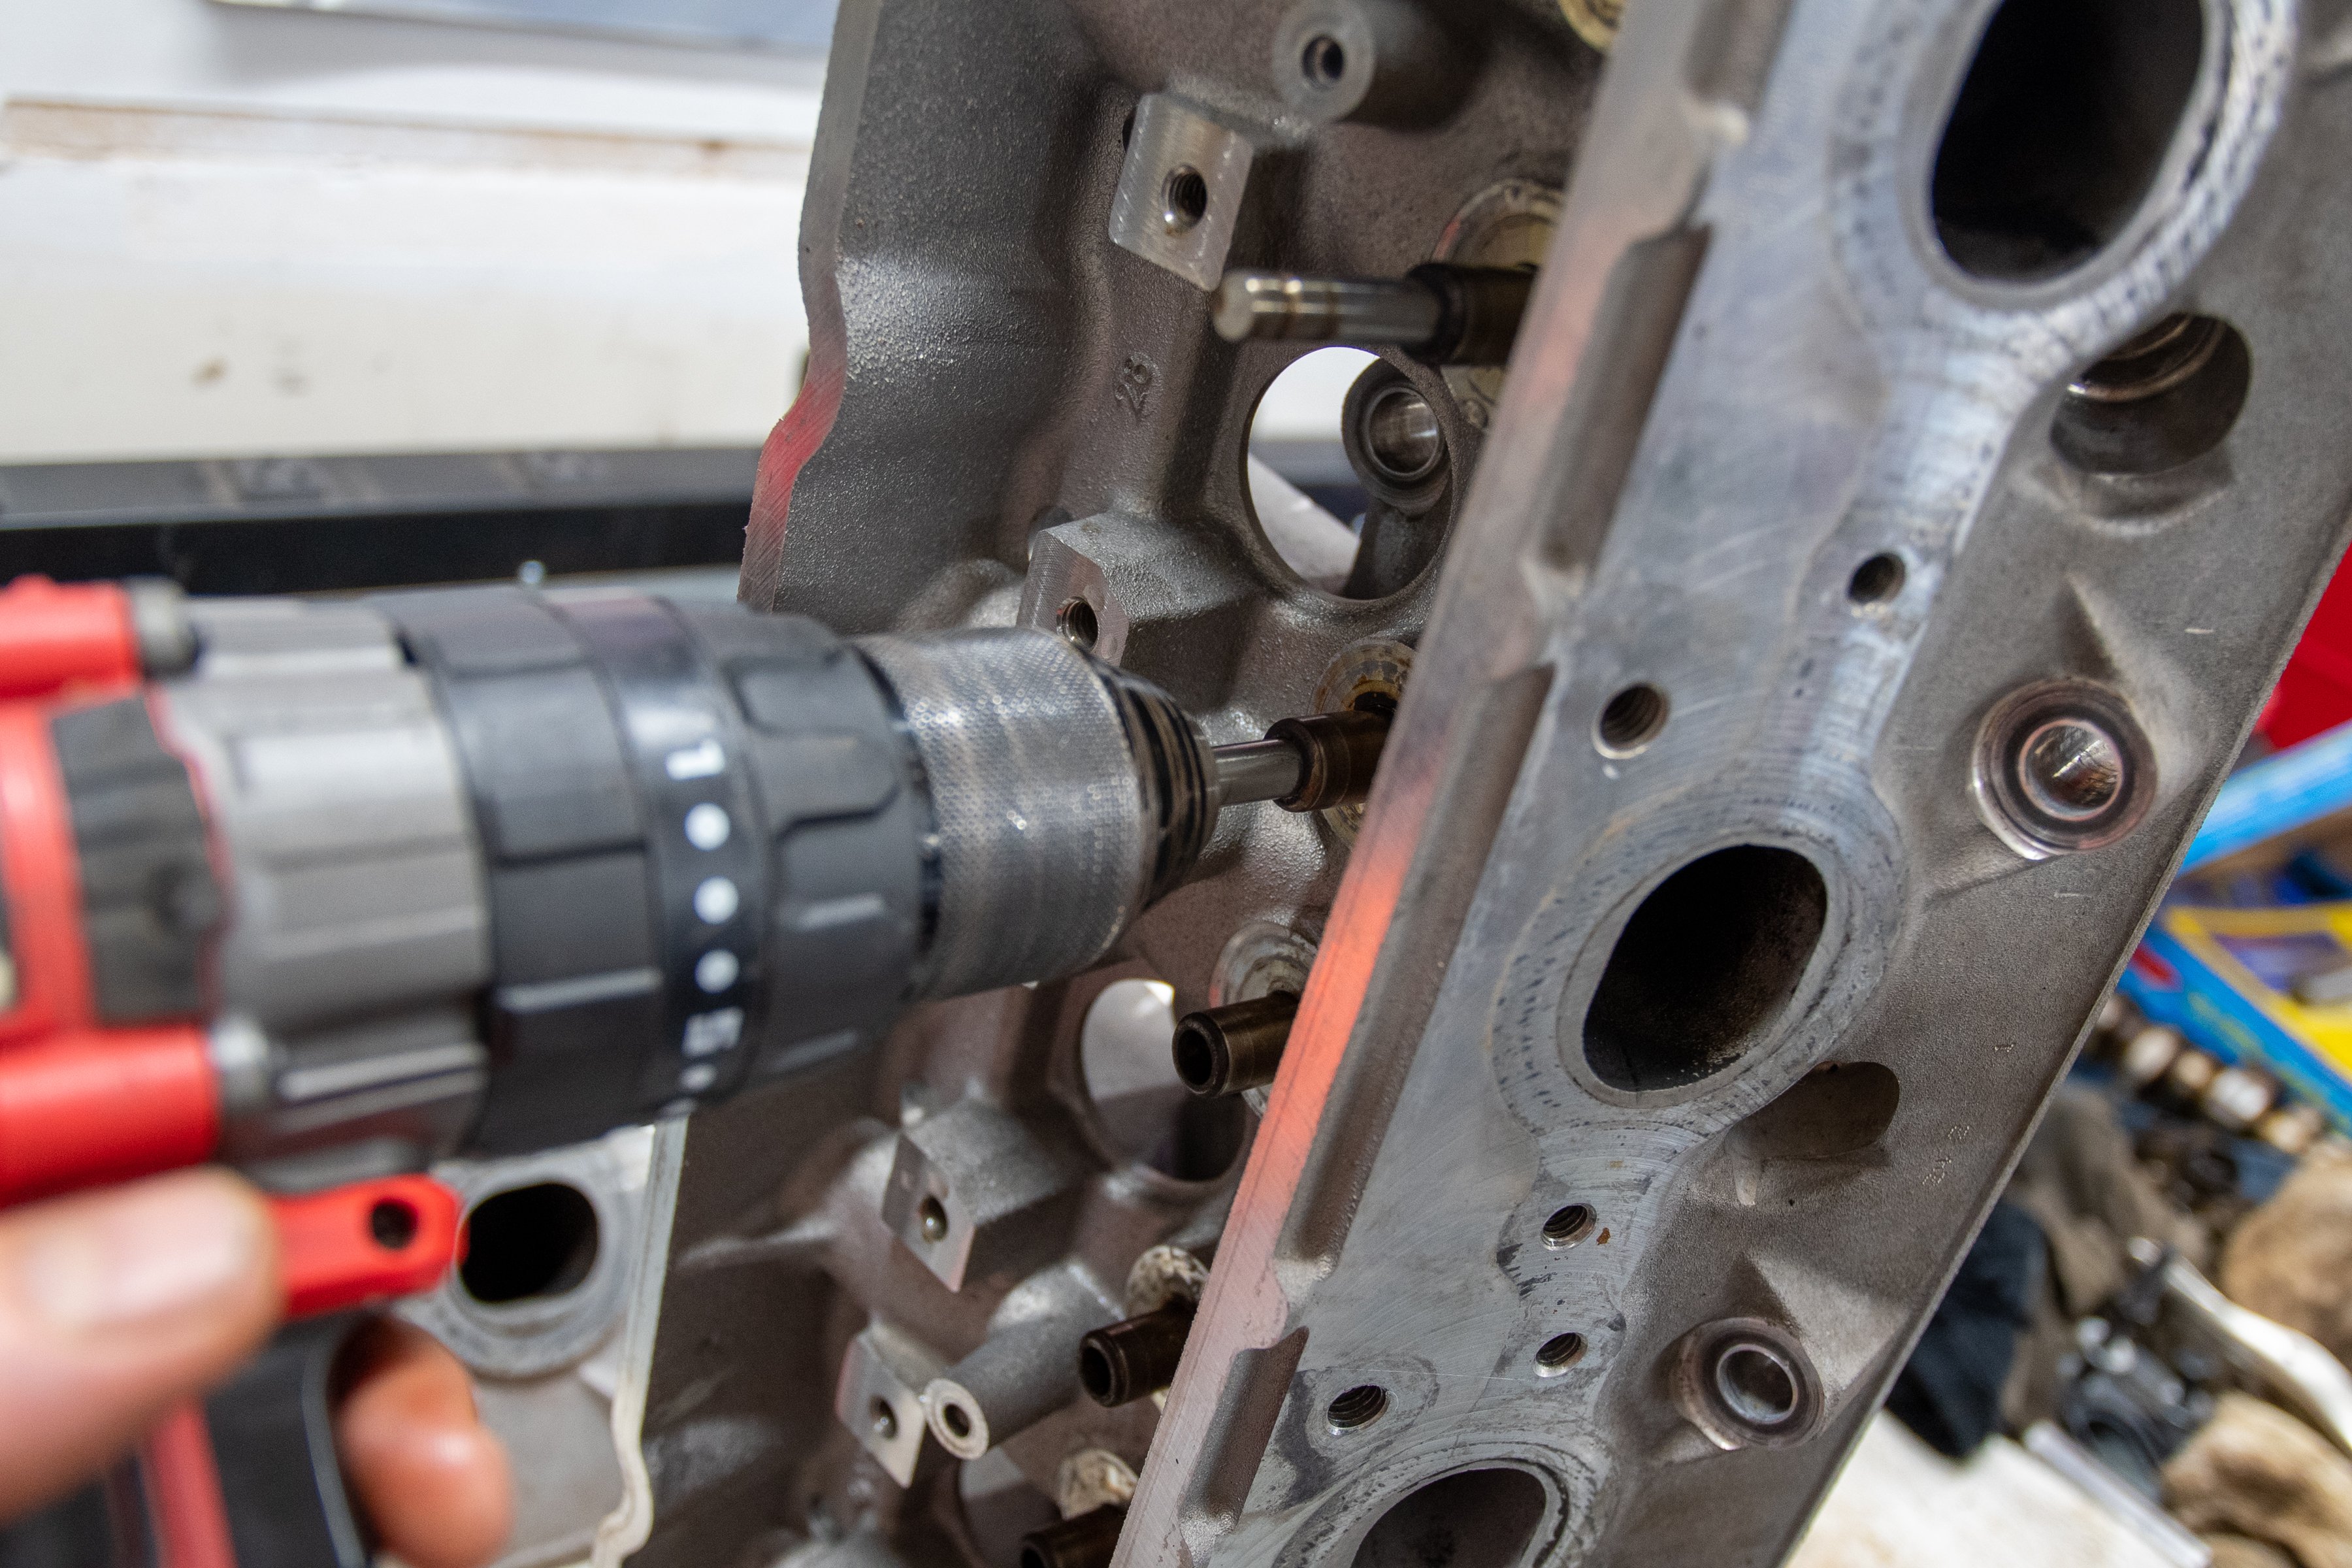
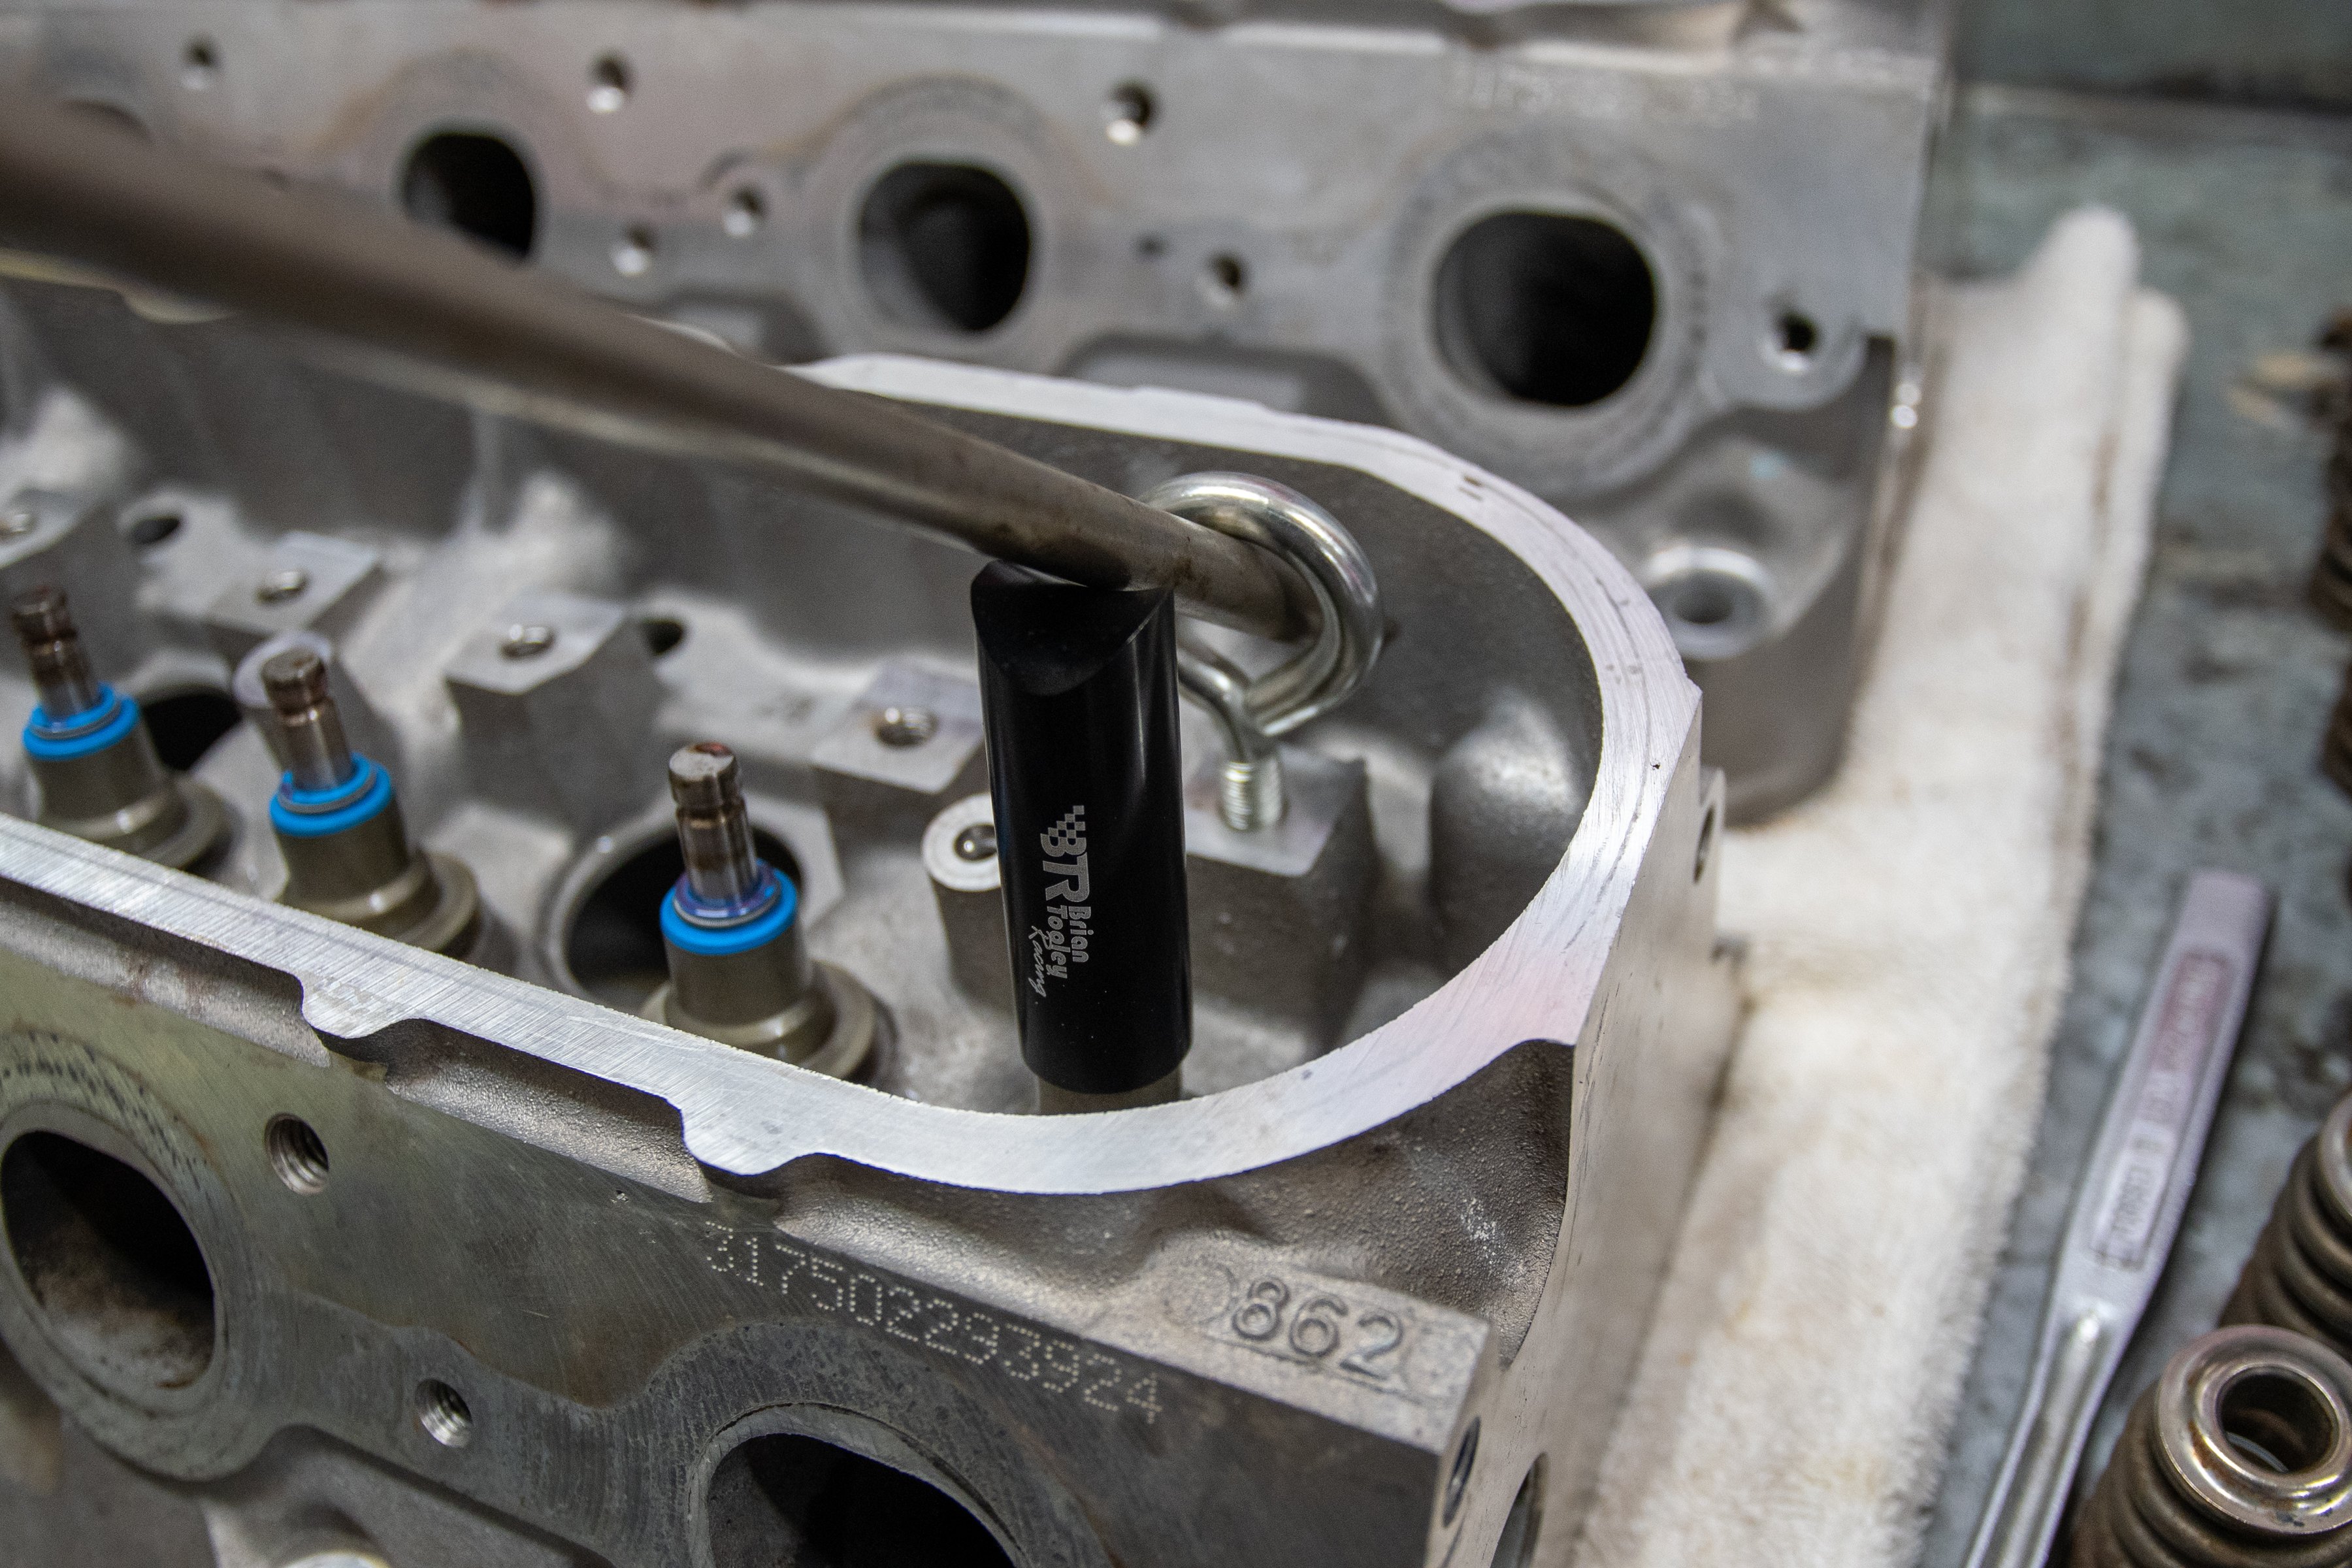
The first step is to remove the valves from the cylinder heads. We used a spring compressor that’s specific to the LS heads available from Brian Tooley Racing (BTR). It made quick work of spring removal. With the valves out of the head, we kept note of each valve’s order for reassembly. Next, we took a valve and applied some valve grinding compound– this paste is used to remove carbon from the valves and valve seats and eliminate burrs, surface defects, and corrosion.
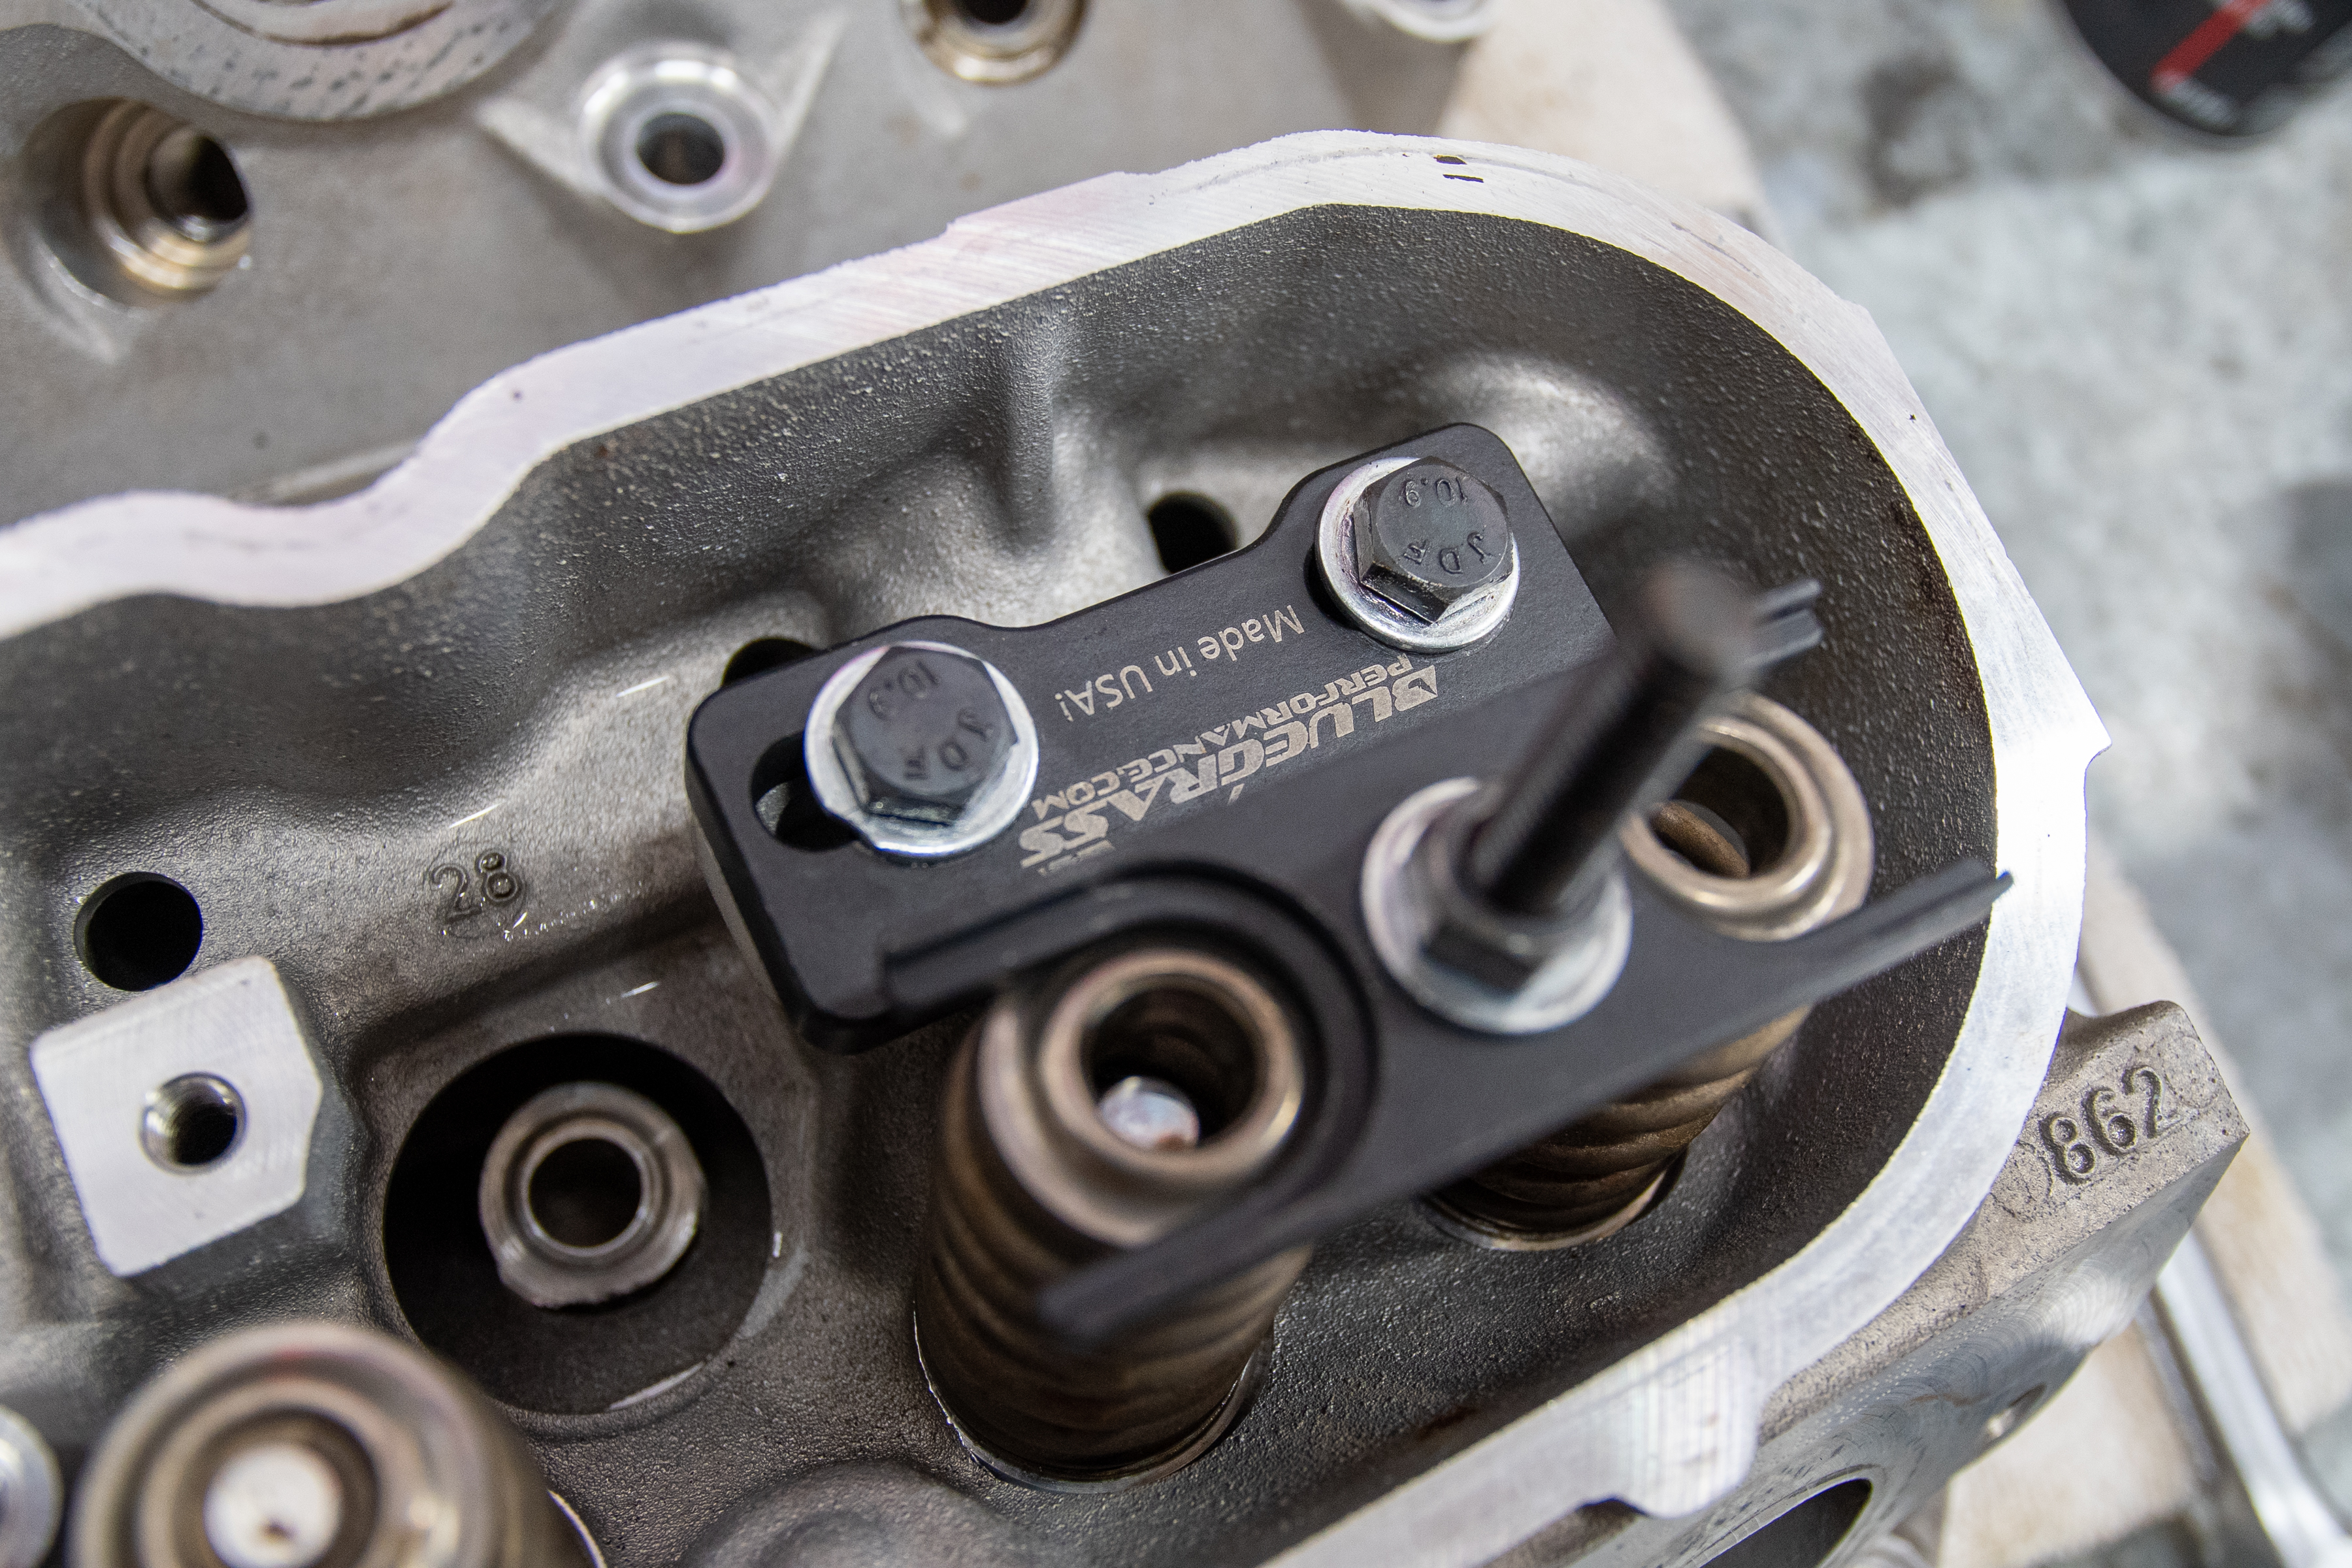
The BlueGrass valve spring compressor made quick work disassembling and reassembling the heads.
With the paste on a valve’s seat area, we slid the valve stem through the head and inserted it in the chuck of a cordless drill. As we spun the valve with the drill, we pushed the valve into the seat several times and then checked the finish. After all of the carbon and grime were removed from both areas, we moved on to the next valve. The paste did a fantastic job and made quick work of our high-mileage valves.
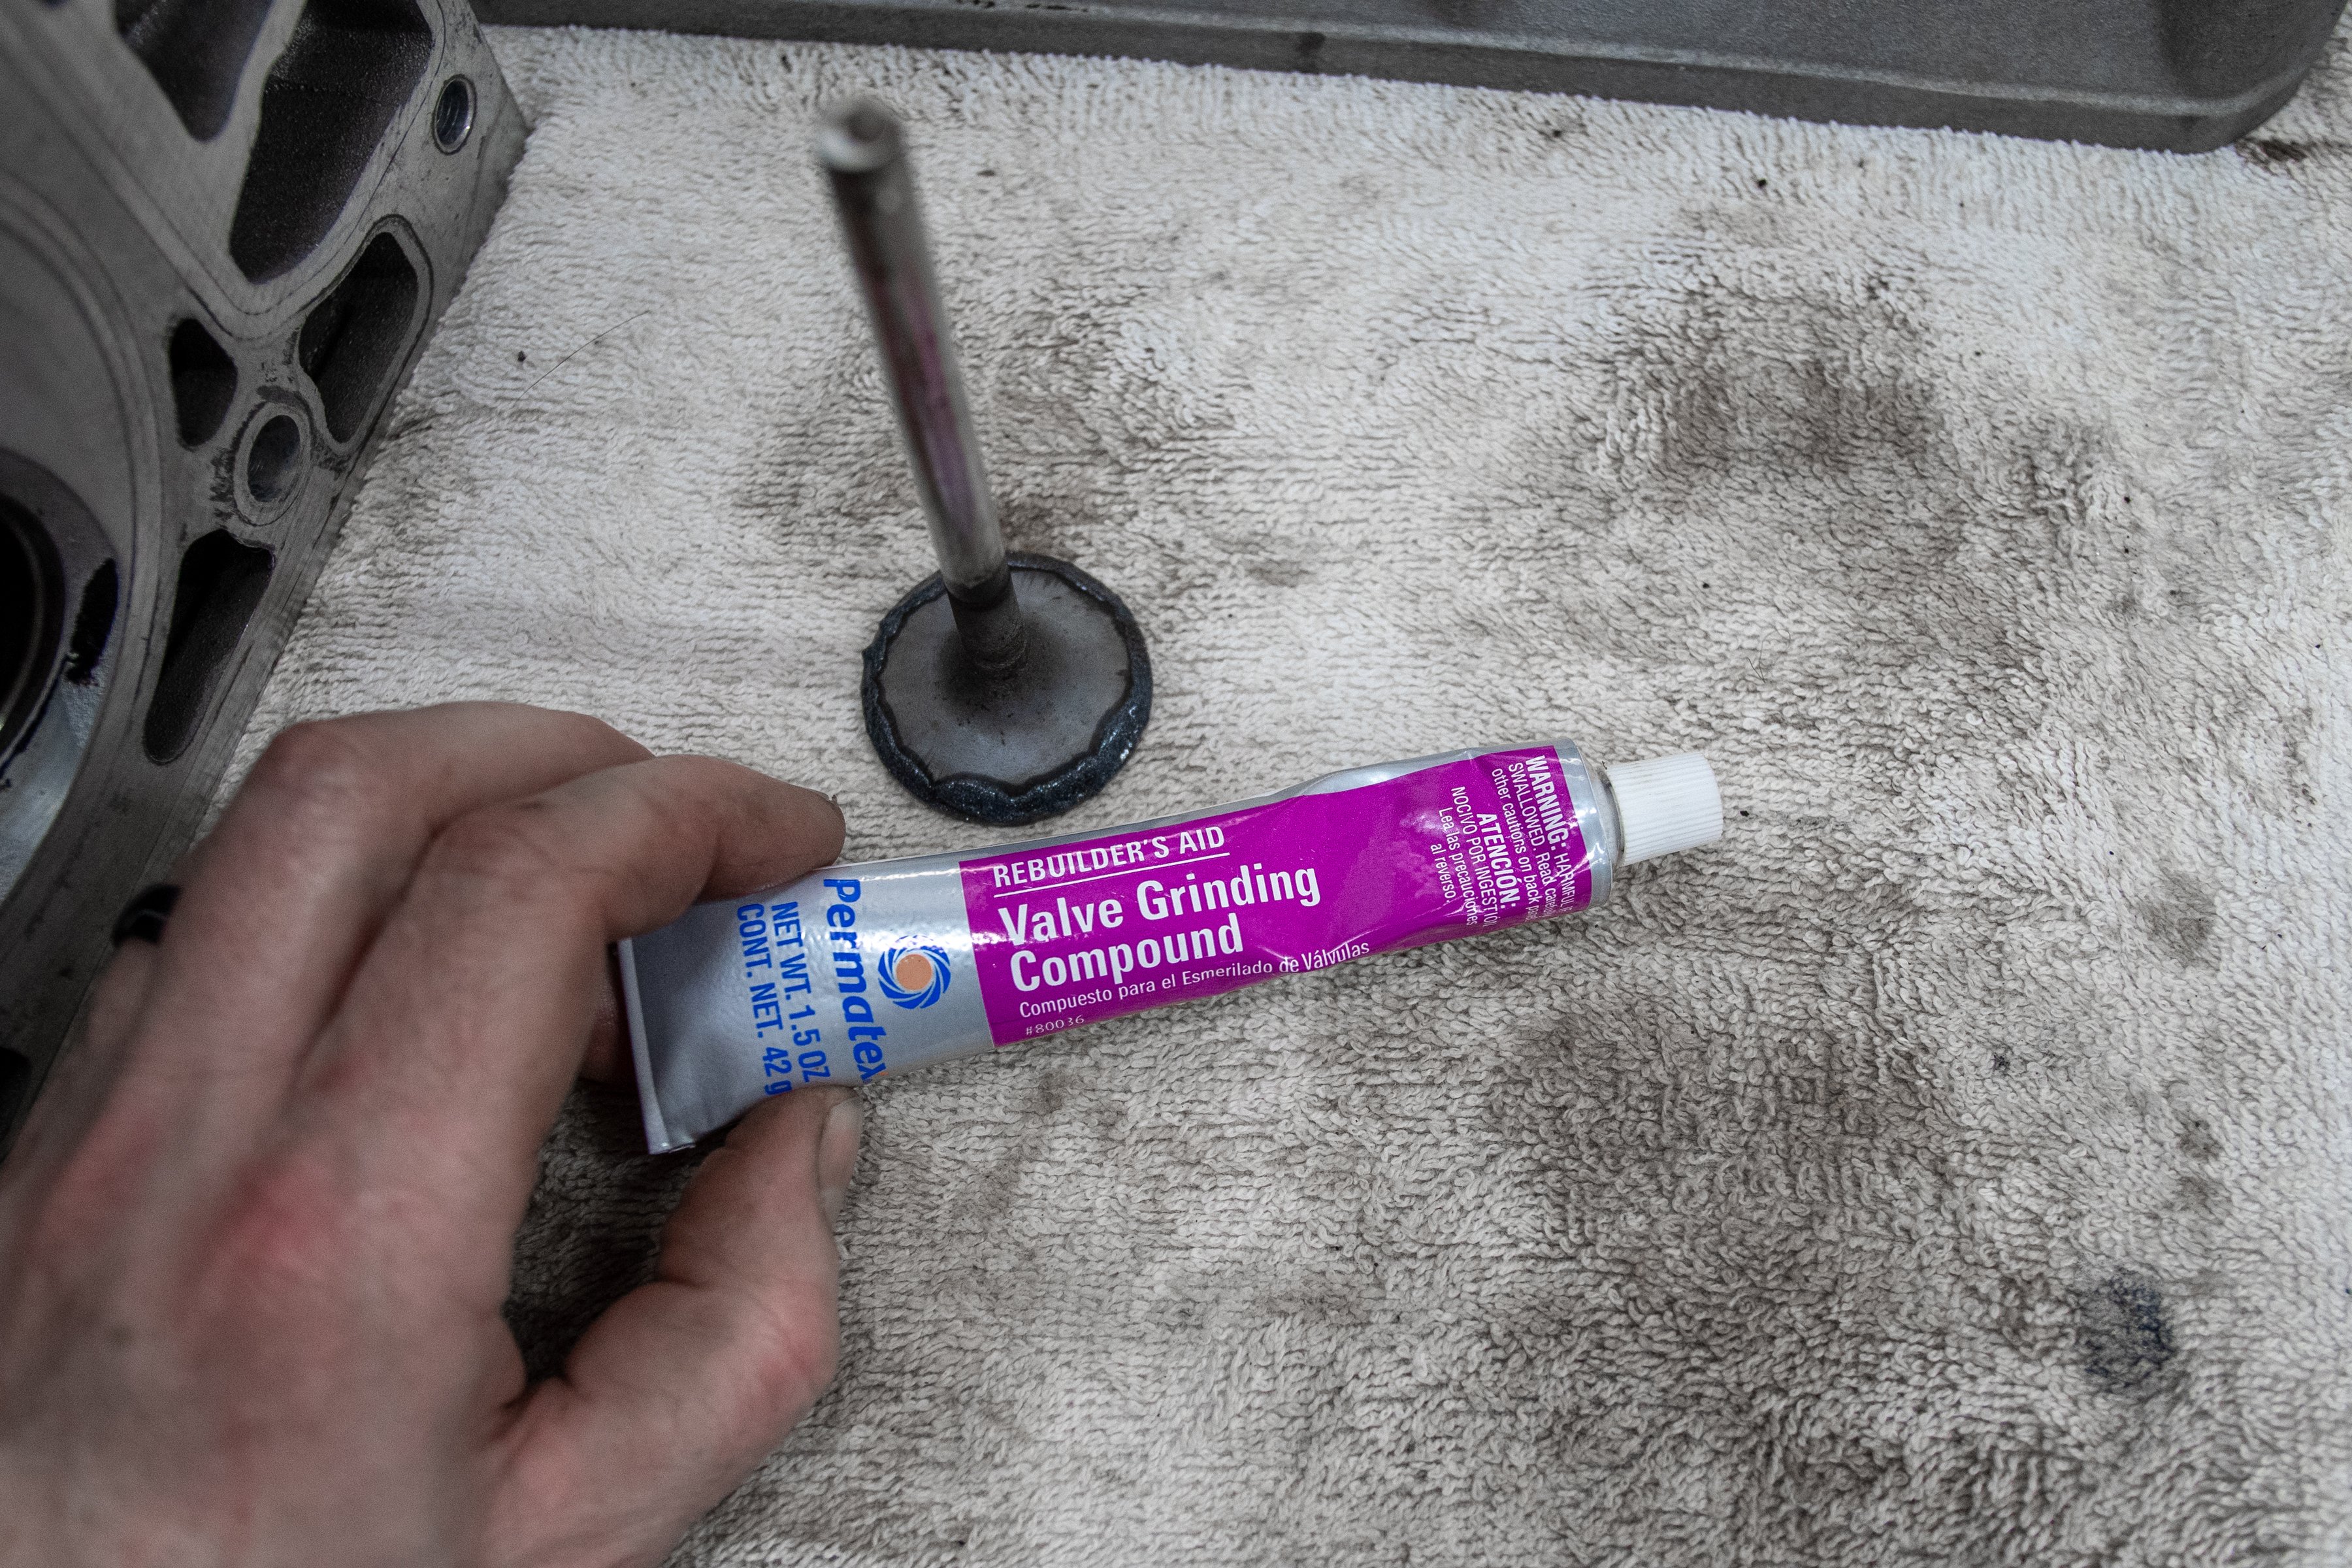
You can use a valve grinding compound and drill to clean up the seats and valves. While this may not be the best method, it saved us some money and made the valves and seats look good again.
The next obstacle was the valve seals. Removing these items is pretty simple and can be done with a pair of vice grips. The old units popped right off with little effort. However, installing them can be a more complicated process if you don’t have the correct tool. Luckily we did, thanks to Brian Tooley Racing’s valve seal installation tool. This $9.99 tool is worth its weight in gold, as it makes the installation process quick and super easy. With the new seals in place, we then reassembled the heads using new locks (PN VL-760) and retainers (PN VSR-709) from Melling.

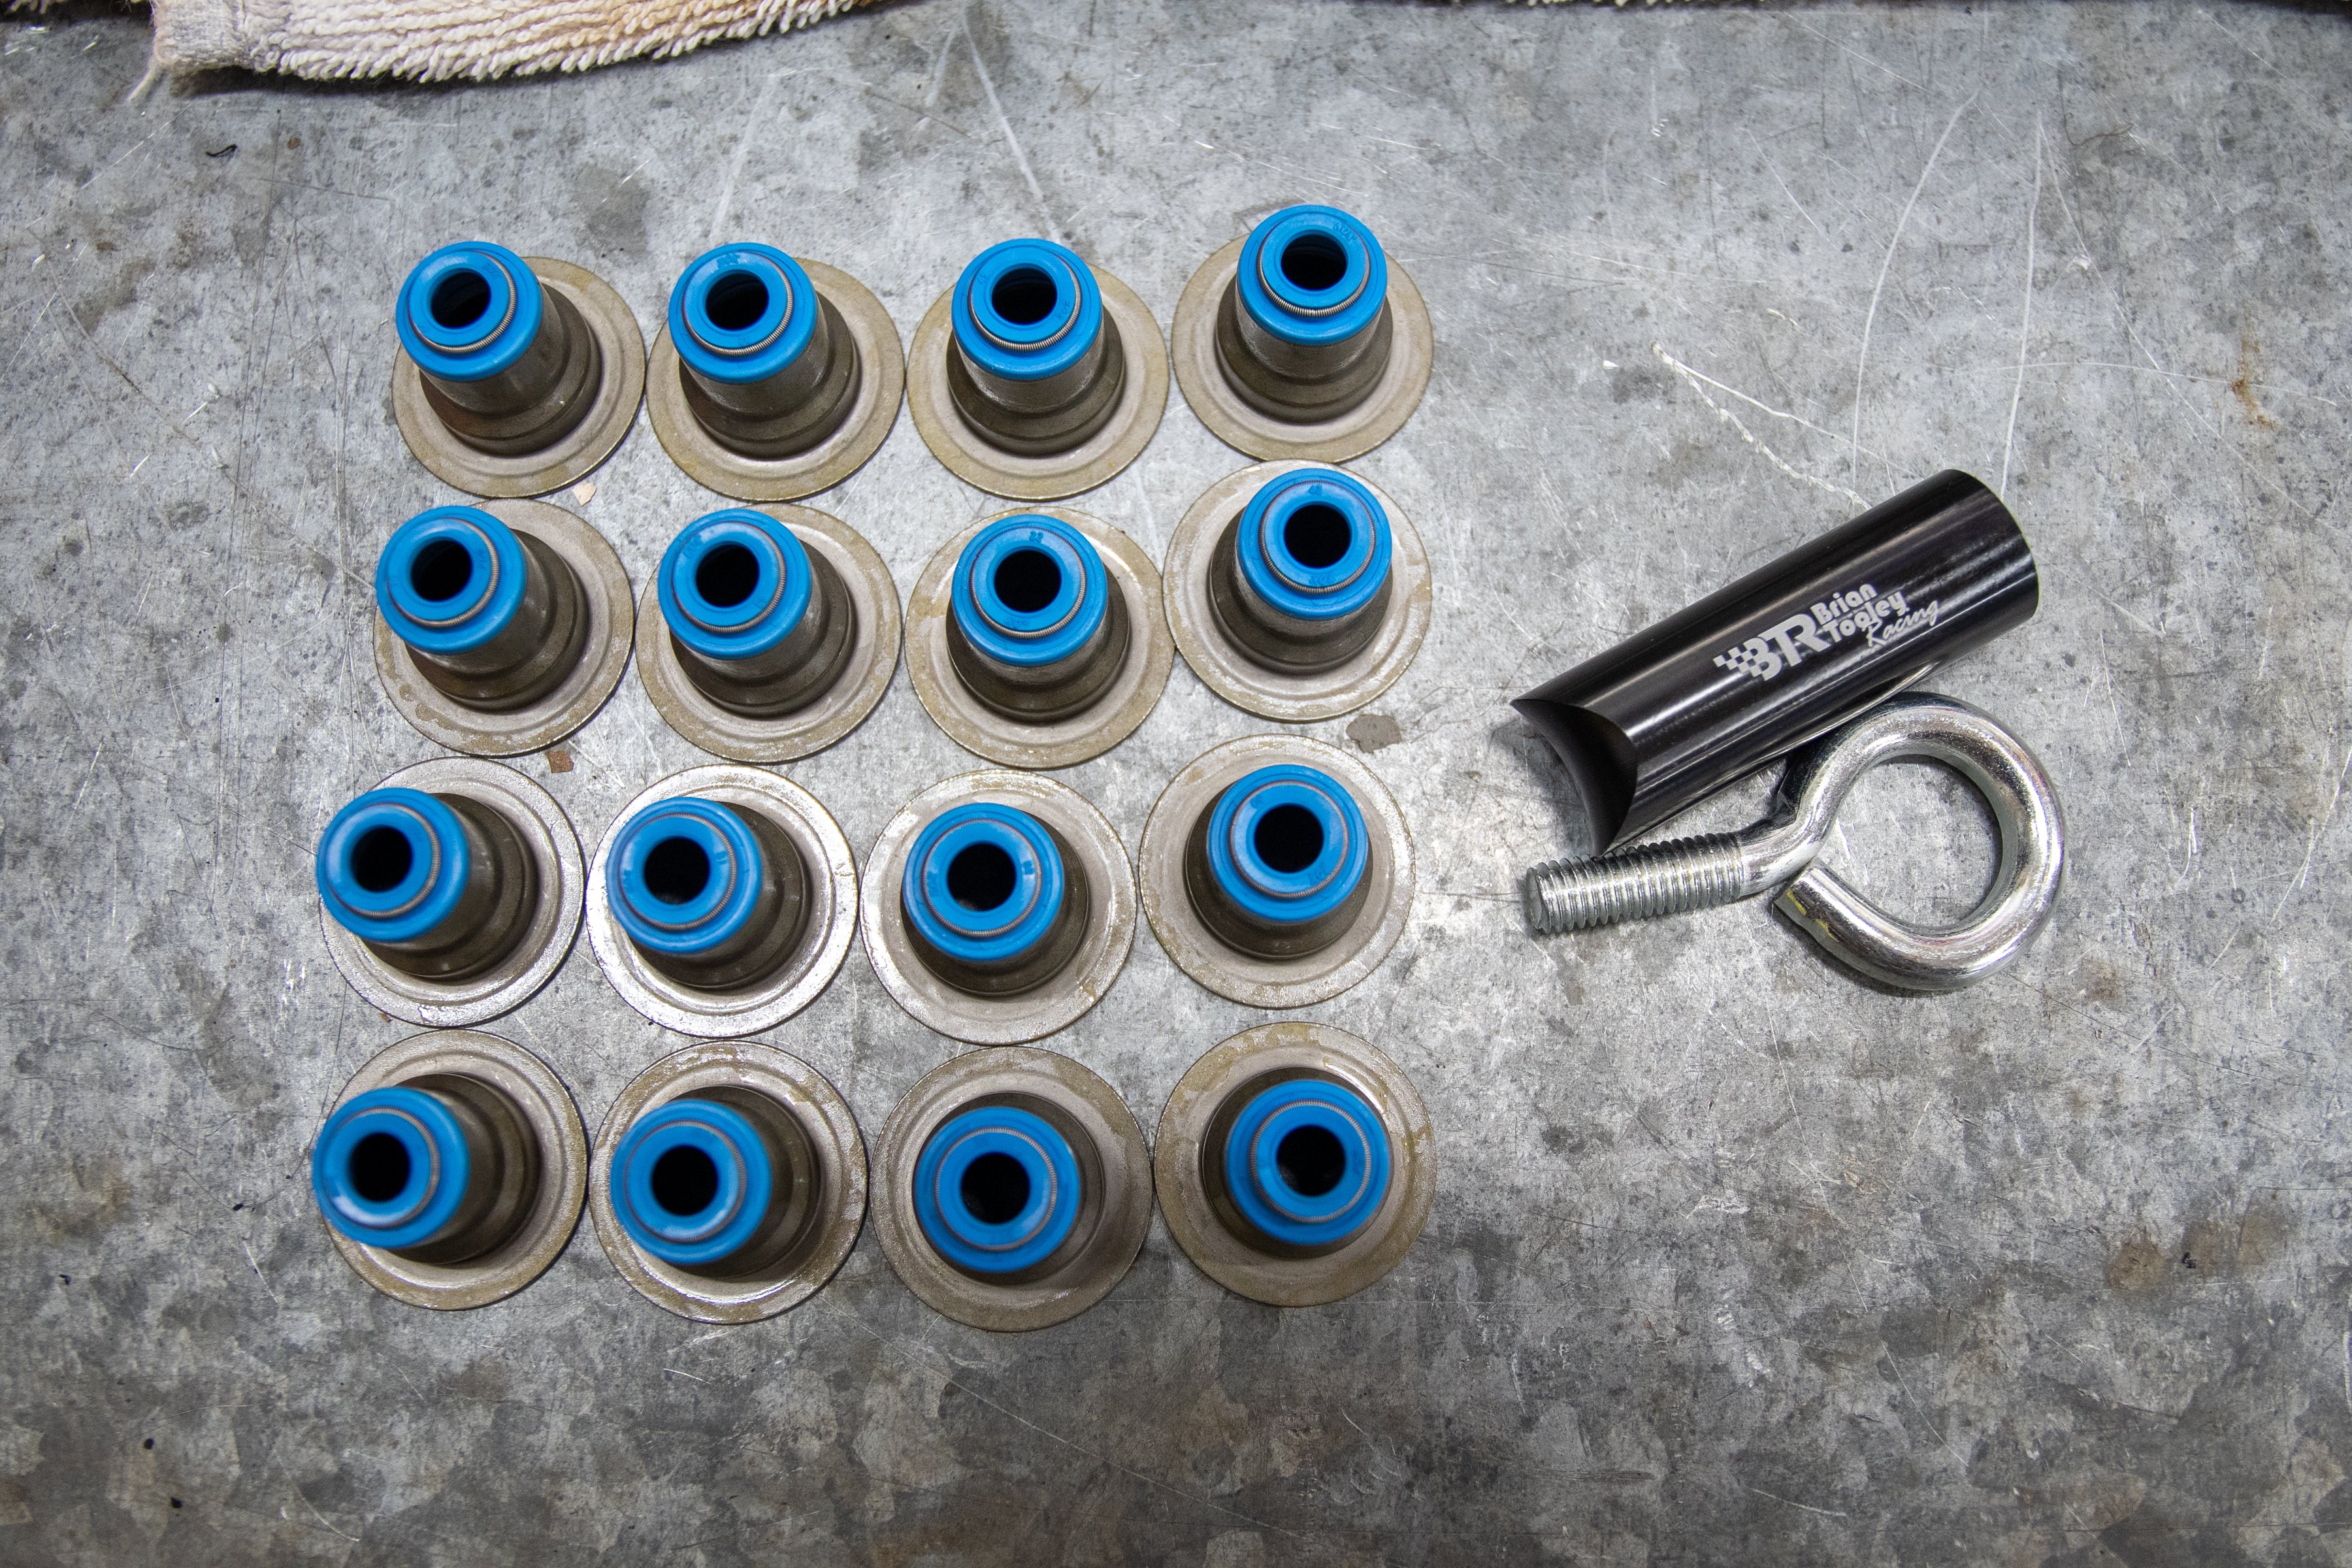
Replacing the valve seals on our heads was super easy with BTR's tool. This unit only costs $9.99 and is much better than using a socket and a hammer.
Back To The Build
Before we were ready to install the heads on the block we needed to install the new Melling Lifters (PN JB-2079) and lifter trays (PN MLG-100). When you rebuild an engine, make sure to use new lifter trays. When the trays get old, they won’t hold the lifters anymore if you decide to run a different cam. While there are workarounds for this problem, replacing them will save you a ton of time and headaches in the future. We hope you take our word for it because we speak from experience.
Under Pressure
Head gaskets are an essential part of any engine, and with the technology of multi-layer steel (MLS) gaskets, sealing off the heads is a sure bet. For this build, we selected a set of Cometic’s for our stock bore 5.3-liter.
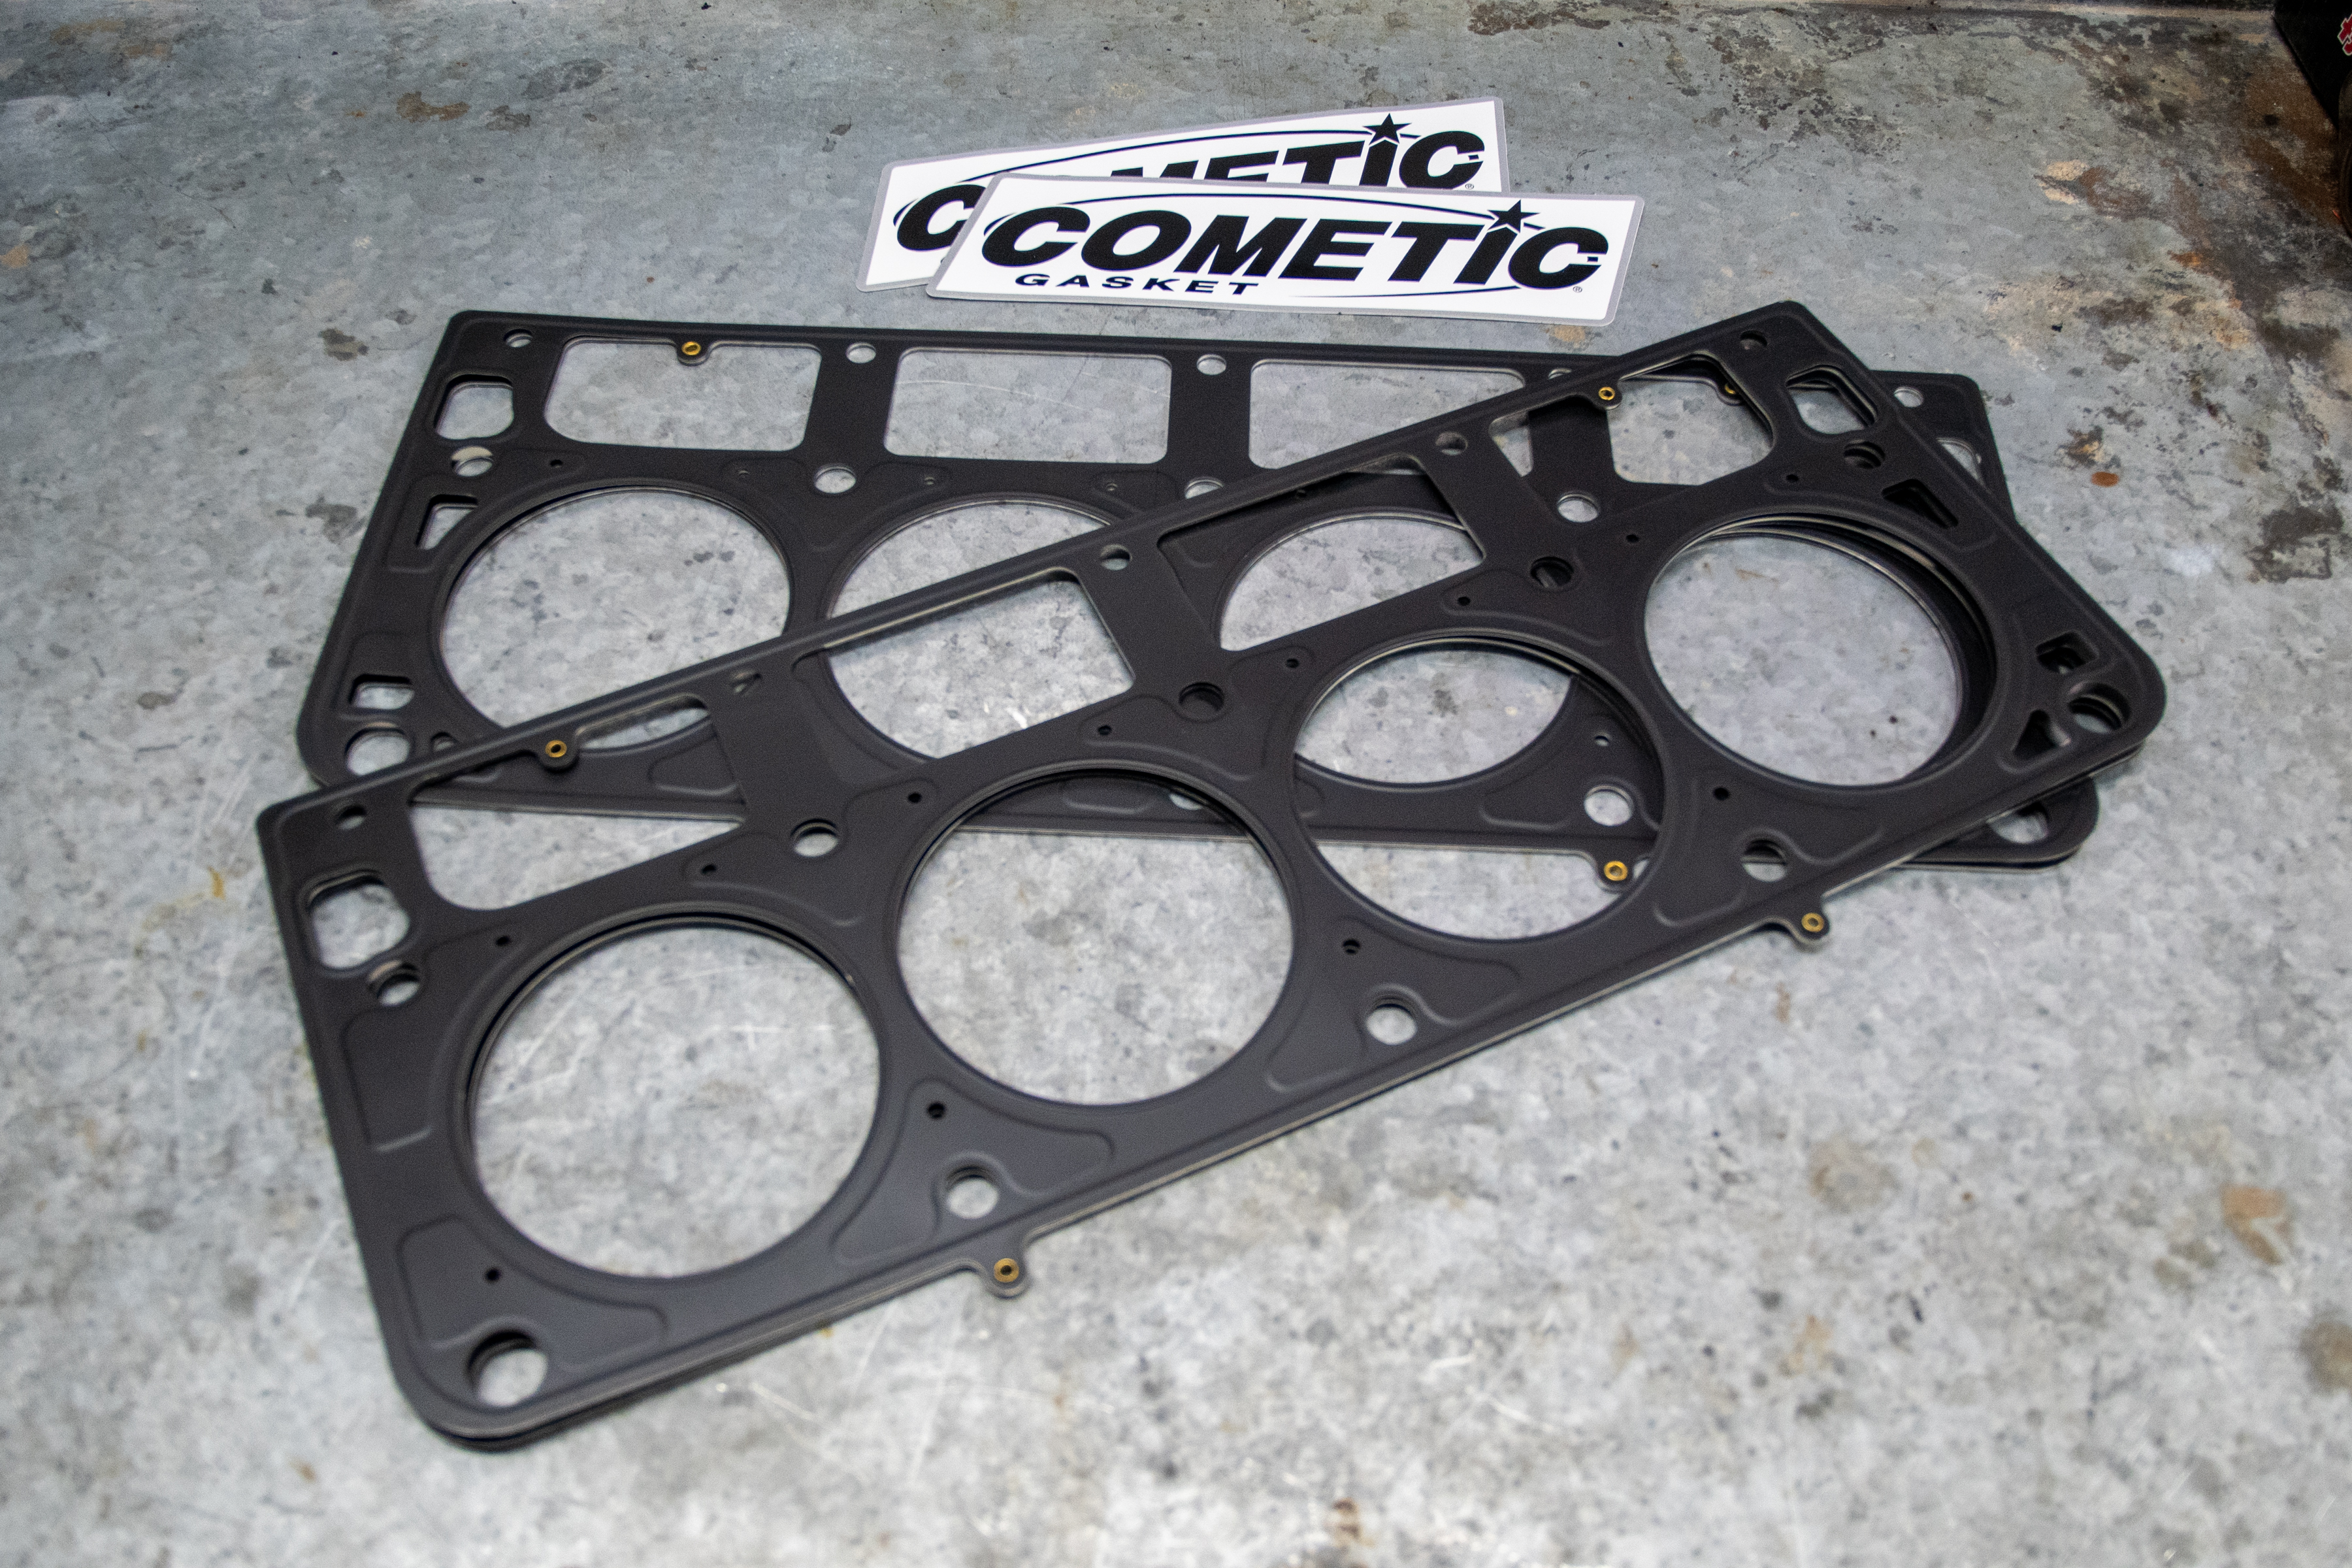
Cometic MLS head gaskets are created from multiple layers of stainless steel for strength and contain load-controlled embossments that yield load distribution across the entire sealing area. This design requires less clamp load, which likewise results in less bore distortion. The company uses an FKM rubber coating on the stainless steel outside layer. A topcoat of Polytetrafluoroethylene (PTFE) helps with fret while increasing cold sealing. Cometic MLS head gaskets don’t need any sealant, and there’s no need to re-torque them after they are installed.

Before installing the gaskets (PN 5475-051) on the engine, we made sure to chase all of the bolts holes to clean the threads. We then put the Cometic gaskets in place and set the heads on the block.
Head Bolts Or Studs
There’s no doubt that studs are a better option when compared to bolts, as they are a better fastener by design. We reached out to Chris Raschke, Director of Sales and Marketing at ARP, to get his expert advice on what we needed.
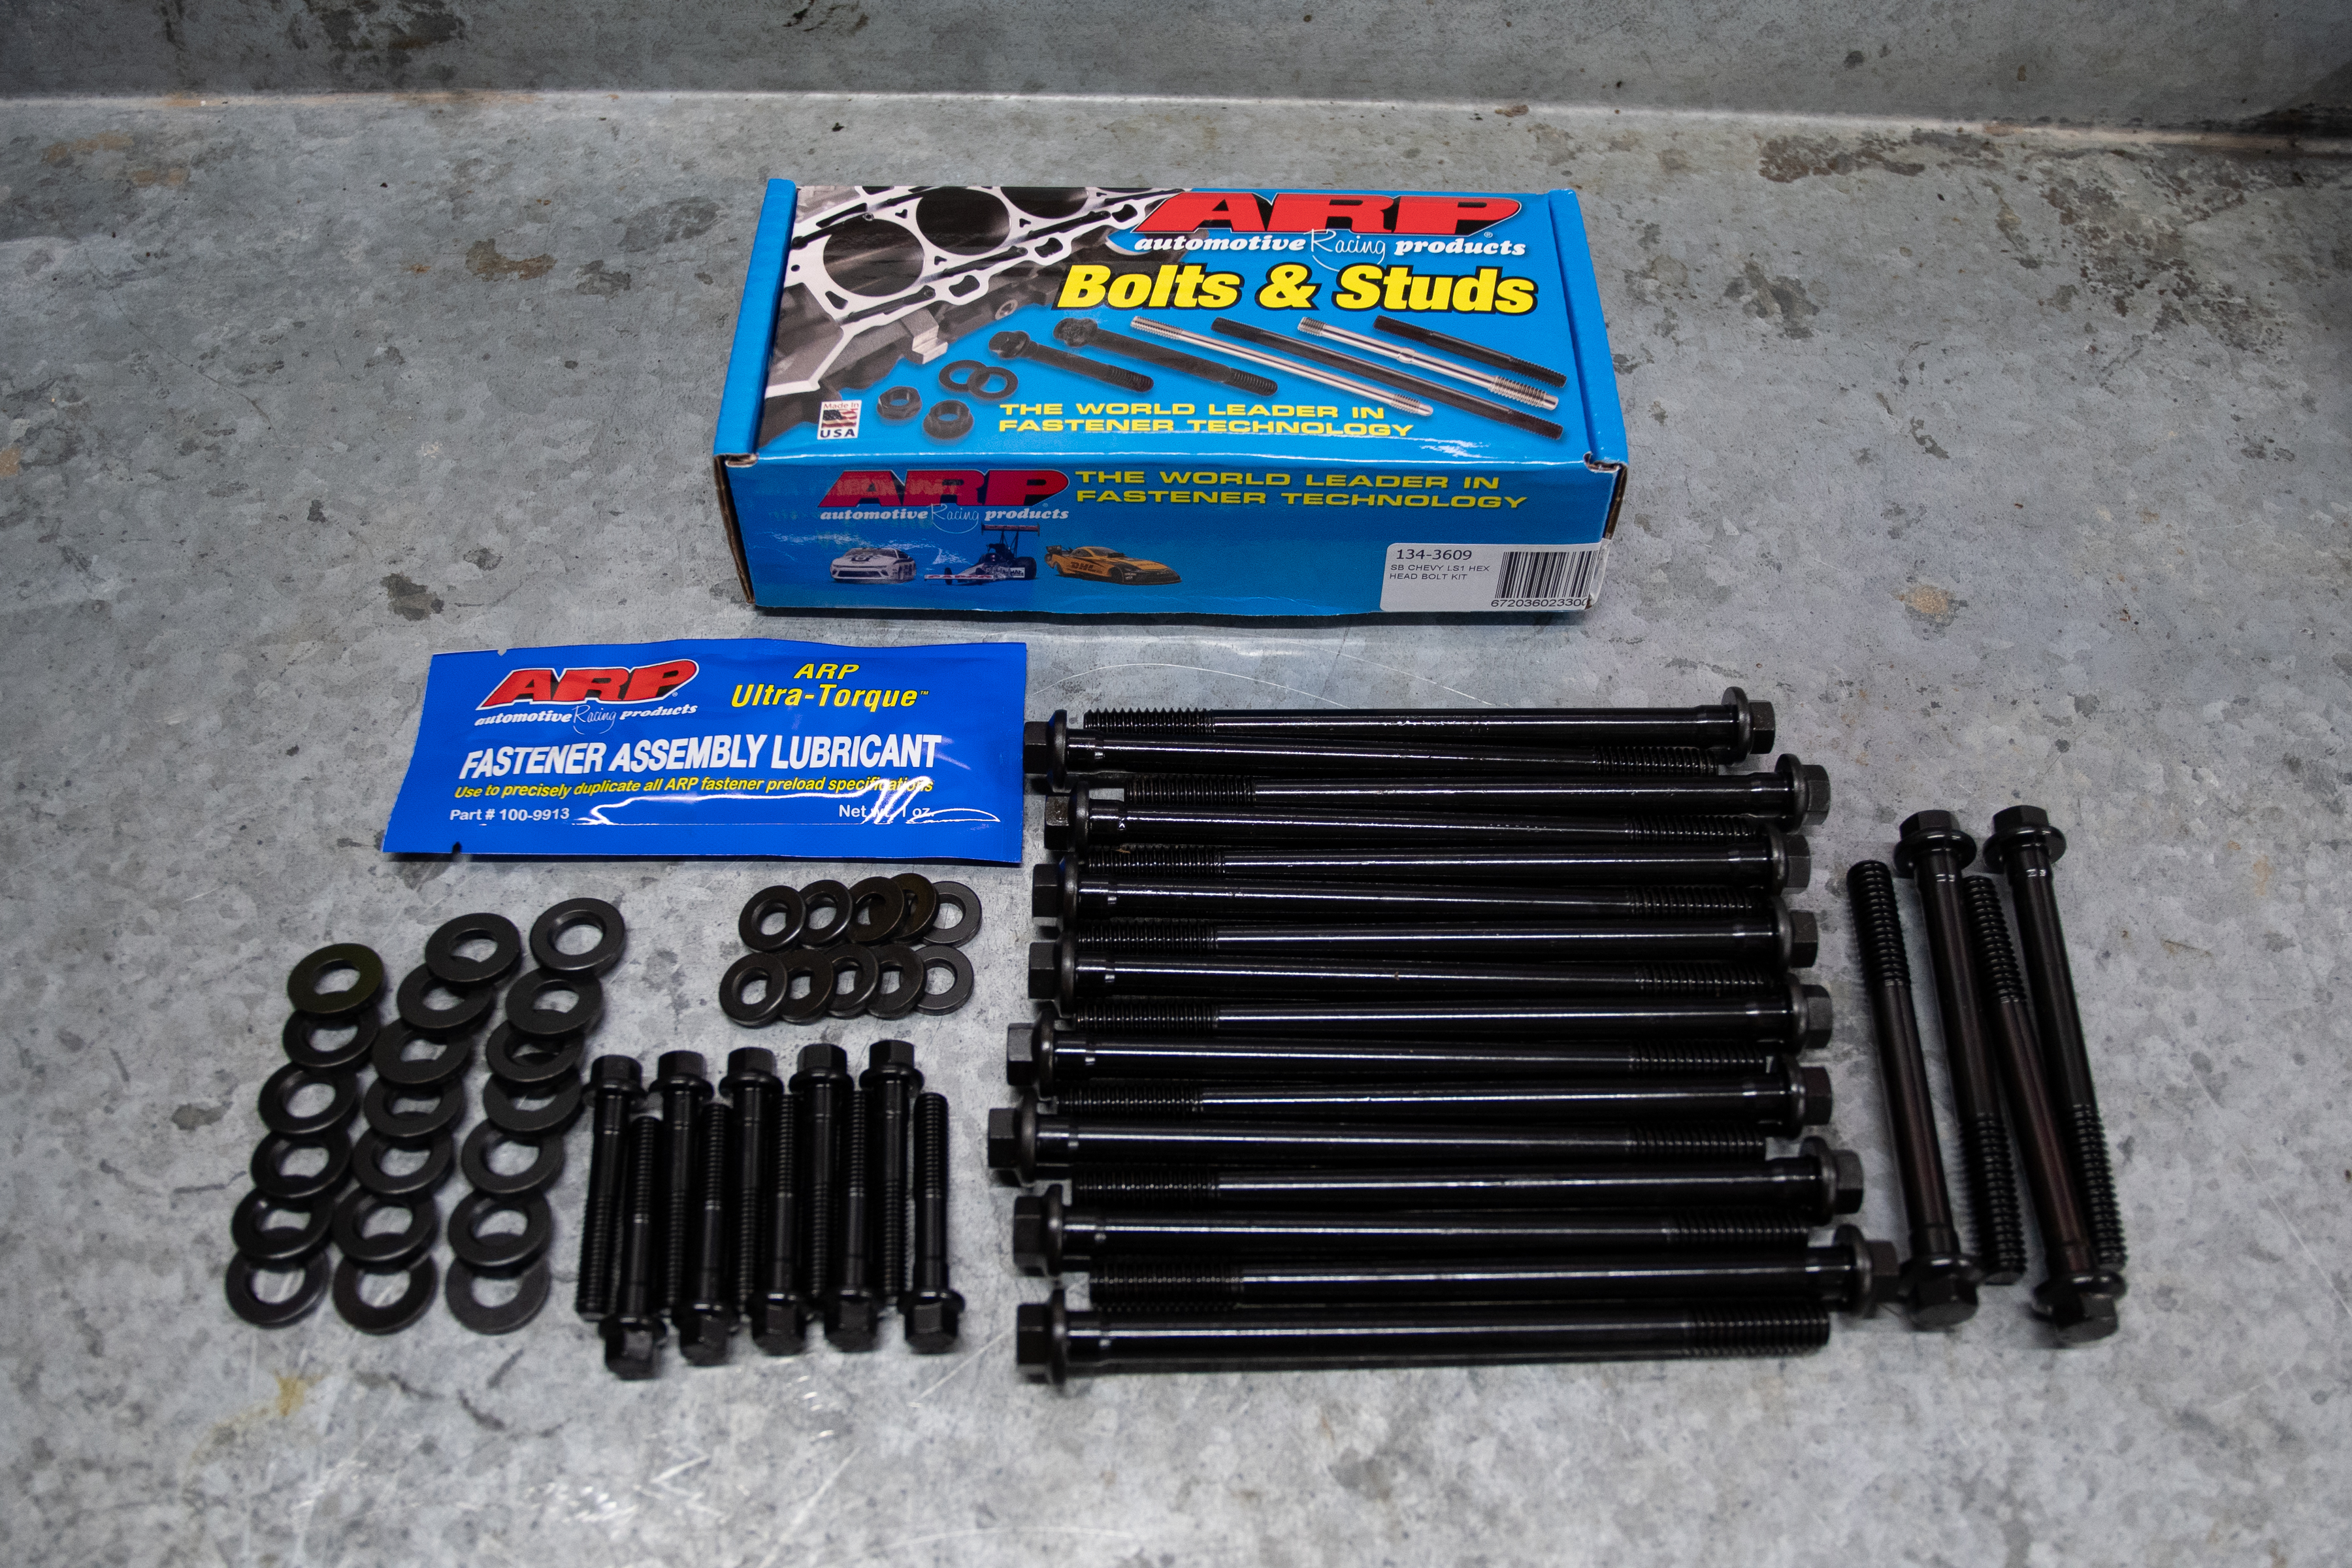
ARP offers head bolts and studs for the LS engine. You will need to know if your powerplant is a GEN III or GEN IV before ordering.
“For most naturally-aspirated/non-nitrous power levels, bolts work fine. The major thing to consider is the ease of installation with bolts. Although studs are the best choice, on some applications the heads can’t be installed in a vehicle if the studs are installed,” Raschke explains.
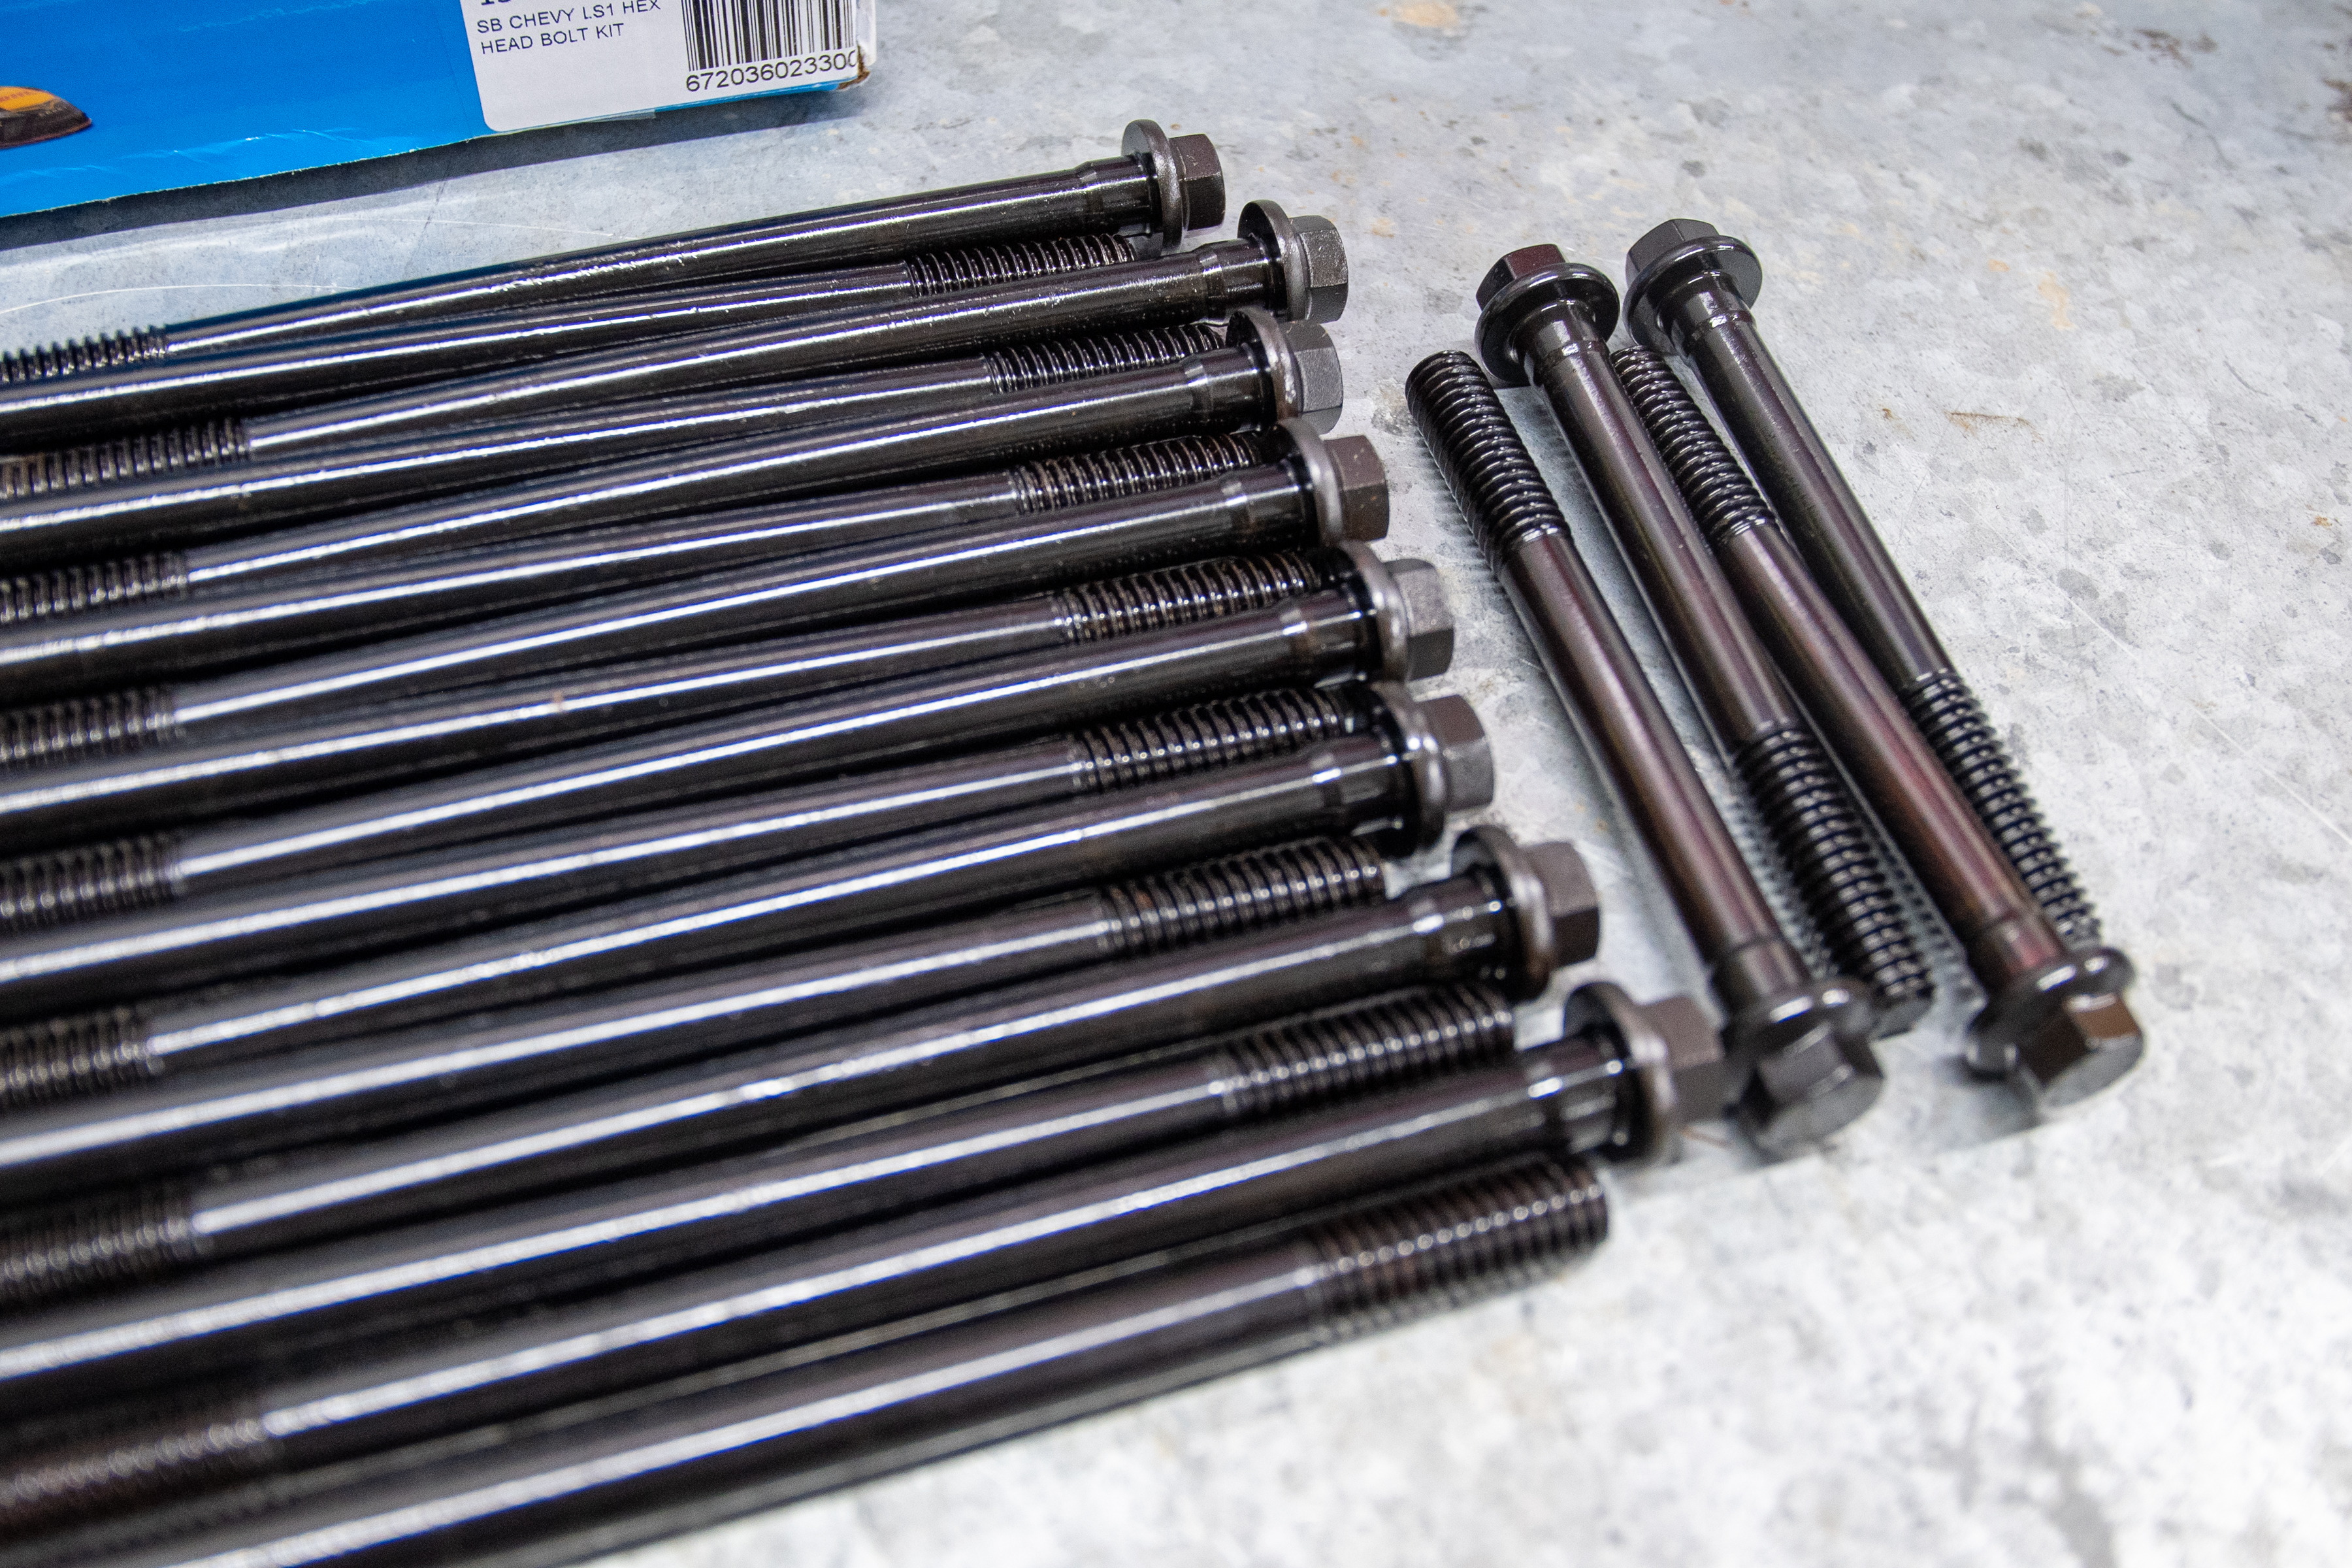
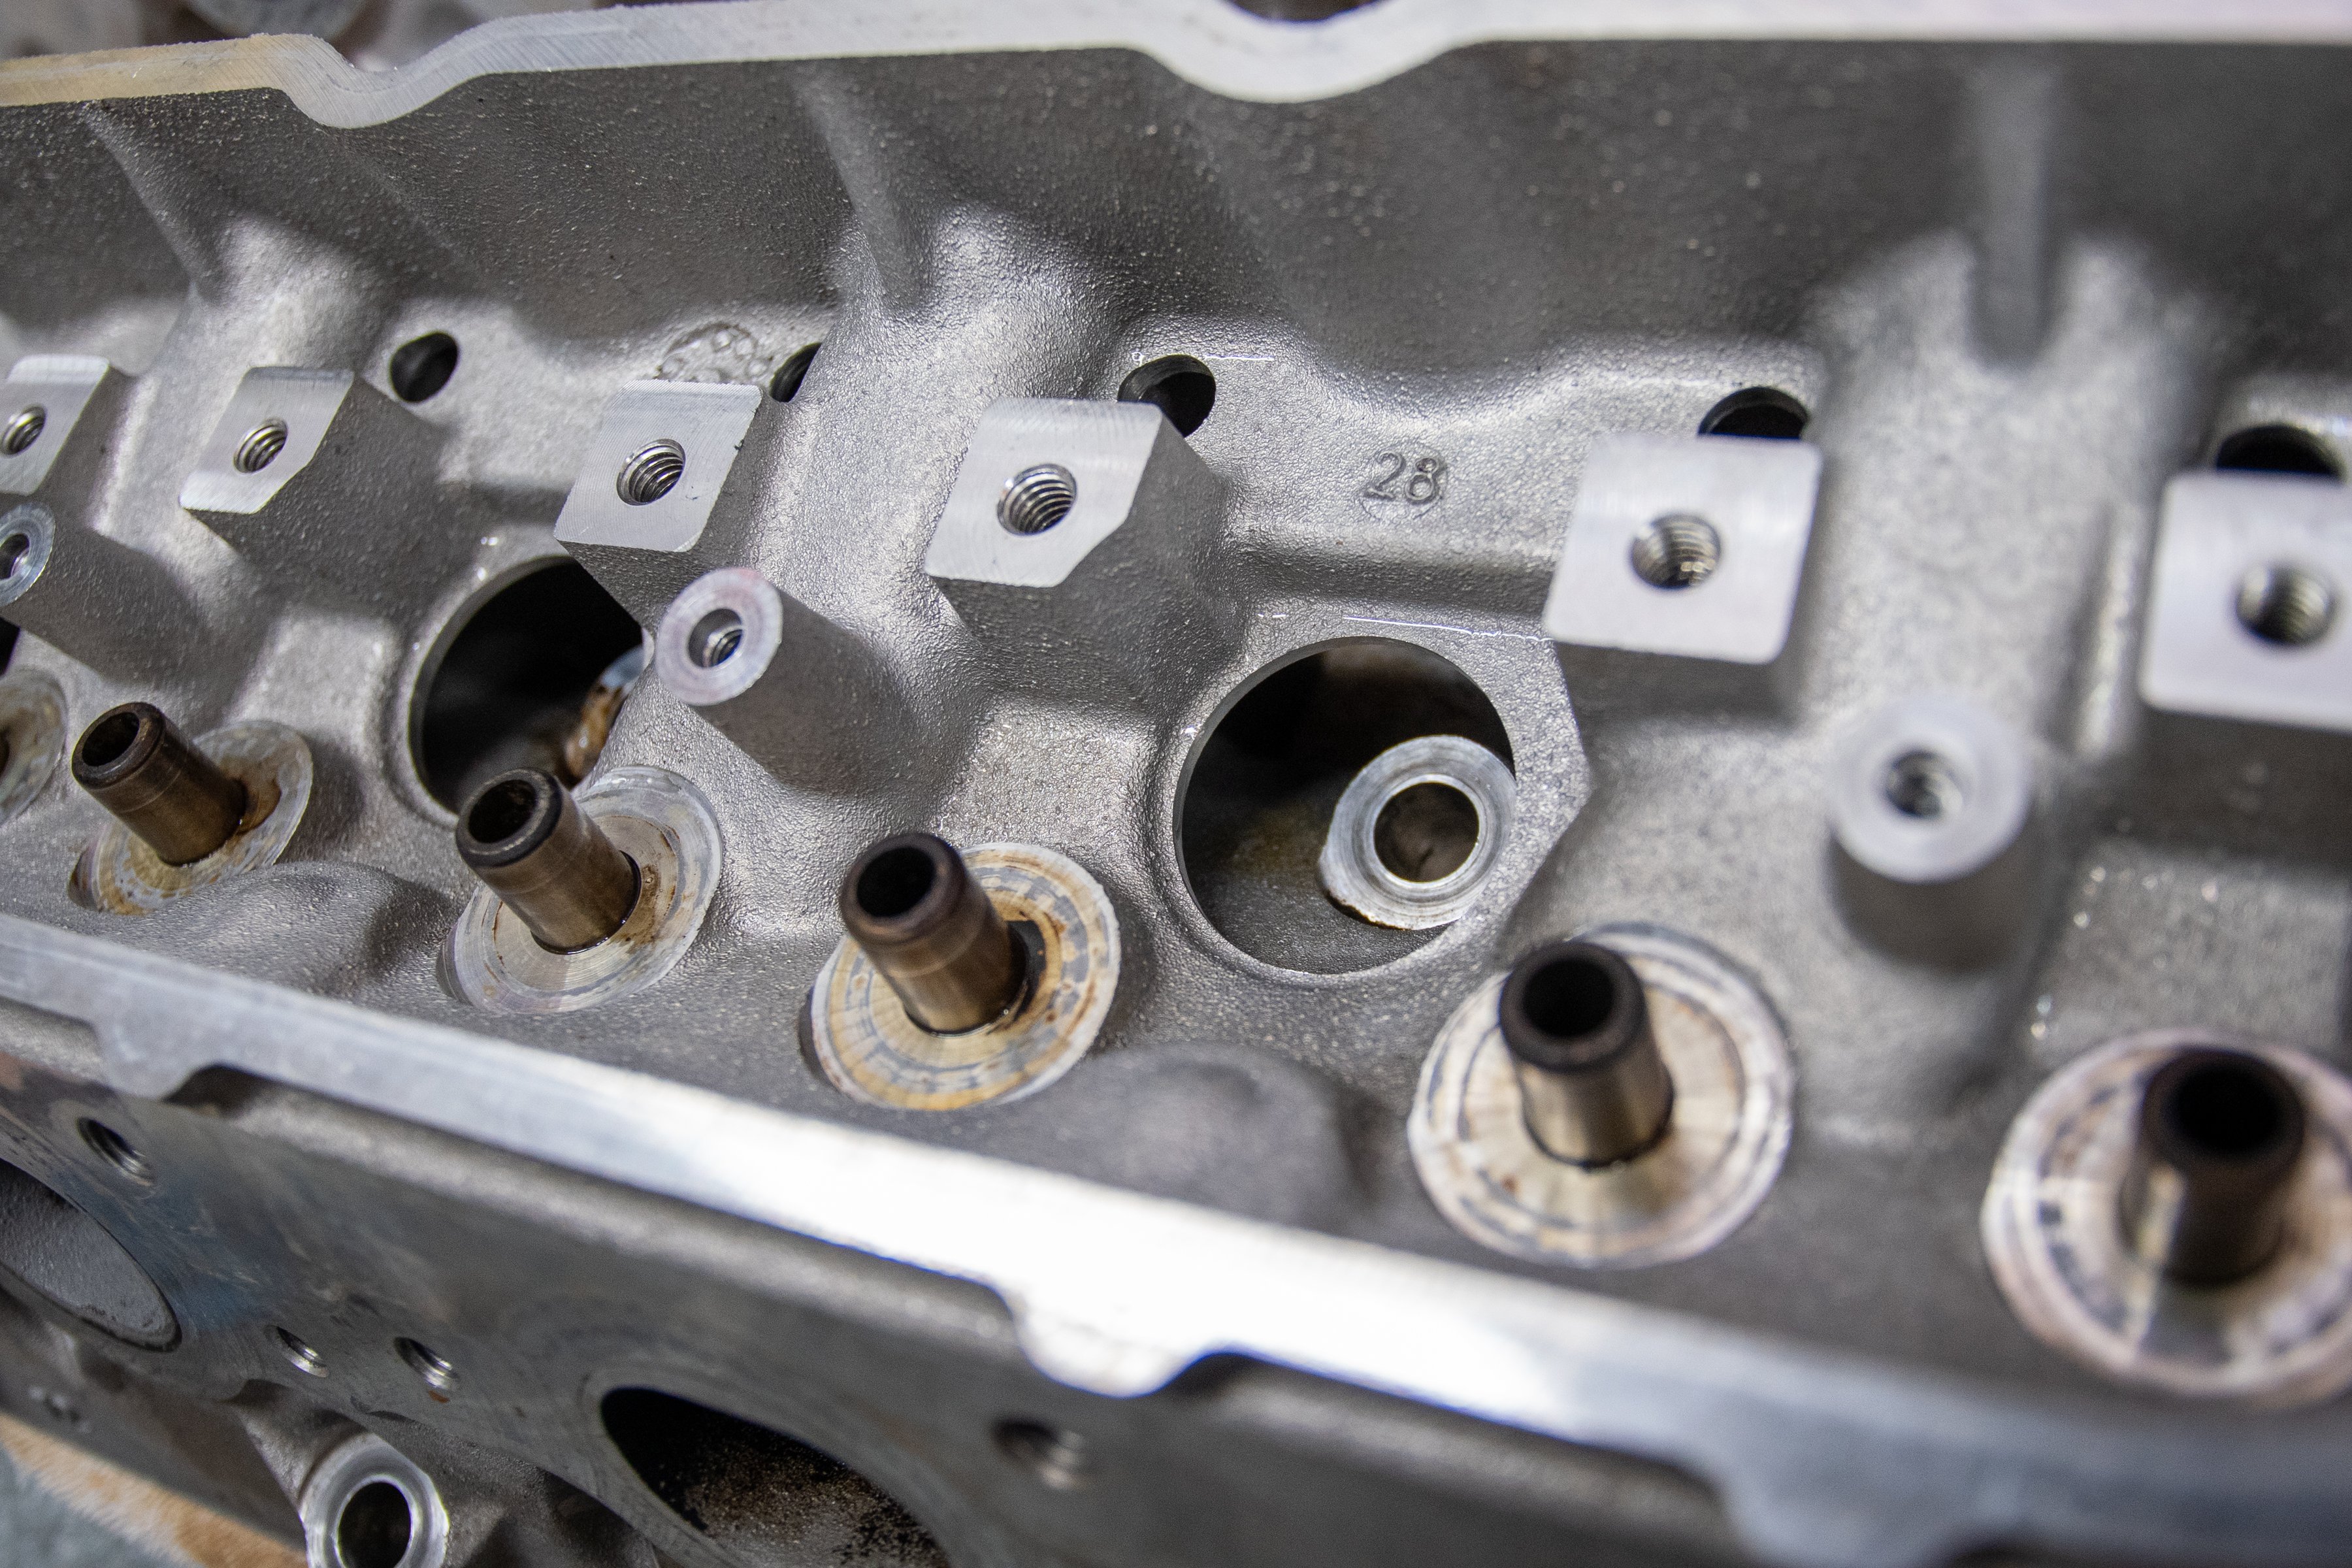
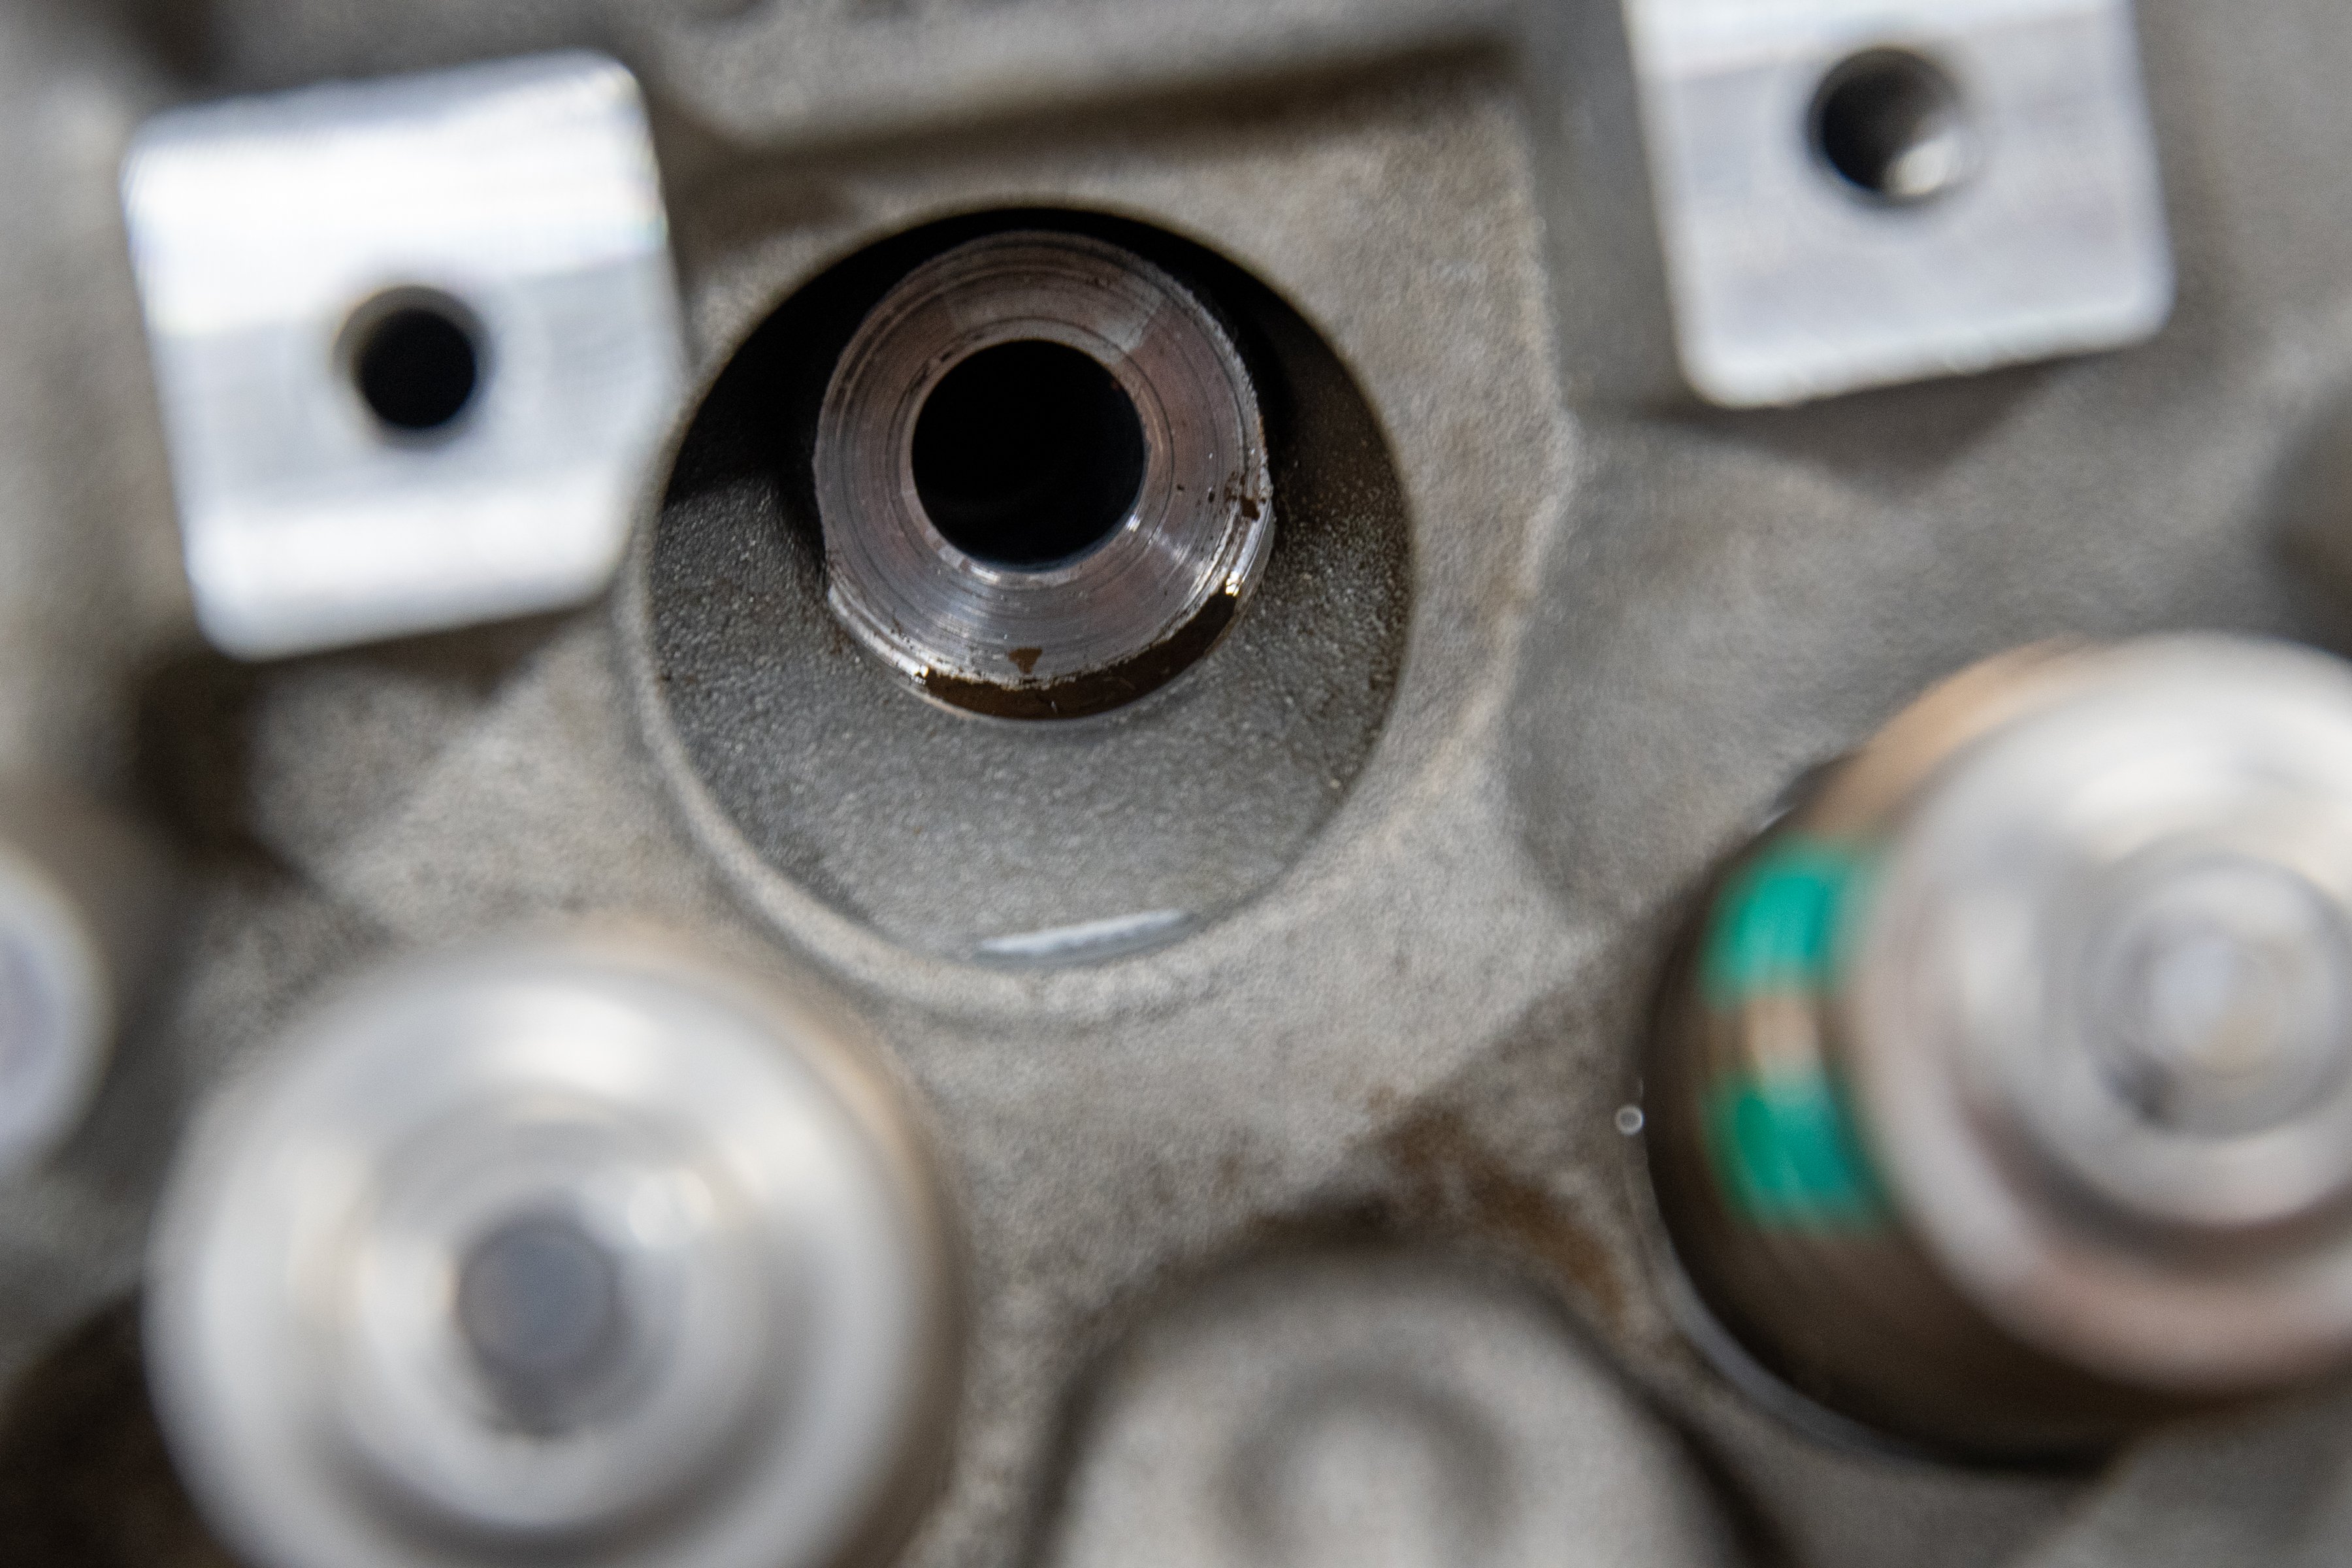
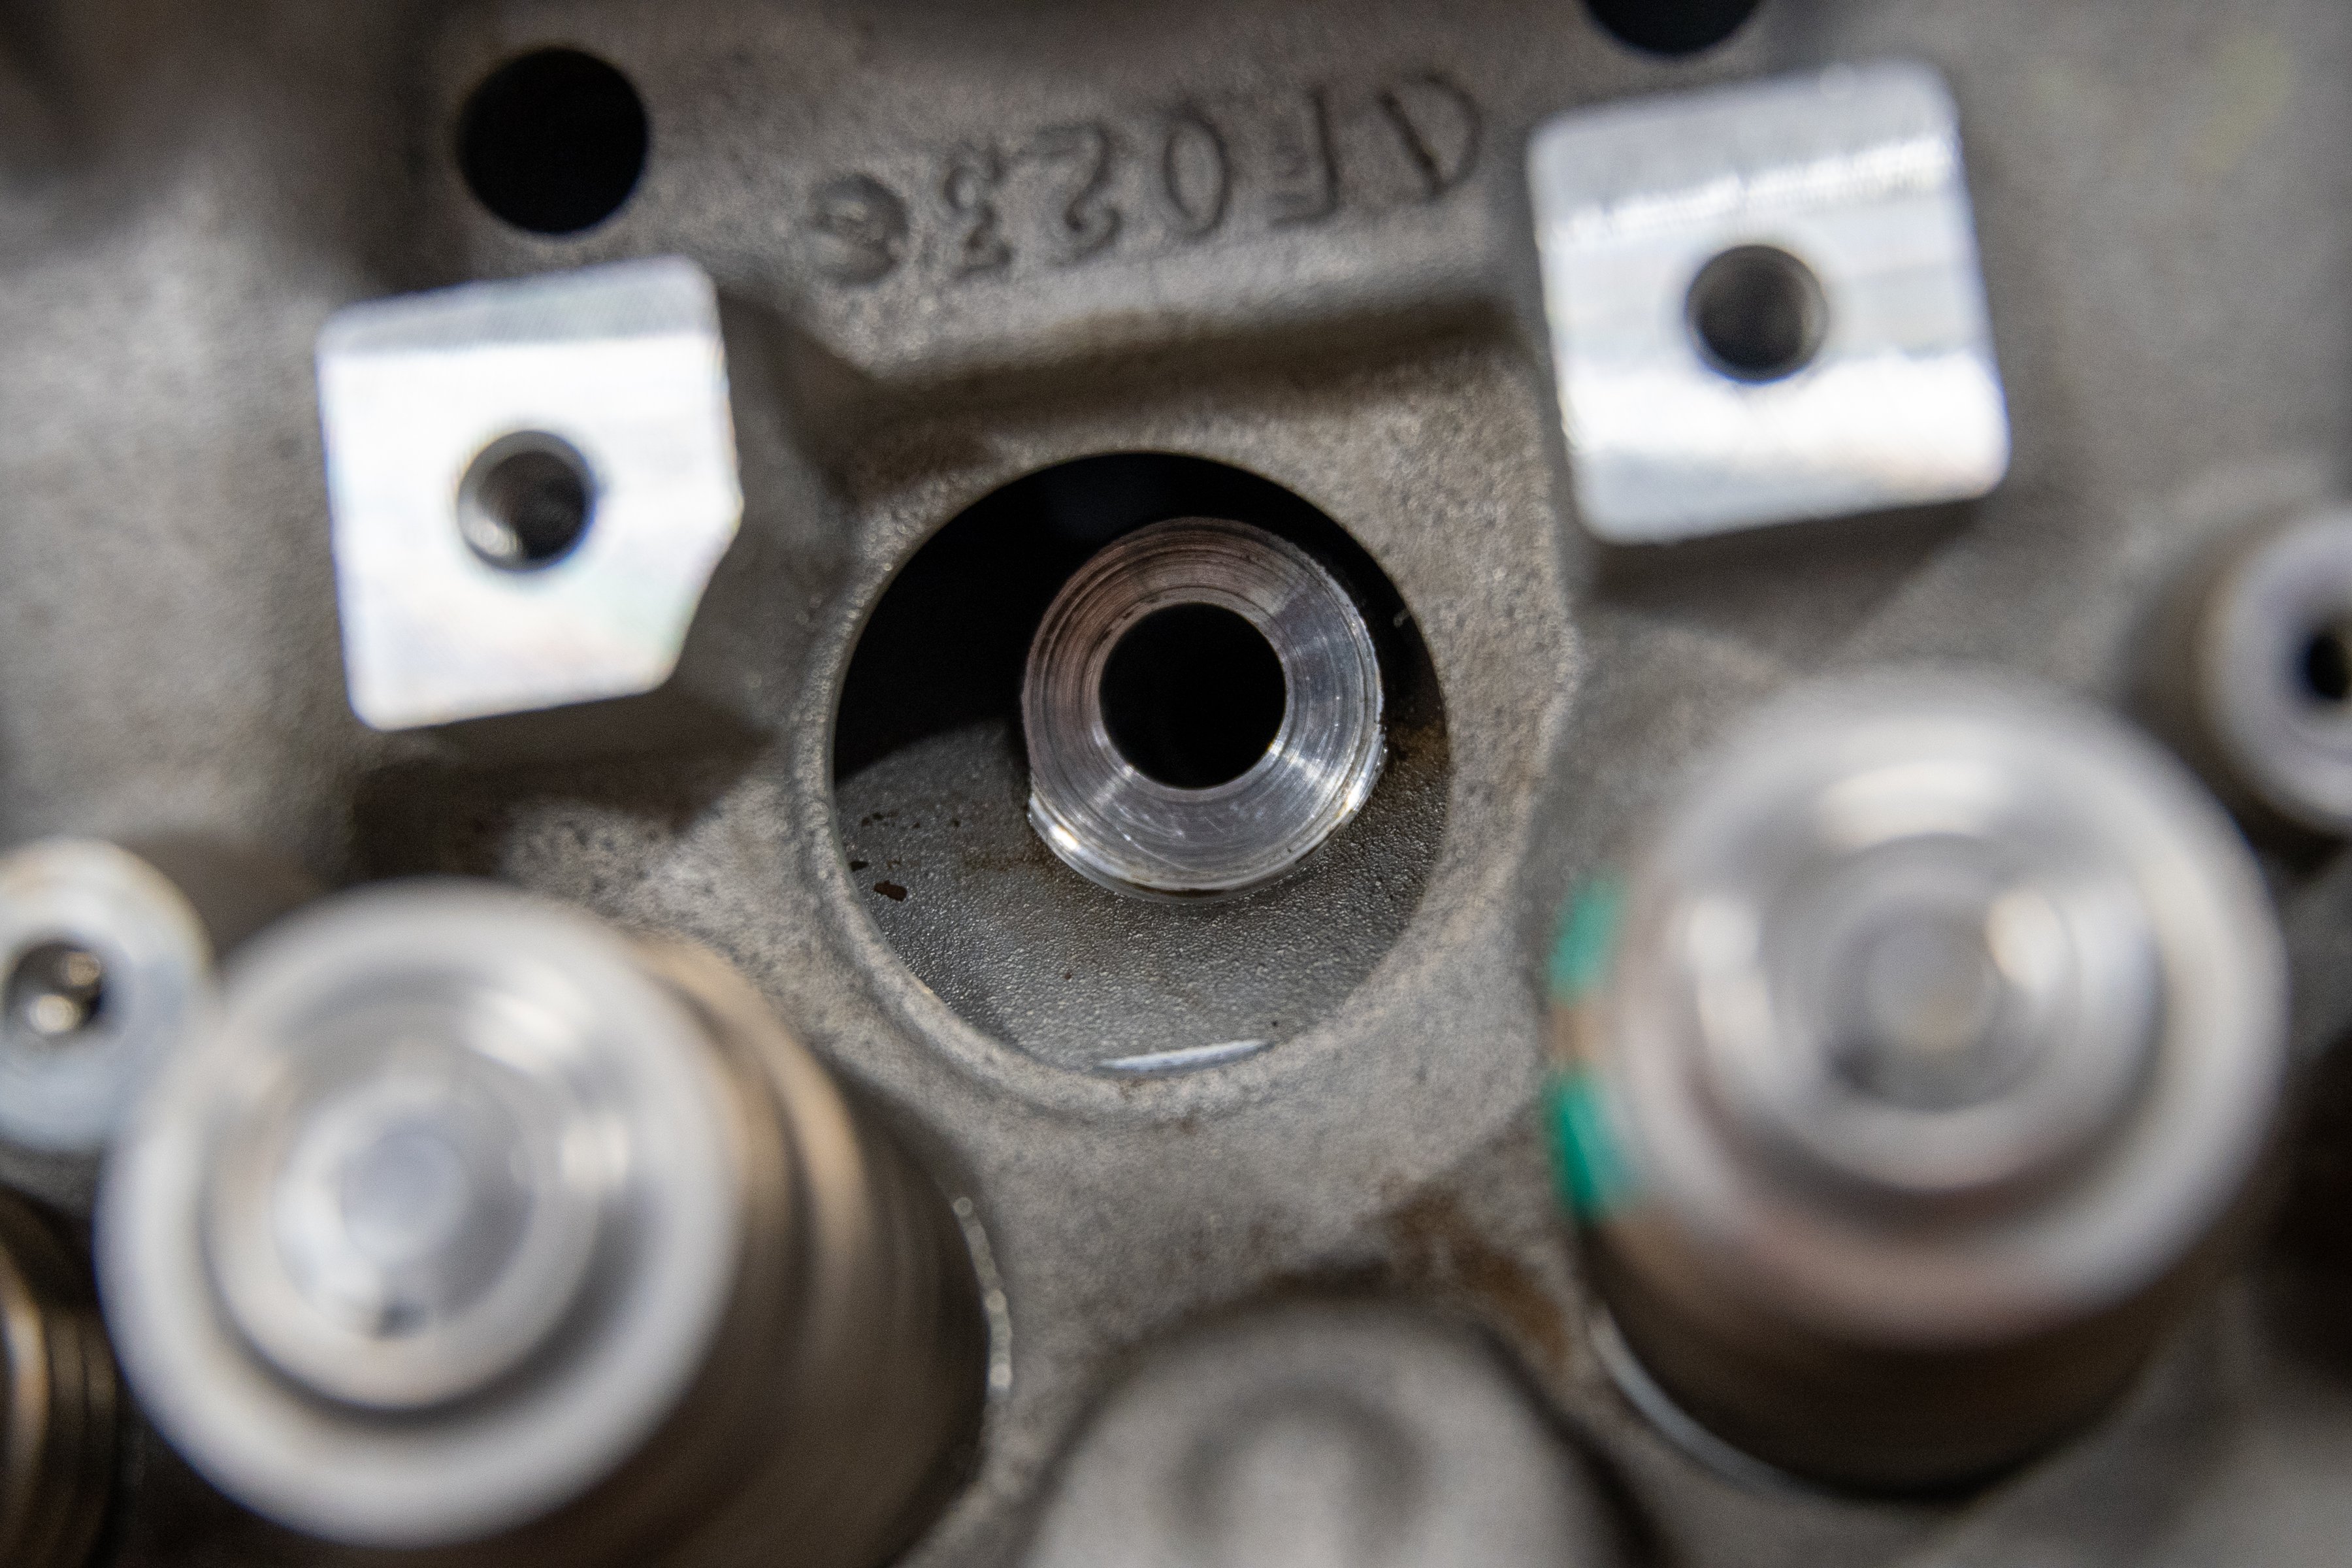
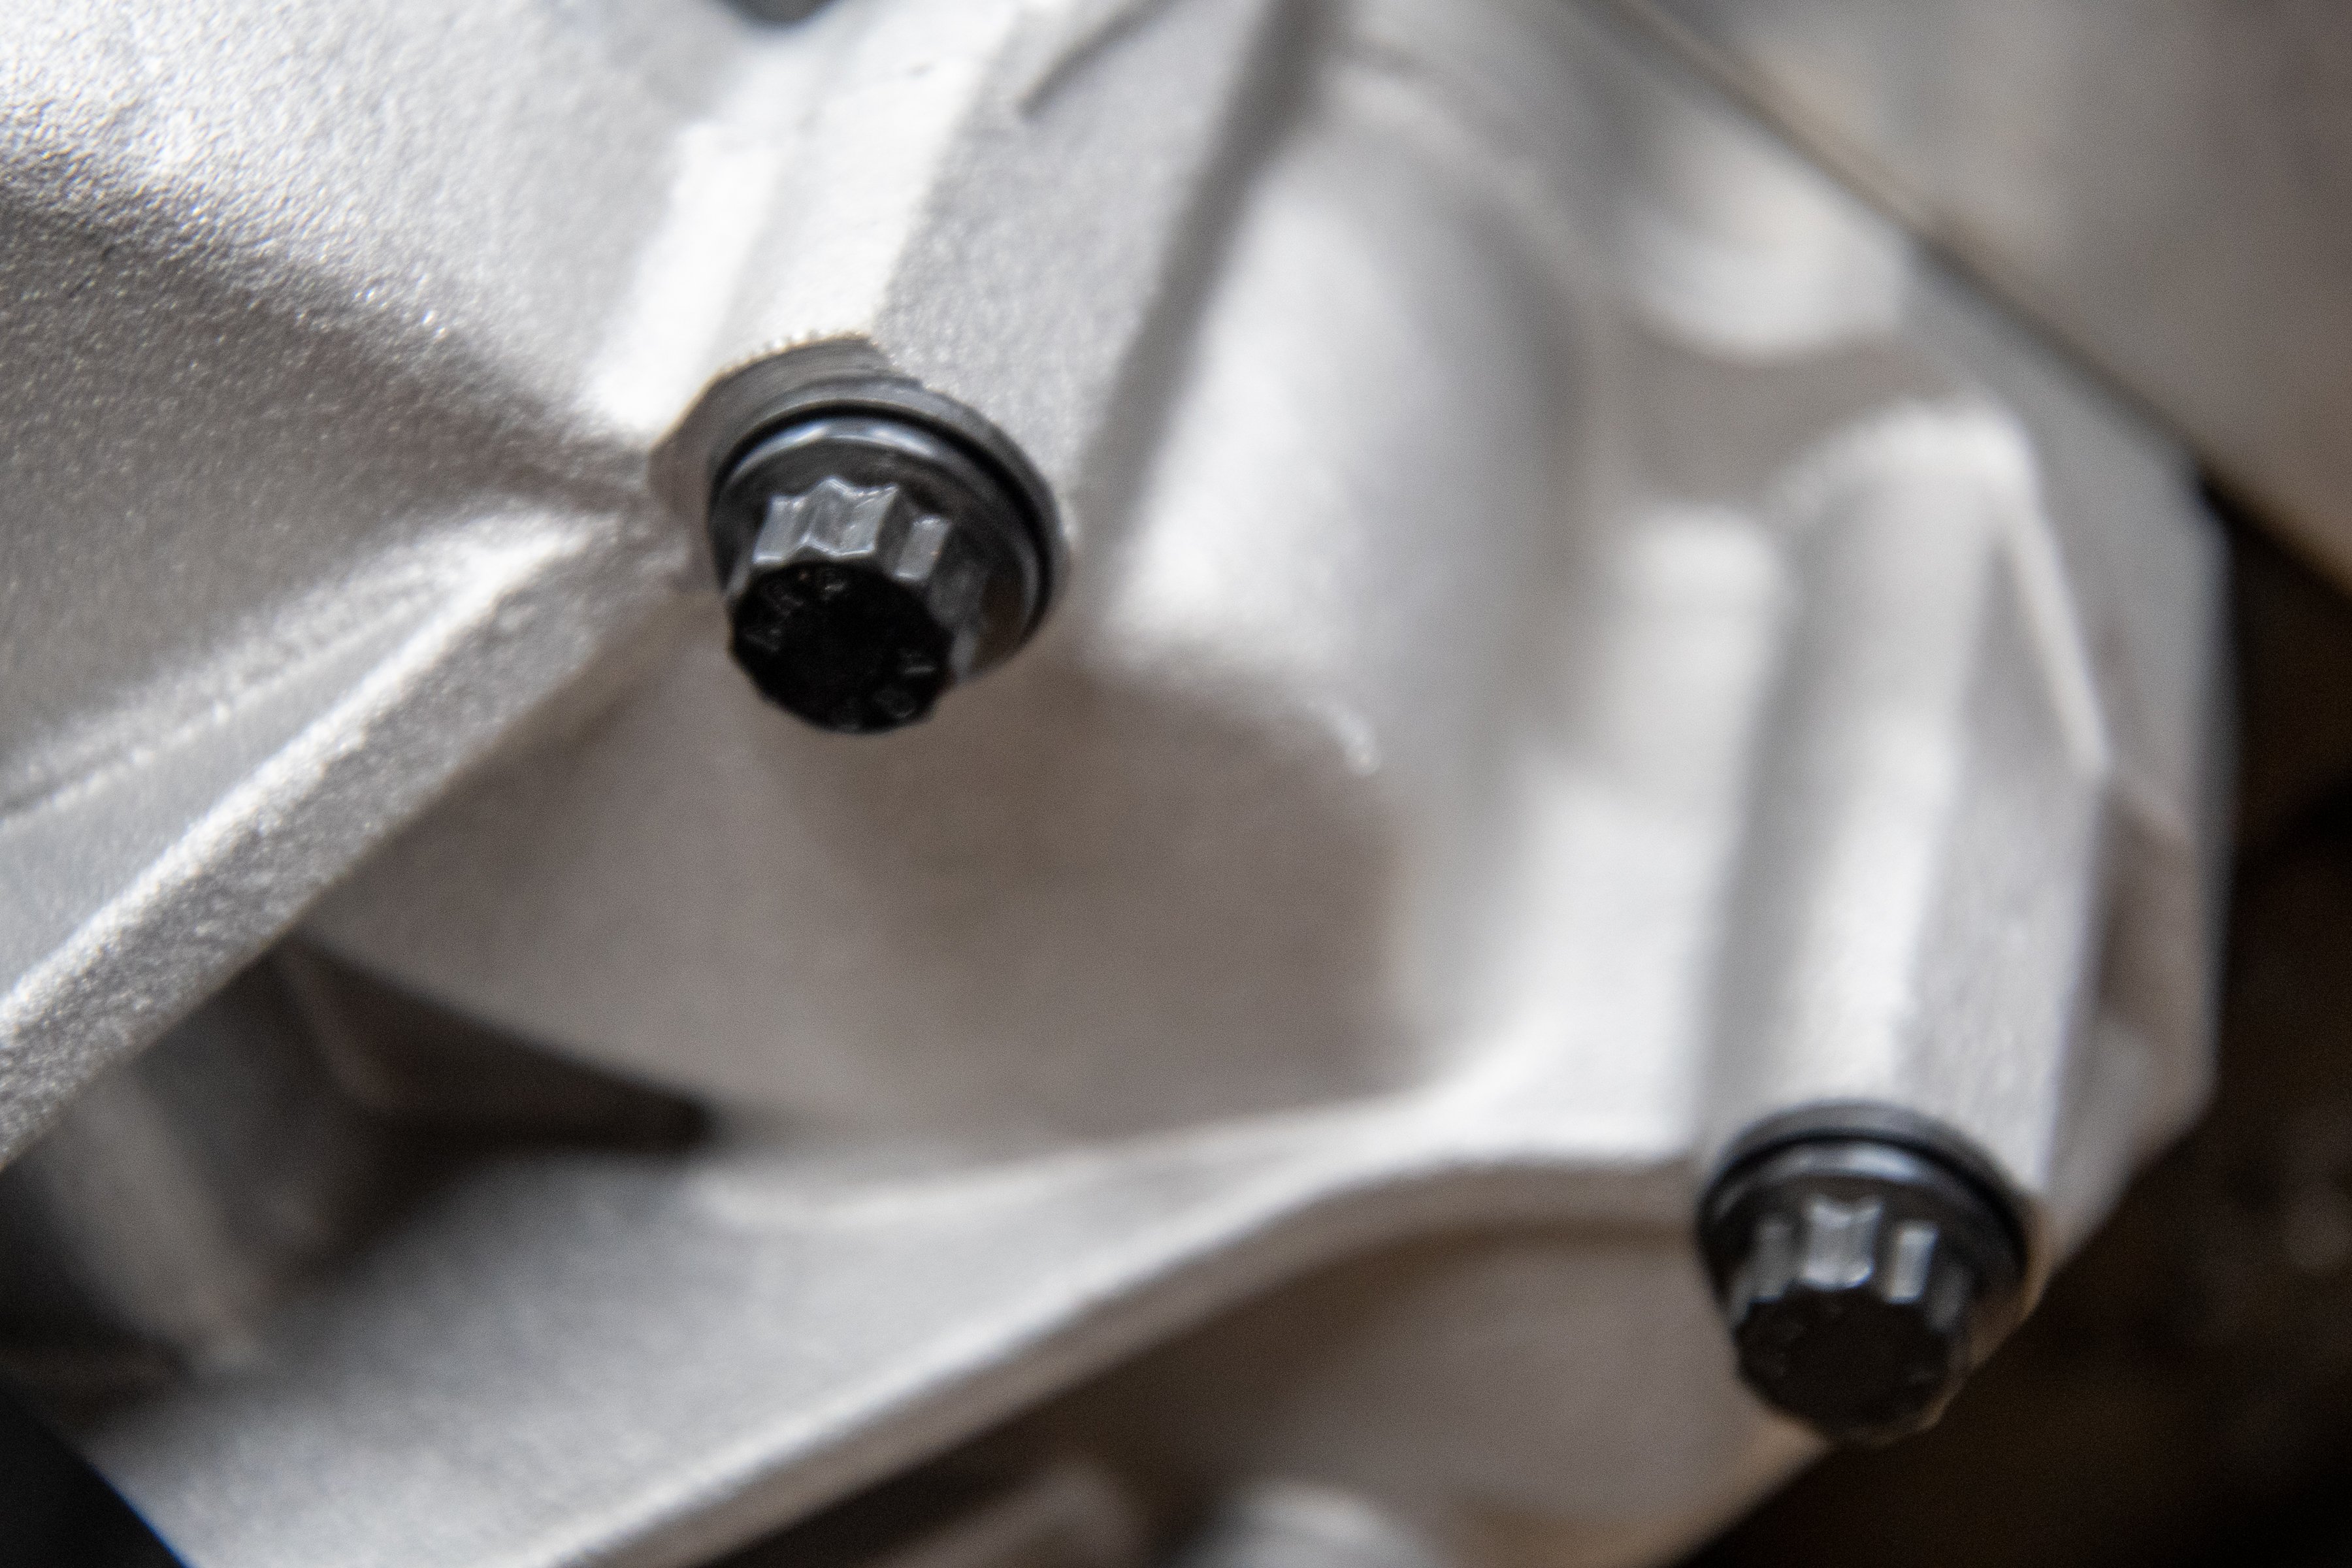
Our engine was a GEN III, which uses four short head bolts shown in the image above.
Because our engine is a relatively mild build that will make its way into a daily driver of some sort, it made sense to use ARP head bolts — they’re less expensive than studs, offer plenty of clamping force for our application, and are easy to install. If we need to remove a head with the engine in the car, we don’t have to worry about fighting with a brake booster or cowl panel. While studs are better, they can also be a hassle.
If you’re planning to use a power adder, studs are recommended. Raschke said, “Anytime you add a power adder into the application, I would consider using studs. Another thing to contemplate: if you’re using an aluminum block, is the wear on the threads in the block?”
A great thing about using ARP bolts over the GM torque to yield (TTY) fasteners is that they have more clamping force and can be reused, so if we do need to pull the head, we don’t have to buy new bolts. This will probably save us money in the long run since we’re constantly playing with our engine combination.
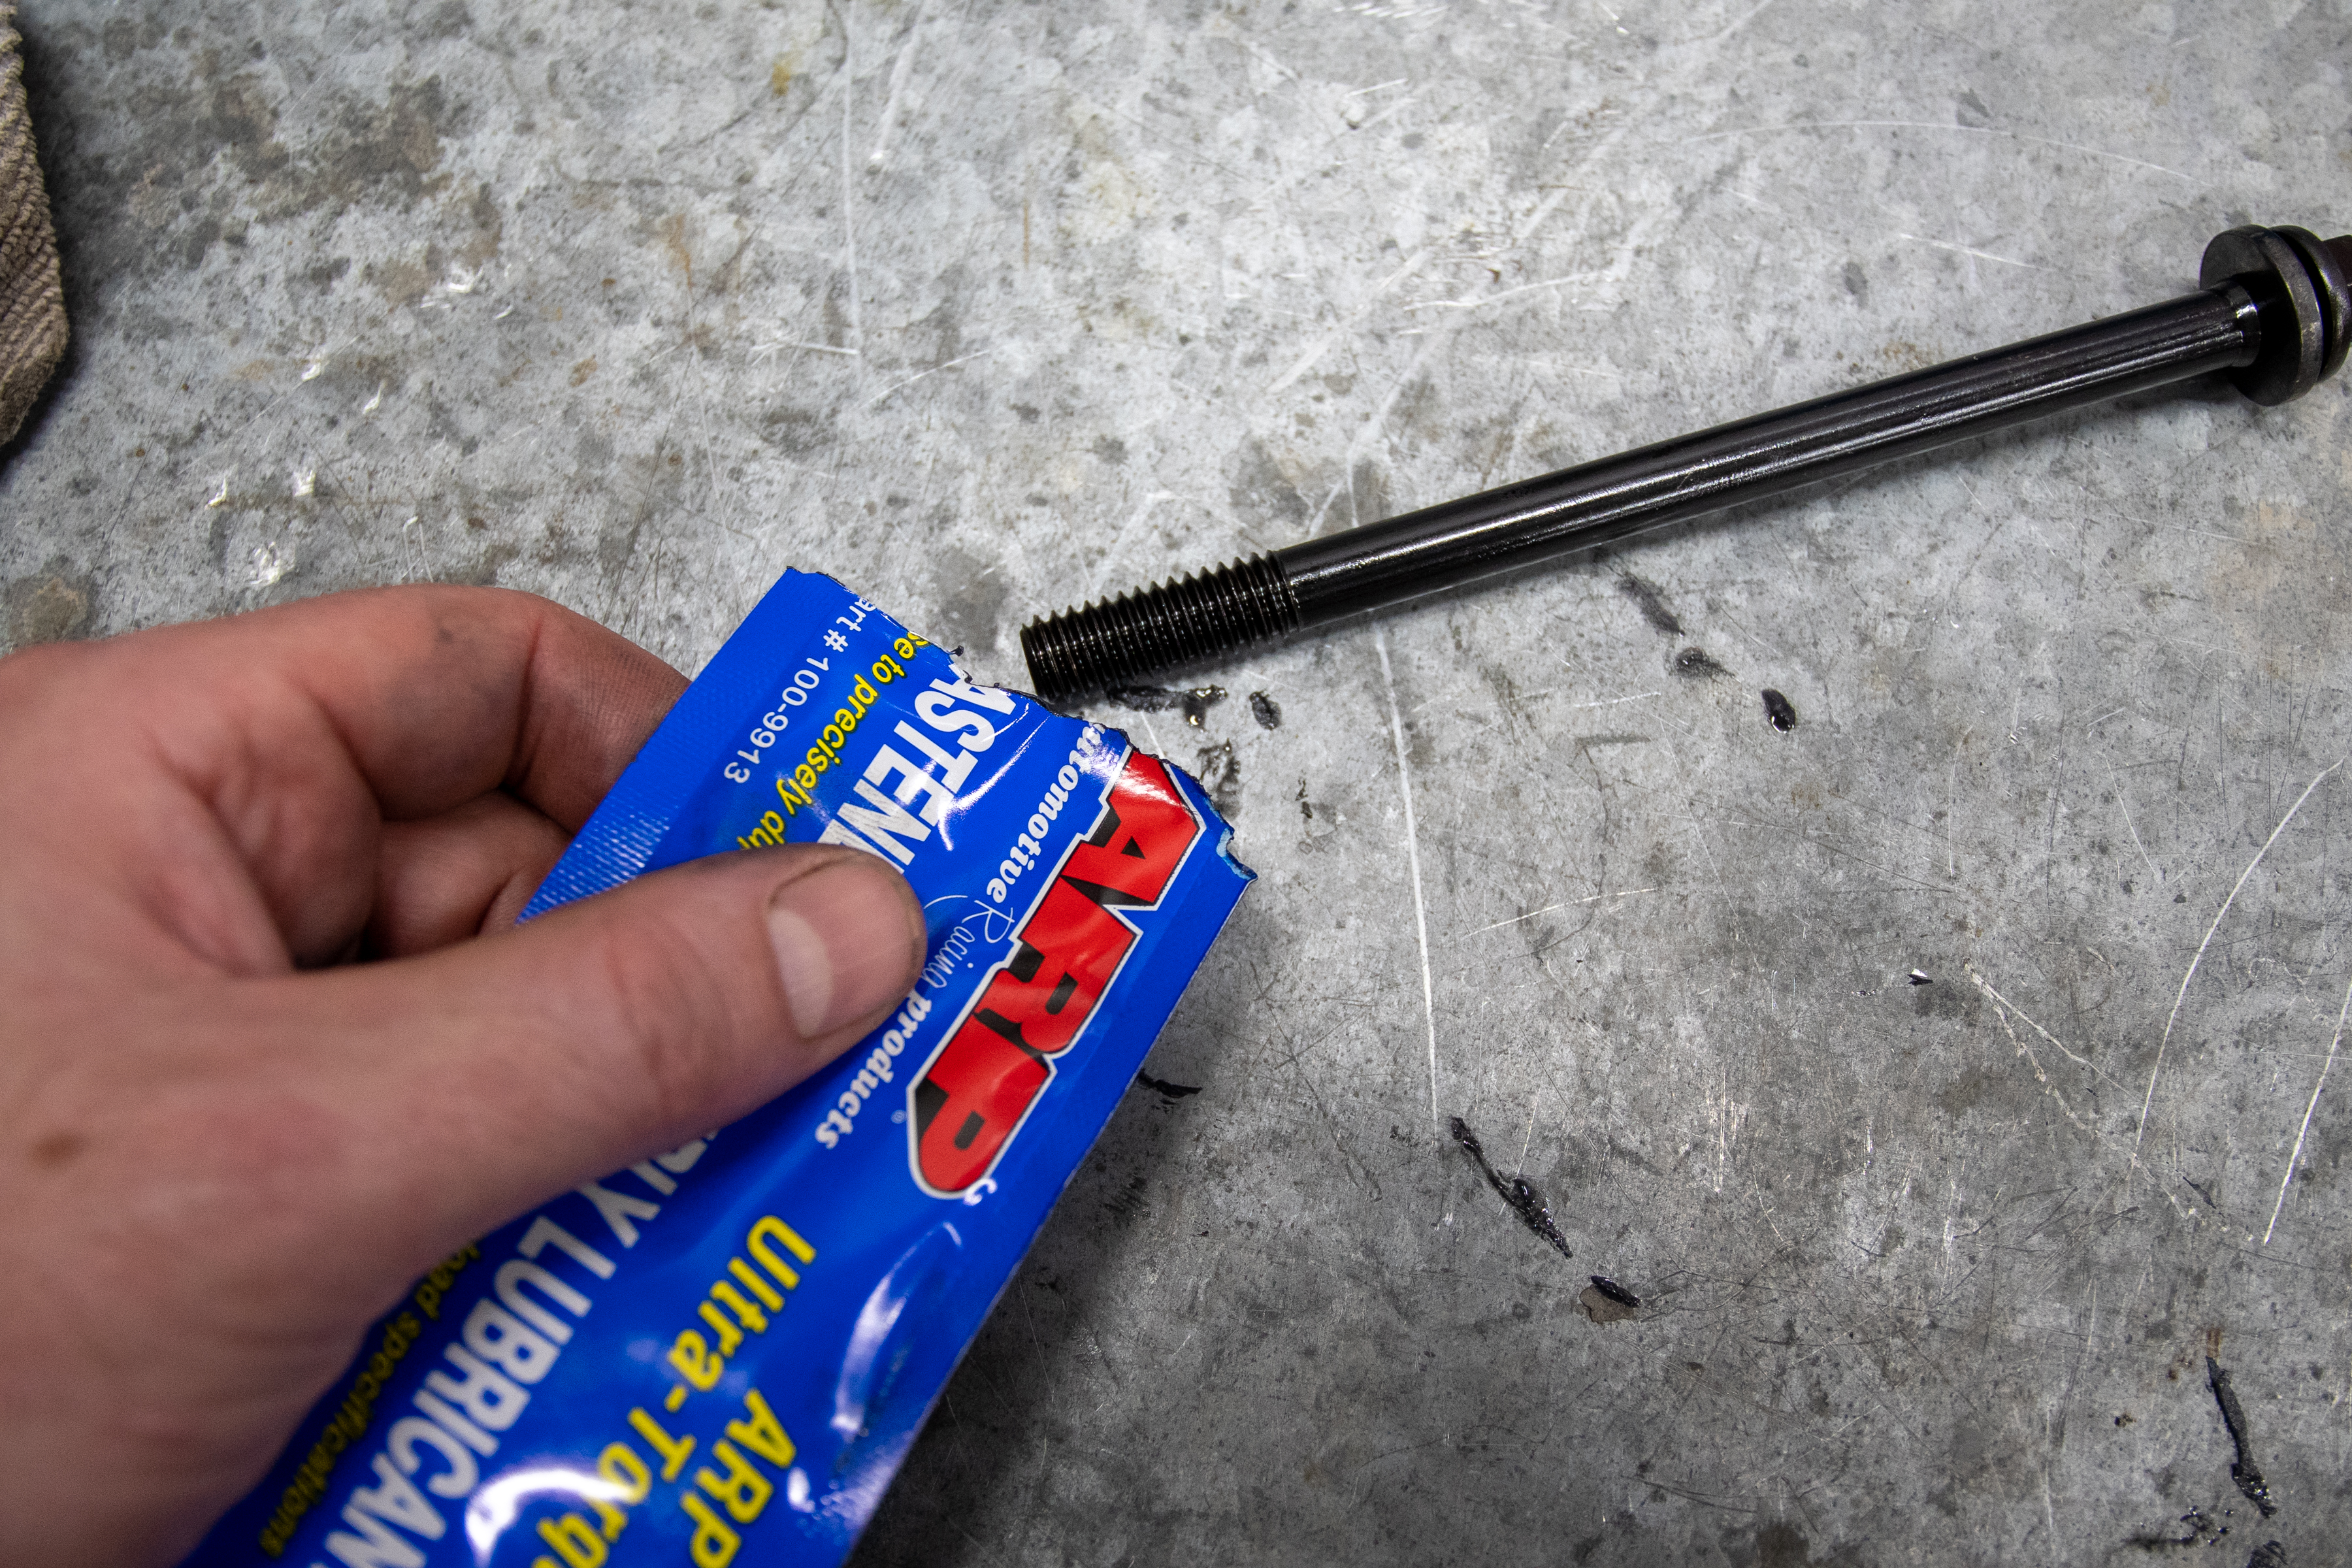
We dropped the ARP bolts (PN 134-3609) in the holes after we applied ARP Ultra-Torque assembly lube to the washers with the head in place. Per ARP’s instructions, you will want to lube the threads on each bolt and under the head. You will also want to note that the washer’s ID chamfer side must face the bolt head. We then followed the company’s torque procedure and torqued the heads in place.
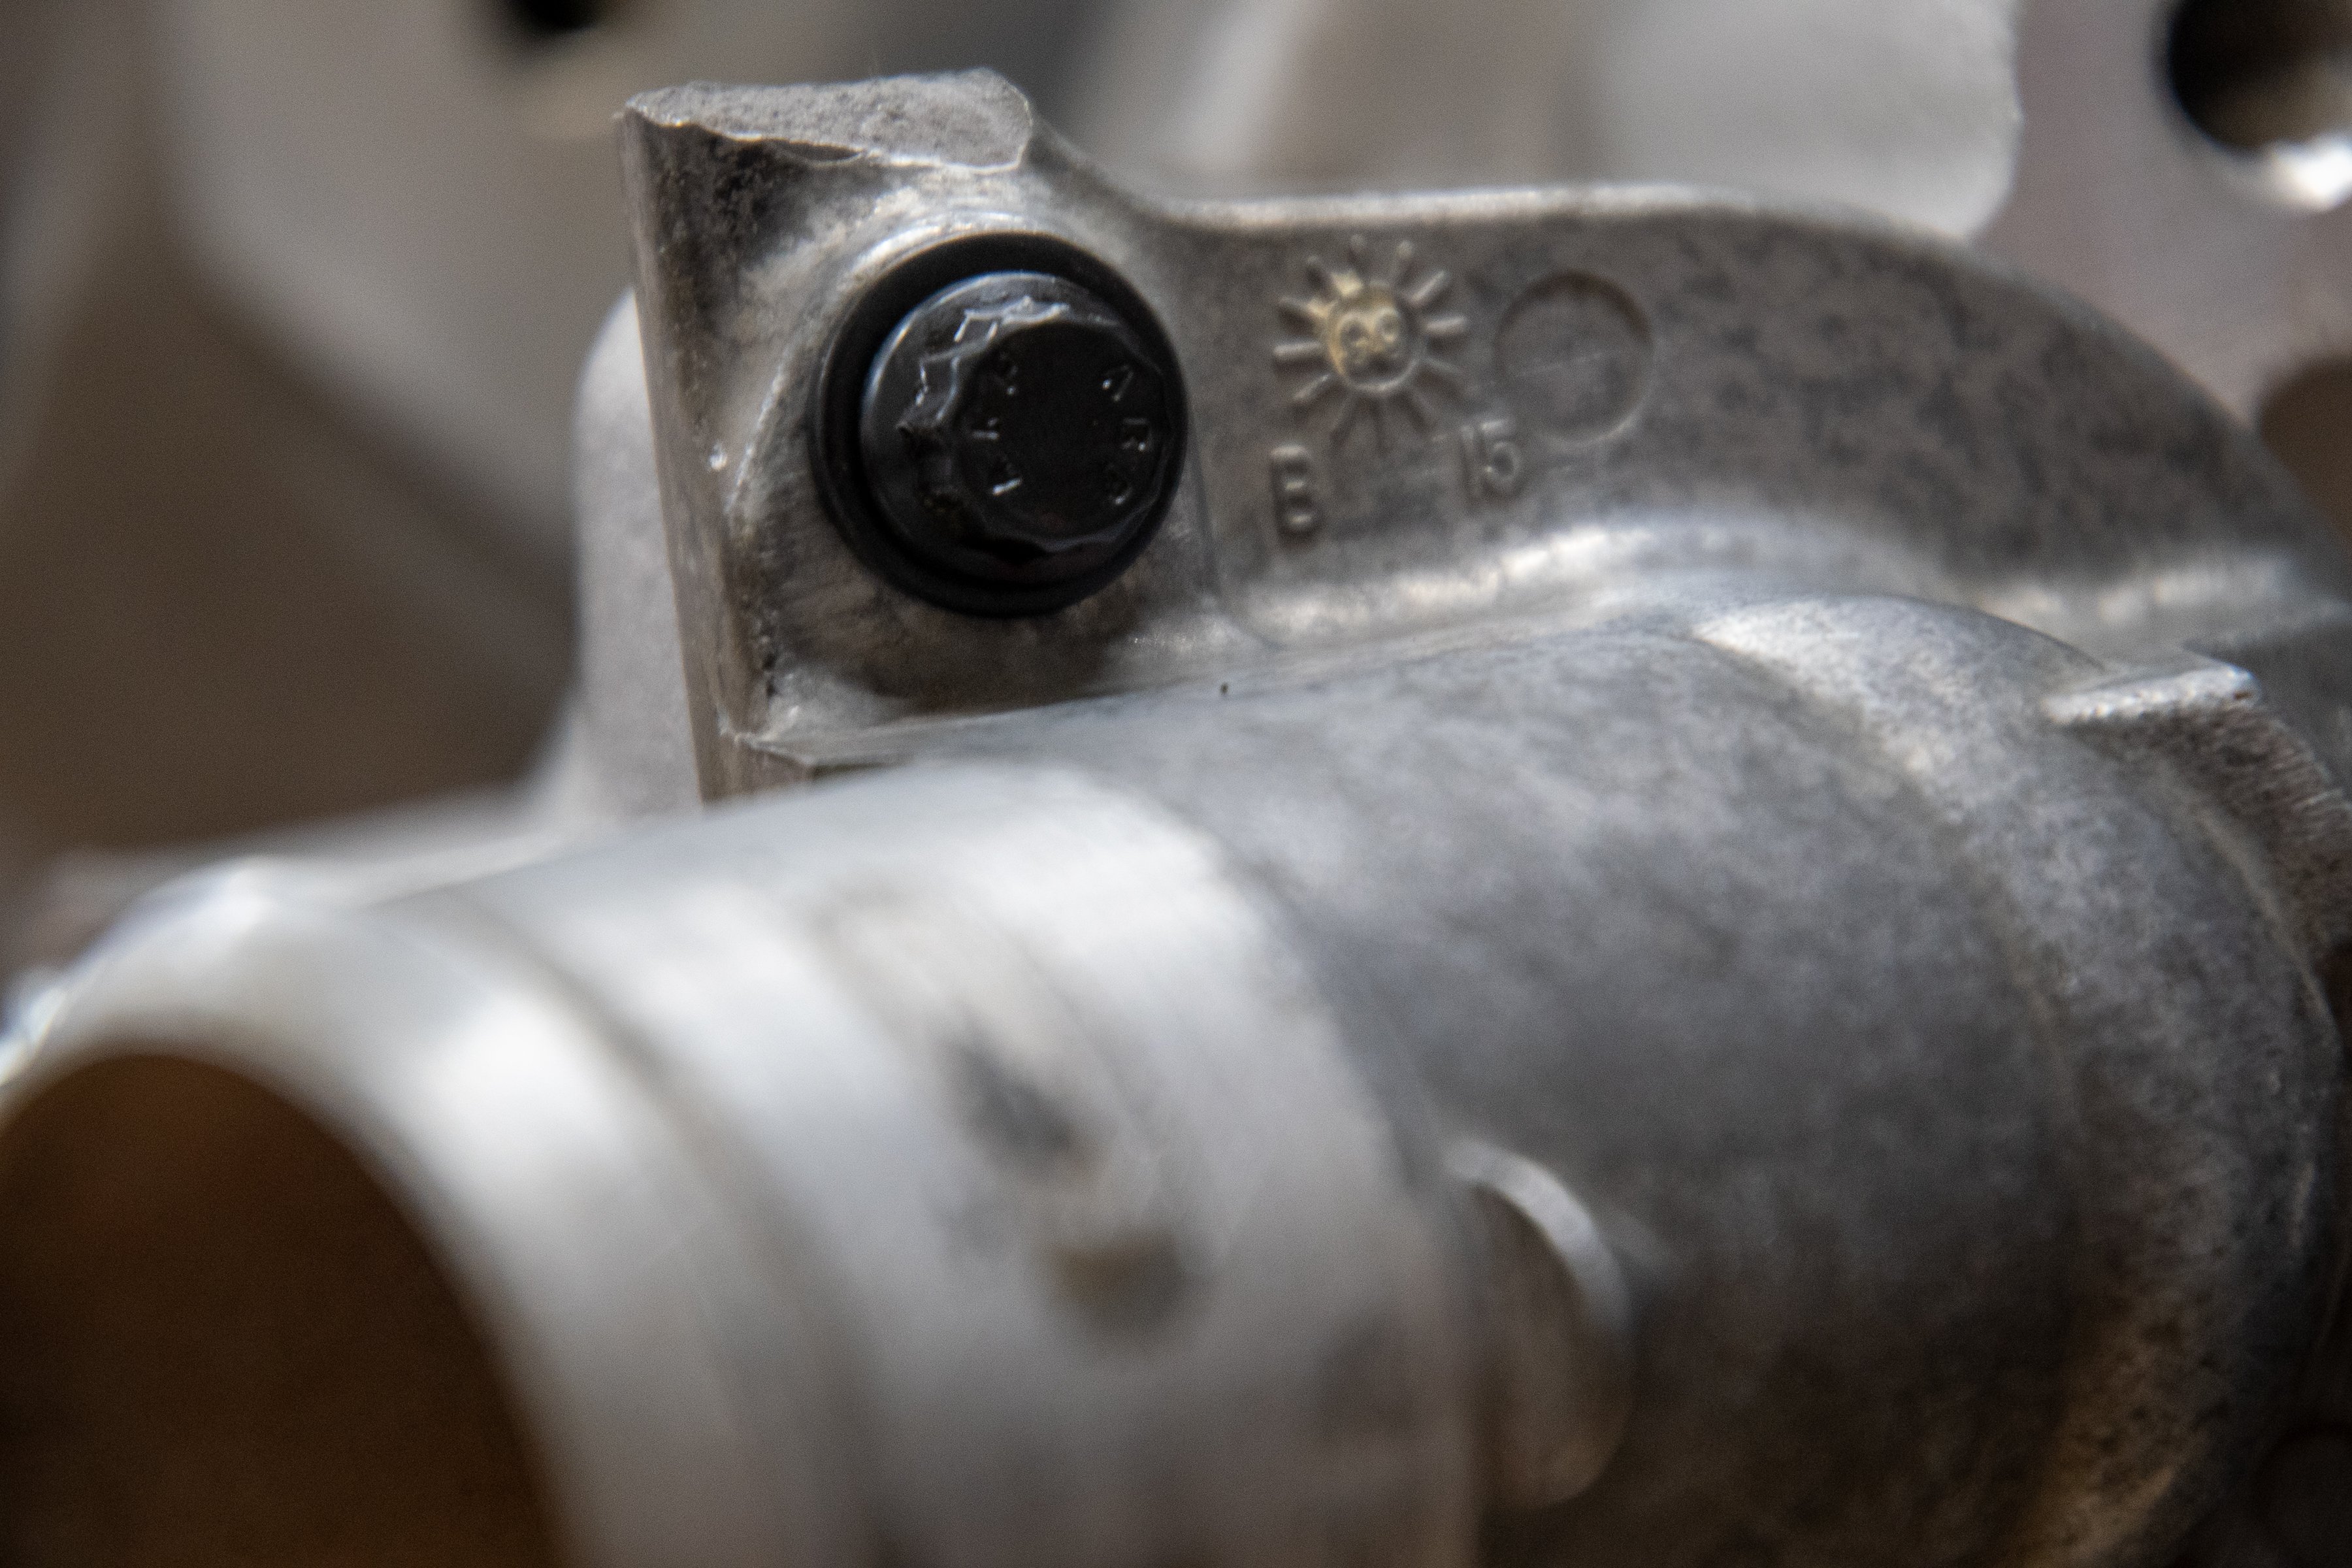
Since we didn't have our heads professionally cleaned, we needed to make sure there was no gunk where the ARP bolts torque down. You can see in the picture that we needed to clean up the surface before inserting and torquing the bolts down.
Valvetrain
Now that the heads are buttoned up on the engine, it’s time to tackle the rest of the valvetrain. The LS engine’s rocker arms and pushrods had seen better days, and since they were worn and dirty, we replaced them with new Melling units. Melling’s rocker arms (PN MR-1341) are a direct replacement, as are the pushrods (PN MRP-614). We first dropped the pushrods in place and then the rocker pedestals and rocker arms. We then torqued the rockers to 22 lb-ft of torque.


The factory LS Rocker arms and pushrods had seen better days. We replaced them with new Melling units.
The Perfect Pump
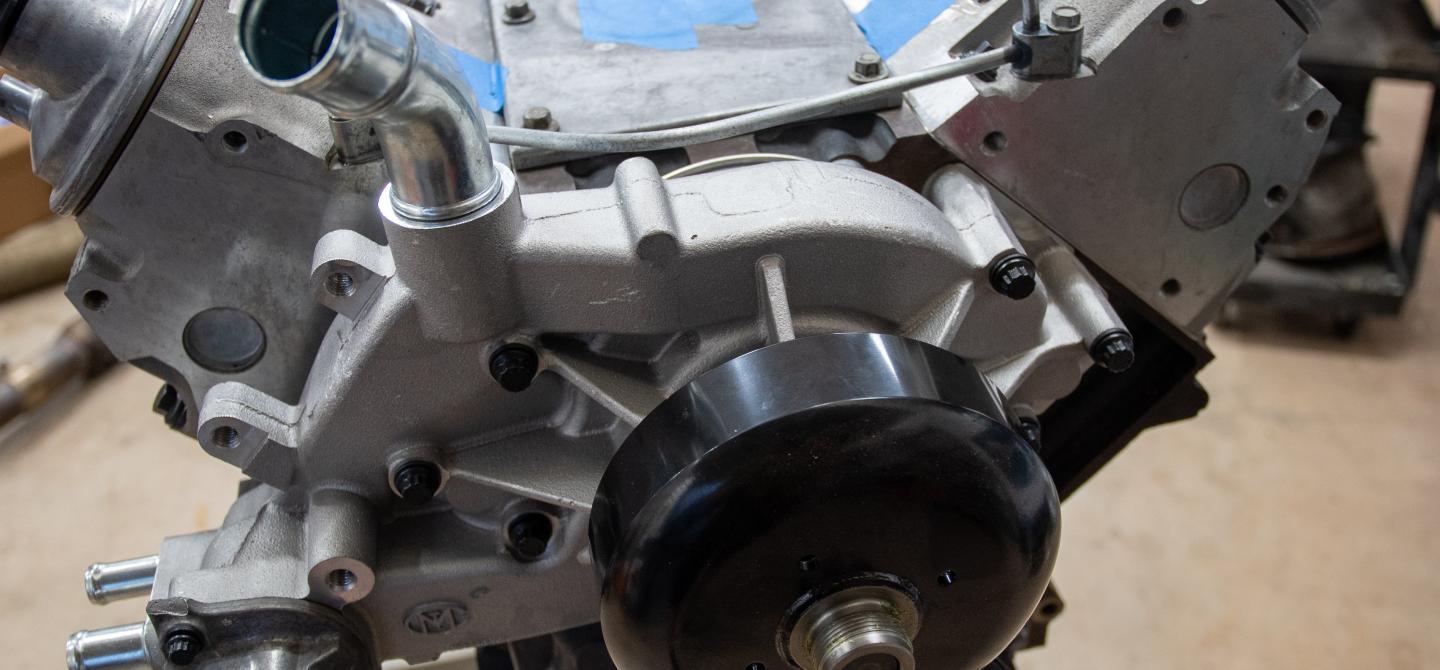
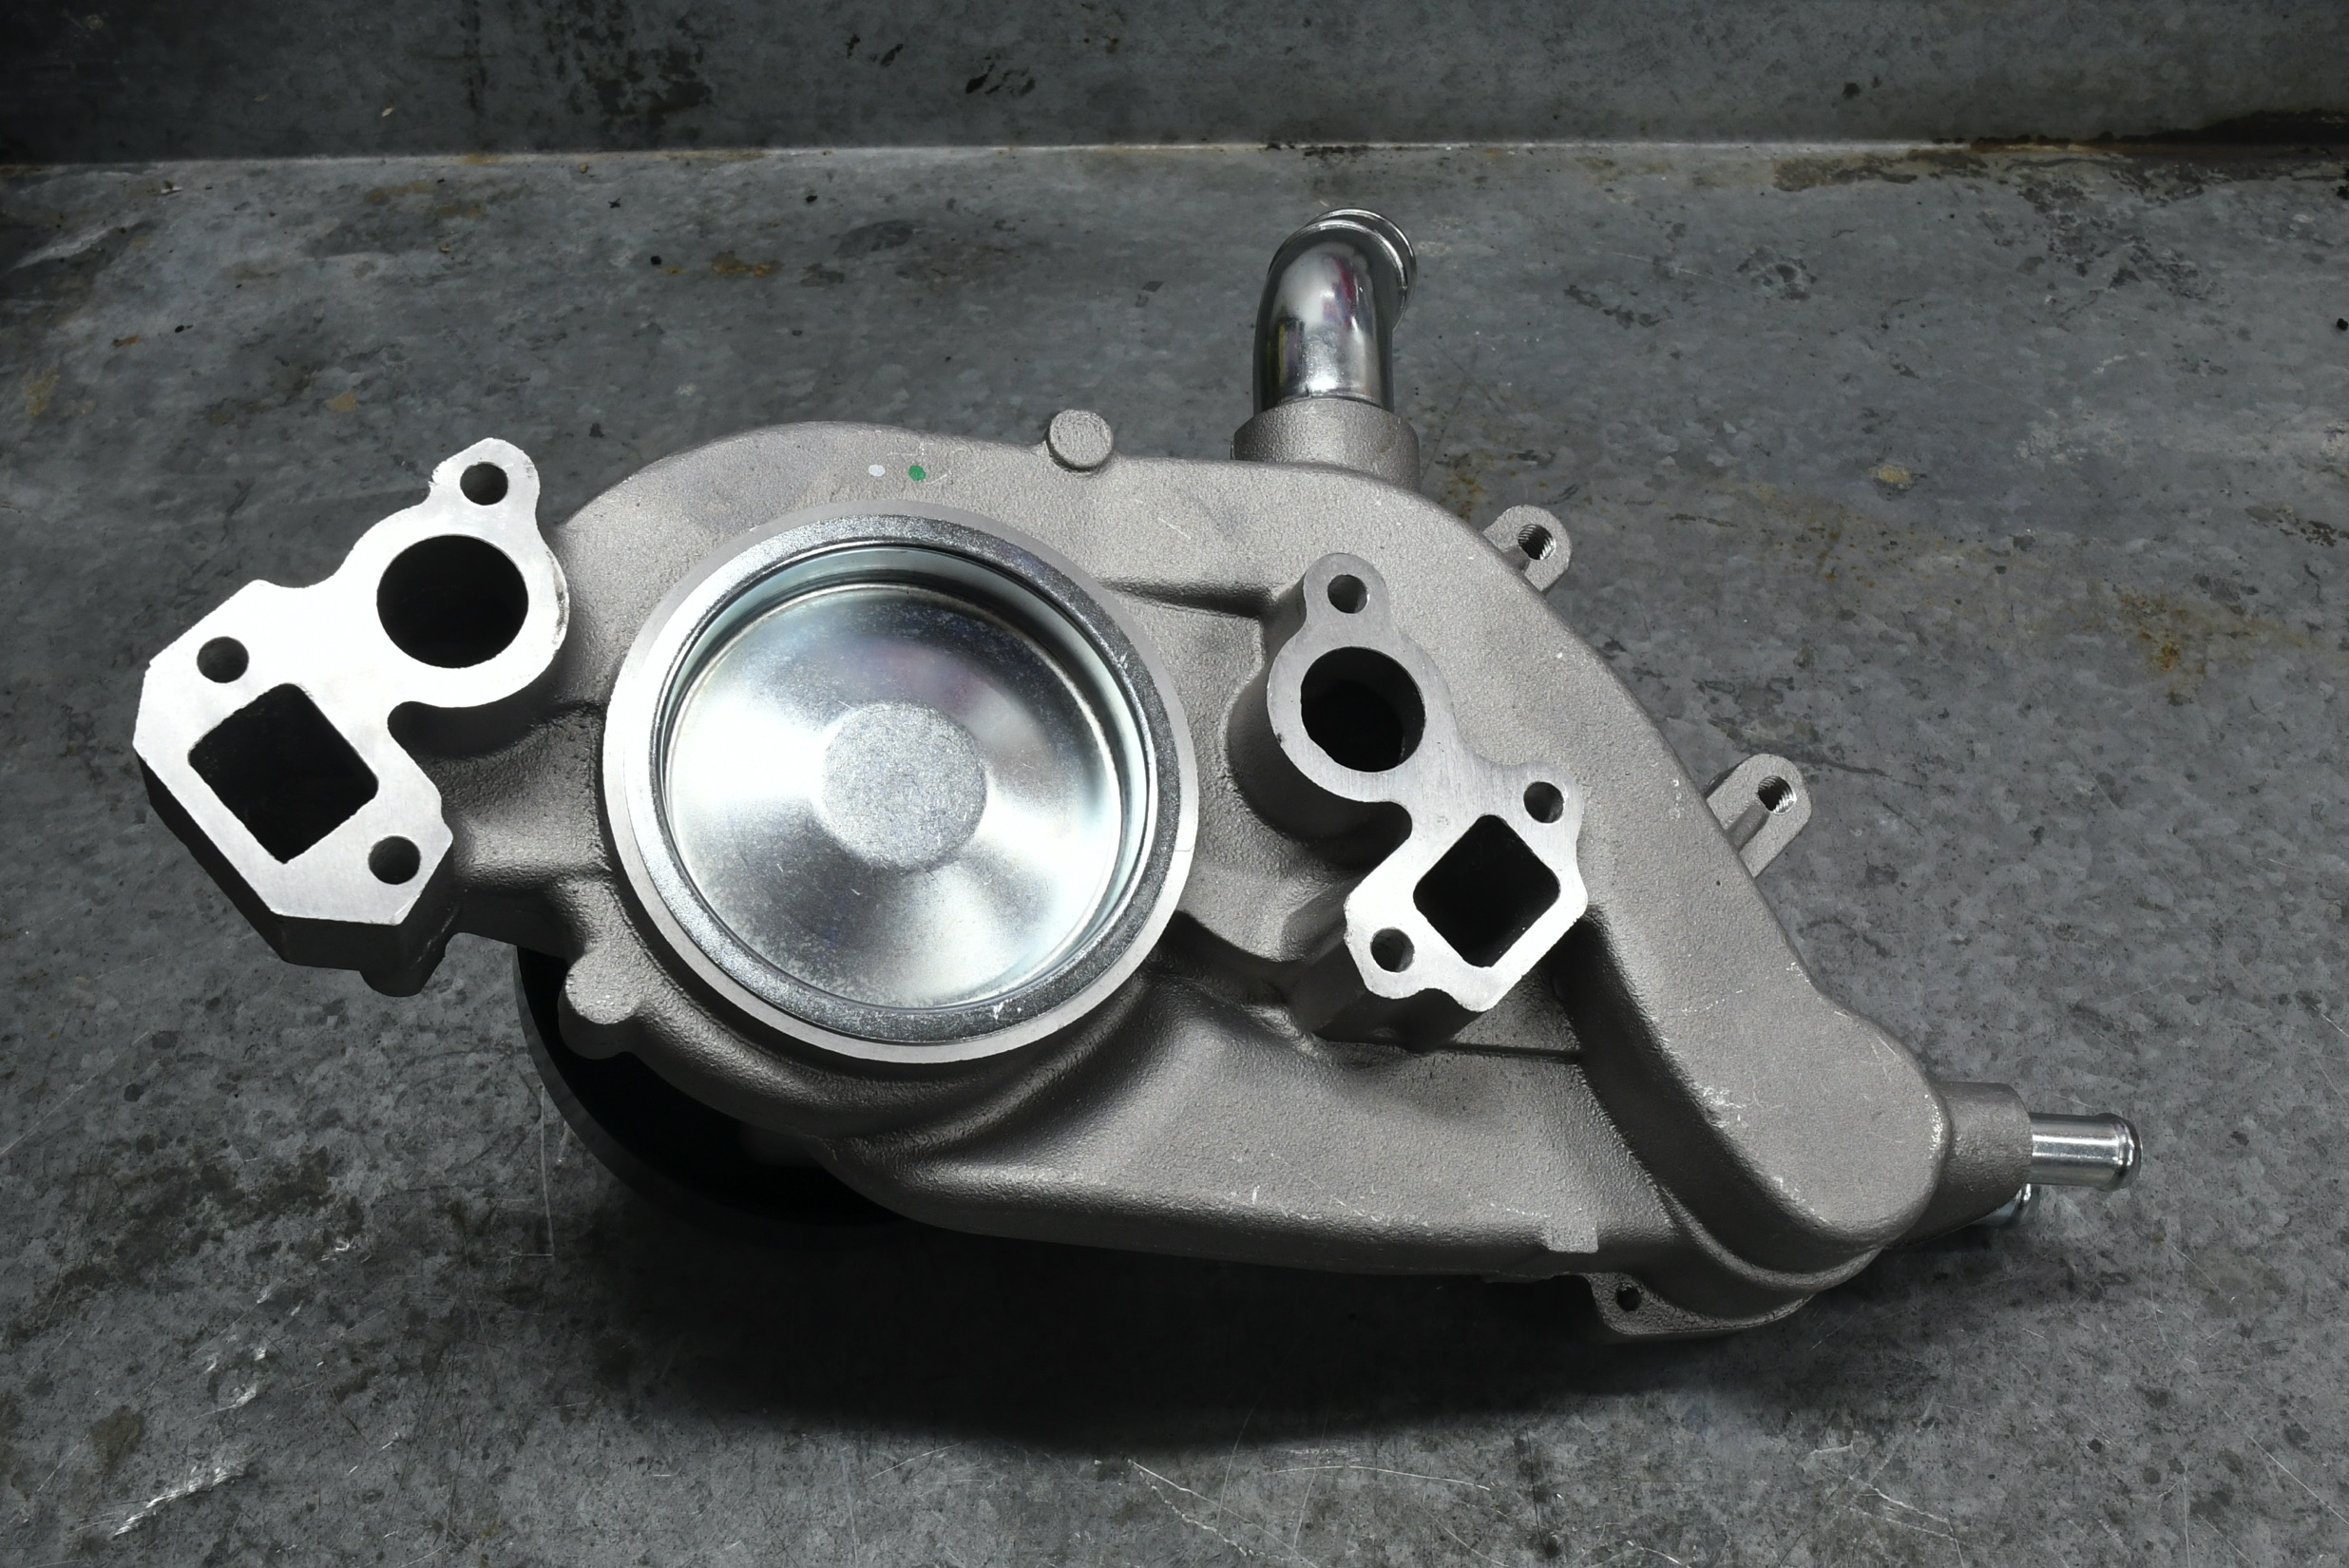
Like most components on this engine, we were not willing to take a chance on reusing the factory water pump with 175,000 miles on the clock. Reliability is the name of the game with this build, and we chose a new Melling water pump (PN MWP-500) for the cooling duties.
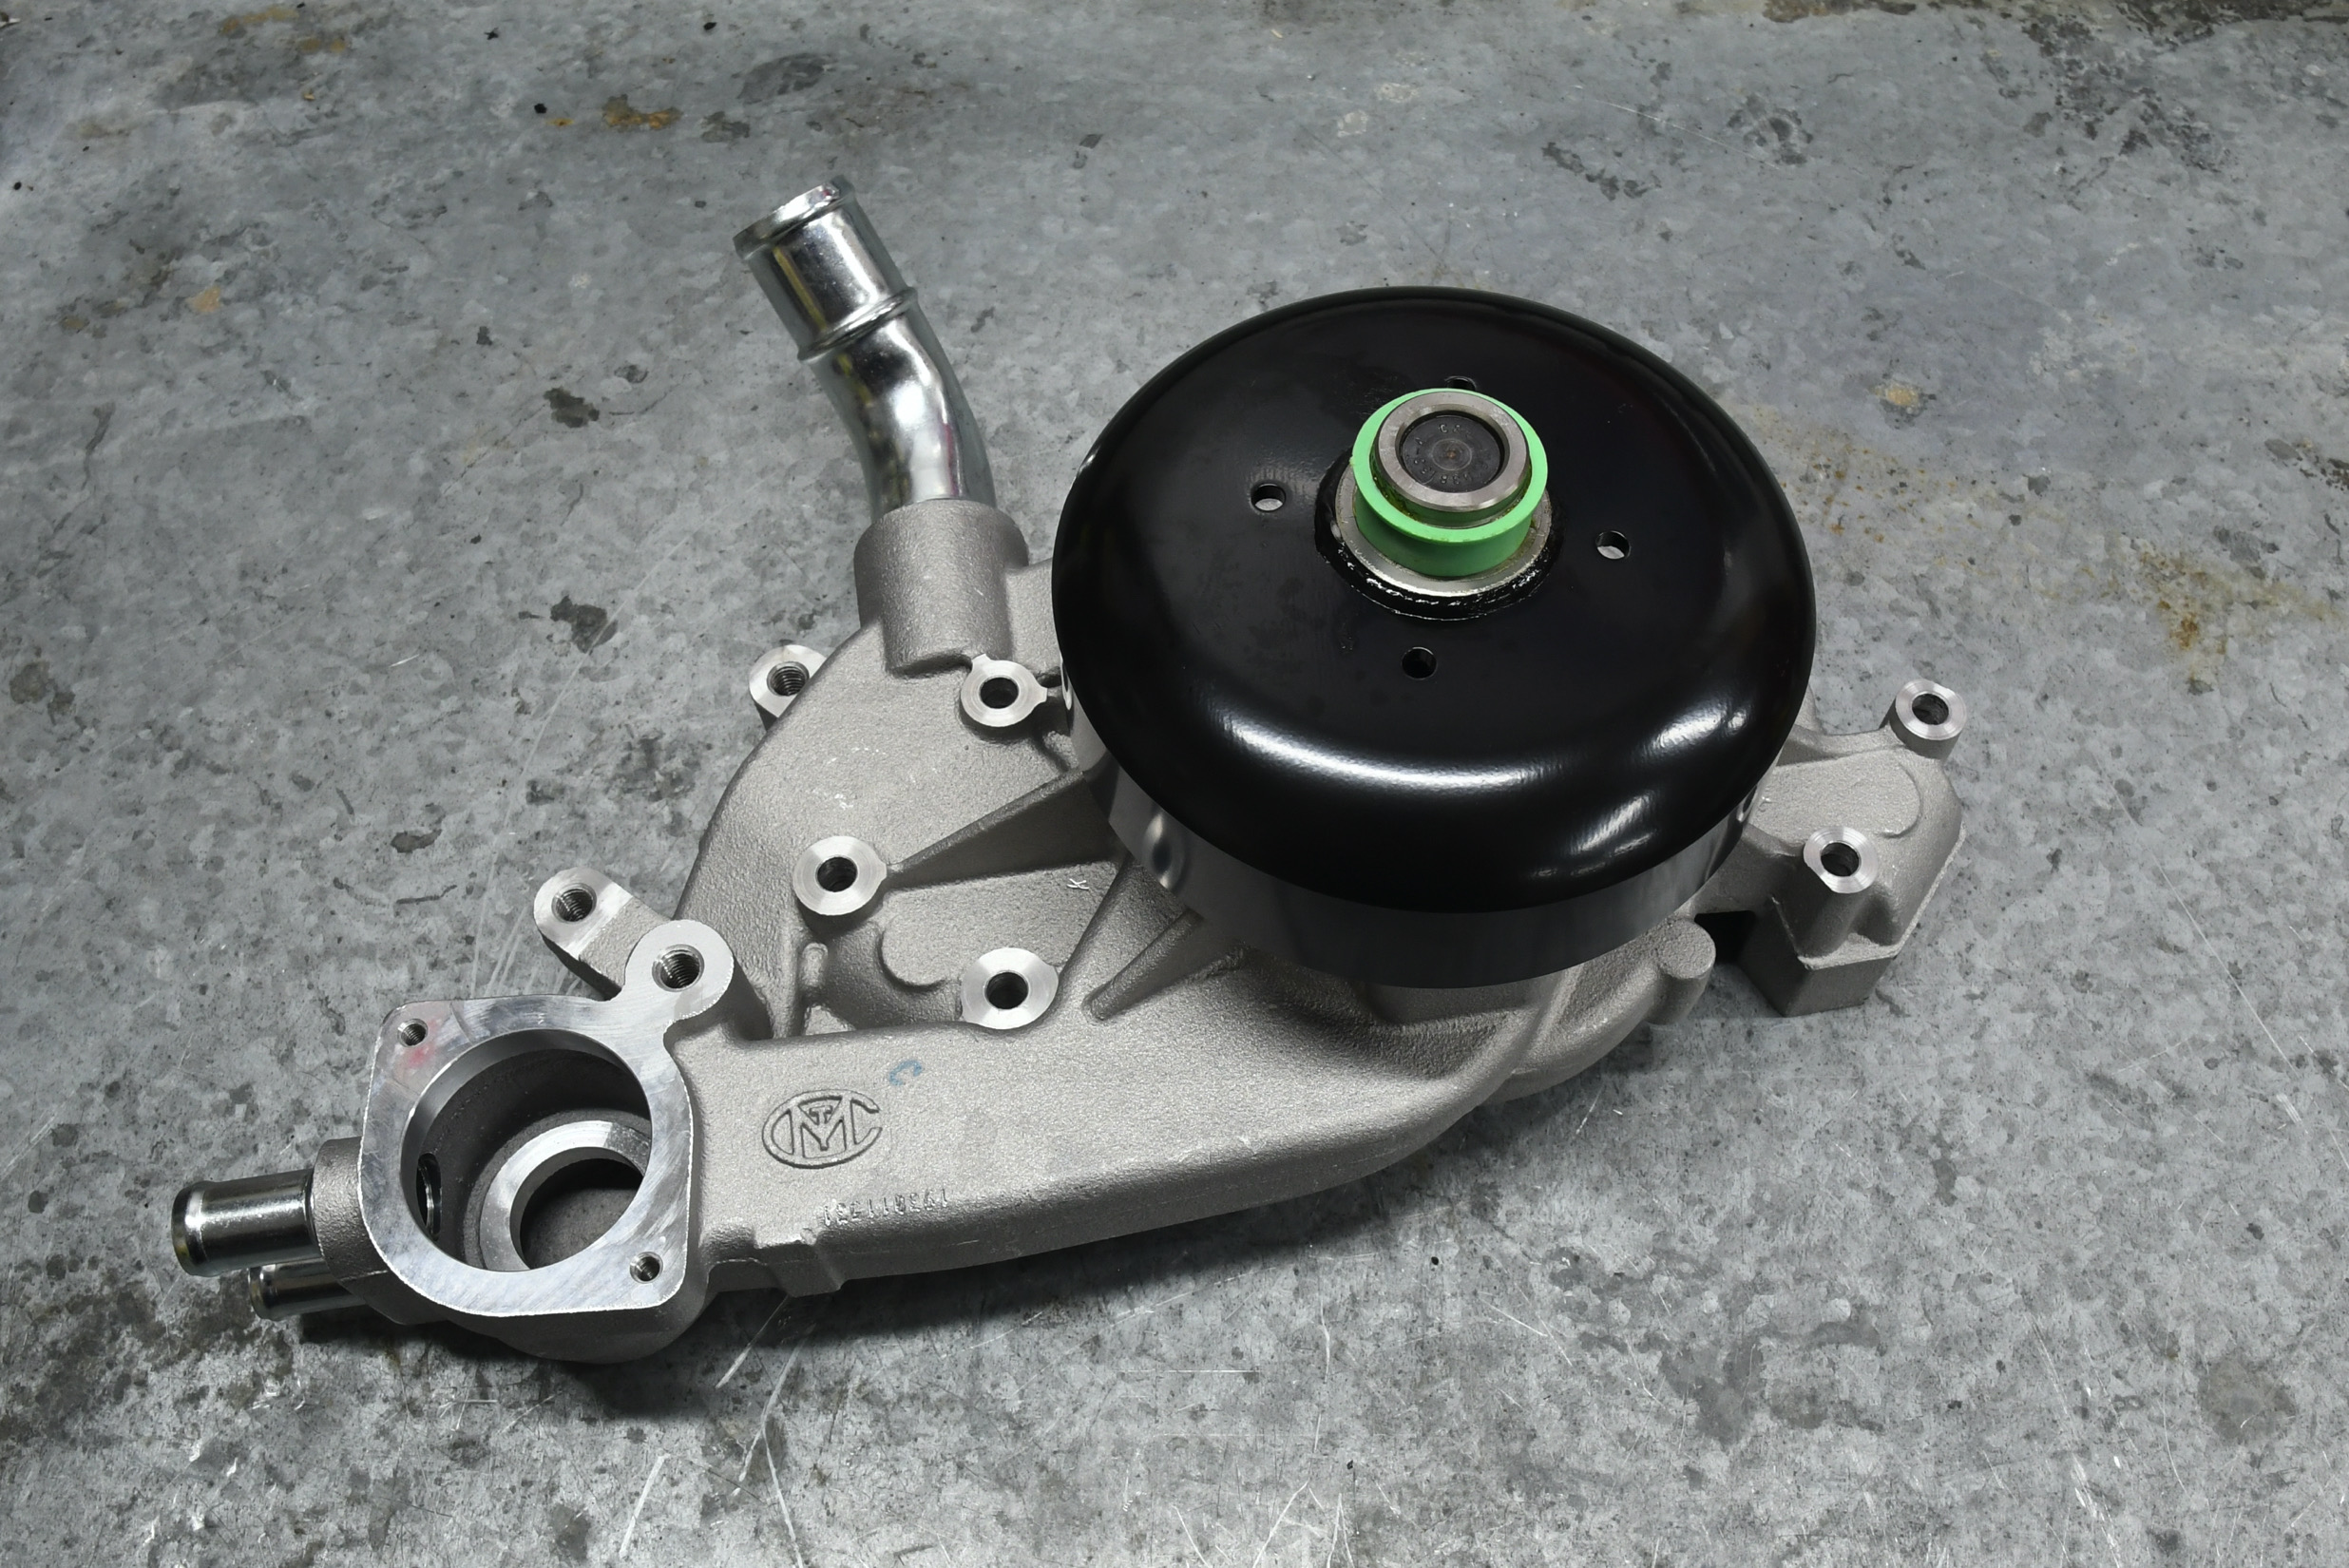
Melling’s goal with this unit was to manufacture the most reliable water pump in the aftermarket, and it made a point to use OEM or better grade components where possible. The pump components are sourced from OEM suppliers to guarantee consistency and quality.
For water pumps, we believe that the heart and lungs are within the bearing and seal, so, to meet our goal, we have made a point to use OEM or better grade components. – Ken Warren
Melling spent a lot of time developing these water pumps and explicitly focused on a few areas like the bearings, seals, and gaskets. Ken Warren, product development manager – Aftermarket Water Pumps of Melling, said, “Each OEM bearing was disassembled and studied to ensure internal OEM bearing structure is replicated. Additional improvements for the aftermarket pump includes double lip bearing seals, premium grease, and premium grease fill. These added components increase bearing life and reliability.”
It’s also important to note that all of the pump bearings are manufactured by an OEM bearing manufacturer, and Melling applies a liquid retainer before press-fitting to prevent bearing walk.
A lot of time and research also went into the mechanical seal. Warren said, “Melling chose hard-carbon/silicon-carbide face materials. This selection was based on our OEM seal manufacturer’s recommendation to provide the longest life and least noise. All of Melling’s seals have a sealant and press-fit to prevent leakage into the bearing, ensuring the longest possible life for our water pumps.”
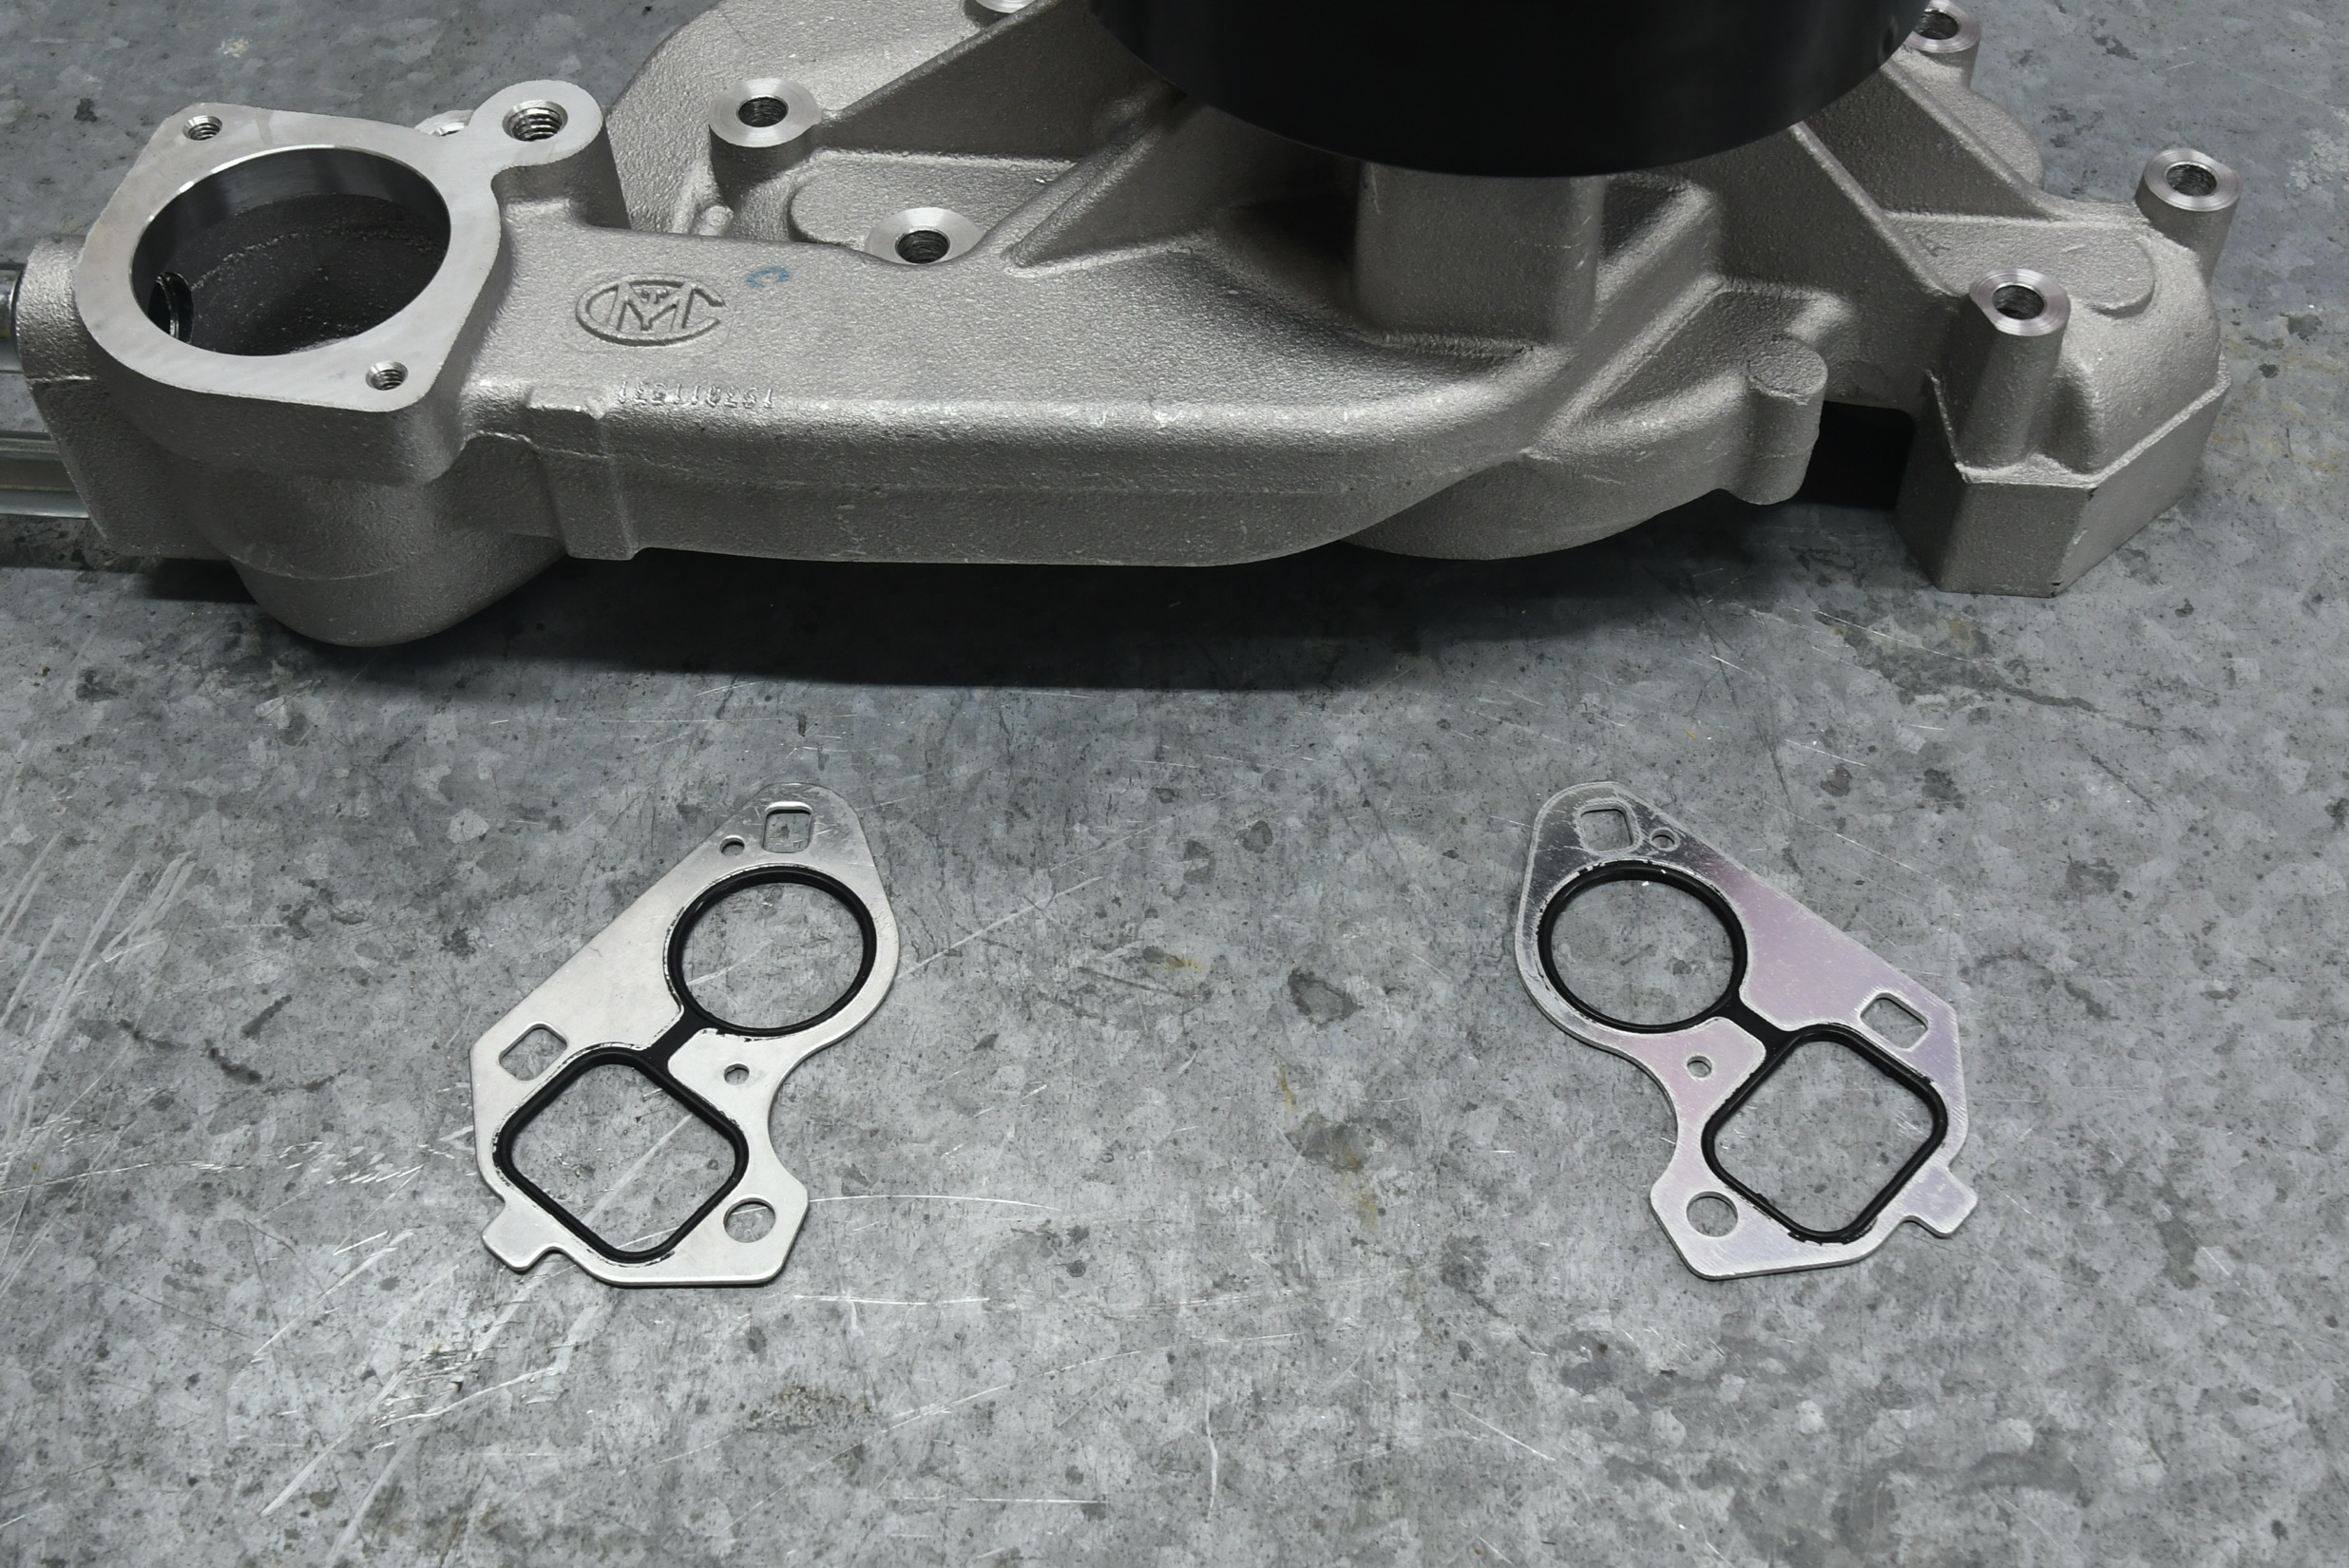
Melling includes water pump gaskets in the package, as well, which are rubber-coated metal (RCM). “We coat our gaskets with EPDM rubber that is the most resistant to water swell and suitable for higher temperatures than the standard NBR,” Warren explains. The company has done its homework on this product and is so confident with its design that they back them with a 3-year 50,000-mile warranty.
With the water pump and gaskets in place, we bolted the unit down. We also replaced the old thermostat with a new one for safe measure and used ARP hardware to secure everything down in place.
And We Are Done

At this point, we’re pretty much done with our junkyard rebuild. The only thing left to do is replace the valve cover gaskets with Mr. Gasket units (PN 183G) and install the K&N oil filter and knock sensors. But while we’re at it, we couldn’t help but drop on a set of Holley’s Chevrolet script valve covers (PN 241-177) for that classic vintage look.
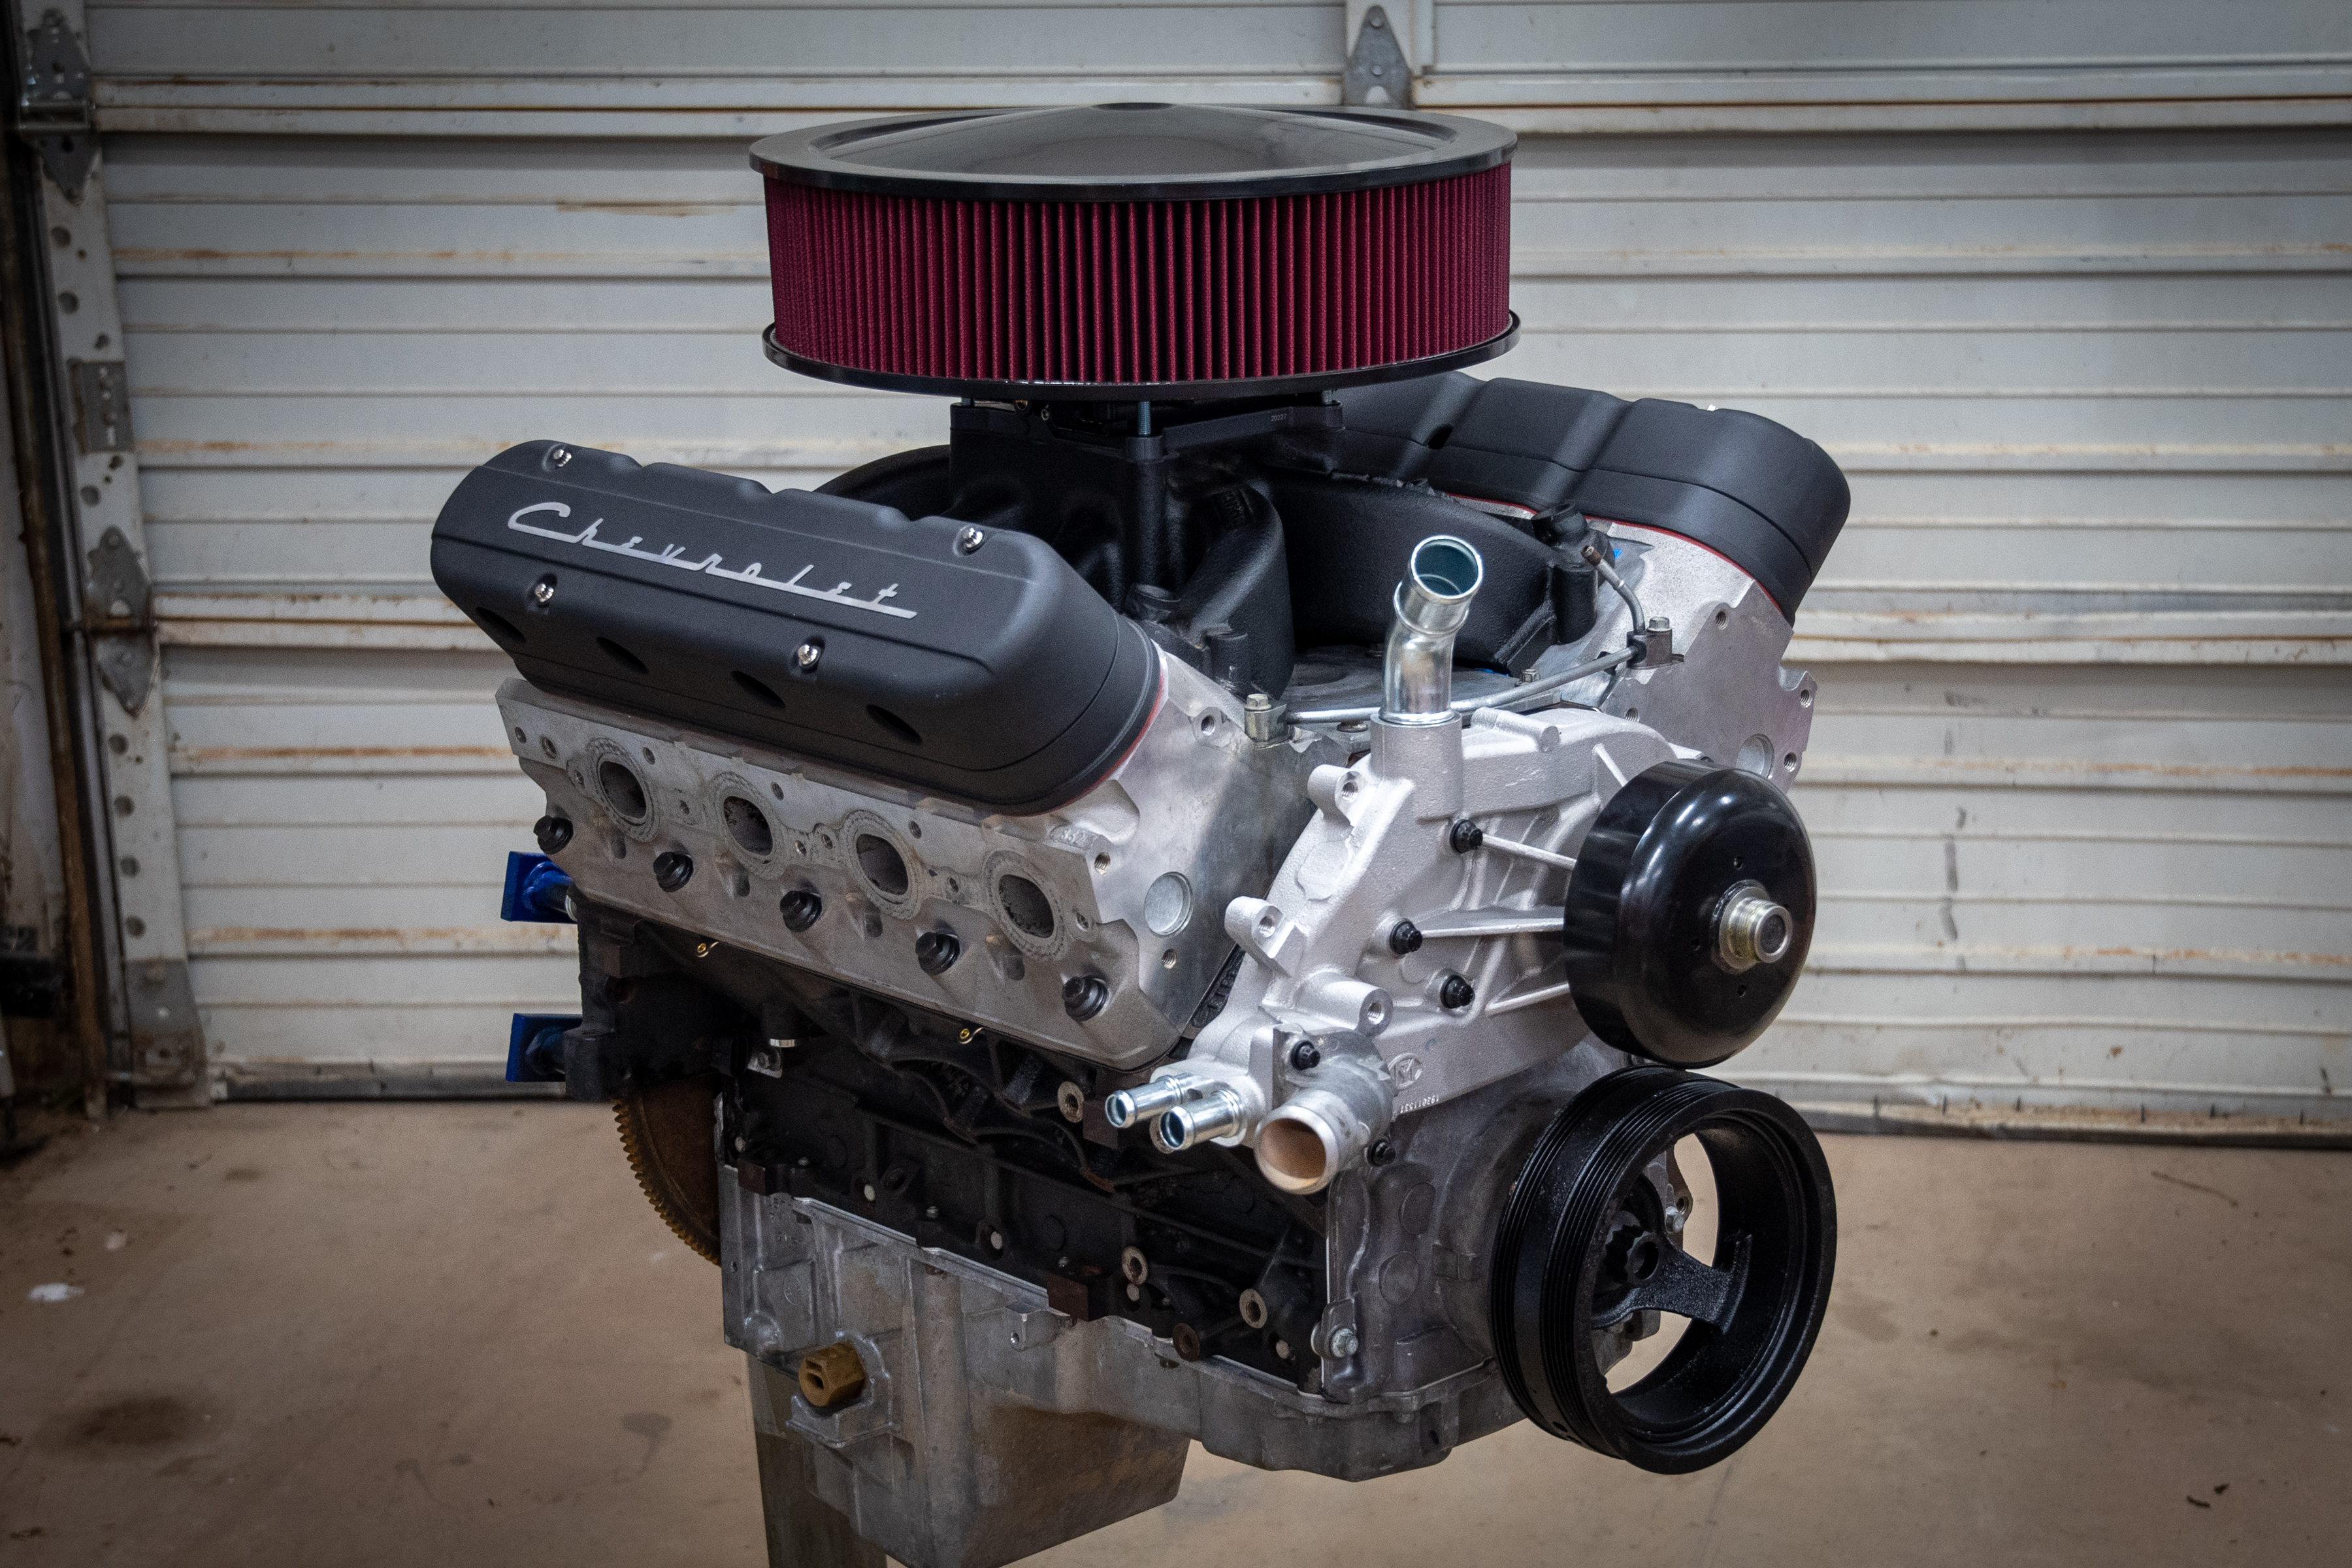
Rebuilding an engine is no small task, but it’s worth it in the long run. Our high-mile engine had seen better days before refreshing it, and we don’t doubt that it will be reliable for years to come now thanks to our efforts. Just remember to take your time and address any problem areas you have along the way.