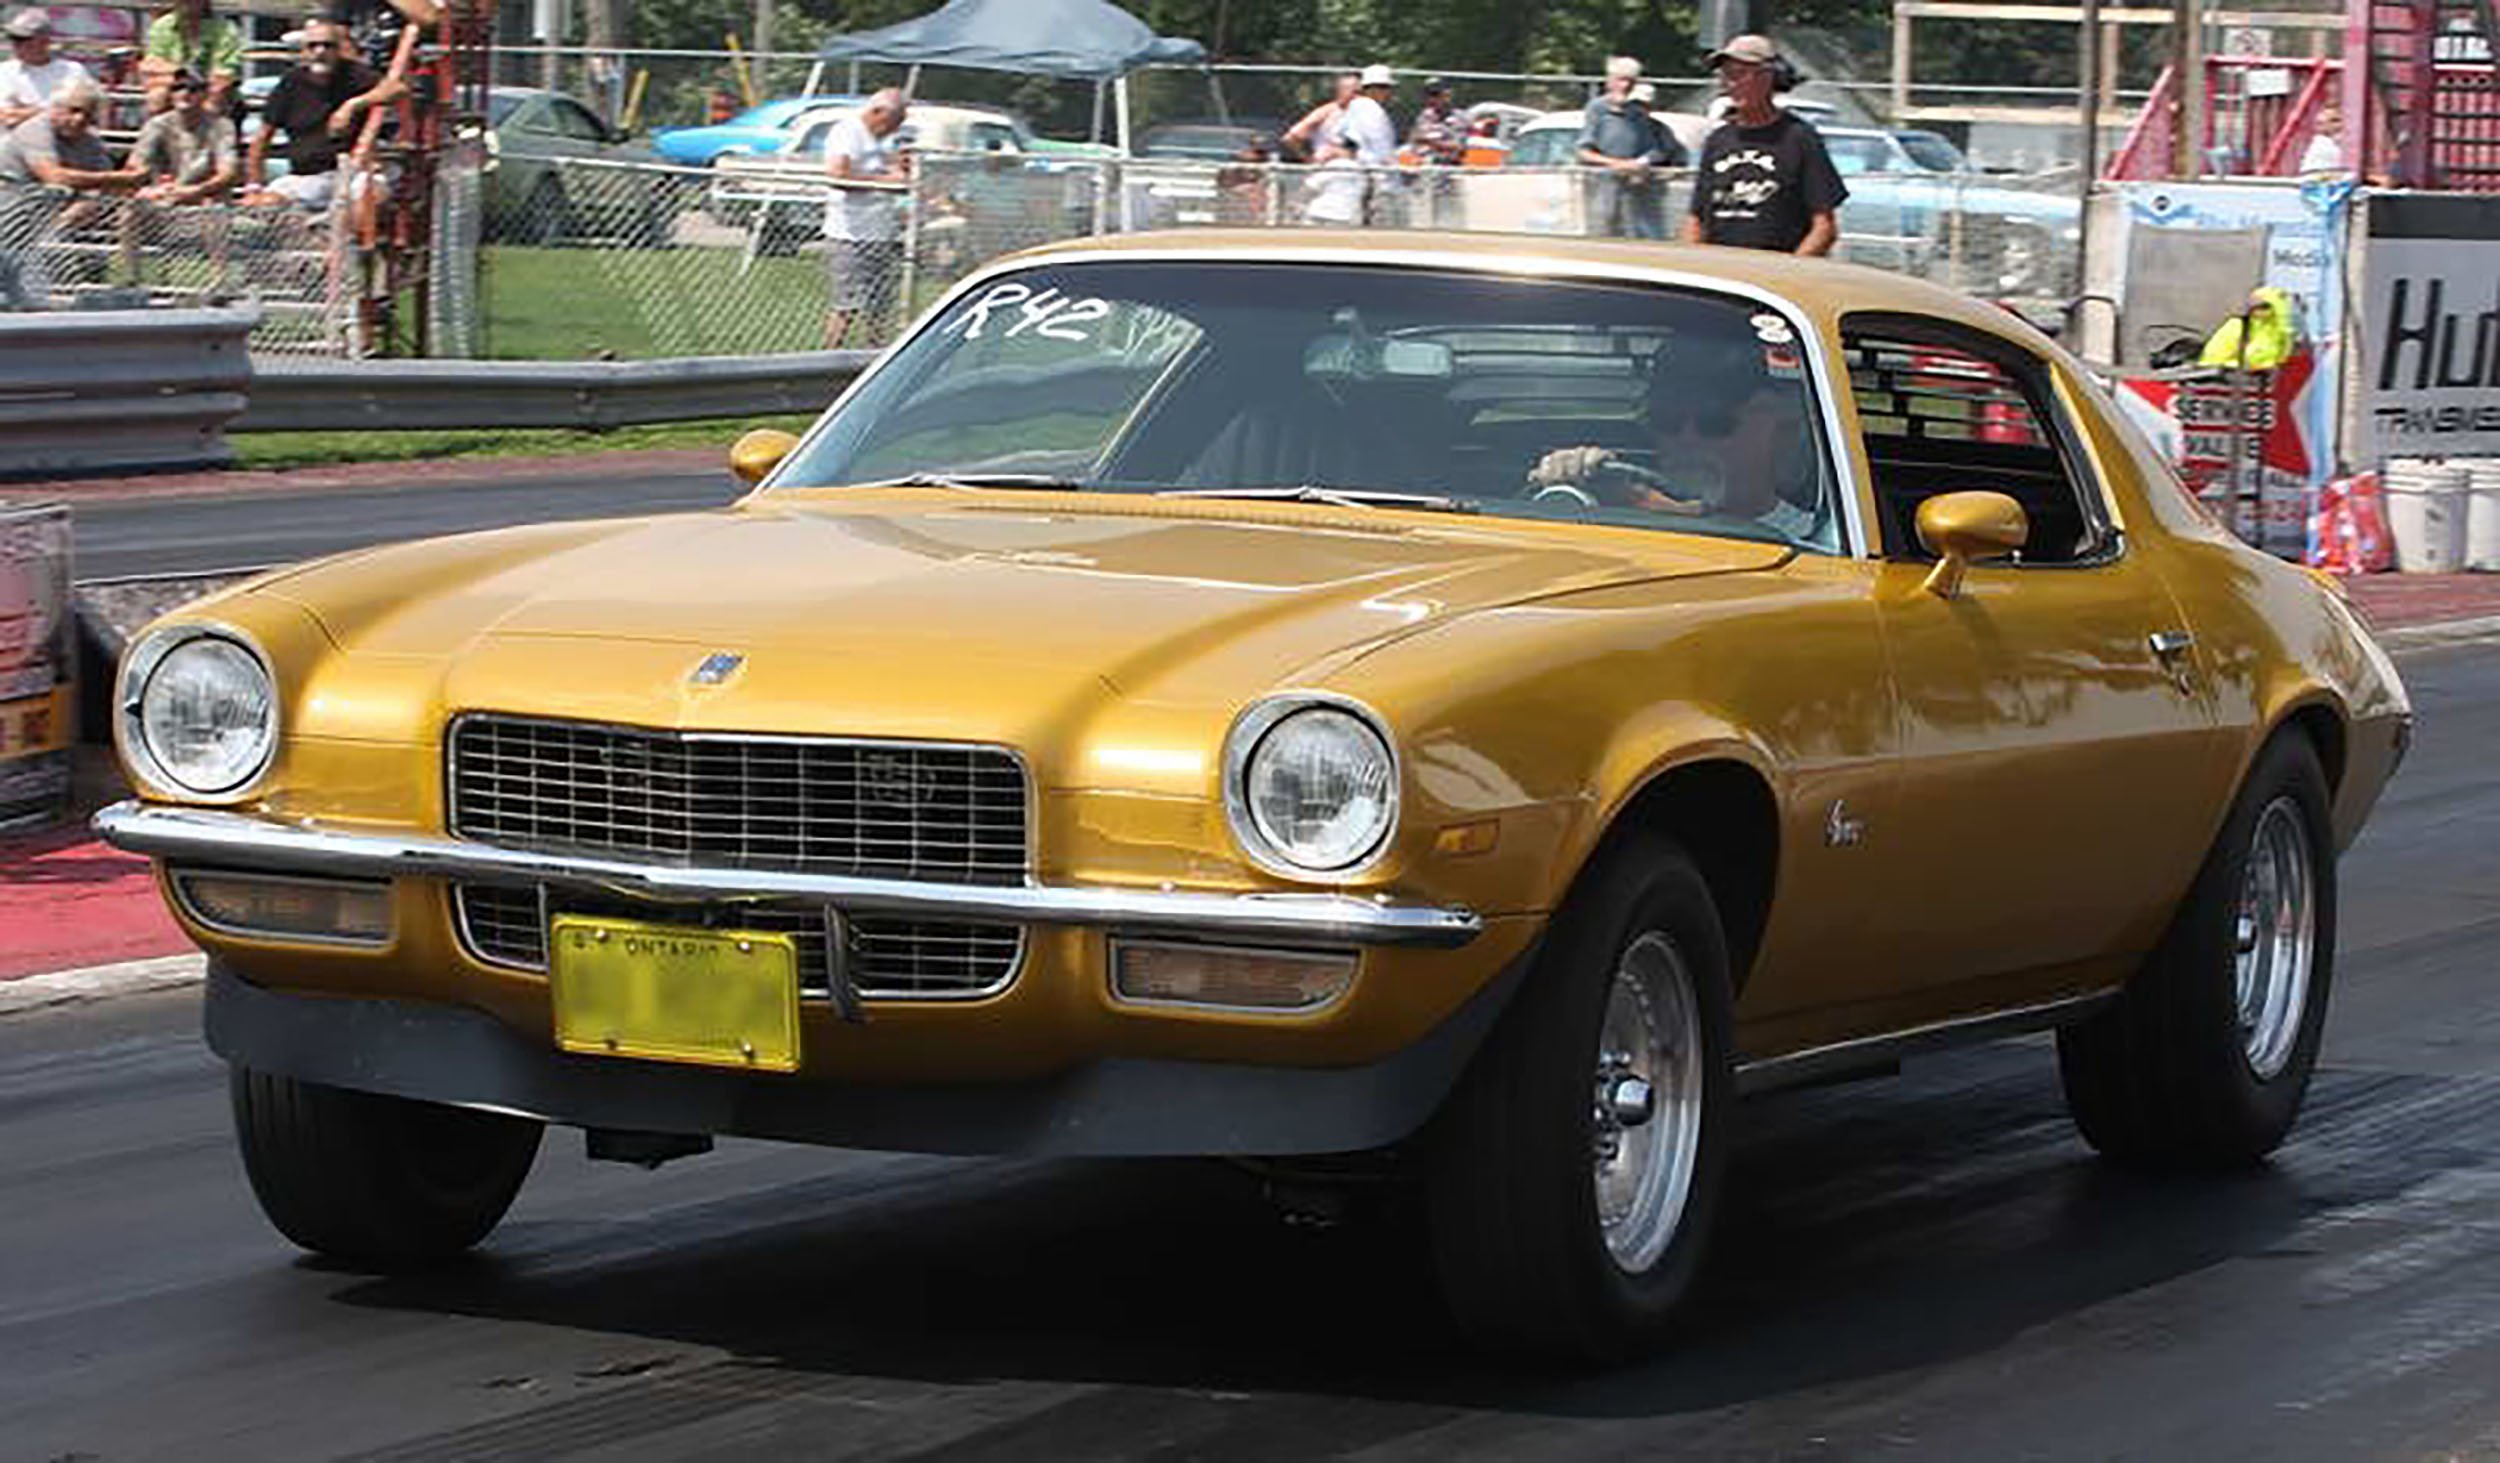
The first generation Camaro will often be referred to as a “belly button” car, because the fact that everyone has one and they are always somewhat similar. Whether or not you agree with this statement you can understand where the argument stems from. Especially when you take a look at all the restoration projects that have been completed with various ’69 Camaros. Simply Google “69 Camaro” and you will see image after image where each one looks eerily similar.
I’m sure if you took a close look at all these individual cars you would be able to see how each one stood apart from the rest, and trust us when we say that when we are finished with our ’69, it will be anything but a belly button model! Wait till you see the brand new 502 LS powerplant that we will pack under the hood. The point is, it’s the steps you take during the restoration that will make the car stand out instead of falling into the same category with all the other look-a-likes.
The New Dakota Digital VHX Gauges

One of the most iconic muscle cars of the era, the 1969 Chevrolet Camaro is one of the most desired and unfortunately "overbuilt" machines too. We're aiming at keeping it appearing old school while adding some modern flare.
Today, we made the first step with our installation of the new Dakota Digital VHX Gauges into our factory dash. Advertised as “The Future of Traditional,” the VHX gauges are a modern throwback to the older analog gauges of years past.
Fully lit needles, backlit faces, and highly visible LCD message centers are a few of the things that you can see which set the VHX Series apart from yesterday’s traditional approach to instrumentation.
A few of the features which you don’t normally see are the micro-controlled precision stepper motors, solid state sensors for unparalleled accuracy, and user-customizable display feedback.
“The standard display features include a speedometer, tachometer, oil pressure, water temperature, voltmeter and fuel level,” says Scott Johnson of Dakota Digital. “Additionally, these systems include an odometer, trip odometer (A&B), clock, hourmeter, countdown service meter (for example, you want to be alerted to change your oil every 3,000 miles), indicators for turn signals, high beam, parking brake, cruise control, check engine, etc. The feature and display list is extensive when compared to rudimentary stock gauges.”

Johnson went on to tell us other benefits of the VHX gauges:
- Visibility: With fully backlit numbers, both daytime and nighttime visibility is tremendous.
- Flexibility: With today’s modern drivetrains, the VHX Systems make installation simple. For example, a late-model transmission, which has an electronic speed sensor, will not mate up to a stock mechanical speedometer. Also, being full electronic, you can easily compensate for tire size, rear-end gearing and different cylinder count configurations to keep a tachometer reading correct, an example would be a GM LS engine which outputs a 4-cylinder signal despite being an 8-cylinder engine. The intelligence built into these systems eliminates what would be roadblocks with stock gauges.
- Warranty: Backed by a lifetime warranty, it’s one less thing to be concerned about in the build.
- Flexibility: With the option to add the BIM Expansion Modules a massive amount of additional displays can be easily added to the VHX System. For example, boost pressure for turbo cars, compass and outside air temp, etc.
- Fitment: If the decision is made to use aftermarket gauges, what simpler method than something designed to directly fit the unique dash layouts of these popular muscle cars.
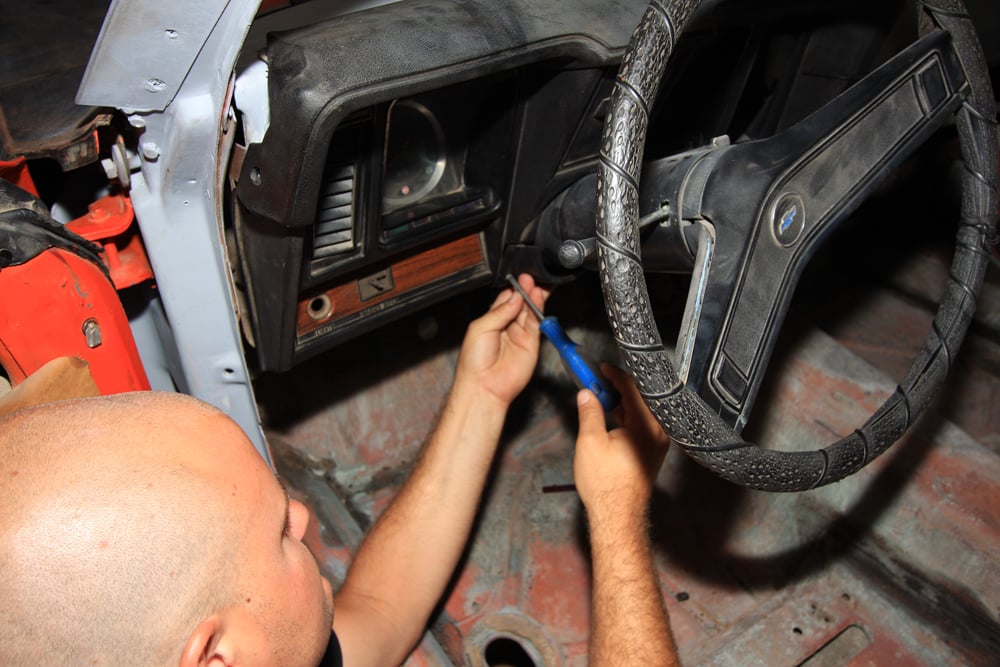
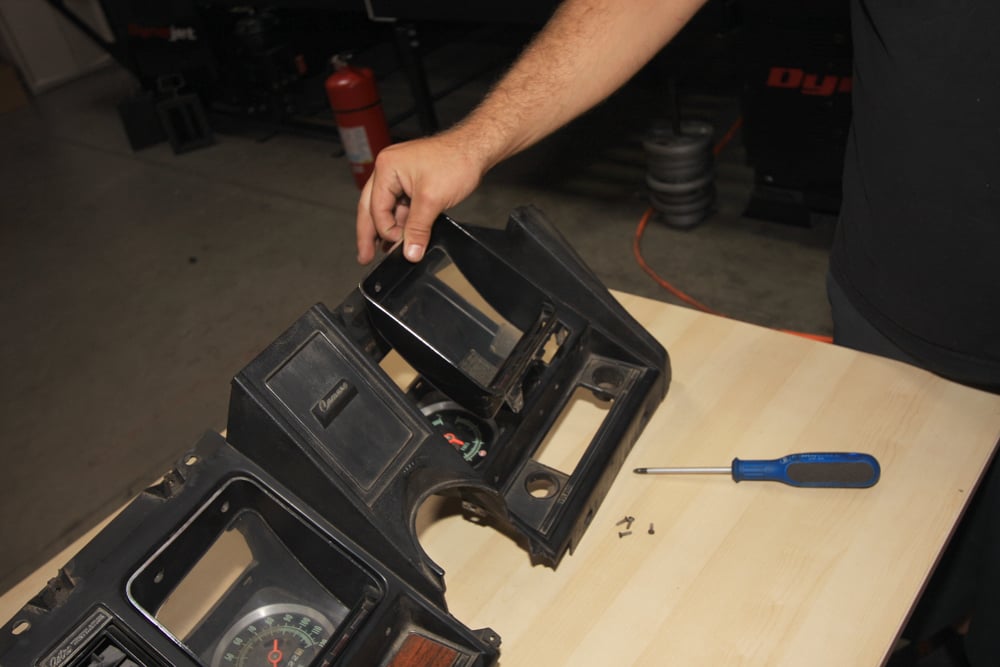
Thankfully, working on classic cars makes disassembly pretty easy to do. Simply drop the steering column, which will expose the dash for removal.

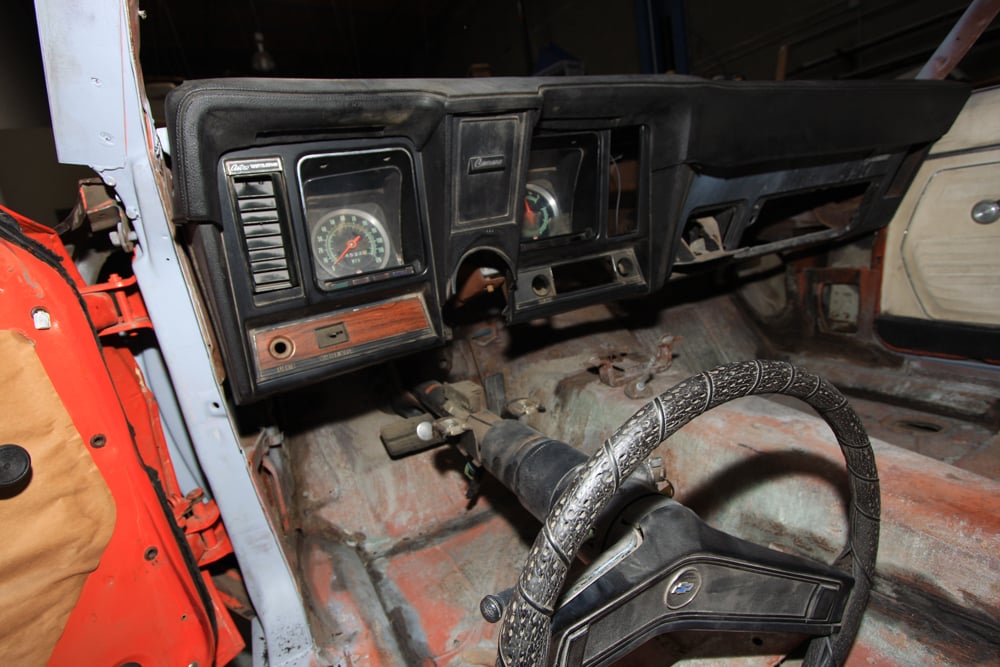
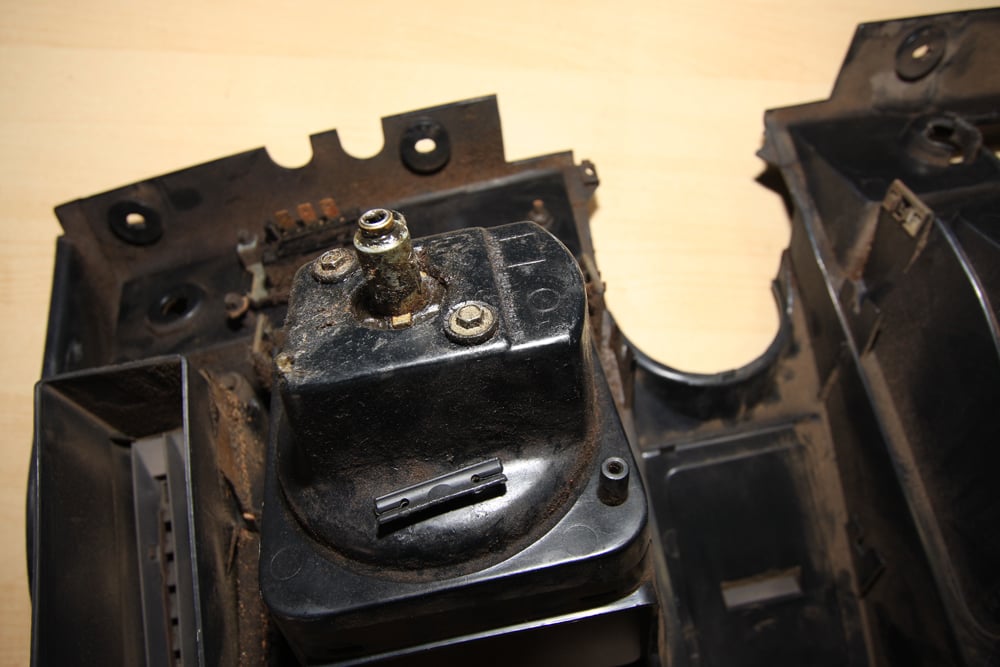
Removing the dash top cover will expose the bolts that are needed to remove the bezel and gauges
Installation
Everything from Dakota to install the gauges is included in the package. The gauges utilizes the factory bezel or dash inside the car, but if you are expecting a complete dash, you will need to purchase the factory bezel before installing the gauges.
Luckily, our ’69 Camaro came with the factory dash and gauges. The first thing we needed to do was pull the factory gauges out of the dash. This meant the entire dash needed to come out of the car.
Our goal is not so much to offer a product comparable to the factory equipment, but rather to complement the modern-themed vehicle builds with an equally modern product.

“By including the separate control module, sensors, and harnesses, the installation is straight-forward and flexible. The control modules allow wiring into either a stock or aftermarket harness, the sensors provide for installation into a variety of engines, from stock to today’s common LS conversions. I compare the installation to the complexity level of a radio installation: ultimately just a matter of identifying a few wires in the vehicle, making solid connections to them, then mounting the control module and display system.”
While the control box contains several connections, the wiring is straightforward. Depending on how many auxiliary functions you want displayed, not every terminal will be used in most applications.
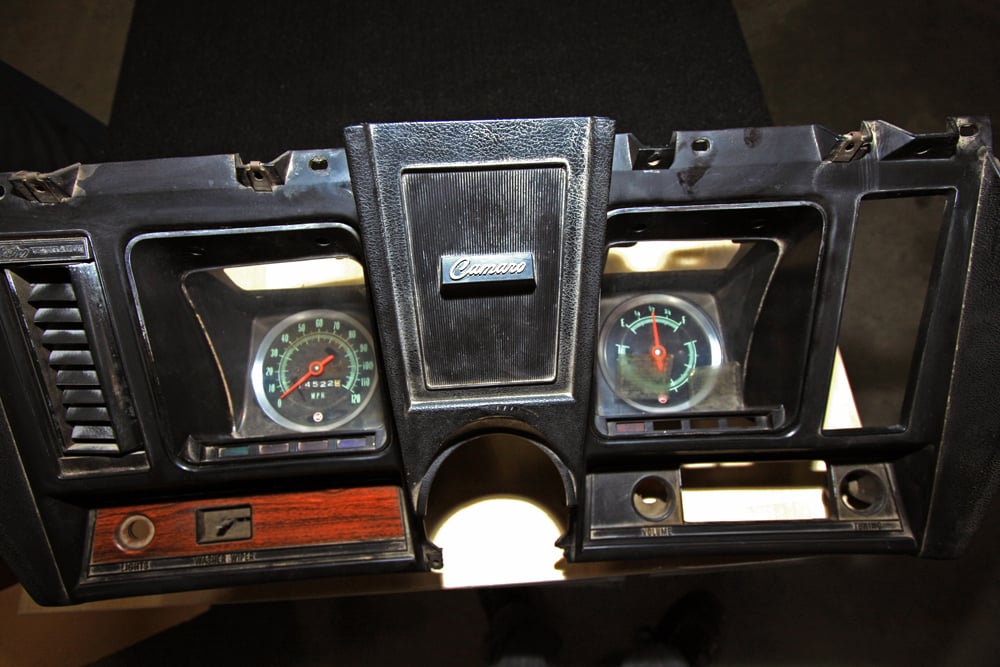

Now that the bezel is out all we have to do is pull out the protective glass in front of the gauges by removing the four bolts. There is no need to save this protective glass as the VHX gauges come with their own covers that don't need to be installed. The factory gauges are taken out by removing the two bolts on the back of the bezel. Remember to save these bolts as the VHX gauges will use these same bolts.

It's your call, but these factory gauges can be sold on eBay to someone doing a restoration project to get some cash back in your pocket.

The gauges are installed by using the same bolts that held in the back of the original gauges. While you have the bezel out it's a good time to go ahead and clean the entire bezel.
Wiring
Even though we didn’t completely wire the outboard control module we did want to highlight a couple of things that will make your life easier when it comes to finish wiring the module. Dakota did tell us that when selecting a mounting location, avoid placing the control module next to or just opposite of the firewall from ignition components. Ignition components can emit tremendous amounts of electrical noise, affecting the operation of electrical components which can cause erratic operation.

The Outboard Control Module utilizes a cat 5 cable to transmit the data to and from the gagues
From there, it is as simple as connecting the wires and following the directions and warnings from Dakota Digital. If you follow these instructions you could easily finish the wiring of the outboard control module in no time. Dakota has done their homework and have provided a wiring instruction guide that highlights the common problems that you might encounter.
For instance, here’s a warning from the fuel level sensor that will give you an idea of how extensive the guide is. For fuel level sensors that are attached to an electric fuel pump, or if you have an electric fuel pump in the tank, make sure that the fuel pump is externally grounded to the vehicle chassis. Attempting to ground the fuel pump to the Dakota Digital control box will result in erratic operation and damage to the control box.
You can see Dakota’s complete wiring guide here.

While the control box contains several connections, the wiring is straightforward. Depending on how many auxiliary functions you want displayed, not every terminal will be used in most applications.
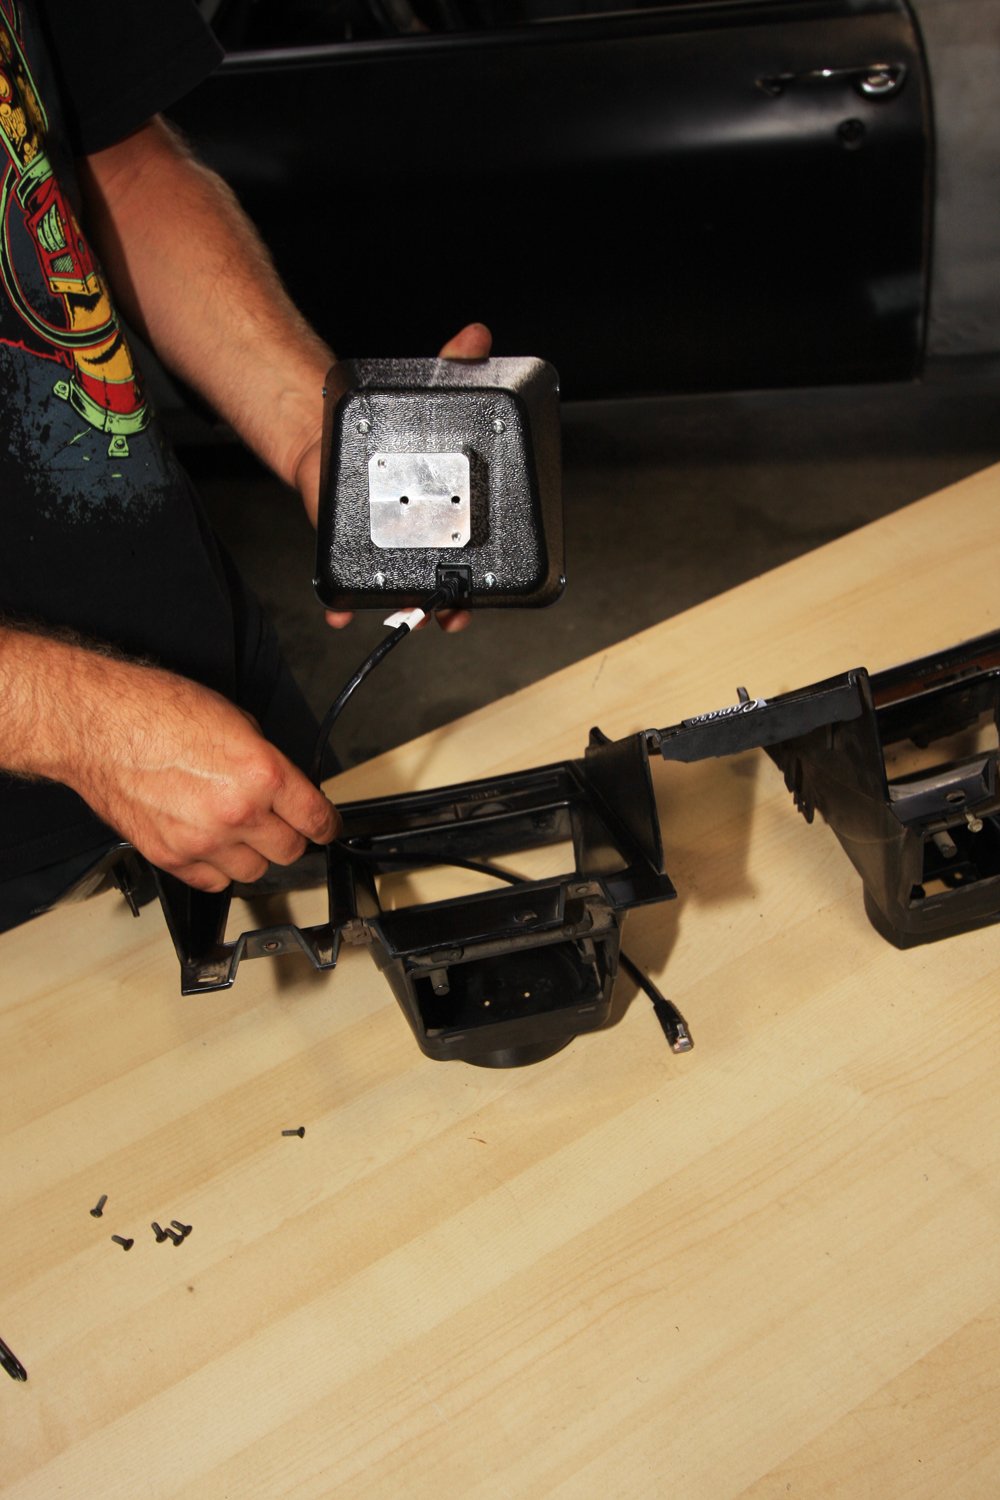
Next you will need to plug the cat 5 cable into the back of the VHX gauge and then it's important to remember to run the cable through the bezel, and out the back of the dash. Since our engine is still in the process of being built, we decided to run power to the gauges to ensure that the connections were installed correctly and didn't come loose from the installation. The rest of the wiring will have to wait until we have the engine back in the the car.
To finish the installation, we simply put the factory bezel back into the dash, and then installed the steering column.
Conclusion
Overall, the VHX gauges deliver on what they advertise as “The Future of Traditional.” The VHX gauges provide a digital option with an analog look, and they look great!
“We’ve been asked for years about producing analog gauges, we’ve always had this concept in mind,” says Johnson. “But we had some pretty strong caveats: No loss of features from our digital instrument systems, maintain a modern look including full backlighting and vehicle-specific direct-fit applications. Our goal is not so much to offer a product comparable to the factory equipment, but rather to complement the modern-themed vehicle builds with an equally modern and expandable product, which in many cases becomes the focal point of the interior.”
Imagine pulling into a local car show, hitting the demo mode on your VHX gauges and giving everyone who passes by another reason to check out your not so “belly button” ’69. Make sure you check back to Chevy Hardcore and keep up with our ’69 project. We’ve got a lot planned for this ’69, the VHX installation is just the first of many projects that we will be showcasing over the next few months.