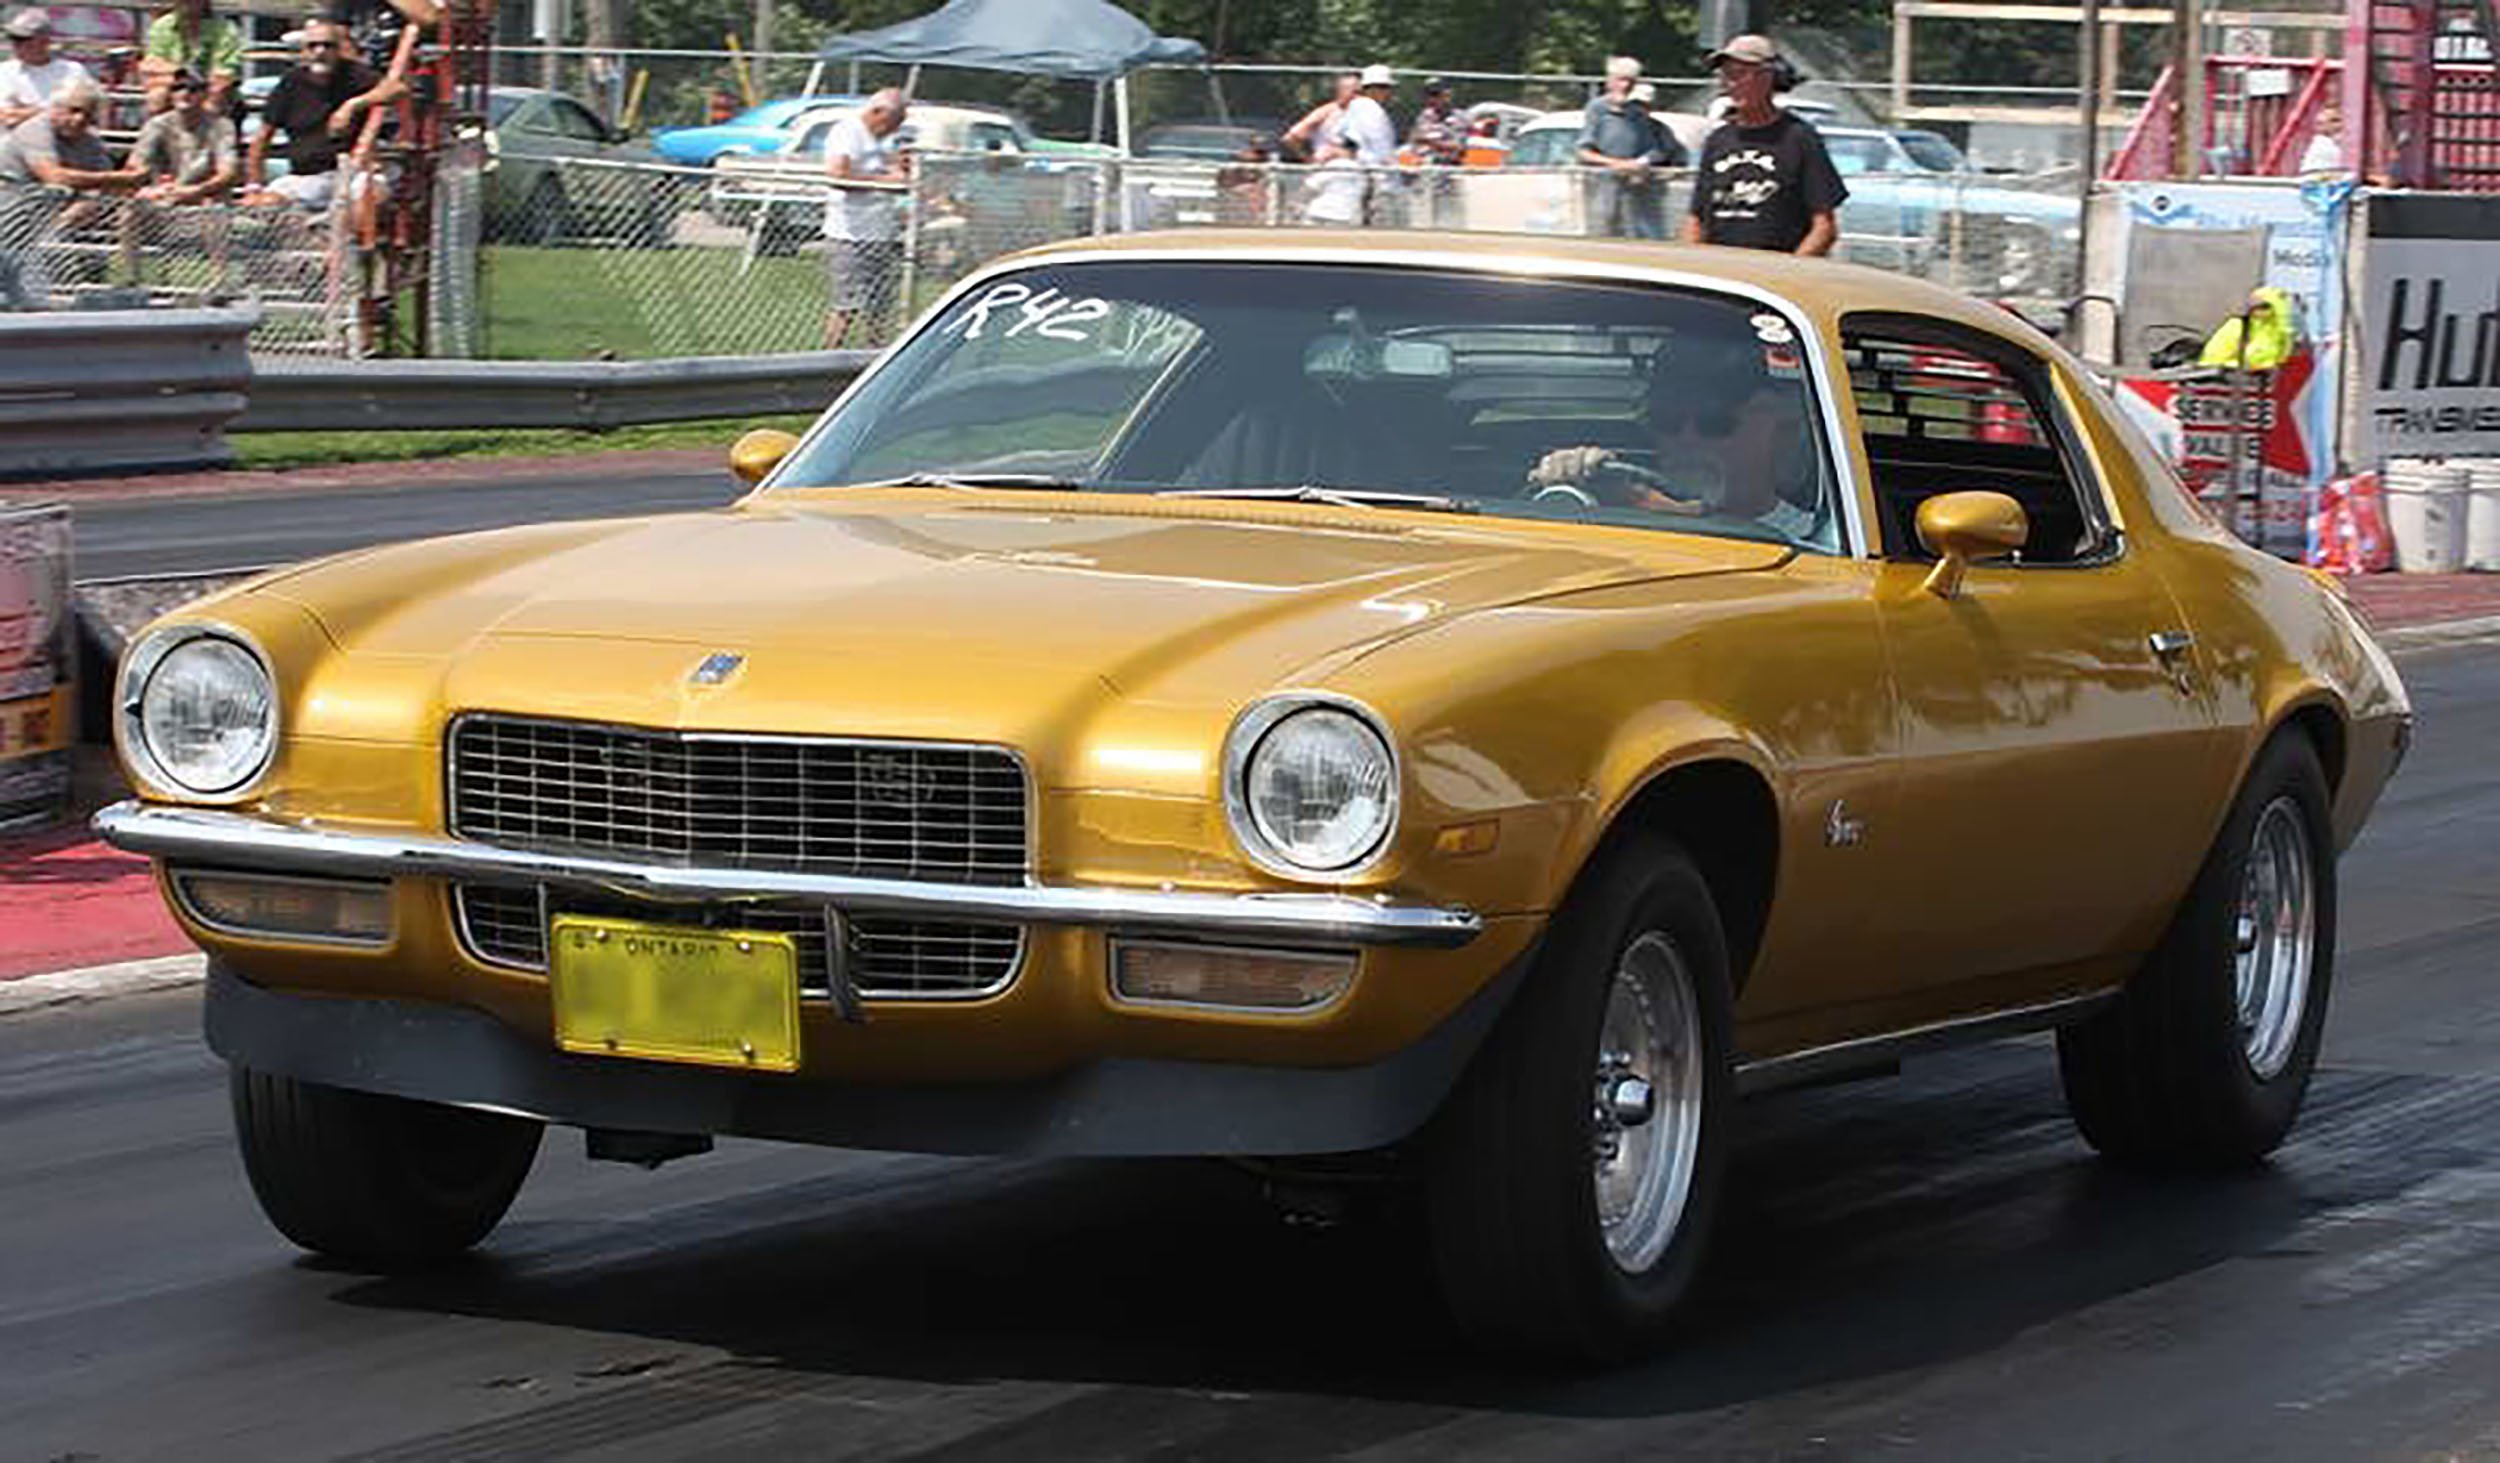
Respect
Since 1990, our trusty V8 305 Camaro has been true to form: Lots of promise, little delivery. 305 cubic inches, and slow as sin. Stacked against it’s then competition and bitter rival – the mustang 5.0 with 302 cubic inches, it was almost laughable. Our Camaro had 3 more cubic inches and was 3 seconds slower. We bought this old girl last year for $3,000 and the hopes of building it up into a 10-second street/strip terror, but one thing got in the way.
So we decided… let’s try to do this on the cheap. Each project segment, we will try to scrum together no more than $1,500 in the quest for power and performance. For this first segment, we went with big bang for the buck. How big.. try a 73% increase in power, over 100 rwhp… for less than $1,500… kind of. Why kind of.. well, we hate to cheat. Read on.
After spending the first 19 years of its existence in stock form, a transformation has beckoned for Respect. It’s time we started knocking some dust off the old Burgundy girl and infused some life with some much needed horsepower, torque, and efficiency.
Although the stock fuel injection/intake manifold leaves much to be desired, we’re gonna see what some basic hot rod mods can yield in terms of power, $1500 at a time. Quicker starts, smoothing out idle quality and acceleration is a key concern as well as acquiring an increase in mid range torque and horsepower. After all, when you mash the accelerator, it would be nice if the car actually felt like it was picking up speed. Getting some bite down on the pavement always helps.
And oh yeah….let’s see what happens when we “squeeze” a little steroid gas into the combustion chambers and really get things pumping.
The Plan: The First $1,500 Smackers
More air in, more air out. Sticky tires, plus some nitrous. It’s a proven theory that has worked for years. A set of Hooker Darkside shorty headers, complete with Y-pipe and Hooker cat-back exhaust system will insure we get what we’re missing. An NOS nitrous oxide system will give us that extra punch, and a pair of Mickey Thompson ET street drag radials will ensure we can get it all to the ground.
First we did a base line. The truth hurts, but it will set you free. In this case it just hurts! We had to baseline our Respect Camaro before we popped the cork on her. Three runs at the track yielded the following best 1/8 mile run at Irwindale. 1/4 mile is corrected using the standard *1.56 and *1.23 correction factors.
60-Foot: 2.31 sec
1/8 Mile: 10.70 seconds @ 65.89 MPH
1/4 Mile: 16.65 seconds @ 81.04 MPH
Bone stock runs down the 1/8 mile took an eternity. Just didn’t seem right for a V8 equipped Camaro to produce results like this. We brake-torqued the Camaro, and I mashed the gas to see what she could do and it was all bark and no bite. Just a bunch of noise and the car going nowhere. I could barely get the one legged side to break the tire loose from a stop.
We got no place to go but up. So let’s get started.
Hooker Exhaust Upgrade
Knowing that we needed to make a serious and immediate impact, the logical starting point is the exhaust system. With over 40 years of high performance exhaust experience, Hooker got the call with:
- Hooker Darkside Shorty Headers for F-Body Applications, 1-5/8-inch primary tubes and 2.5-inch collectors.
- Hooker Y-Pipe (2 into 1) – with 3-inch outlet
- Hooker 3-inch Single Catback with Aerochamber Muffler

For openers, the Hooker Darkside headers are made of 16-gauge steel, have 5/16-inch flanges, and offer a consistent semi-gloss finish that provides thermal resistance up to 1700 degrees F, which is 400 degrees F above your typical silver ceramic coating, limiting overall heat through the header. Resulting in a big reduction in under hood temperatures which is ideal for high heat powerplants such as our nitrous applications.

Next up, let’s take a quick look at the Hooker cat back. The Hooker Cat back is constructed of 16 gauge aluminized tubing for longevity and is completely mandrel bent to ensure the most efficient amount of backpressure to maximize torque. The exhaust piping consists of a 2 1/2 inch diameter mandrel bent Y-pipe, and 3 inch main exhaust pipe that moves massive amounts of exhaust to the competition muffler.
The Aero Chamber muffler is manufactured with stainless steel internals, and is engineered with a stepped design. A characteristic commonly found in race headers. This feature speeds up exhaust flow 23% to produce more horsepower and torque than other brands. The exhaust system is a direct bolt in utilizing factory mount locations and requires no modifications to install. Also, all gaskets, bolts and clamps are included for an easy installation.

Installation is very straight forward. It can be done on the ground, but a lift makes things a lot easier. Let’s begin by removing the spark plugs and stock manifolds. It’s just a simple unbolt and go deal.

Smart Tip! The motor mount bolts were removed to jack up the engine. This gave us an extra 2-3 inches to easily drop the new Hooker headers in from above and secure them to the heads. The included installation kit from Hooker had everything needed, from gaskets to new header bolts.

The new Darkside headers featured larger 1-5/8-inch header primary tubes, and a much more efficient individual tube design. We were expecting great things.
The stock Y-pipe was then removed and replaced by the Hooker Y-pipe and secured to the headers. Even with the increased pipe diameter, all the bends and turns were perfectly matching the contours of the subframe.

The Hooker 3-inch off-road cat back system was then installed and reinforces what simple common sense is telling you, this setup is gonna way more exhaust that the stock junk and improve sound. Our “before” sound could be estimated as sounding no better than muffled burp. After.. we were expecting a lion’s roar. We’re cheezy, we know.

The Hooker’s single 3-inch exhaust pipe goes over the axle and makes its way through a single in, dual out black finish, 3-inch Aero Chamber muffler and exits through dual polished Hooker exhaust tips.
Once the complete system was installed it was time see, feel, and hear the results. A turn of the key and it was music to my ears. The deep throaty rumble was semi-aggressive, but not annoying. We allowed the exhaust to get to operating temperature, let it cool slightly, and torqued all fasteners one last time.
The test drive was next, it was time to see if I could shake and bake my one-legged wonders drive tire. Sure enough i got out onto the pavement and it was BBQ city!! Smoke everywhere! What a ridiculous difference.
We got a great increase in seat of the pants torque and horsepower across the entire RPM band… a little bit of head turning sound. Heck, now the exhaust notes that came through made me want to go rob a bank and stuff huge cubes, heads, and a cam into the power plant.
All that was left.. was a little DYNO TIME to see what the Hooker upgrade did.

Dyno Testing: Hooker Exhaust
After all the proper restraints were in place and some 91 octane gas was in the tank, we fired her up to get the Dynojet drums turning. My anticipation was peaking! In previous weeks we had dyno’d the camaro to establish a baseline figure. Our best result was 137 hp. Definite room for improvement. Since then, we had upgraded the exhaust, headers, and cat-back.

We were ready to see what Respect could do. We eased into the throttle and pinned the gas pedal to the floor board to get our first reading. I could hear the significant difference in how much quicker the engine was ripping through the rpm band. After 3 passes we got our best result of 172 hp, picking up over 35 rear wheel horsepower. That’s a great start… for a reasonable investment… but there was one problem. A quick spin around the neighborhood quickly taught us that our Respect Camaro now had a traction problem… Easily fixed, all we had to do was bolt on some sticky tires and run to the track.
STICKY ICKY: M/T 235/60/15 DRAG RADIAL MEALS
The last piece to the puzzle requires us to get what we got to the pavement. So who else but Mickey Thompson to the rescue with some DOT approved E/T street drag radials. We chose 235/60/15 ET Street Radials that provide a ton of hook with a reasonable amount of street manners.

Backed by years of drag racing experience and race tire technology, the choice was simple. These tires feature radial construction for maximum ride control on the street, with a renowned special soft compound for maximum traction at the strip.

Mounting the Mickey Thompson ET Street radials is as normal a procedure as mounting any tire. The ET Street’s mount and air up just like expected.
IT’S TRACK TIME: HELLO FONTANA
A quick outing to California Raceway in Fontana was what the Doctor ordered to see if we could improve on our 10.70 1/8 mile and 16.65 corrected quarter mile e.t. With the sticky tires, exhaust, and 35 rwhp of additional power, we cackled with confidence. Could the 15’s be within reach? Could this wheezy little 305 get out of it’s own way, with STILL less than 5.0L base horsepower?

After a burnout to clean the Mickey’s off, we staged Respect. Roaring to go, we were expecting a lot of hook from the Mickey’s, and we weren’t disappointed. For about .5 seconds.
We dropped the throttle… the front end lifted, and then the dreaded one-wheel open differential reared it’s ugly head. Fishtailing, with a one-wheel burn going on one side, and a limp sticky piece of rubber on the other, Respect only slightly improved it’s 60-foot to 2.25. After 4 passes, we came oh so miserably close to the 16’s with a 16.004 at 86.4 mph – a decrease of 6/10ths and an increase of over 5 mph in the 1/4 mile.
60-Foot: 2.25 sec
1/4 Mile: 16.004 seconds @ 86.42 MPH
We learned a few things. One, we need an upgraded rear end differential (can you say posi..) so that both Mickey’s can apply their full power to the track. Second, upgraded rear end gears and a looser converter would do wonders. I dare say… 14.90s?
Now.. it was time to get our squeeze on.
NITROUS: Here We Come

Nitrous Oxide needs no introduction or explanation. If you know speed or drag racing, at some point we’ve all fallen victim to “IT’S BONE STOCK!” Then got hosed and saw taillights. C’est La Vie.
We chose a NOS GM EFI Wet System designed specifically for TBI applications like our 305 Camaro. This system comes with a black anodized NOS plate and can add between 100 and 150 horsepower. It’s a “PLUG AND PLAY” system that NOS says can still re-use the stock fuel pump with lower HP settings.
Let’s explore some of the benefits of nitrous oxide and the Nitrous Oxide Systems kit that we chose.
- Best bang for the buck modification PERIOD.
- Fully adjustable power ranges from mild to wild.
- Installation is fairly easy. Kit comes equipped with easy to follow instructions, all electrical connectors, plumbing, wiring, gaskets and relay to make installation clean and complete.

We started working on the install, and we found out that the trunk area is the perfect spot to mount that famous NOS bottle. Then of course, the supply line is then routed through various body panels to give us the incognito effect. The main purpose here was to get the nitrous supply line into the engine bay unseen through the interior. Sleeper, dare I say?

Access through the main rear side panels gave us access through the panel then to the right side door sill cover plate where the nitrous line would lay hidden.
After running the supply line through the main interior and under the right side door sill plate, the line was then routed behind the kick panel. We then drilled a hole through the firewall to route it into the engine bay. There it lay until mount the nitrous solenoid. We put the carpet back over it once this photo was shot and it was totally stealthy.

Next we removed the throttle body to install our NOS TBI nitrous plate. The install kit came with new gaskets for a quick and trouble free install. All you need to do is sandwich the plate between the intake and the TBI.

The NOS nitrous solenoid was then mounted to an intake manifold bolt. The supplied solenoid brackets give the freedom to mount the solenoids in a variety of different angles, ensuring the stainless steel braided lines do not suffer impossible bending. An S-bend hard line was then connected between the nitrous solenoid and spray plate.
A 75 hp nitrous jet was inserted into the spray bar inlet port. This was a good starting point for Respect wheezy 200 hp 305.

Splicing the fuel pressure supply line and adding the included compression tee with the addition of mounting the fuel solenoid to the valve cover was a breeze. They were then connected via a stainless braided line so we could supply the solenoid with fuel. We then added the necessary fuel jet and connected the hard line from the solenoid to the spray bar plate.

The nitrous activation window switch was next mounted to the throttle body. The bendable bracket enables the installer to achieve the perfect angle to have the throttle linkage engage the switch at wide open throttle.

To finish up the electrical portion of the install we wired the solenoids and throttle switch to the nitrous control relay we mounted next to the battery.

Finally it was time to mount the main power switch to the dash so we could activate the system at arms length. I’m definitely feeling this! Here we go, my little blue bottle friend.

On to the Dyno, On to the Problems
We were all ready to get moving with some nitrous dyno time.. Time to load Respect on the Dynojet rollers, and got ready to spray.
Full Bottle. Check
100 Octane VP Gas. Check
Eagerness to break 200 rear wheel horsepower. Check
Key on…. Spark?….. Spark?… No Spark.
Fug.

MSD to the Rescue
Respect ran into spark issues. No doubt due to the all-crappy TBI stock 305 ignition. The car wouldn’t run. We’re trying to dyno test this bitch, and all we get is the starter turning over.. over and over…
At this point, we blew our $1,500 budget. Honest. But, we had to upgrade.. and we gave MSD a call and got all of the goodies we need to make some big power down the road.
- MSD 6-Plus
- MSD HEI Coil
- MSD Pro Billet Distributor
- MSD 8.5mm Spark Plug Wires
Even though the added power obtained from the exhaust system and the potential that the nitrous kit offers is a much welcomed aspect to the game, a series off issues still existed even before the spark problem. Mainly, hard starting, rough idle, and hesitation under a load. The stock ignition system was obviously falling flat on its face even before it took a crap.

First up, the MSD 6-PLUS Digital box. This box has increased spark output, two rev limiters, and an extremely durable digital construction. Best part of all, it’s a plug and play with the MSD HEI distributor and coil.
We start by drilling to mount our rubber insulators that attach to the MSD 6 PLUS ignition box. Once the box is mounted, we have to run wiring for power and ground. Next we need to mount the coil so we can continue the series.

The spark delivery continues on in through the MSD Pro Billet Ready to Run Distributor. With stock style plug in connectors, installation is as easy as removing the old distributor and bolting down the new one. What a huge difference between the stock piece and the MSD billet distributor. Mechanically and cosmetically there is no comparison.
There have been some serious improvements to this piece over the stock unit, beginning with the CNC-machined billet housing, surrounding the oversized steel shaft riding in ball bearings. Plus, a maintenance free magnetic pick-up triggers the ignition with absolute precision.. not to mention the increased power from the amplifier.

The single most convenient piece of this install is the no splice wire harness that brings the MSD 6 Plus ignition box and MSD ignition coil together. No cutters, no electrical tape, no hassles. A couple minutes is all it took, and we had fire.

With all the increased power being generated by the MSD 6 Plus ignition box, we need a reliable and equally powerful series of components to deliver spark to the cylinders. The point of origin lies with the MSD HEI Ignition Coil. Todd Ryden once again gave us the inside track on how hot this piece really is.
- The coil is engineered into a stock factory housing for ease of mounting, and MSD uses improved coil winding material to assist in the output of the coil.
- When designing the coils, MSD’s windings have a 85:1 turn ratio and lower primary resistance which creates high voltage output. All of the Blaster Coils are designed to produce higher energy than factory coils.
- To install the coil in series with the MSD 6 Plus ignition box, the no splice direct plug-in harness (P/N#8876) is available for a no hassle installation that literally takes minutes.
Next to deliver the spark to the cylinders we have our MSD 8.5mm ignition wire set. 40 feet of tightly wound copper per finished foot is what you get in these beauties, with less than 50-ohm resistance per foot, and less resistance means more spark delivery to the plug. The good looks are just the beginning, the rugged 8.5mm synthetic/silicone jacket covers an extra heavy glass braid. Finished off with high temperature MSD logo boots, these wires deliver form and function beautifully.

The ignition wires were connected from the distributor to the spark plugs. They were also neatly routed with a set of MSD wire separators. Things under the hood are really starting to take shape now. On the road, the test drive revealed a big increase in upper RPM performance. Very quick start ups, and a smooth aggressive climb through the entire RPM band. The idle quality is unbelievable. You would never guess that this vehicle has an original 1990 powerplant. It’s just smooth all over.
Dyno Time is “GO” Time
It was pretty exciting strapping the old girl down to the dyno to see what she could do. This time is was finally “GO TIME” for the nitrous. The NOS Powershot kit only requires a small adjustment to ignition timing, 92+ octane gas, and in some cases a colder range spark plug. I opened the bottle valve and heard the line fill with nitrous gas. All system are go, we are armed and ready to rip. 3 words in my head right now…
“LETS DO THIS!”
As the nitrous began to flow on the first nitrous pass, I immediately noticed how much louder and quicker everything sounded. What a rush! The sound was pure sweetness! After 3 hard pulls the best run we turned was 236 hp. A 64 hp gain on a 75 shot!! SWEET!!

That’s a 100 rwhp gain over our base line reading at the projects opening. In my life I’ve walked away from drinking, smoking, and the party life. But with results like this, hot rods are here to stay. Your old lady will just have to understand.
Now, we didn’t have any track results to report yet. That will need to wait for the next update.
COMING SOON
The future for Project Respect holds a major overhaul in steering, suspension, and weight transfer. My aspirations for bigger power, better handling and quicker E.T’s have just begun to snowball. I won’t be satisfied with just a taste, so stay tuned for what comes next. It’s gonna get exciting. With high performance veterans like Hooker, MSD, Nitrous Oxide Systems, and Mickey Thompson, its just a matter of time before Project Respect is No Joke.