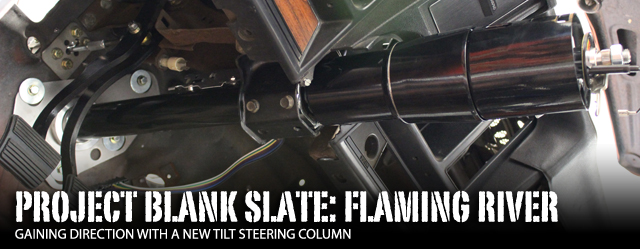
Every car out there has a steering column and there are lots of options for them. You can retain the factory column, swap in one from another car or go aftermarket. Since Project Blank Slate isn’t a stock car by any means, we opted for an upgraded aftermarket column. However, we still wanted something that would bolt in and perform flawlessly for years to come. Project Blank Slate will see lots of hard use the next few years since this is a Pro Touring built car, with an 502 cubic inch LS-based engine to get to speed in a hurry and a full Chris Alston Chassisworks suspension – this car will handle like it’s on rails.
We chose to replace the factory steering column from Flaming River for numerous reasons. To start, we wanted a brand new column that didn’t have worn out bearings and slop in the steering wheel. Secondly, we wanted a steering column that was bolt in and would connect to the factory dash and dash wiring harness. Lastly, we wanted the upgraded toe board so the column would stay put, even if we hung onto the wheel during hard cornering.
When the time came to get a steering column hooked up to our rack and pinion, we knew that we had some research to do. Since our set up wasn’t using a stock gear box, we figured that would require us to fabricate connections instead of picking up parts off the shelf. In order to keep this job simple and straight forward as possible, we called up the experts at Flaming River and talked to them about options.
Research:
At Flaming River we spoke with John Jennings and after listening to our list of requirements, John knew just the rights parts we needed to get the column in place. “This is pretty straight forward and easy, requiring no fabrication” said Jennings. Flaming River had everything we needed to make this a bolt in installation when using their column and floor mount.

We ordered up a brand new tilt column from Flaming River along with the Double-D shaft and U-joints. The Double-D shaft will have to be cut to length, but will easily attach the factory column into our aftermarket rack and pinion unit. A few short days later everything showed up, ready to install.
Benefits of Flaming River:
All Flaming River steering columns and components are 100% brand new. “We don’t rebuild, remanufacture or use any original components. Everything is new.” That means you won’t have to worry about a 45 year old part giving out or sourcing one from a donor car. This saves a lot of headaches and time later on down the road.
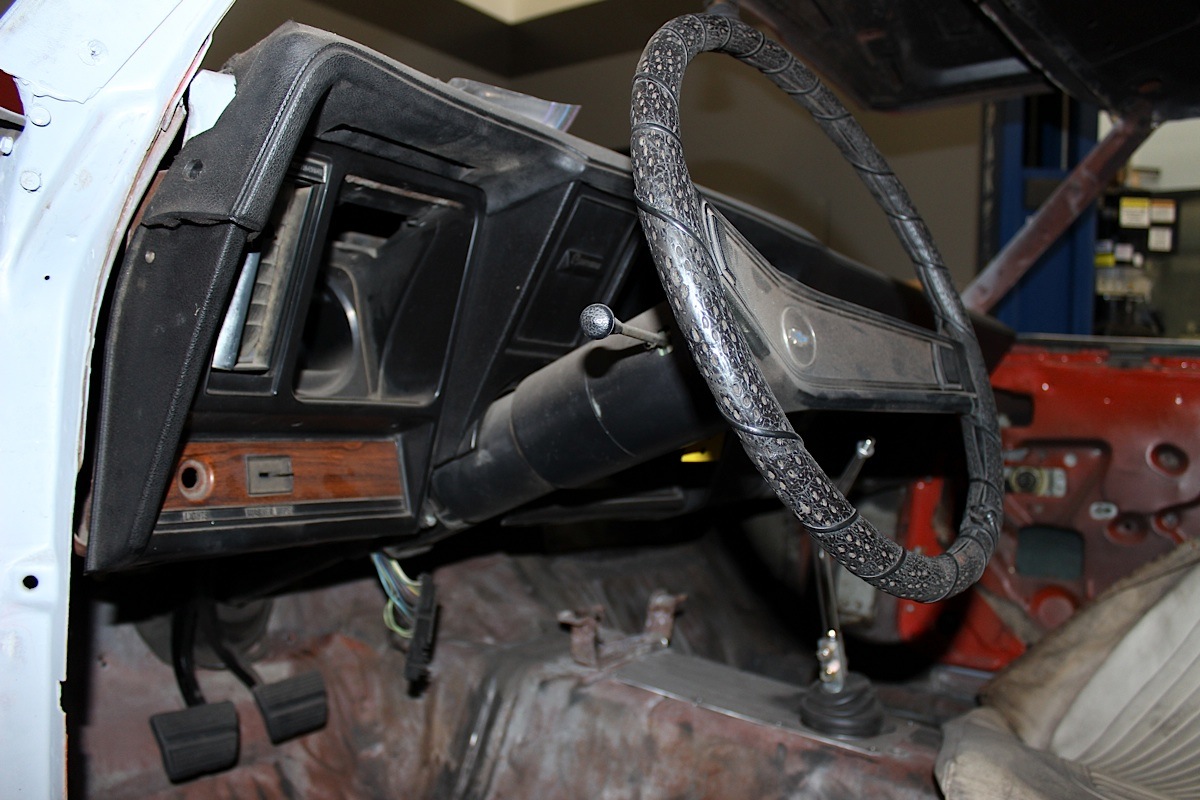
The original set up
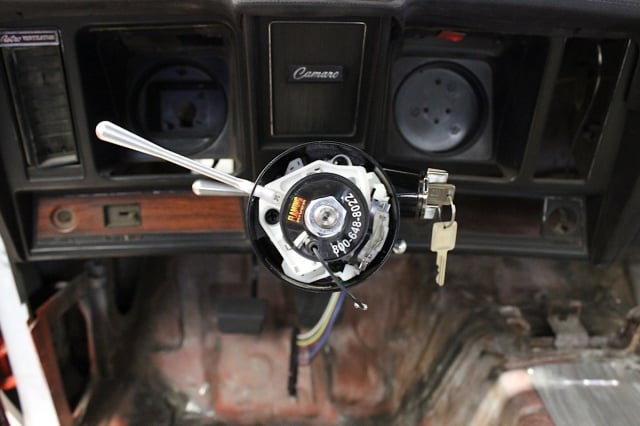
“The way we designed our columns, it’s actually an OEM, brand new ignition tumbler and ignition switch” said Jennings “They key is also in the stock location, retaining the factory look.” Even though this is an upgraded aftermarket column, you can use the factory keys so they will match your door, trunk and glovebox keys. The turn signal switch has also been upgraded to a late model switch. This provides a better quality product that still utilizes the factory wiring with a different plug.
“The way we designed our columns, it’s actually an OEM, brand new ignition tumbler and ignition switch” -John Jennings

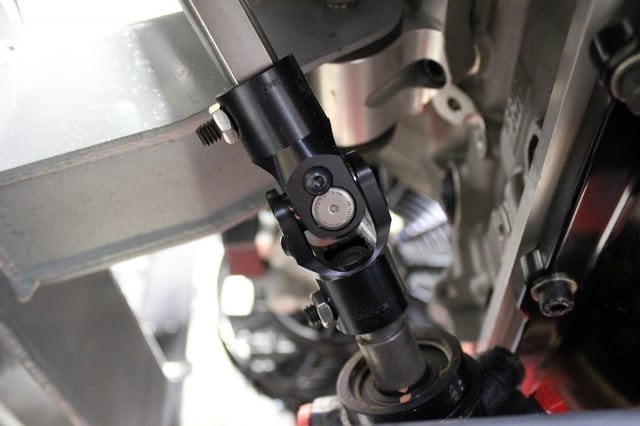
Since we utilized an aftermarket rack and pinion, we needed to use U-joints and a Double-D shaft to make the connection. Jennings told us that, “The chrome-alloy joints are a low profile design that’s still stronger than OEM style universal joints.” These low profile joints will allow for clearance around headers or any other suspension items that may get in the way, without worrying about the strength of the joints.
Install:
 We started the installation by removing the old column. This required disconnecting the harness, a small cover plate and a few nuts that held in the column. From there the old column slid out easily and we set it next to the old one for comparison. The only part that is reused the mid-column mount that attaches the column to the dash itself.
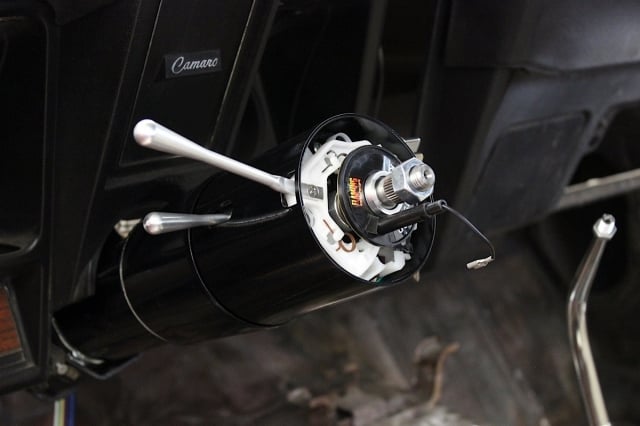
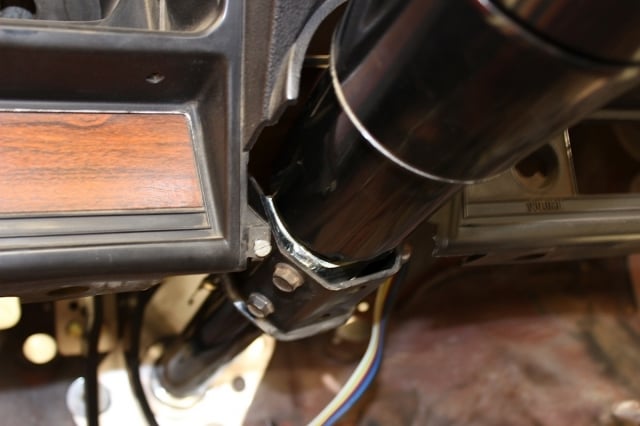
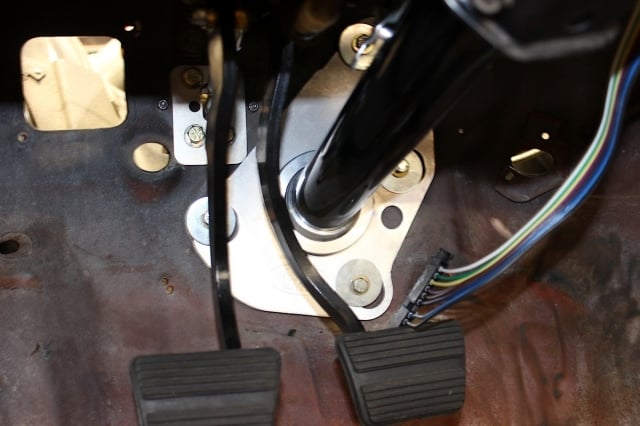
With the old column out, we started by installing the floor plate to the firewall. This plate reuses the factory bolt holes and provides a solid lower column mount. From there we loosely attached the clamp that mounts the middle of the column. Placing the column into the hole in the floor plate, we tightened down the clamp under the dash and installed the cover plate. Normally you would attach the wiring harness at this point, but we will rewire the entire car at a later date.
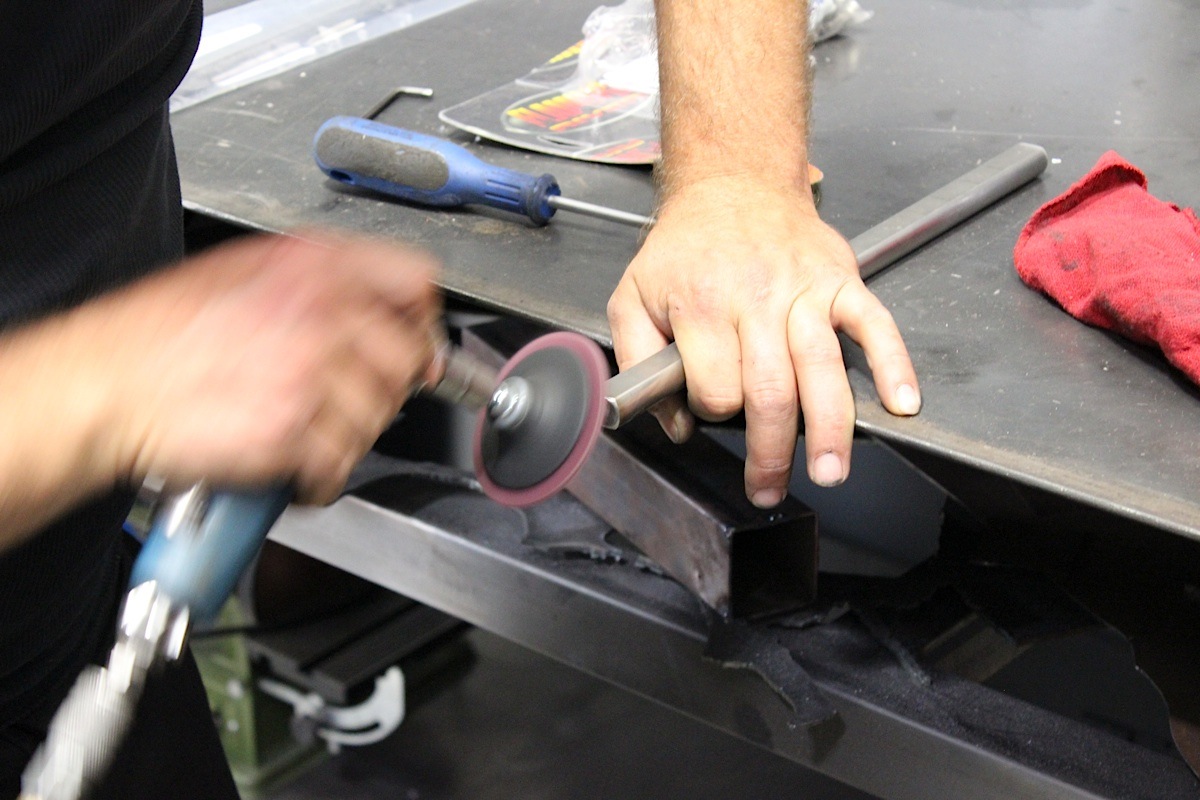
Beveling the edges of the Double-D shaft
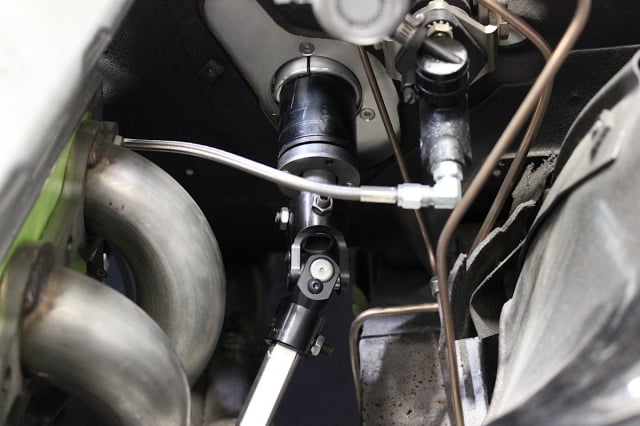
On the other side of the firewall, we attached the U-joints. One was installed on the steering column side and the other on the rack and pinion. From there we measured the length that we would need to cut the Double-D shaft. After we cut the shaft, we put a slight bevel on the edge of the shaft to help it slide into the U-joints.
The installation wasn’t quite finished yet. We marked the location of the set screws on the U-joints, then pulled the Double-D shaft back out. Using a large drill bit we recessed the area where the set screws will touch the Double-D shaft. This allows the Double-D shaft to self-center during installation. The other benefit is that this is extra insurance that nothing moves out of place, causing you to lose your ability to steer.
Overall this installation was very straight forward and from start to finish only took us a few hours to complete. The tilt mechanism works flawlessly along with the new turn signal switch. We can’t wait to get a steering wheel on it to complete the project!
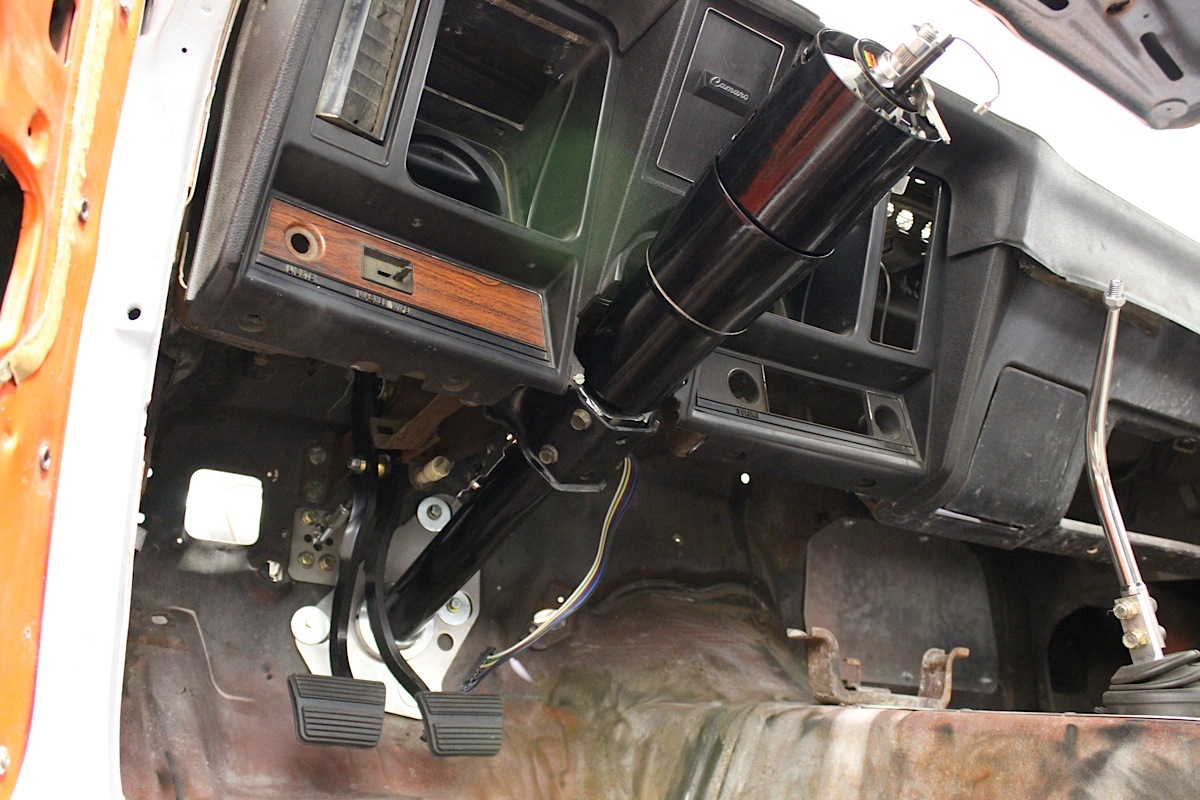
Just needs a steering wheel and wiring!