
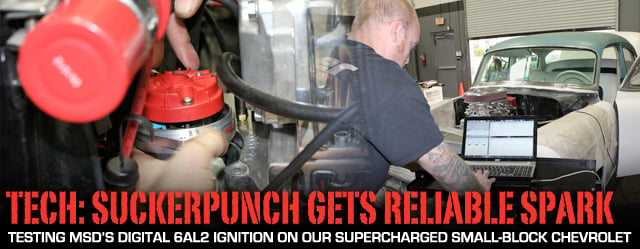
 When we last left Project Sucker Punch we were diving head first into equipping our ’54 Bel Air with a formidable exhaust system. Since then, things have been progressing nicely with the Bel Air, and we have a lot planned for it over the next few months.
However, the recent addition of an Edelbrock Enforcer TVS blower presented us with a unique opportunity. As anyone with a small-block Chevy knows, attaching a blower, especially one as large as ours, can make things pretty crammed in the engine bay.
We already had plans to upgrade the ignition system and distributor, but the blower putting pressure on our current distributor and played our hand a bit earlier than we had planned. We jumped at this opportunity to not only upgrade the distributor, but to also upgrade the entire ignition system.

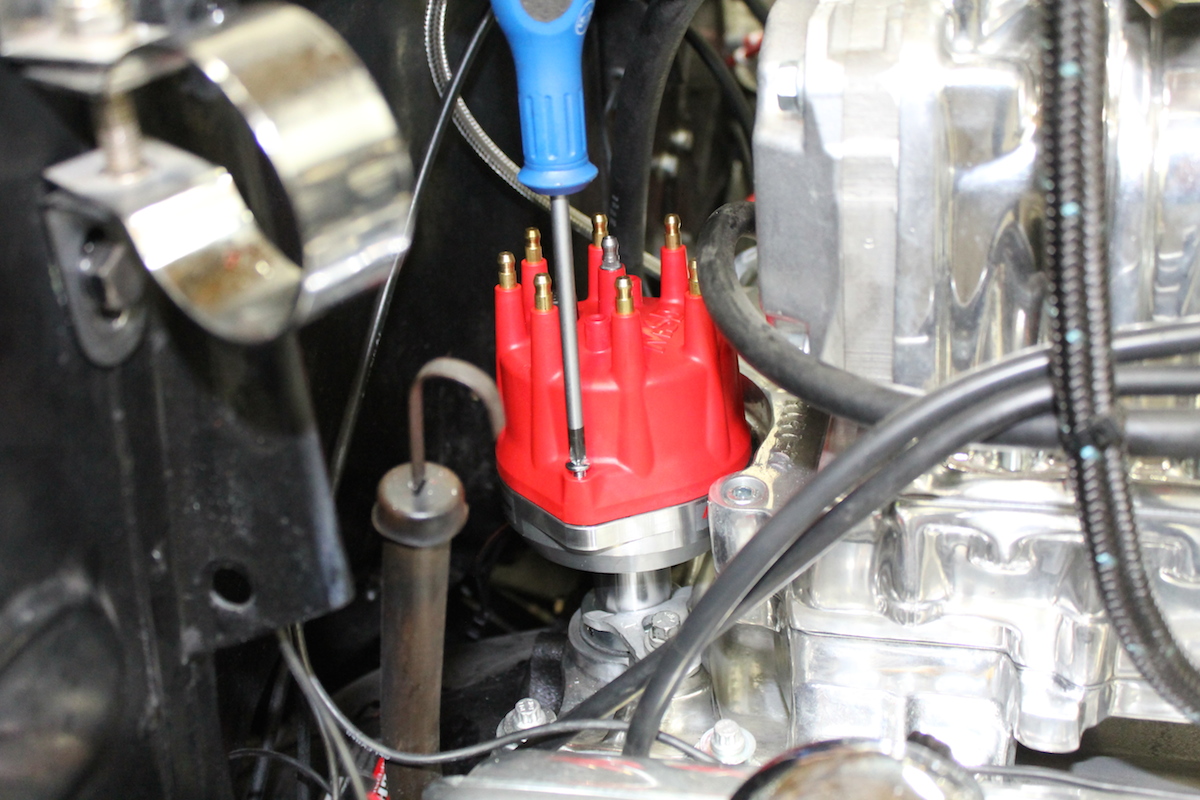
Our original distributor had clearance issues with the blower manifold.
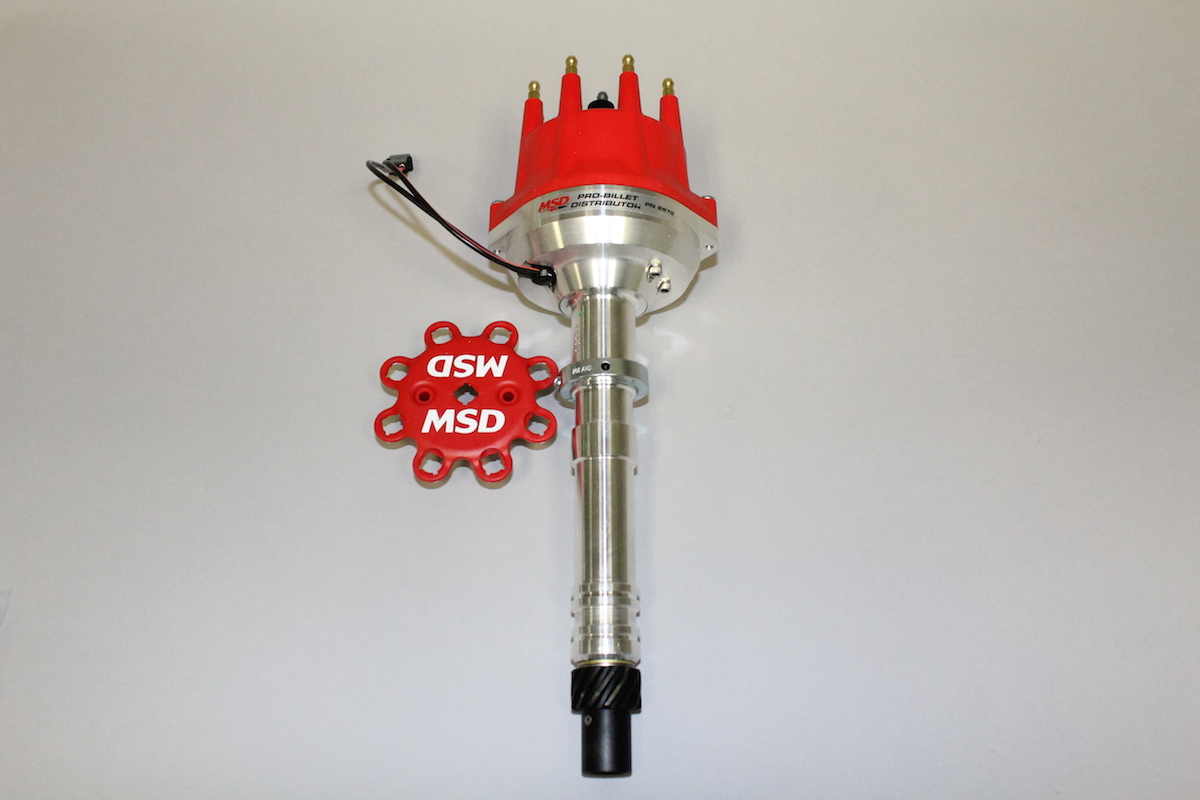
Our New Weapon of Choice
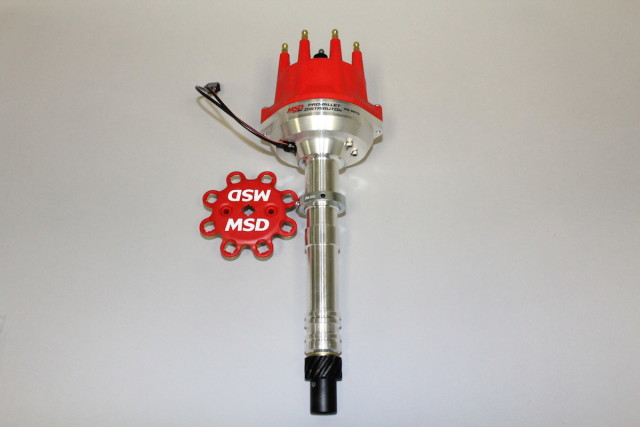
Chevrolet Pro-Billet Small Diameter V8 Distributor
- CNC machined billet aluminum housing is 3/8-inch smaller in diameter and 7/8-inch shorter than conventional Chevy V8 distributors with the “points” type cap
- Maintenance-free magnetic pickup and precision reluctor create stable trigger signals throughout the RPM range
- Easy-to-adjust mechanical advance with supplied springs and stop bushings
- Adjustable slip collar mounting flange for engines with modified deck heights
- Advance plate and weights are fine blanked from chromoly steel and QPQ coated for friction reduction
- Mechanical advance assembly can be locked out for crank trigger systems
- Special oil tract improves lubrication to the distributor and cam gear
According to MSD, this distributor was designed for racers and street rodders that have space limitations due to firewall interference, blowers, or oversized intake manifolds. This would easily solve our clearance issues and provide us with all the reliable spark we would need to keep up with the blown 383.
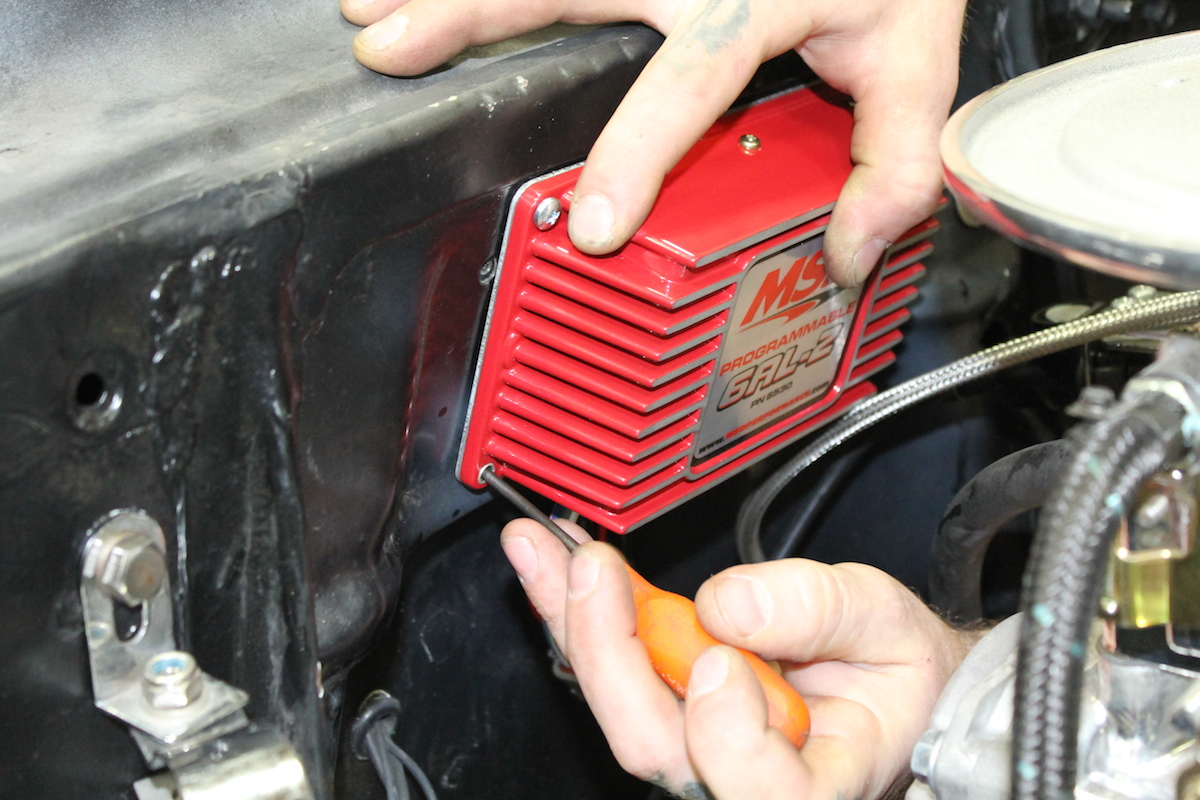
From there we examined our needs for an ignition system. Because of the blower, we needed one that was easily adjustable as we knew were going to have to retard the spark, but also one that could keep up with the needs of a high horsepower engine. This led us to choose their 6AL-2 ignition control (part #6530 on MSD’s site and part #121-6530 on JEGS). The ignition combines a new housing, new digital controls, and more power in a small convenient package. The ignition comes with an advanced micro-controller that manages the built-in two step rev-limiter. The output of the new box has been cranked up to 535 volts of primary voltage with spark energy reaching up to 135 millijoules!
“The Programmable 6AL-2 incorporates many features and adjustments that have been proven on the race track with MSD’s professional 7 Series Ignitions. The ignition is ideal for performance street/race engines and provides the favorite accessories in one unit designed for the street,” Silver Gomez of MSD Performance explained to us. “You can set three rev limits, a single stage retard, a boost retard map, as well chart a complete timing map based on engine RPM. The ideal feature is the time-based retard that is helpful for the launch, especially on small tires or street tread.”
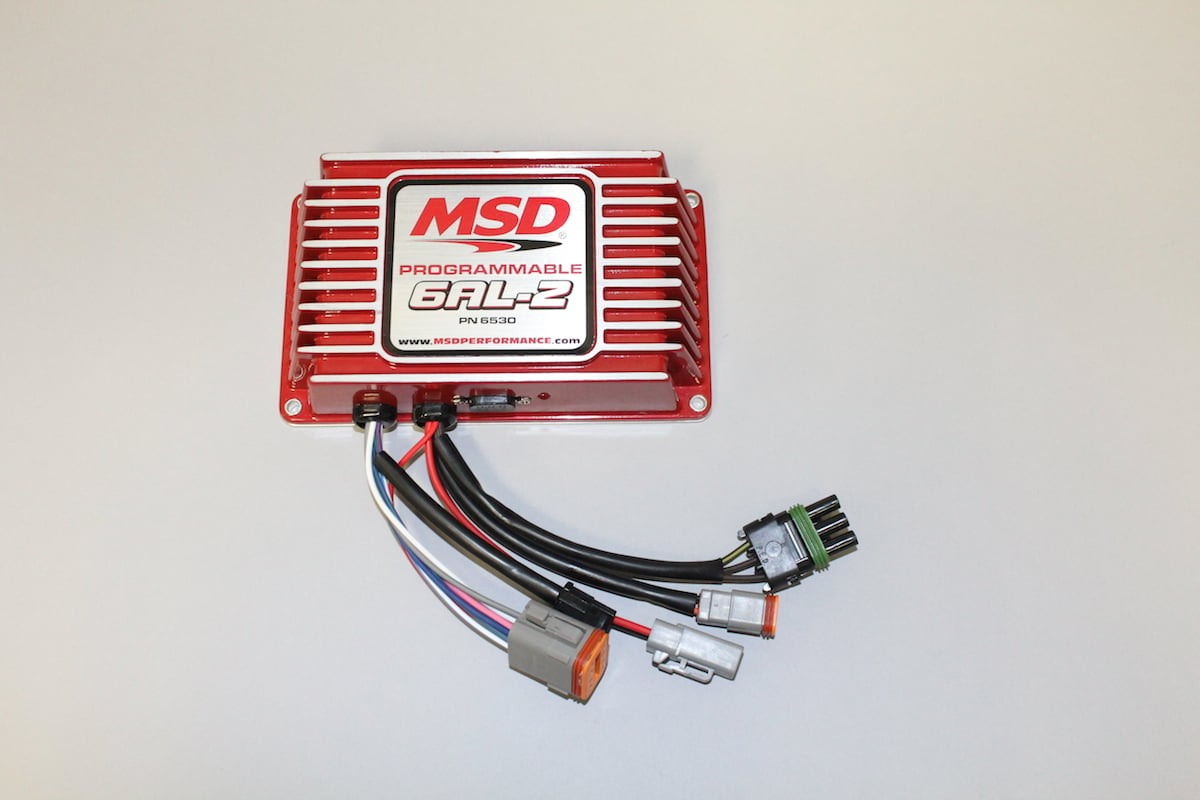
The MSD Programmable 6AL-2 is compact enough to fit just about anywhere but packs a big punch.
Installation
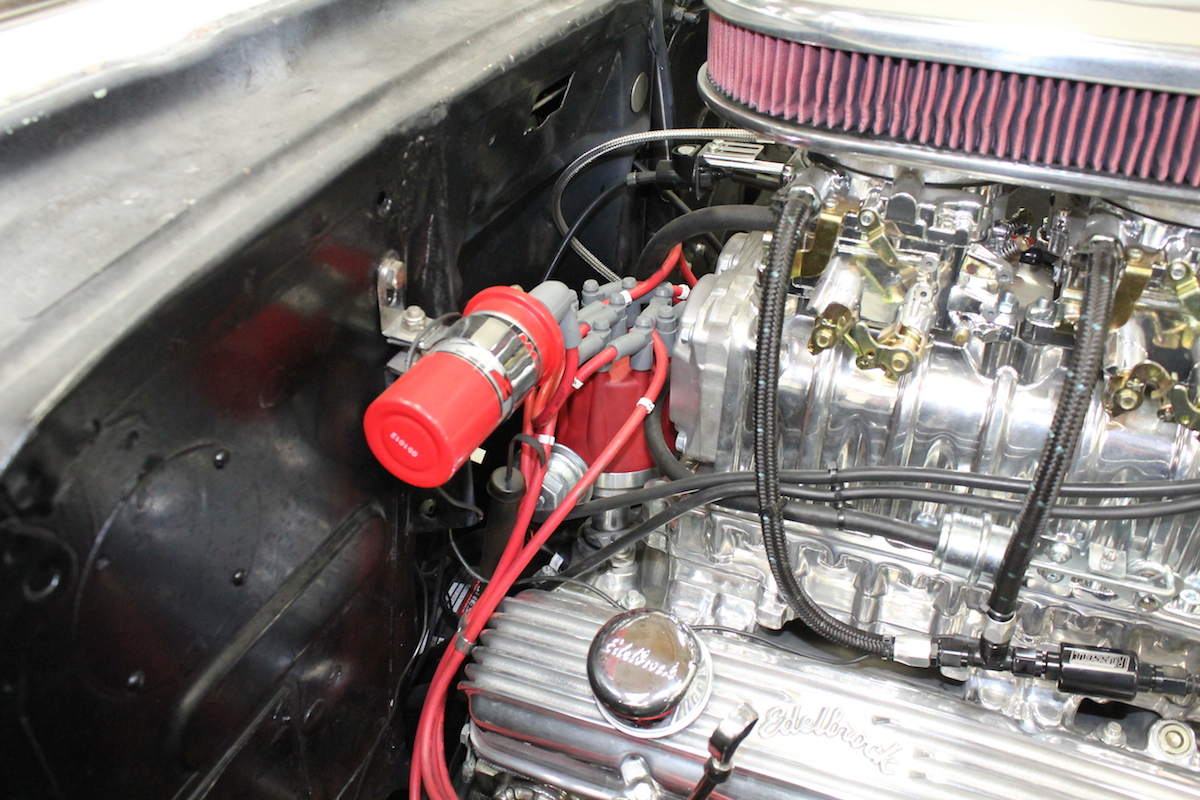
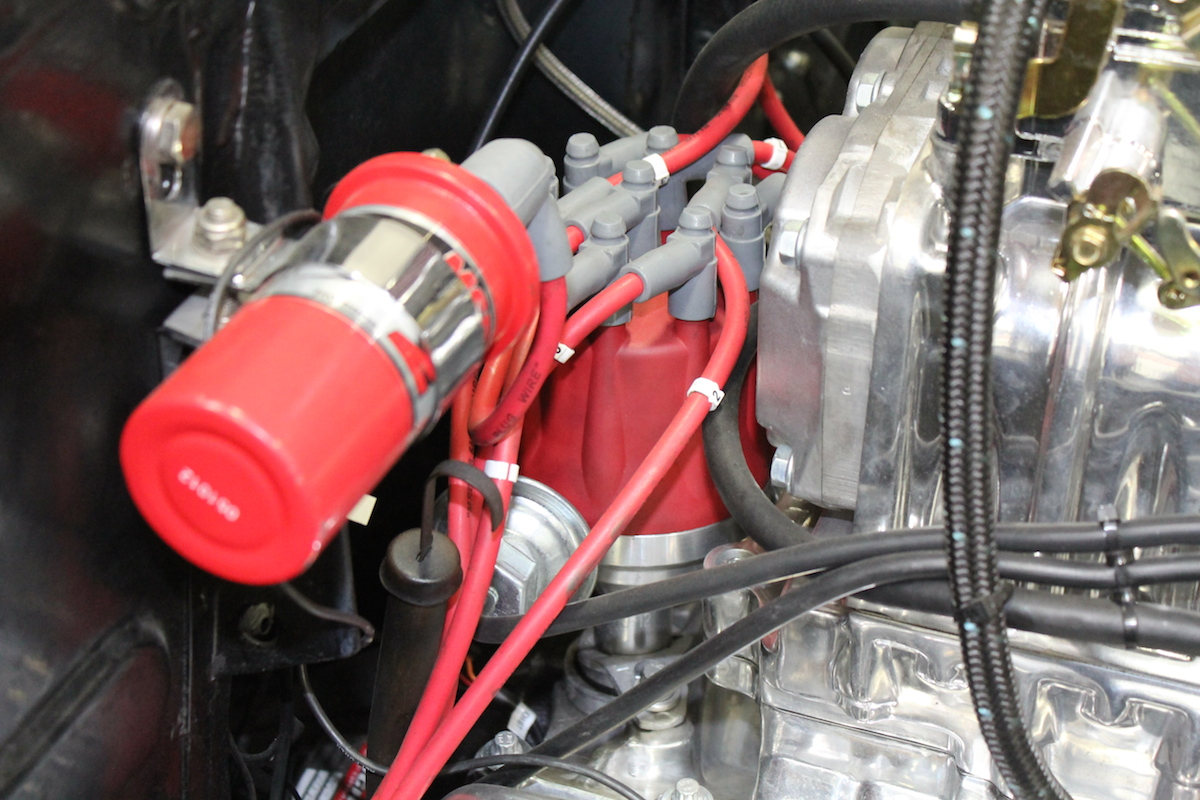
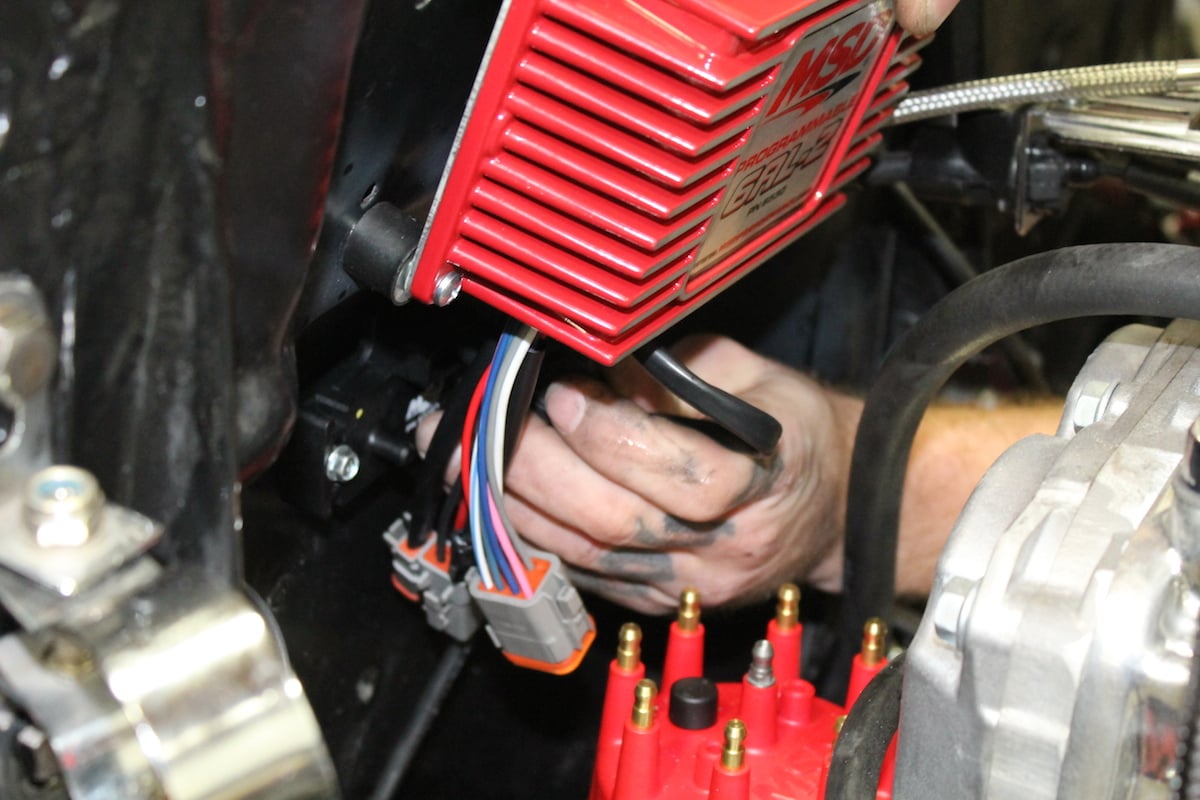
Right away our current clearance issues with the distributor were visible. Adding a blower creates issues such as this, but MSD had and easy fix for it.
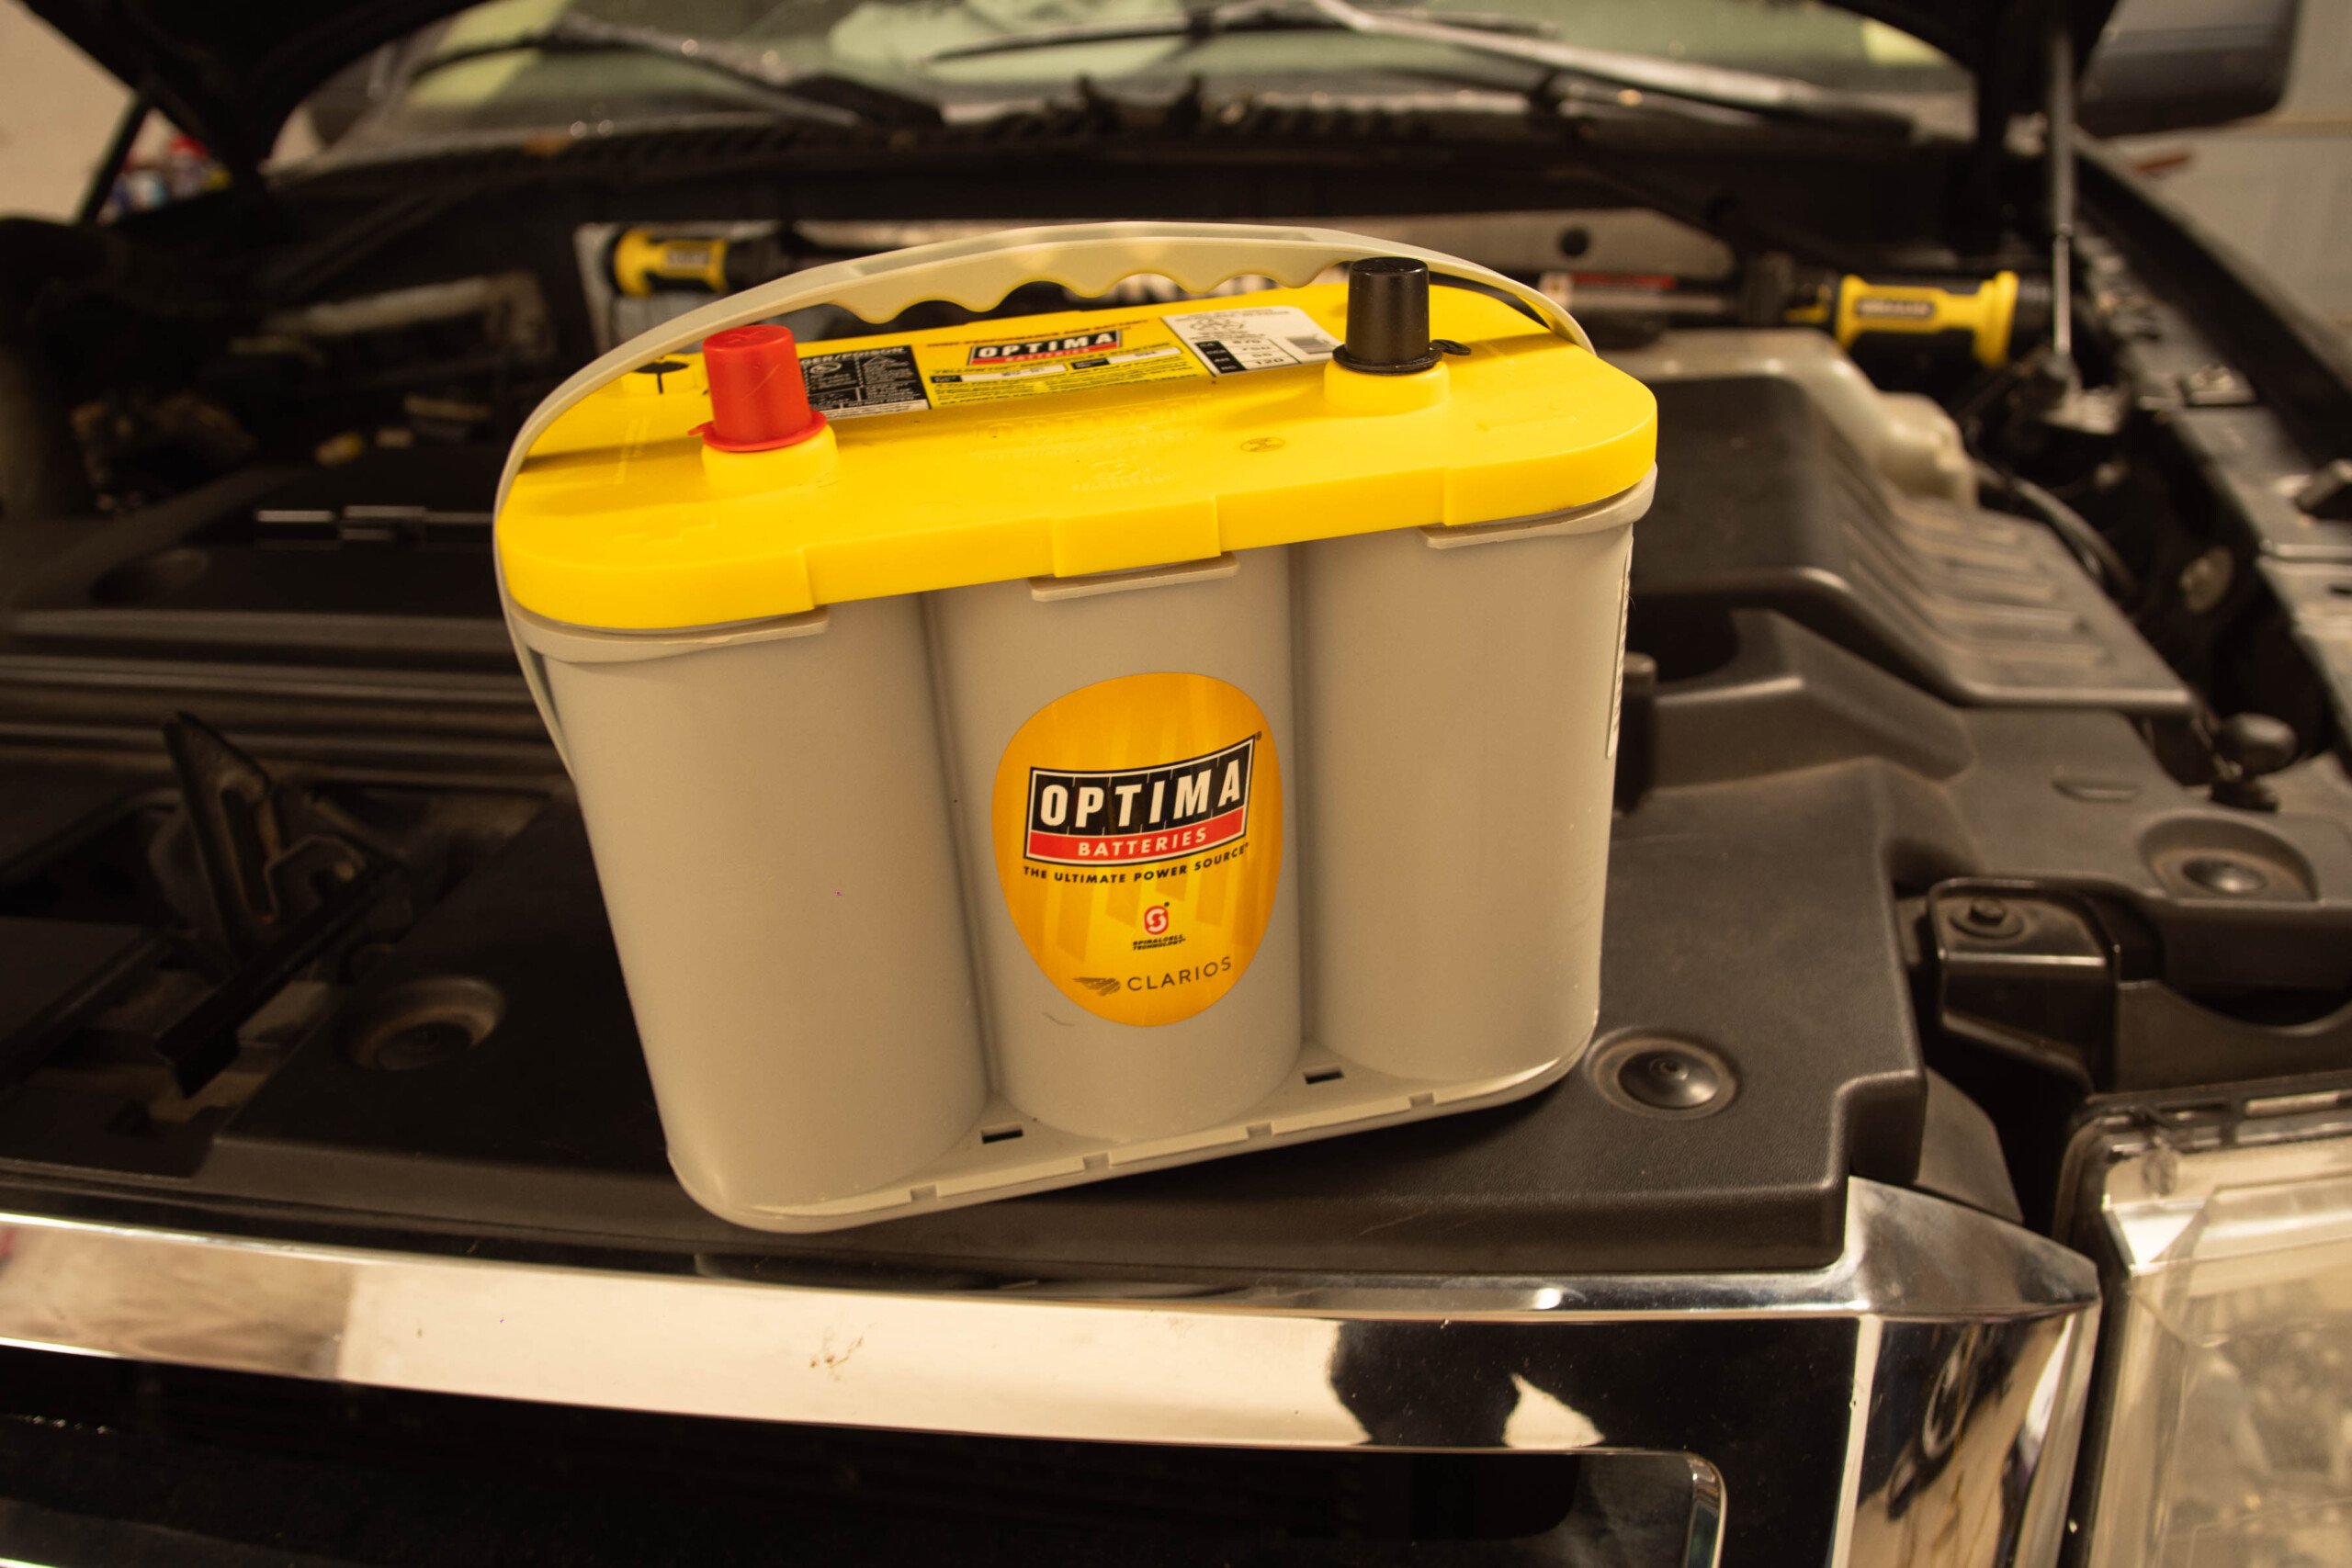
Before we got started we disconnected the battery. From there it was very easy to replace the distributor. We removed the existing distributor cap without disconnecting any of the spark plug wires. With the cap off, we turned the crank over until the rotor lined up with a mark we had on the blower. We then placed the distributor cap back on and noted which plug wire the rotor was pointing to.
After marking the plug wires we removed the distributor cap and disconnected the wiring from the distributor. We then loosened the distributor hold down clamp and slid it out of the way so that we could pull the distributor out of the engine.
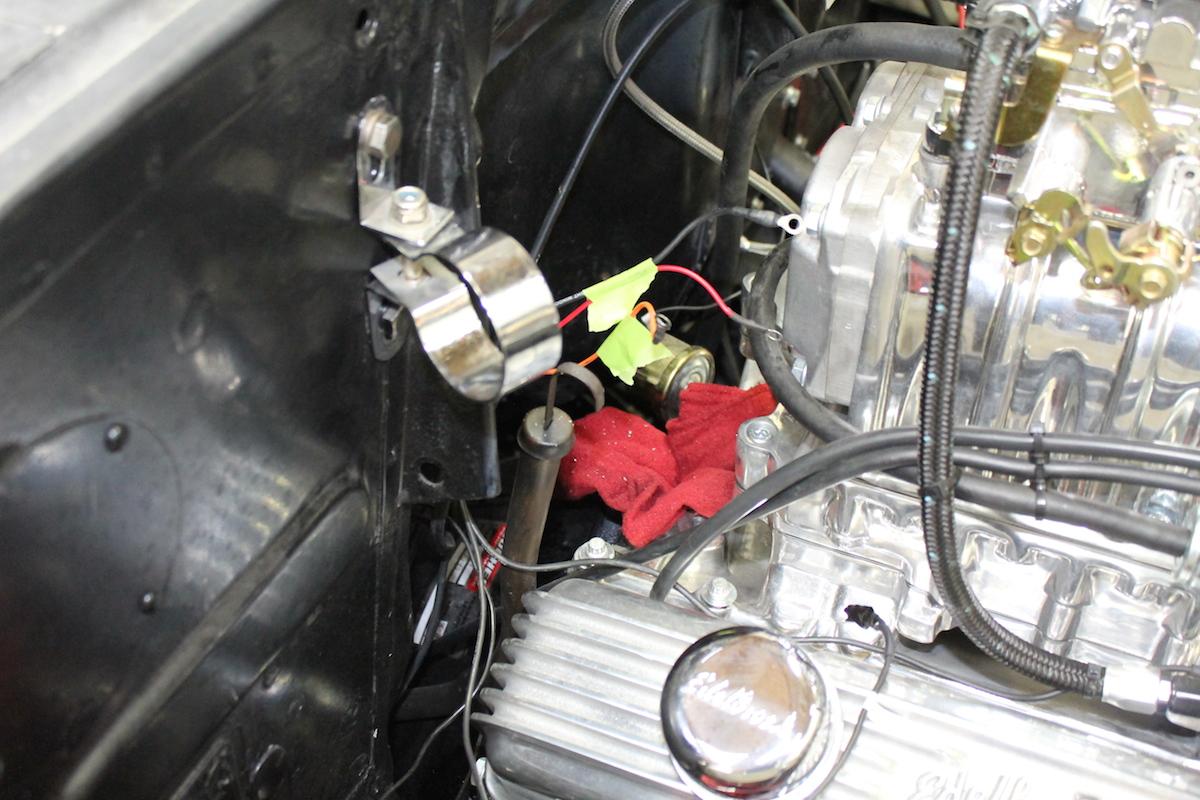
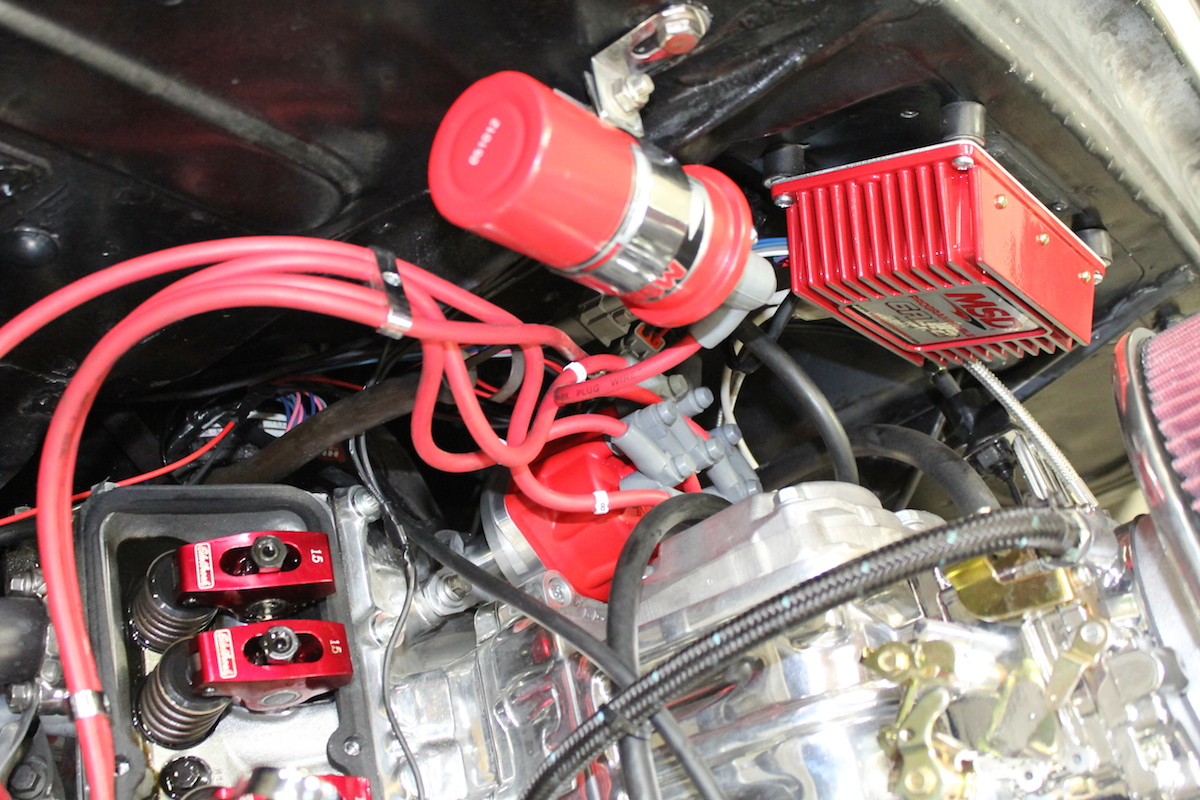
With the distributor and coil removed, we went ahead and installed our new ignition system.

We chose the back of the firewall as the mounting location to minimize the amount of wiring needed. This put the ignition in close proximity to the distributor and coil.
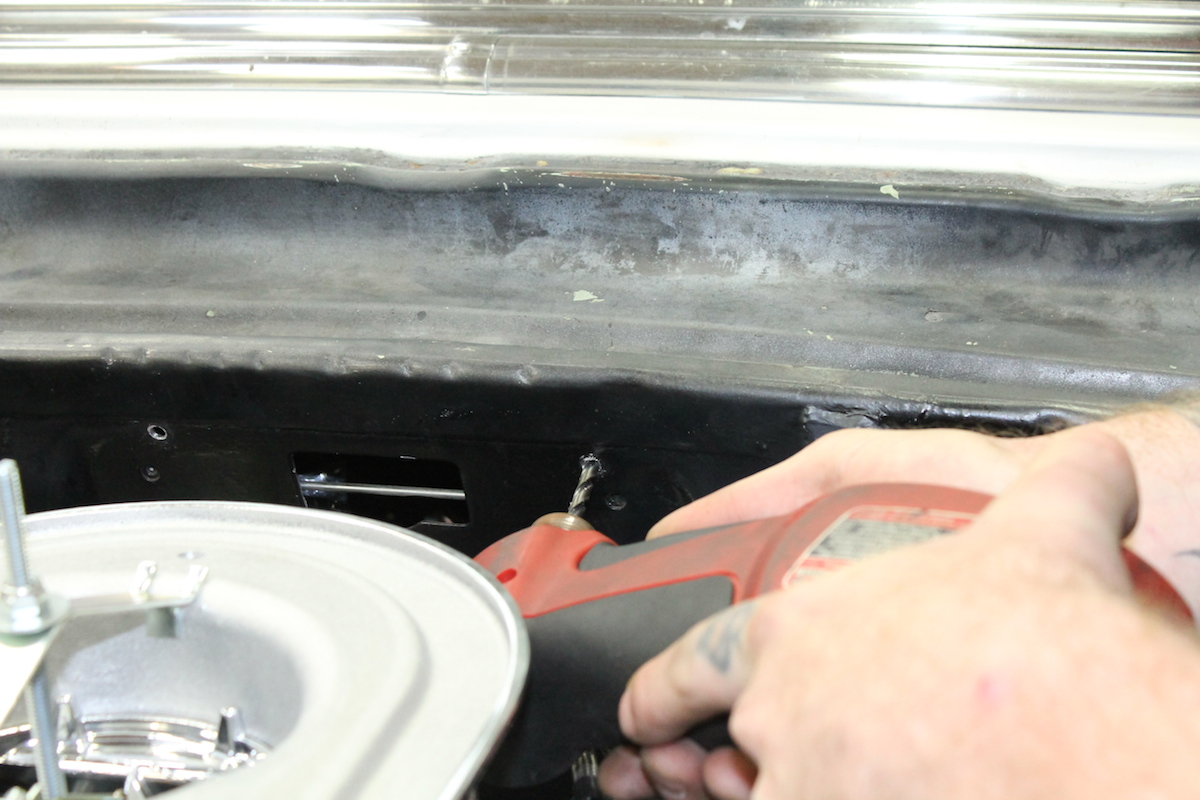
We marked our firewall and then drilled the holes we needed with a 3/16
It’s important to note that you shouldn’t attach the MSD box directly to the firewall. Instead, we are using MSD’s vibration mounts. Strong vibration can be transmitted through the chassis to the ignition units and coils. These vibration mounts are designed to help protect your ignition box from extreme vibration and the damage associated with it.
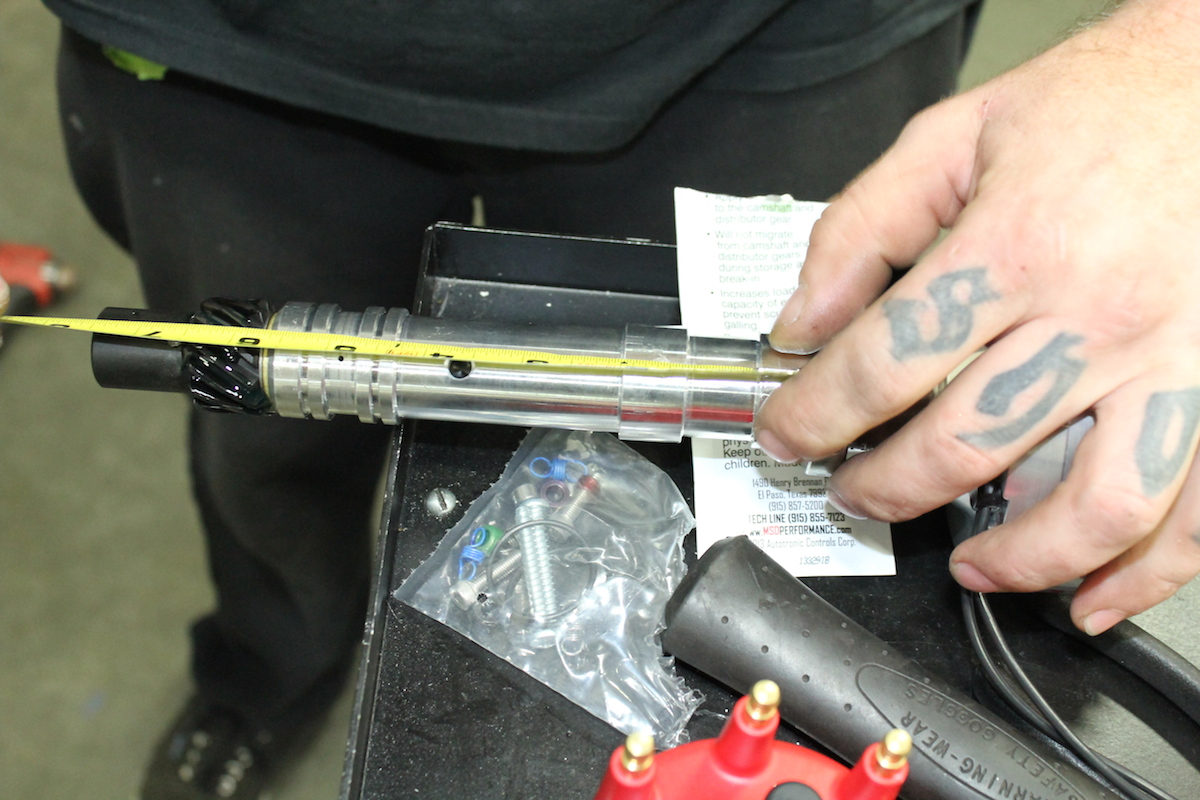
Once we had the new ignition box in place we had to finalize the install on the distributor. However, before we placed the distributor in the engine, we checked the oil pump to distributor shaft overlap.
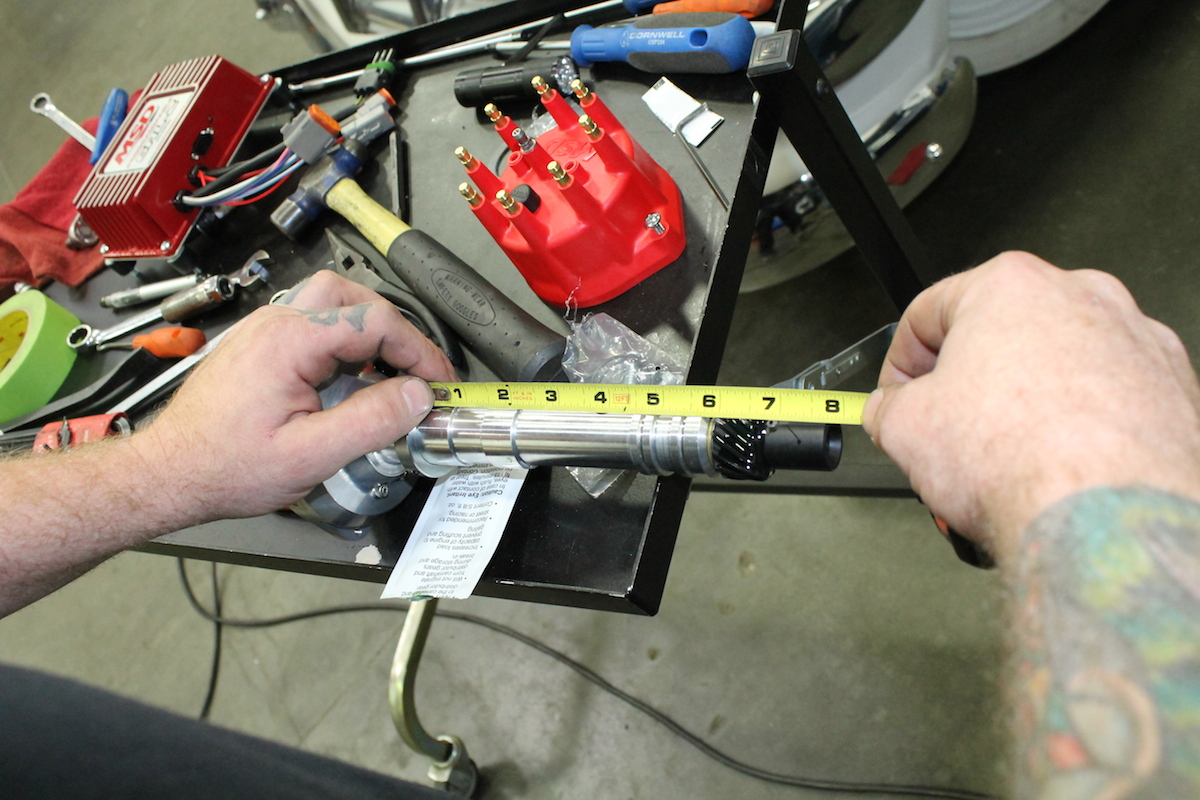
The proper overlap between the distributor shaft and oil pump intermediate shaft is extremely crucial. The tongue of the distributor should fit into the groove of the oil pump shaft by at least 1/4 inch. So to check this, we measure the distance between the base of the slip collar to the tip of the distributor shaft. We then compare it to the distance from the intake manifold distributor flange to the top of the oil pump intermediate shaft. We subtract the measurements to check the overlap. Thankfully for our engine it was just over 1/4 inch. However, if there was too much clearance or not enough, we would have been able to adjust the collar for the proper overlap.
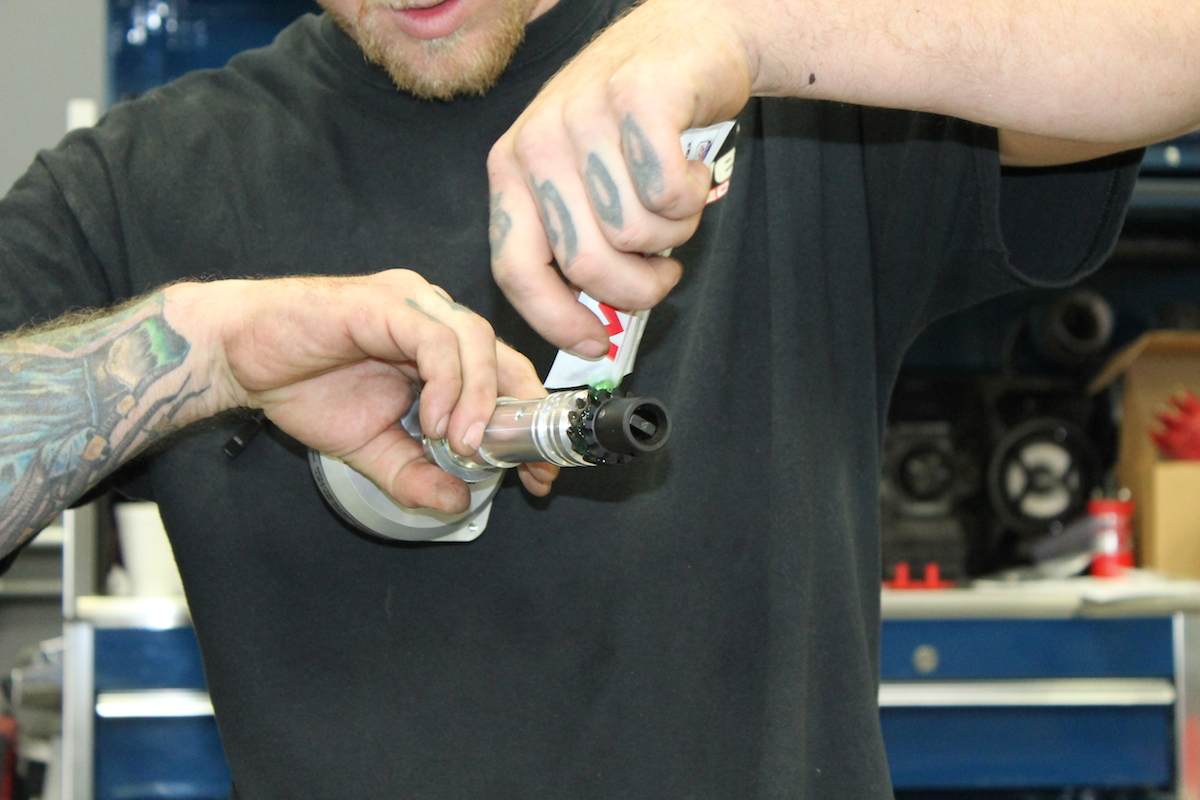
With the overlap of the oil pump shaft clearance checked, we applied a thick amount of the MSD-supplied lubricant to the distributor gear before installation.
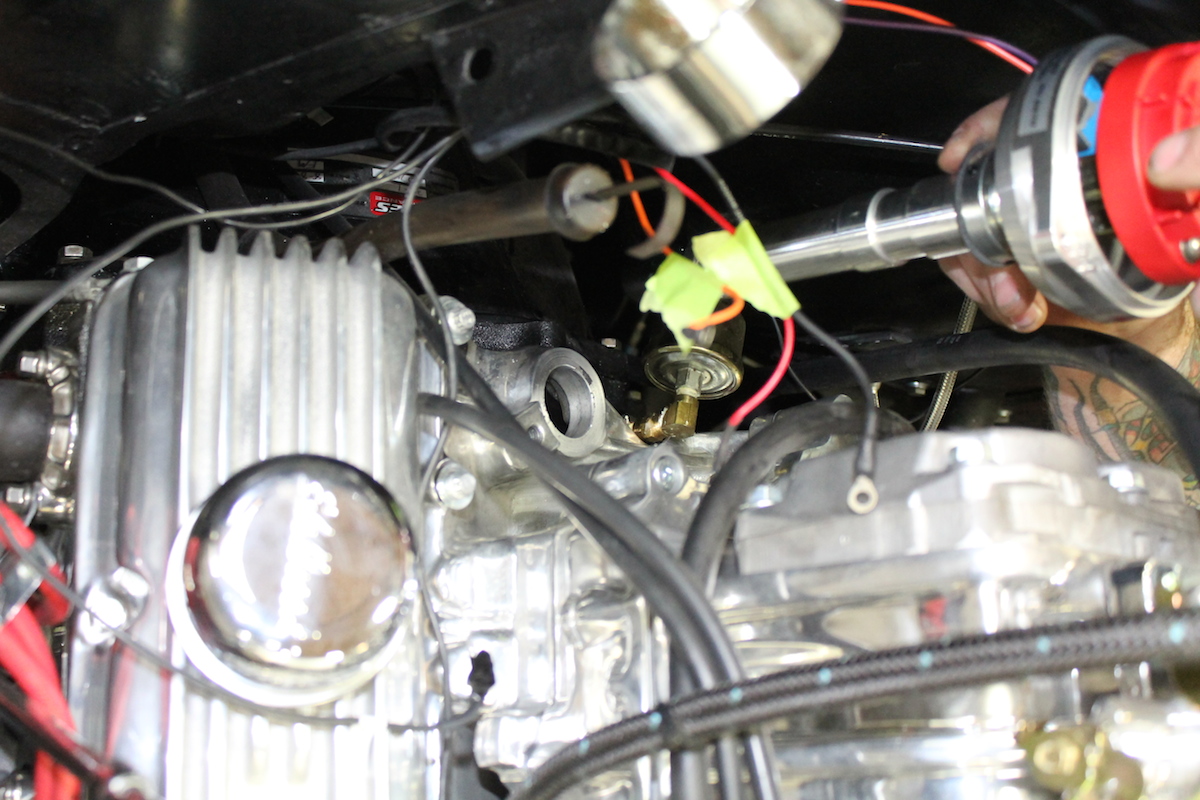
Placing the distributor was a simple task because we already had it marked from the one we removed. We just lined up the same position on the rotor to our mark and dropped the new distributor in place.
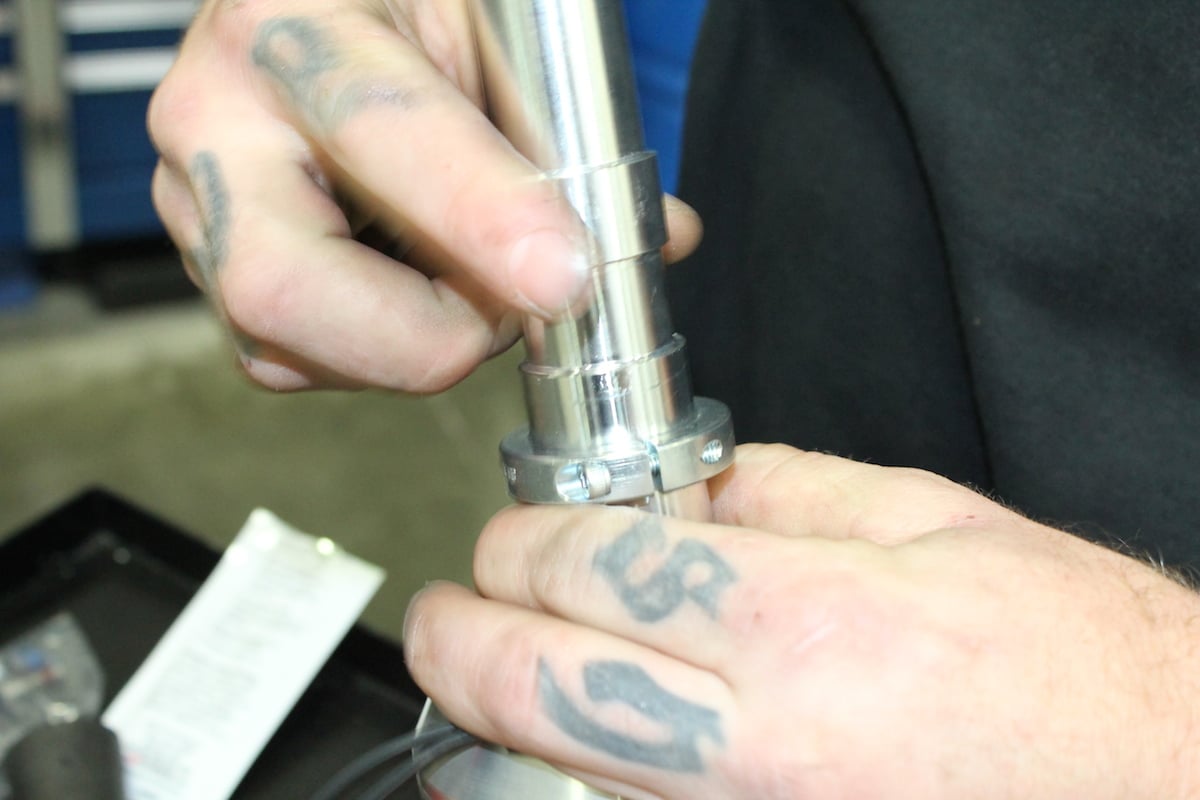
With the distributor in place, we lined up the rotor to our mark on the intake manifold, then tightened down the collar.
Before the distributor was installed, we locked out the timing advance because we knew that the MSD 6AL-2 would handle all of our timing needs. To lock it out, we removed the springs, stop bushings, and weights. With the drive gear removed by pushing out the roll pin, we could pull the shaft out and rotate 180 degrees so that the stud lines up with the hole on the opposite side. With this we could assemble the distributor and install it.
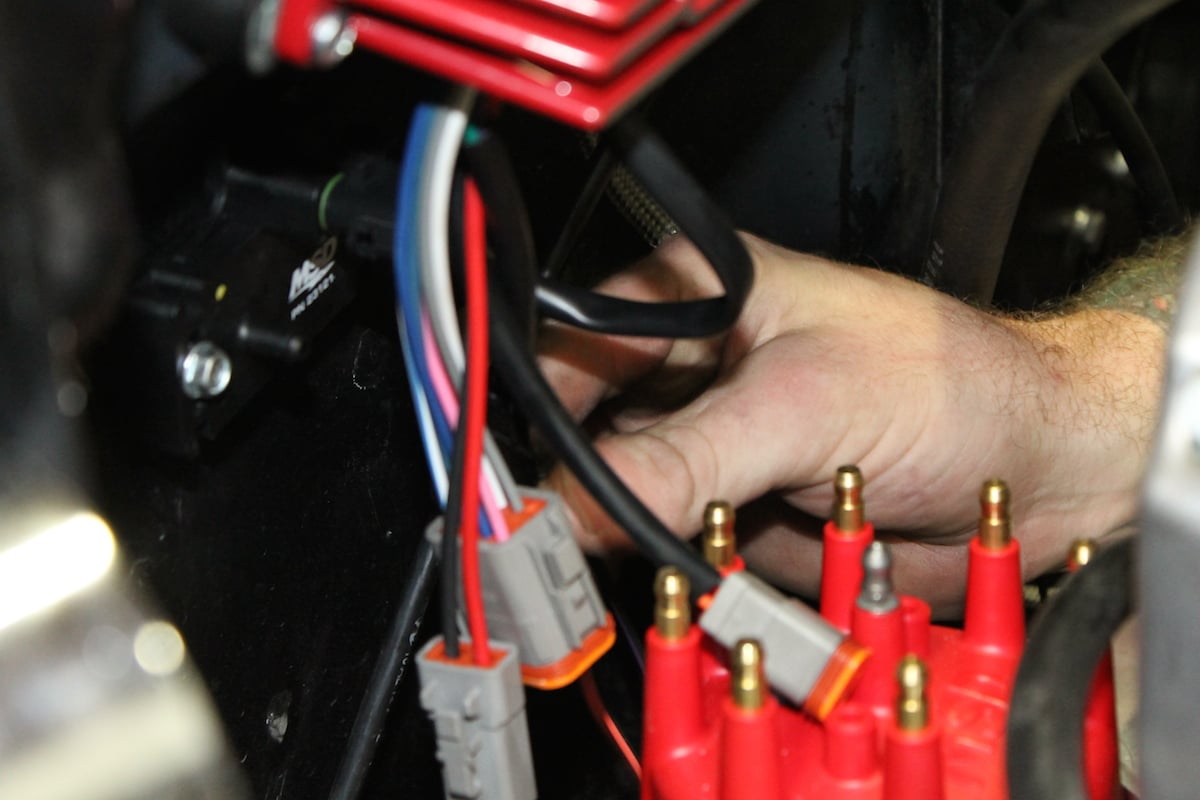
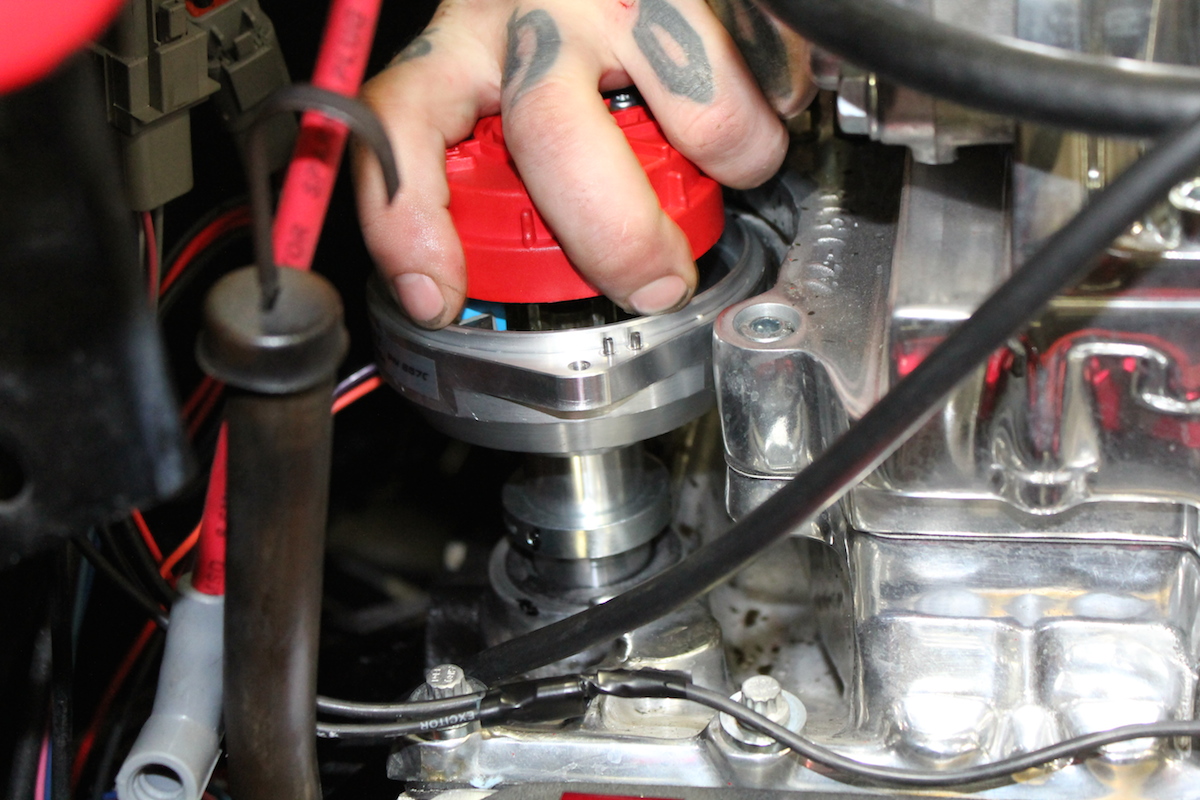
The final process for the distributor installation was to install the cap and connect the spark plug wires, then connect the distributor and coil wires to the 6AL-2.
We had cylinder markers on each plug wire which made installation simpler without having to trace each wire to the plugs. Project Sucker Punch has been outfitted with a new distributor and ignition box. With our clearance issue resolved, the fun really begins!
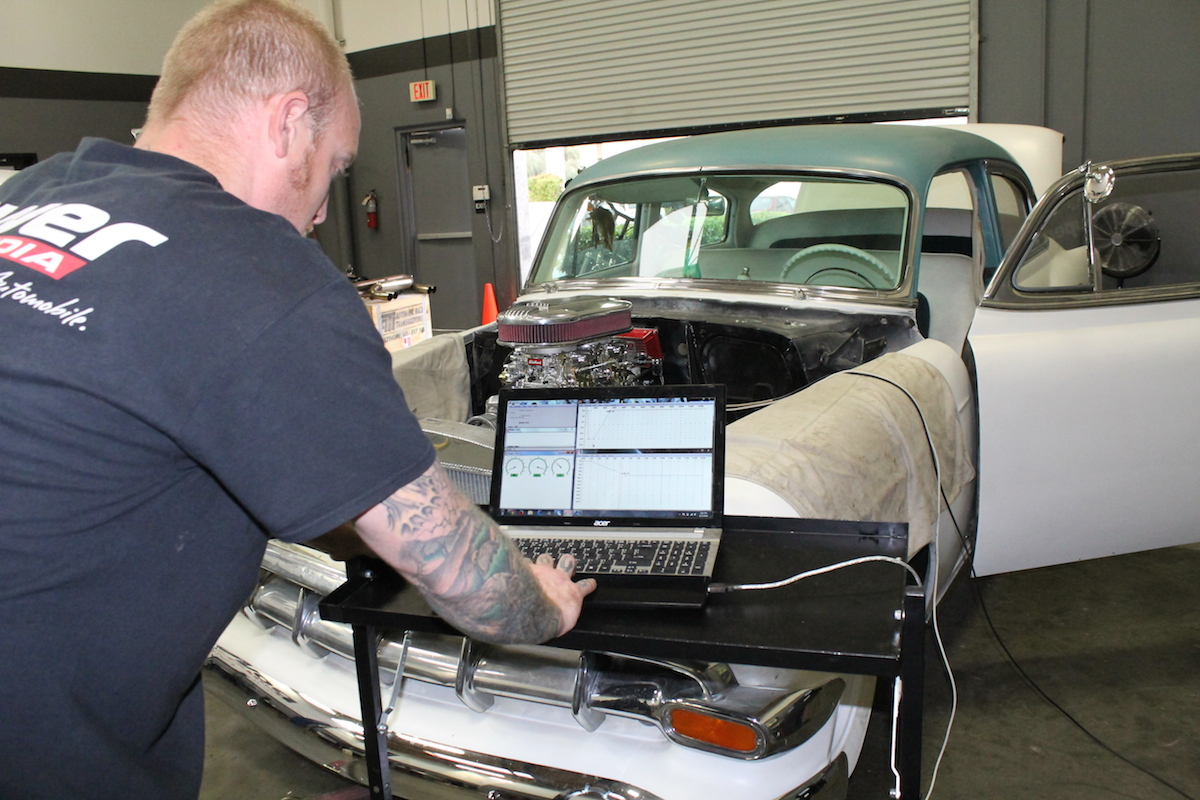
Tuning The New Ignition
Once the distributor, coil, and ignition system were all installed, it was time to fire up the engine and set our timing parameters. One of the reasons why we chose this particular ignition system is for ease of setting up our timing curves using a laptop or computer. Given our massive blower, we knew we needed to retard the ignition curve to keep the engine from detonating. Gomez was quick to point out that we needed a USB to serial adapter cable to hook up to our laptop, “One of the most common mistakes is not being able to connect the laptop to the unit,” Gomez warned us. “Since the unit uses a 9-pin serial port, and most laptops no longer have a 9-pin serial port output, you have to go with a USB to serial adapter, and even with this you have drivers that need to be downloaded.”
After we had the right adapter, we plugged into our MSD ignition to set a good retard curve.
“When used with a laptop for programming it is very easy to map a retard curve based on boost pressure,” Gomez went on to explain to us. “The software allows you to plot a boost timing curve based on boost pressures and can be fine tuned to 0.1 degree per .25 pound of boost pressure.”
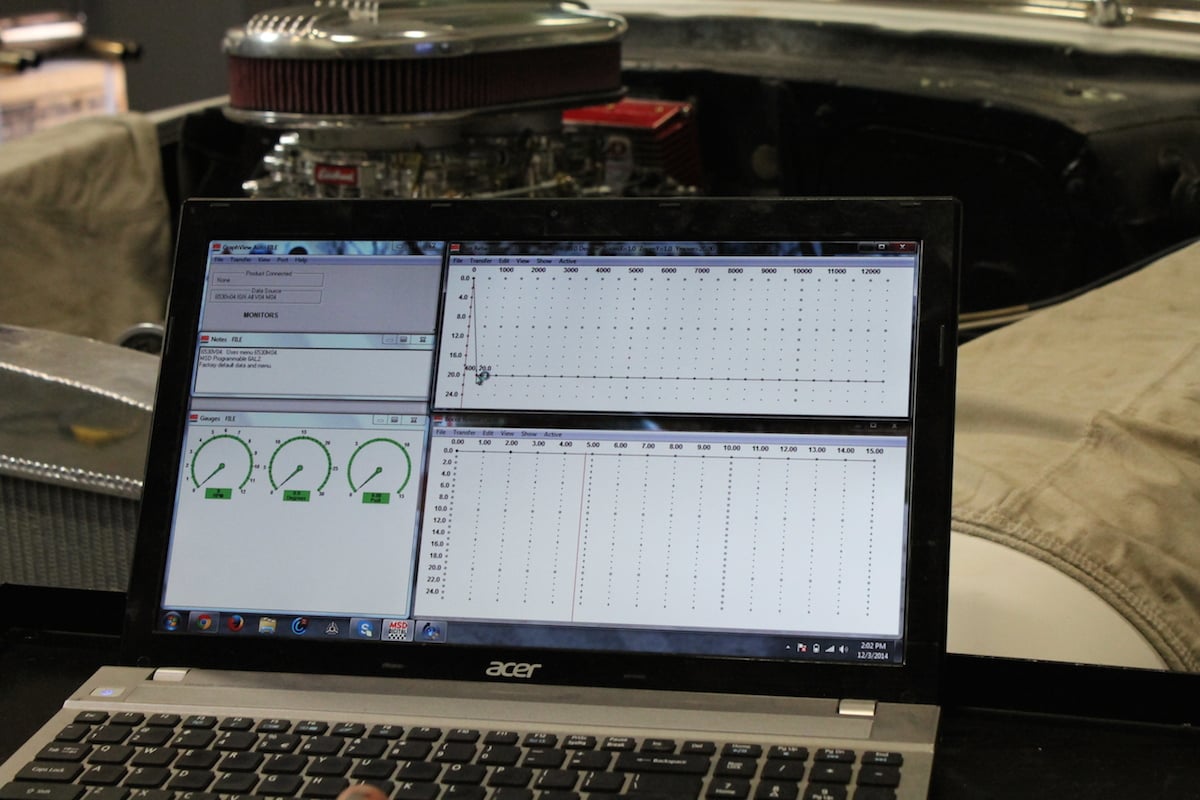
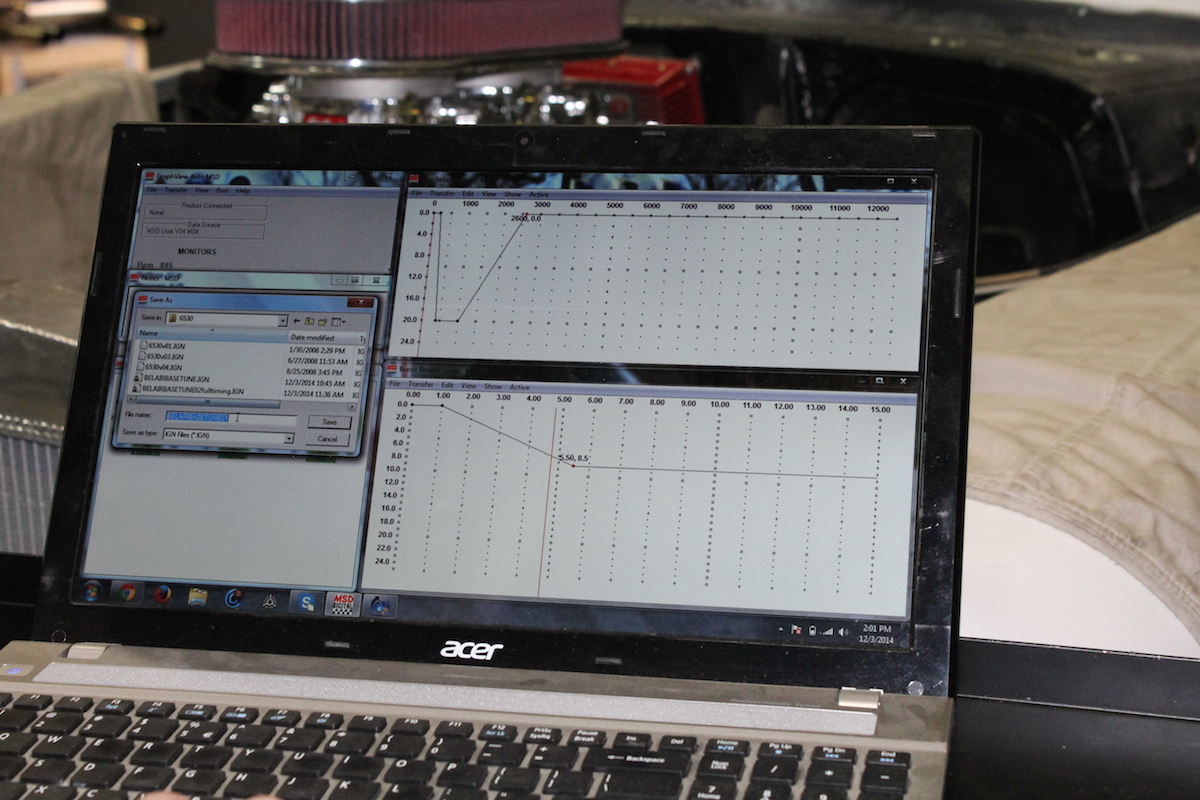
Top: We found the entire system very easy to use, we were able to plot our initial timing curve to prepare for our boost timing curve. Bottom: While plotting the timing curve, we were able to set our timing for cranking, idle, and boost conditions.
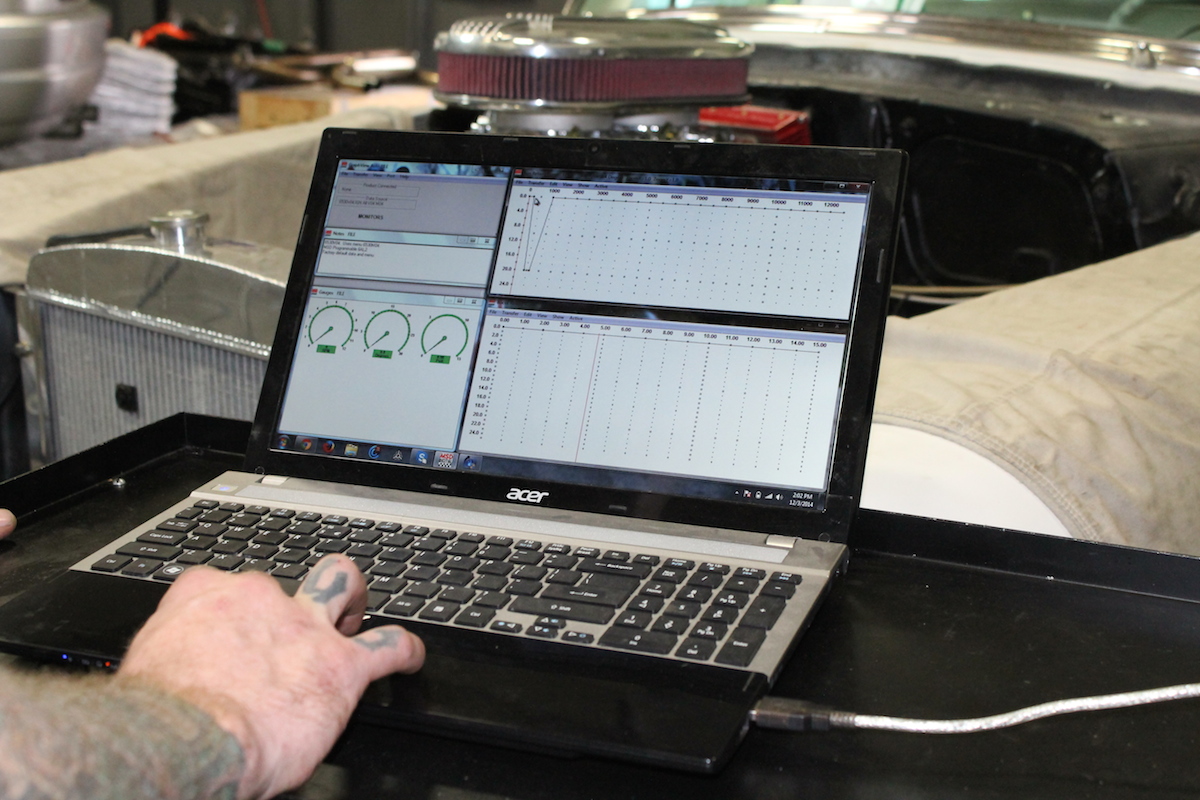
Since we changed the blower drive pulley a couple of times toying with boost levels, we figured out where the engine and the timing were happiest. The magic number ended up being eight pounds of boost, and we started making adjustments from there.
We started with 12 degrees of initial timing and 32 degrees of total timing, then backed the timing off 11 degrees at full boost.
When naturally aspirated we started with an initial timing of 12 degrees at idle, and 32 degrees total timing. With a boosted engine, if you don’t take out some of the timing across the boost curve it could easily lead to a detonated pistons because the charge hasn’t had sufficient time to compress properly.
Running 91 octane fuel, we programmed the MSD 6AL-2 to remove timing just off idle, and by the time we reached the full eight pounds of boost we have backed the timing off 11 degrees. This adjustment happens as soon as the MAP sensor begins to see any boost. This adjustment will help keep the engine in one piece and allows for custom curves in any boosted or normally aspirated conditions.
That’s it for now for Project Sucker Punch. We’ve got a lot planned over the next couple of months for our restomod Bel Air. But thanks to MSD, we now know that we have reliable spark being delivered through a brand new ignition system and no longer have to worry about interference from our blower.
Whether your ride needs new wires, ignition, a distributor, or a distributor cap, MSD can help provide the kind of spark you need to take advantage of your engine’s potential. Check out the MSD website for all of their product line – from the mildest street cruiser to a full on racecar.


