![]() [1]The world of transmissions has developed a lot over the last 20 years. Nowadays, there are a lot more options than a Powerglide, TH350, or TH400 transmission. Nowadays it seems there’s an automatic transmission for just about every style, application, and budget you can imagine. One tried and true transmission, the TH400, received a slight makeover into the 4L80E. We wanted to took a closer look at it.
[1]The world of transmissions has developed a lot over the last 20 years. Nowadays, there are a lot more options than a Powerglide, TH350, or TH400 transmission. Nowadays it seems there’s an automatic transmission for just about every style, application, and budget you can imagine. One tried and true transmission, the TH400, received a slight makeover into the 4L80E. We wanted to took a closer look at it.
The 4L80E is the successor to the Turbo Hydramatic 400 transmission. The TH400 was originally introduced to the General Motors platform in the 1960s. The 4L80E came thirty years later in the 1990s. Doctor Steve of Doctor Steve’s Transmission Clinic told us that, “There isn’t another transmission that has had the same design in production for 50 years!” These are four-speed transmissions outfitted with four forward gears and one reverse gear, are electronically controlled, and have a 25-percent overdrive gear.
“There isn’t another transmission that has had the same design in production for 50 years!” -Doctor Steve’s Transmission Clinic

The 4L80E has a max torque rating of 440 lb.-ft. of torque, giving it a max load capacity of 18,000 pounds. The gearing to move such a heavy load is a 2.48 first gear, 1.48 second, 1.00 third, and 0.75 overdrive.
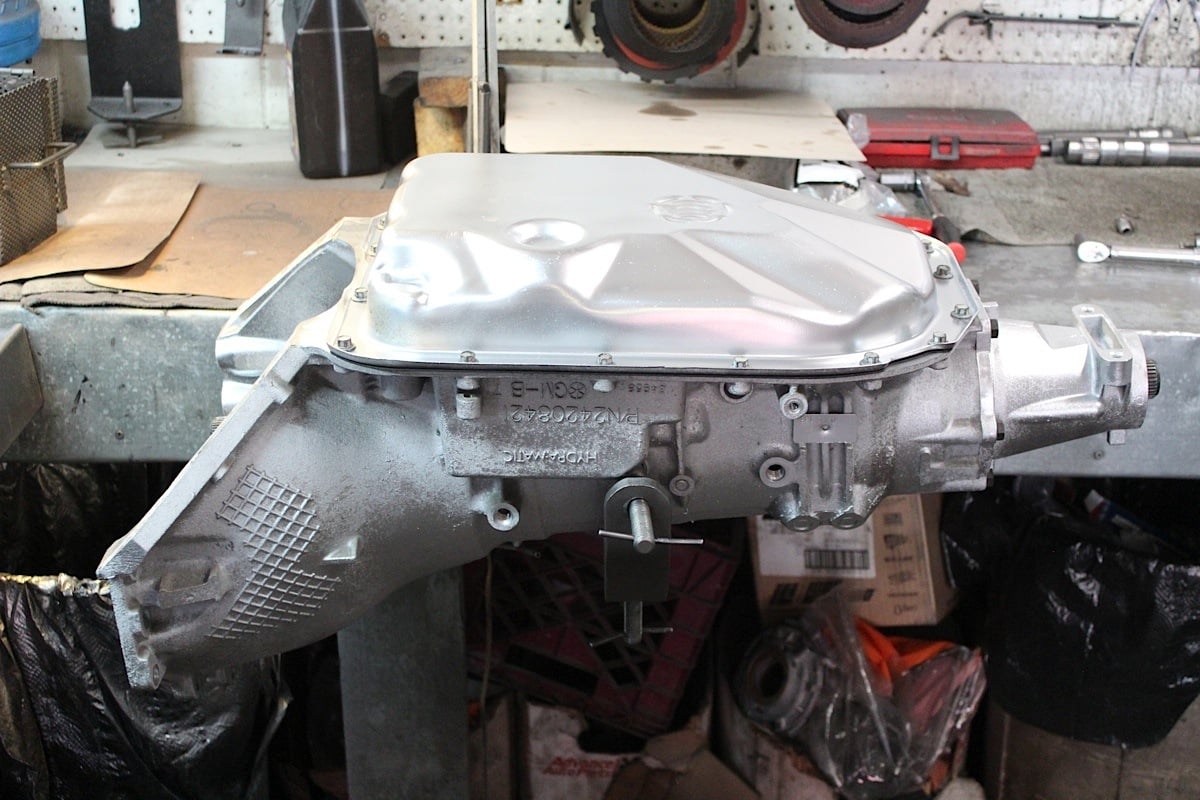
 [2]These transmissions can be found behind 4.3 to 8.1-liter gas engines and 6.5 to 6.6-liter diesel engines. They are electronically controlled, unless modified, and the housing itself is die-cast aluminum. A few stock-applications include the Chevrolet Avalanche, Silverado (2500HD and 3500 series), Express vans, and Suburbans. They are also installed in GMC Sierras, Yukon XLs, and Savana vans. Some Hummers also ran them as well.
 [3]
[3]
What To Look For
If you’re in a junkyard or swap meet hunting for a 4L80E, there are a few ways to identify the transmission. For starters the 4L80E generally came in 3/4 and one-ton trucks, and they were built to withstand the stress imparted by these purpose-built vehicles.
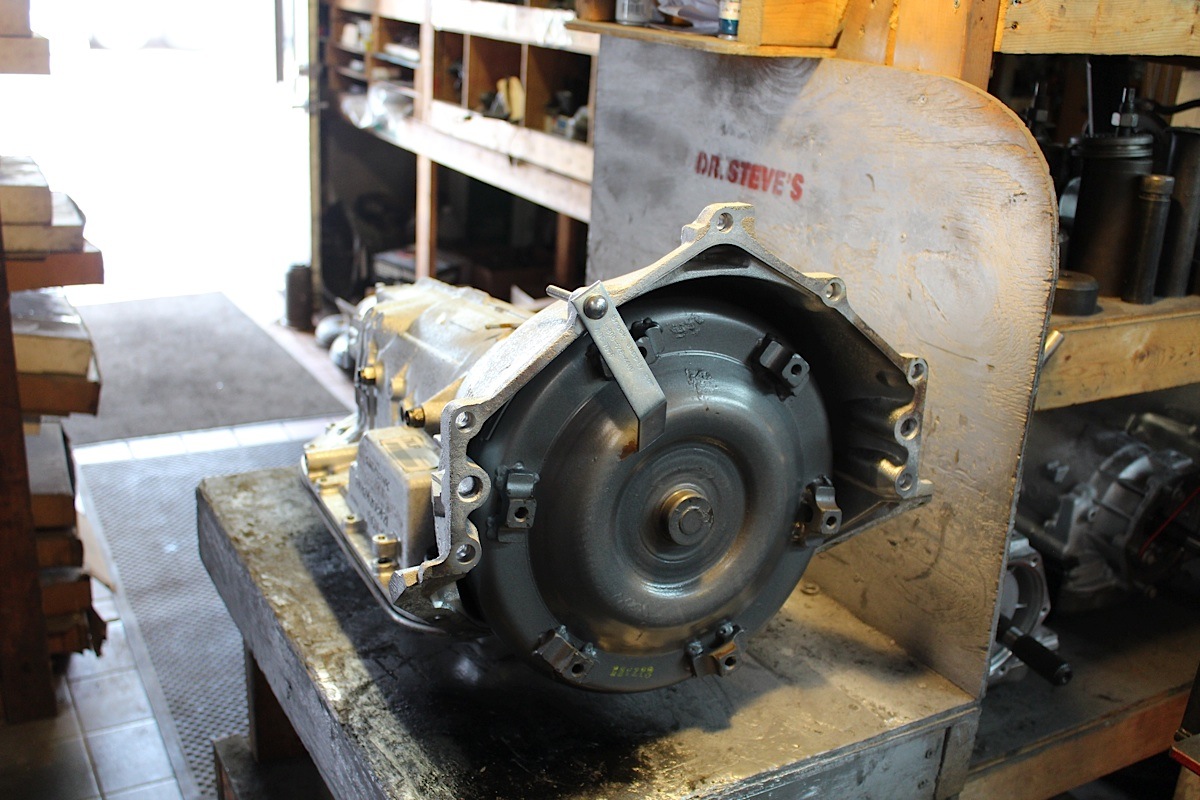
One of the biggest clues to identifying the 4L80E are the electronics that clips onto the driver’s side of the transmission. Mind you, this transmission can also be converted to be a full manual gearbox as well. The transmission is also slightly larger than a TH400 as the overall length is 32 inches; 1.25 inches longer than a TH400.
Another aspect to note is the transmission cooler lines. Early versions had them side by side, but later versions had one moved further back in the housing. The 4L80E is a much larger unit than its smaller 4L60E counterparts as well.
 [4]
[4]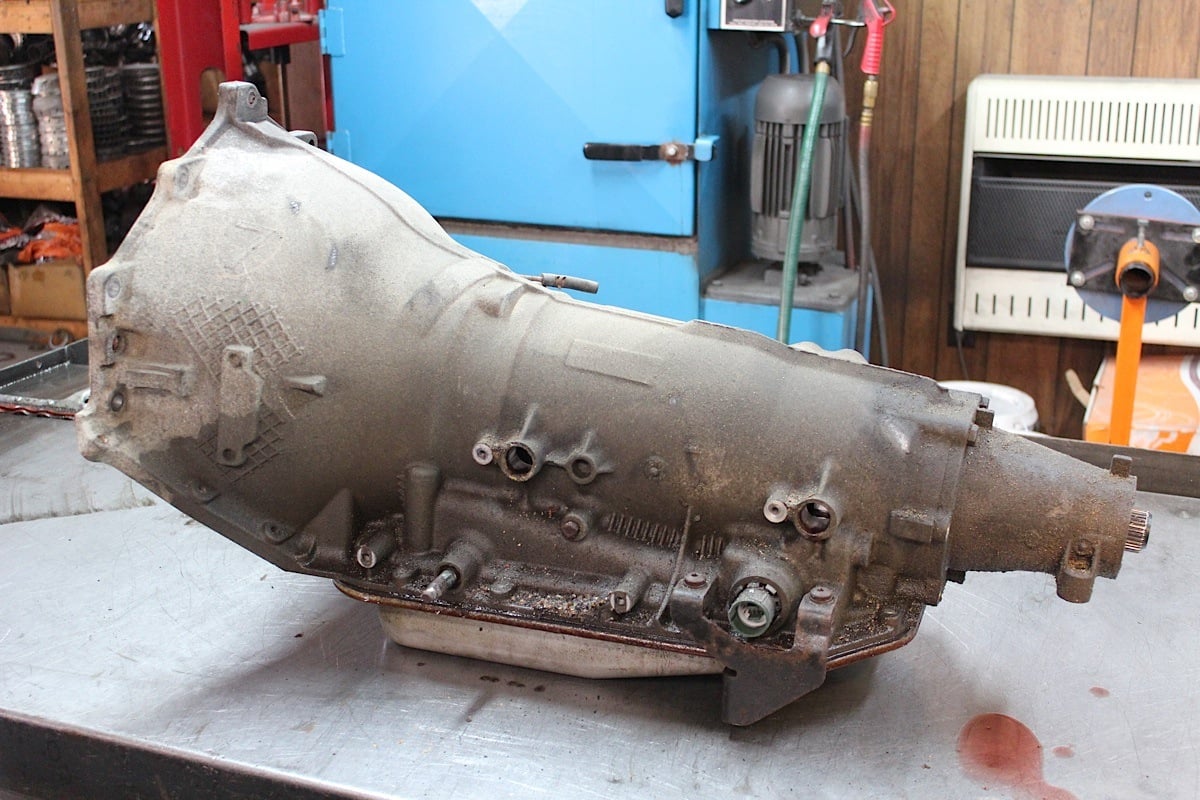 [5]
[5]
Finding A 4L80E
There are a lot of different ways to go about acquiring one of these transmissions. The easiest and most expensive route is to buy a brand new or rebuilt one off the shelf. These can be purchased through several different companies that normally offer a warranty on them. However, the price can go through the roof for a brand new transmission.
Alternatively, you could go on Craigslist and pick up a used one, hoping that it works as great as the seller tells you it does. A risky investment, but in the worst case you’ll need to have it rebuilt. Use your best judgement in these cases.
Another option is to search for a core at the local yard, or even better your local dismantler and spend hours finding one and pulling it out. This would be a cost effective way of sourcing one, but it would most likely need to be rebuilt. In our search for one, we came across Just Chevy Trucks [6], a place that takes Chevy trucks and dismantles them in Maine. The difference between dismantlers and the local yard all come down to how vehicles are ingested and the organization structure in place.
Just Chevy Trucks explains, “We do things the more contemporary way here. We buy vehicles and they sit in a holding area until we’re ready to dismantle them. Once we’re ready to dismantle a truck we run it, test it, drive it if possible and then remove all of the worthwhile parts and warehouse them until they’re sold. The remainder of the truck is immediately removed from the property and sent to the local crusher.”
They don’t have rows upon rows of cars and trucks halfway apart, they bring in a truck, strip it, recycle what’s leftover and move onto the next truck. They operate an eBay store [7], where we easily found a suitable choice in a few minutes. After purchasing our core unit, the the question came up–where should we have it rebuilt? The crew at Just Chevy Trucks referred us to Doctor Steve’s Transmission Clinic [8].
 [9]The Doctor Is In
When Just Chevy Trucks pulled the 4L80E out of the truck they were dismantling, it was in rough shape. Sure it somewhat worked, but if we wanted to do more than drive from one side of the parking lot to another, it would need a full rebuild. Instead of buying a rebuild kit and hoping that we did everything right, we decided to call the Doctor. Doctor Steve’s Transmission Clinic, that is.
 [10]
[10]- [4]
- [5]
 [11]
[11] [12]
[12]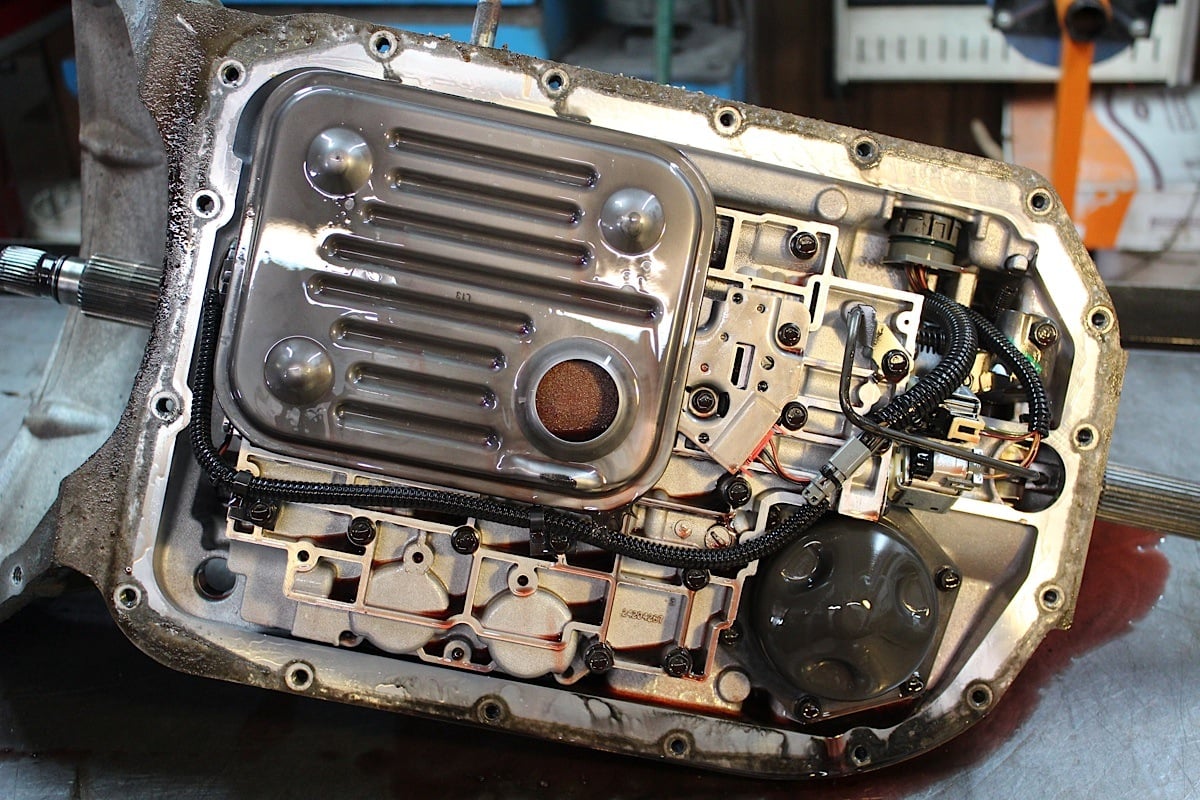 [13]
[13]
Doctor Steve was happy to take on another patient and had seen a case like ours before. “I work on three to six 4L80Es every week since they are such a popular and abundant transmission,” the Doctor told us. “The ones I’m working on have 150 to 300 thousand miles on them and are from abused work trucks,” continued Doctor Steve.
We knew that we were in good hands with Doctor Steve, as he’s not only been in business for 25 years, but he builds transmissions that see some of the roughest conditions. He does a fair amount of work for people who go off-road racing, where the applications have to withstand violent amounts of horsepower, week after week. “I can build this transmission to handle upwards of 1,500 horsepower if you need it to,” said Steve. For us, it’s going behind an untouched LQ4, so a stock rebuild was all that was needed.
Let The Surgery Begin
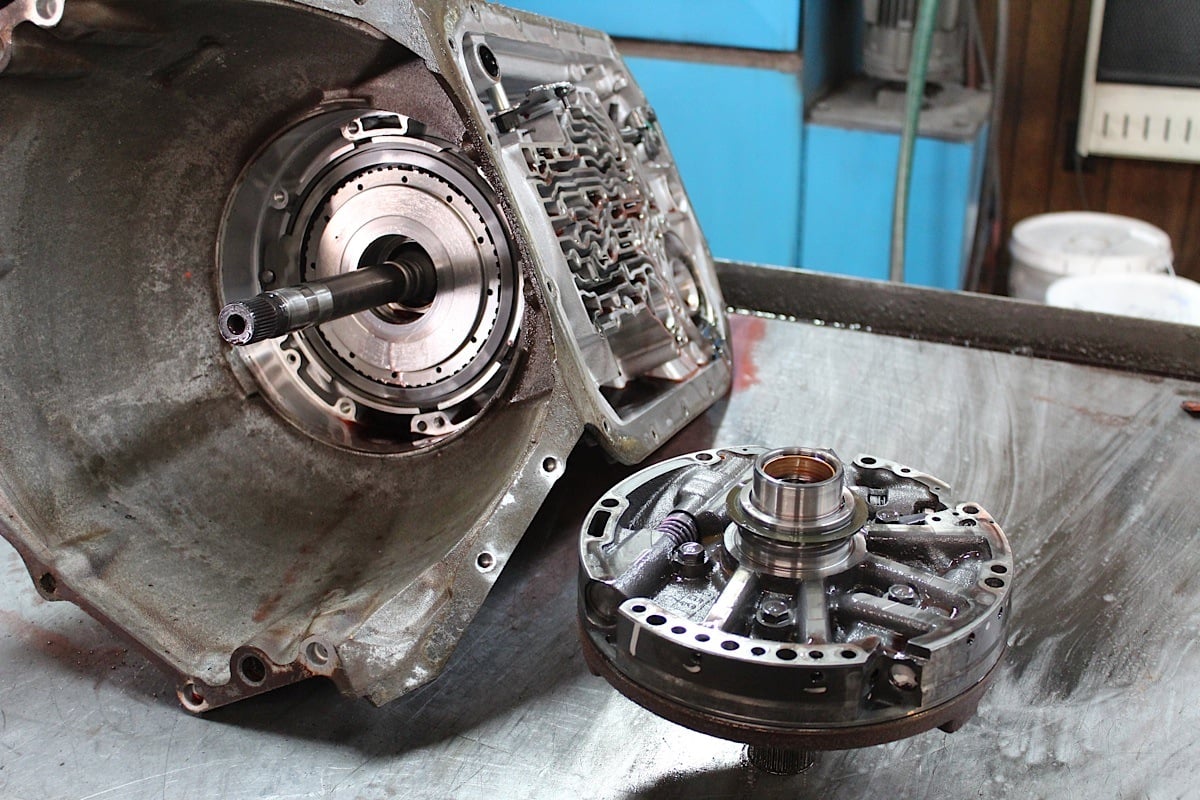
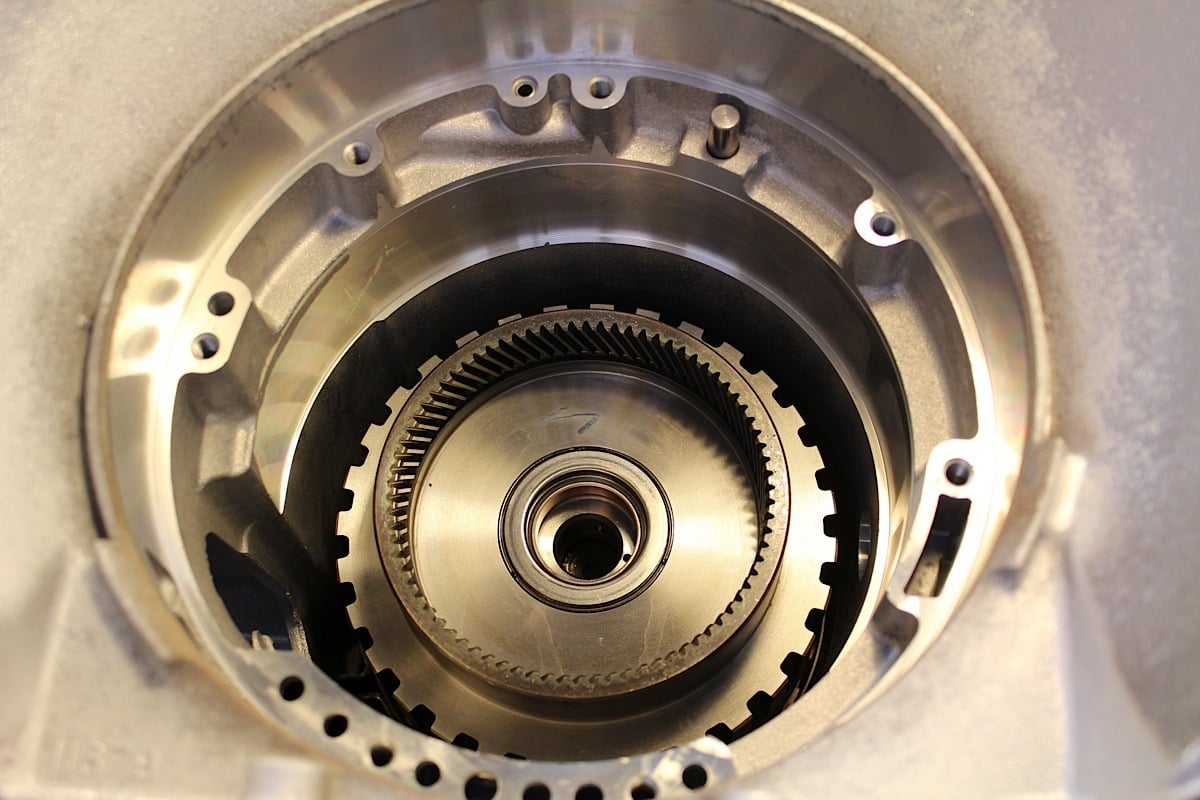
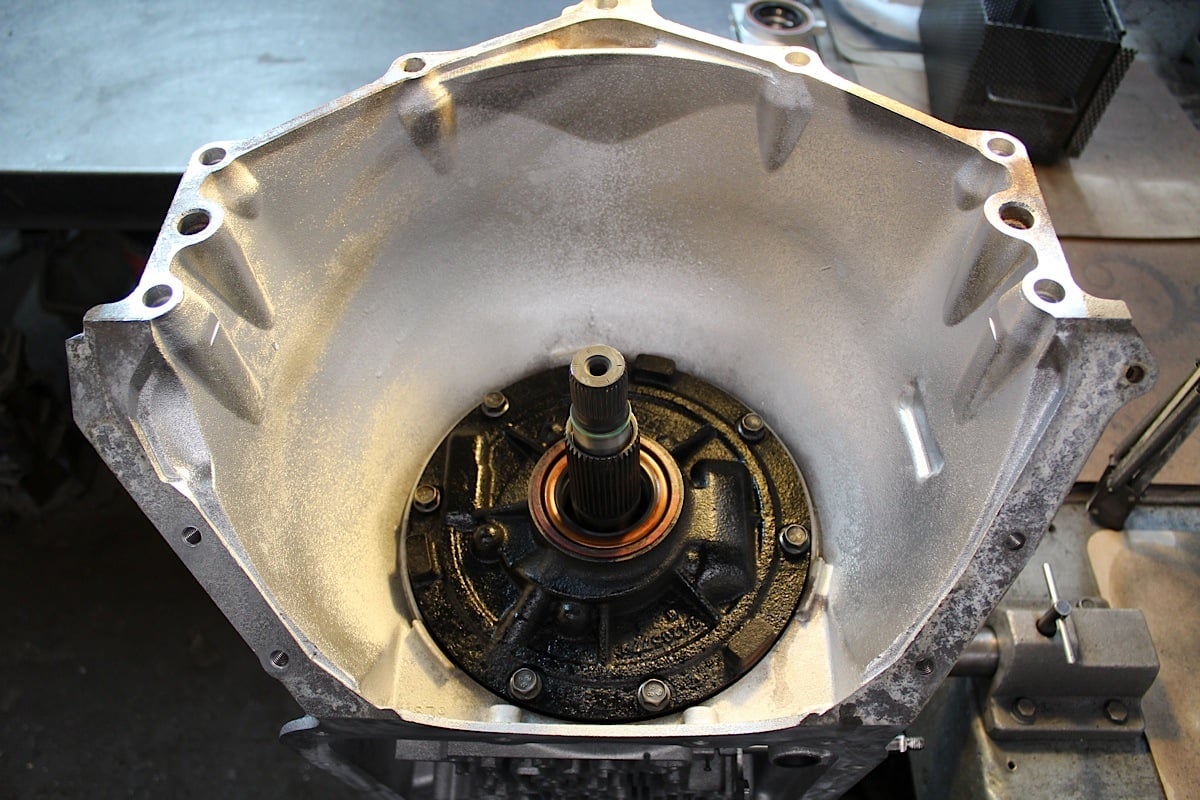
With this patient up on the operating table, Doctor Steve tore into the transmission taking out parts and inspecting them as he went. When comparing the two transmissions, the insides of this transmission are very similar to the TH400.
Disassembly began by stripping down all the components and inspecting for wear and breakage. After draining the fluid out of the transmission the pan was removed along with the filter.
 [14]
[14] [15]
[15]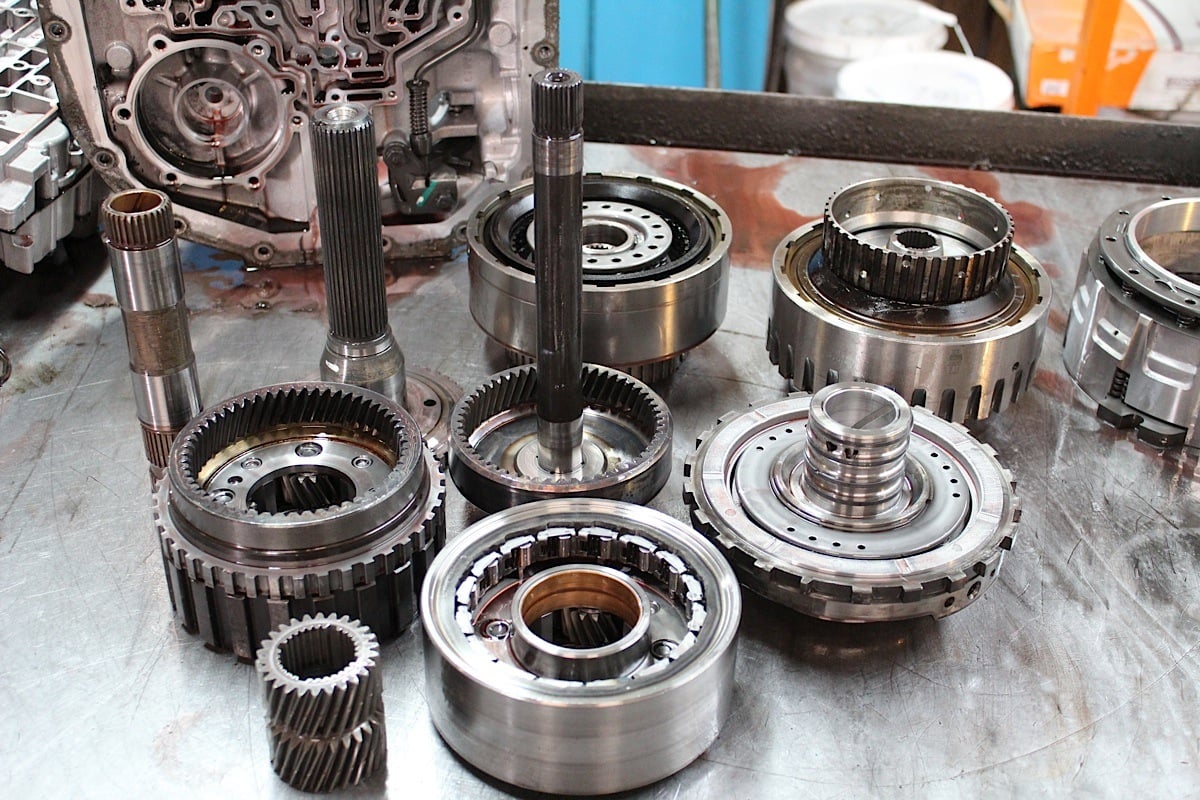 [16]
[16]
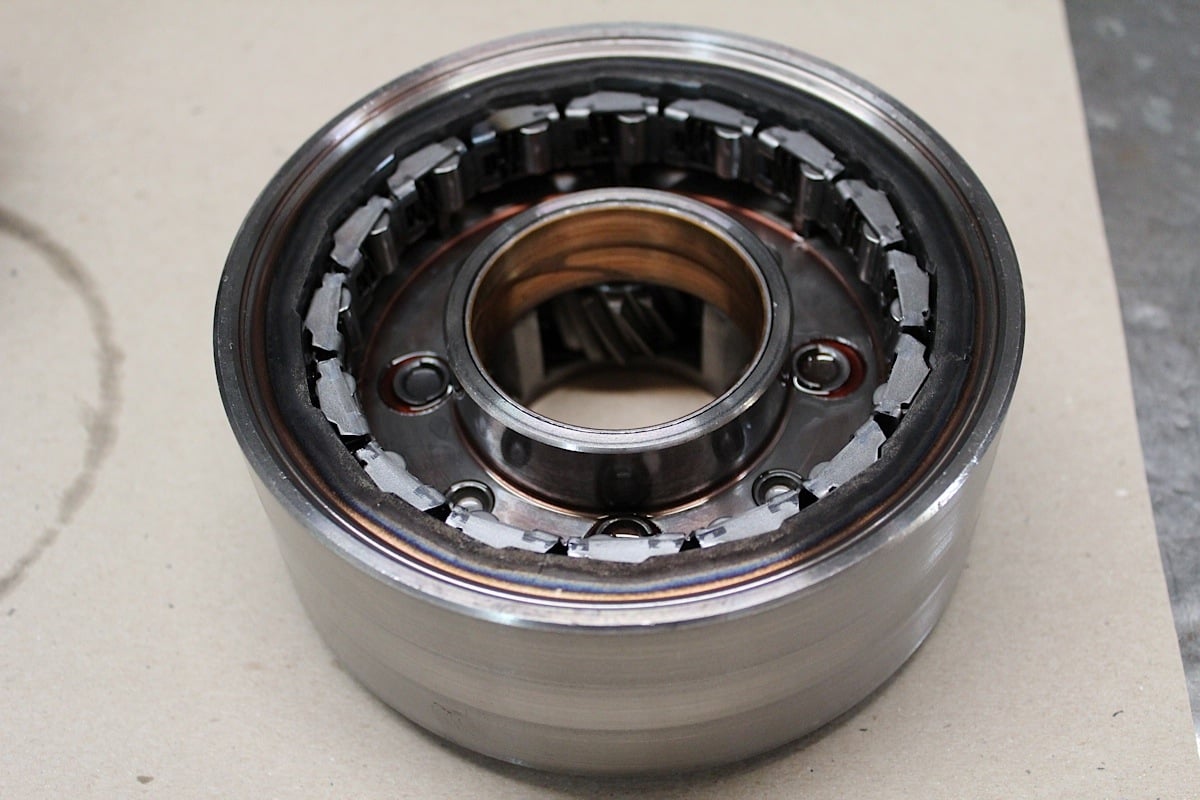
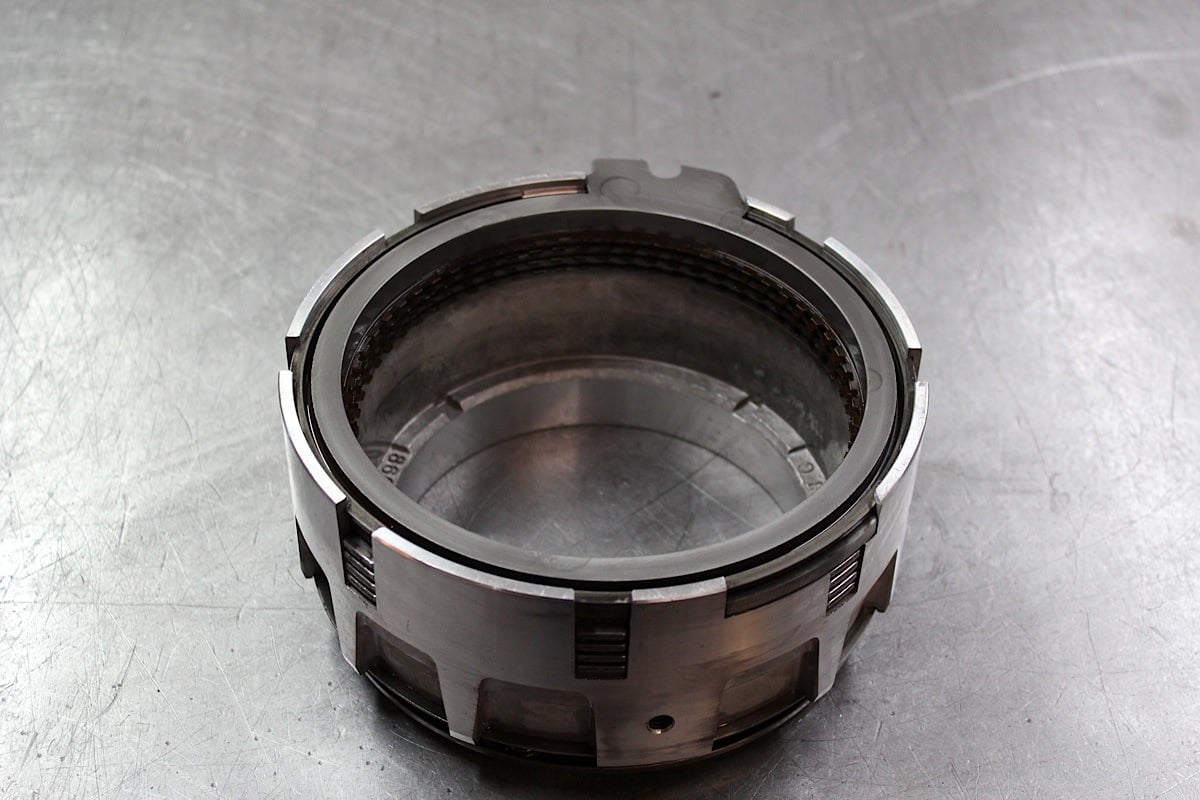
With all the components out of the transmission housing, Doctor Steve gave each one a thorough inspection to see what could be re-used and what needed to be tossed. Here he shows us the forward clutch drum ring which is grooved due to a worn drum bushing. This bushing should always be replaced as it is a high-wear item and results in a ring grooved drum that must be replaced.
 [17]
[17]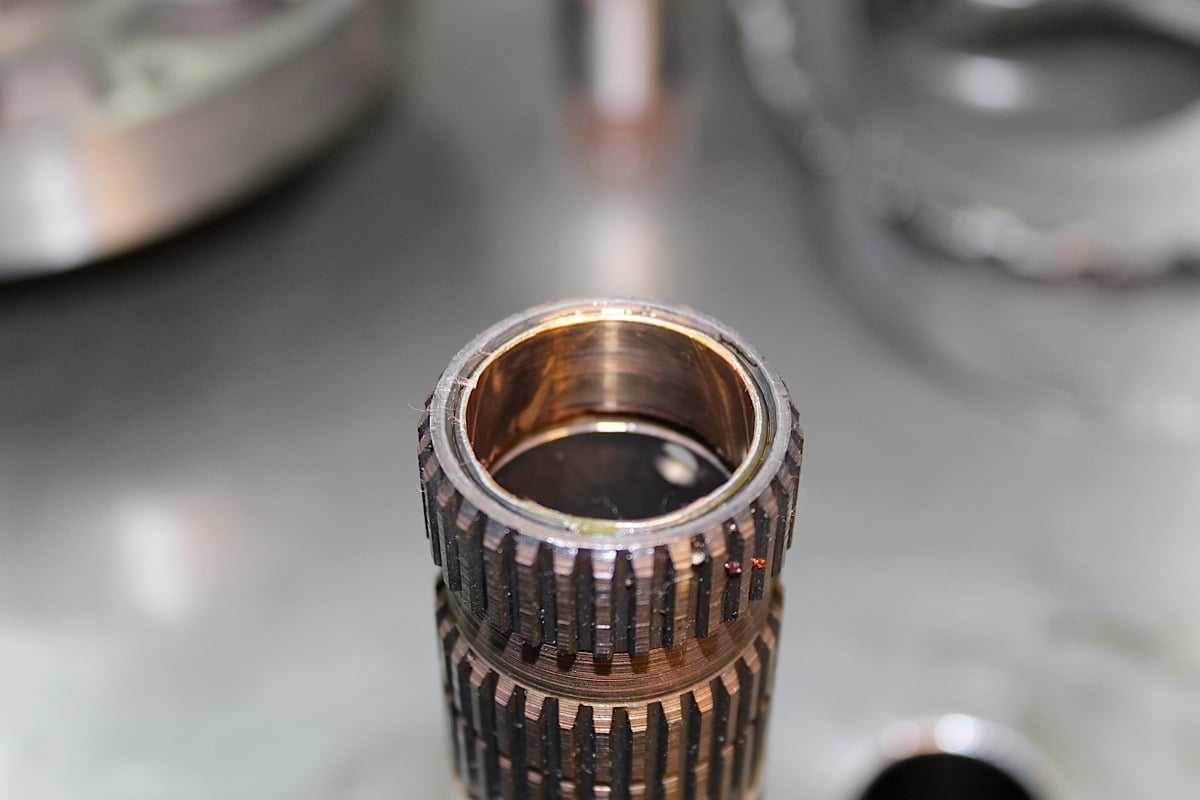 [18]
[18]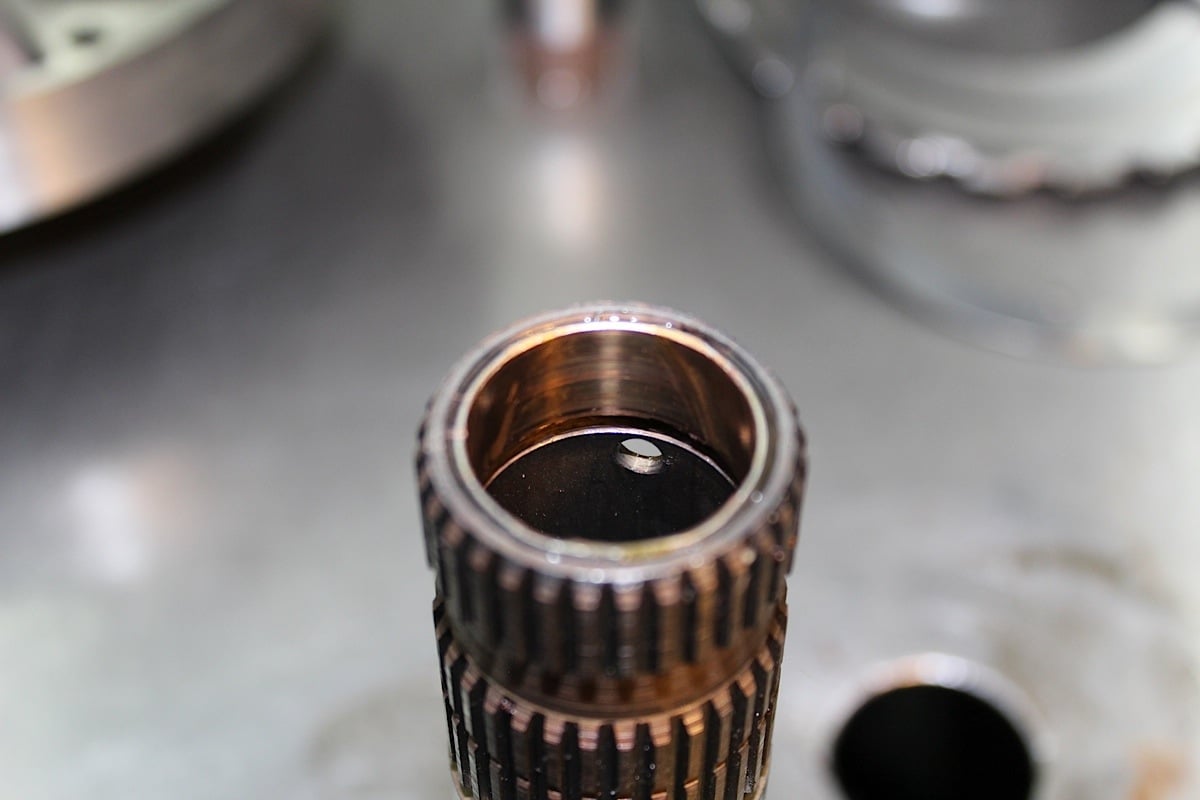 [19]
[19]
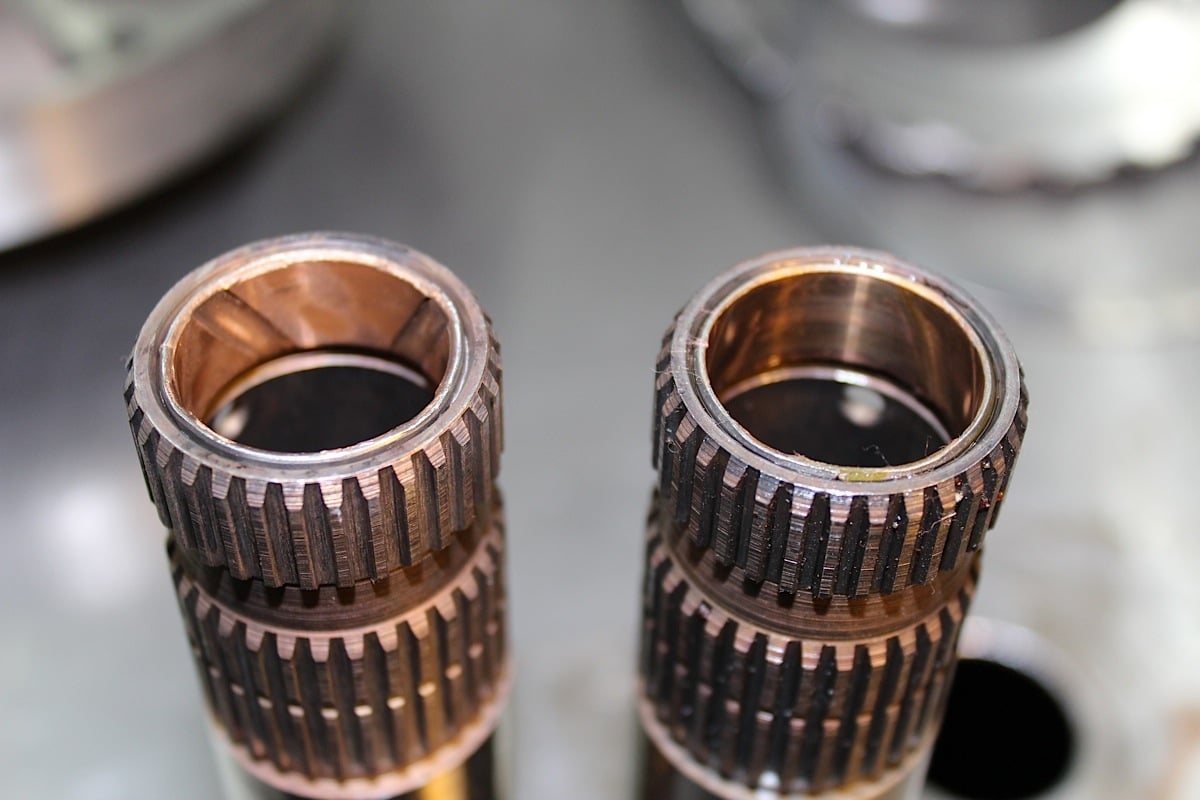
Here we see the sun gear shaft bushings, another high wear area that must always be replaced.
 [20]
[20]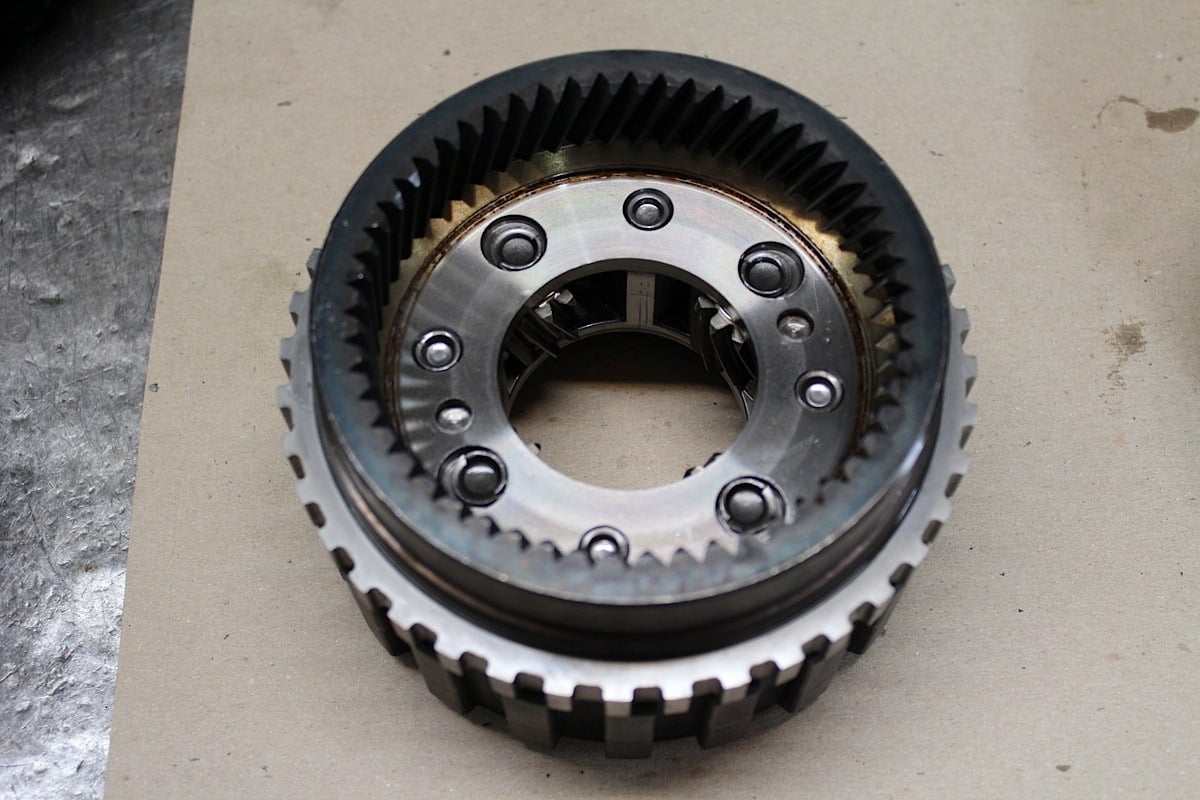 [21]
[21] [22]
[22]
A thorough inspection of the front and rear planetaries. Doctor Steve made sure to check for excessive wear and breakage.
 [23]
[23]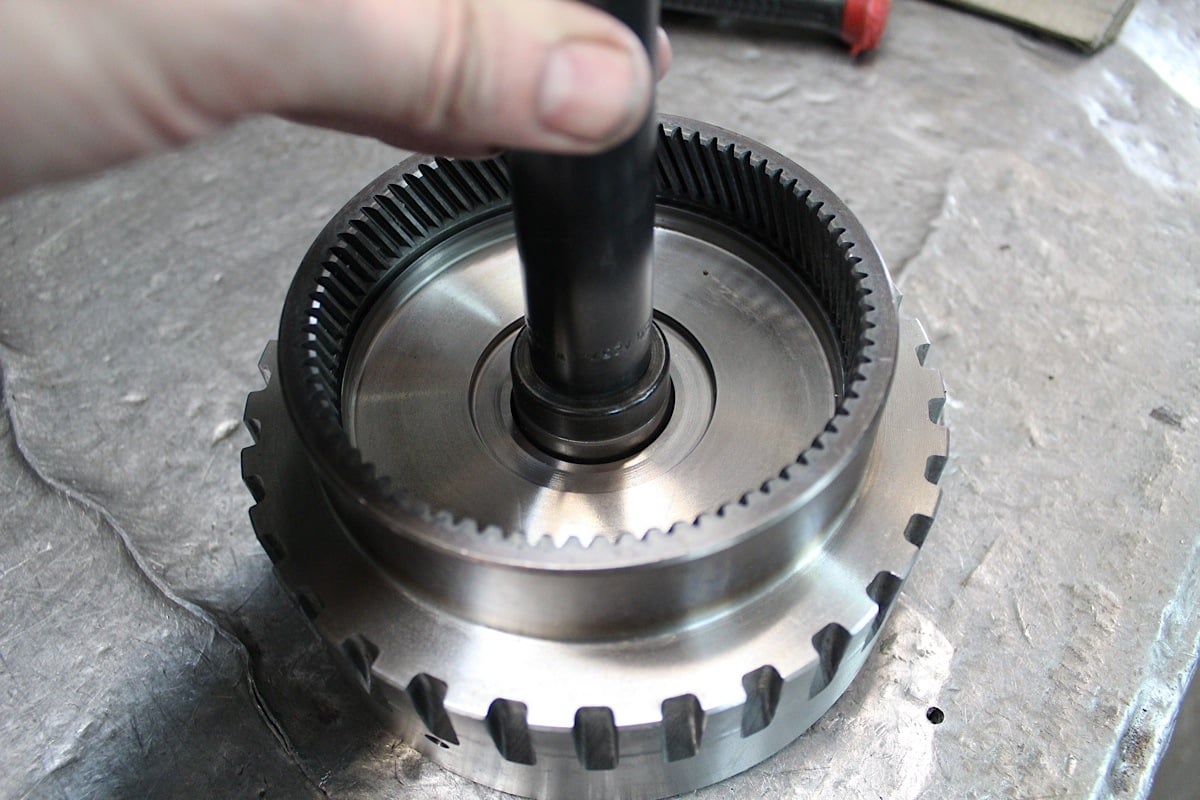 [24]
[24]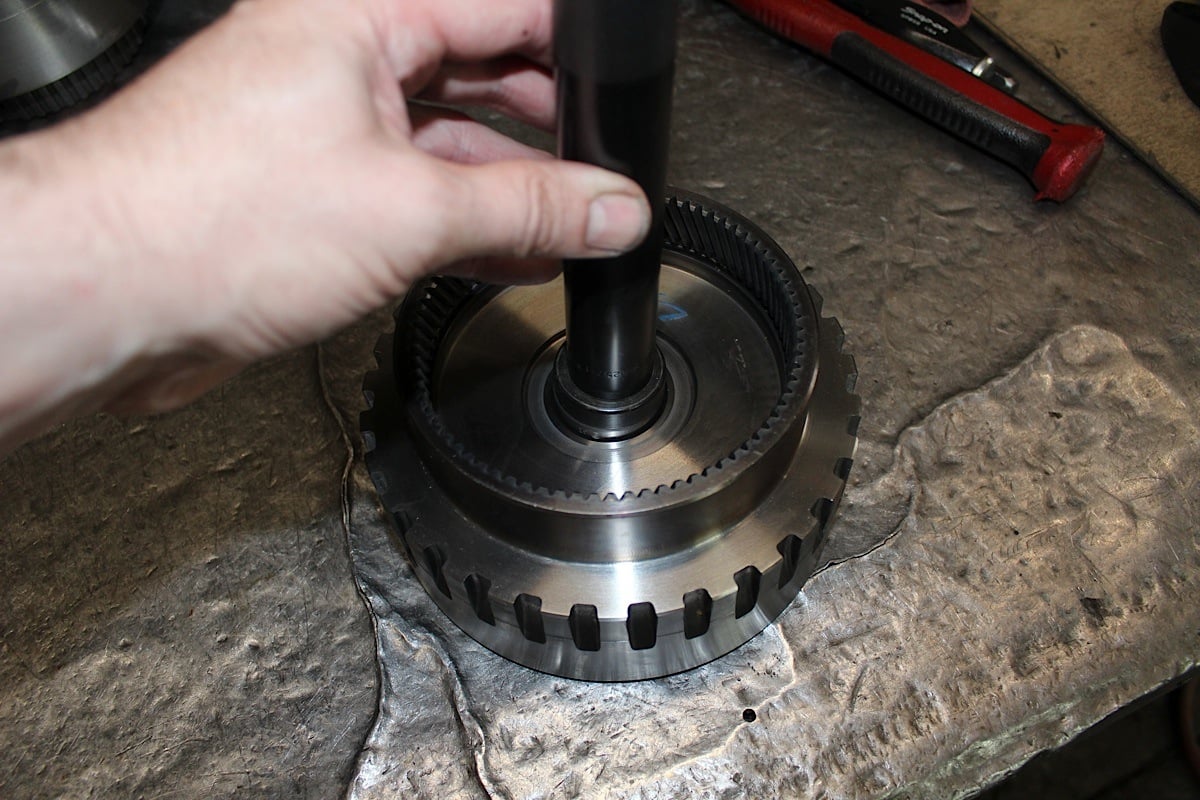 [25]
[25]
The forward drum bushing replacement. The tool pictured in the middle and right was helpful in getting it in place without marring the bushing or drum.
 [26]
[26]A flat file was used to remove any burs to ensure proper sealing of the pump halves.
One good practice that we took note of is to take a flat file and lightly file the pump halves. This removes burs and high spots, which ensures a proper seal. A proper seal makes sure fluid goes where it’s supposed to.
 [27]
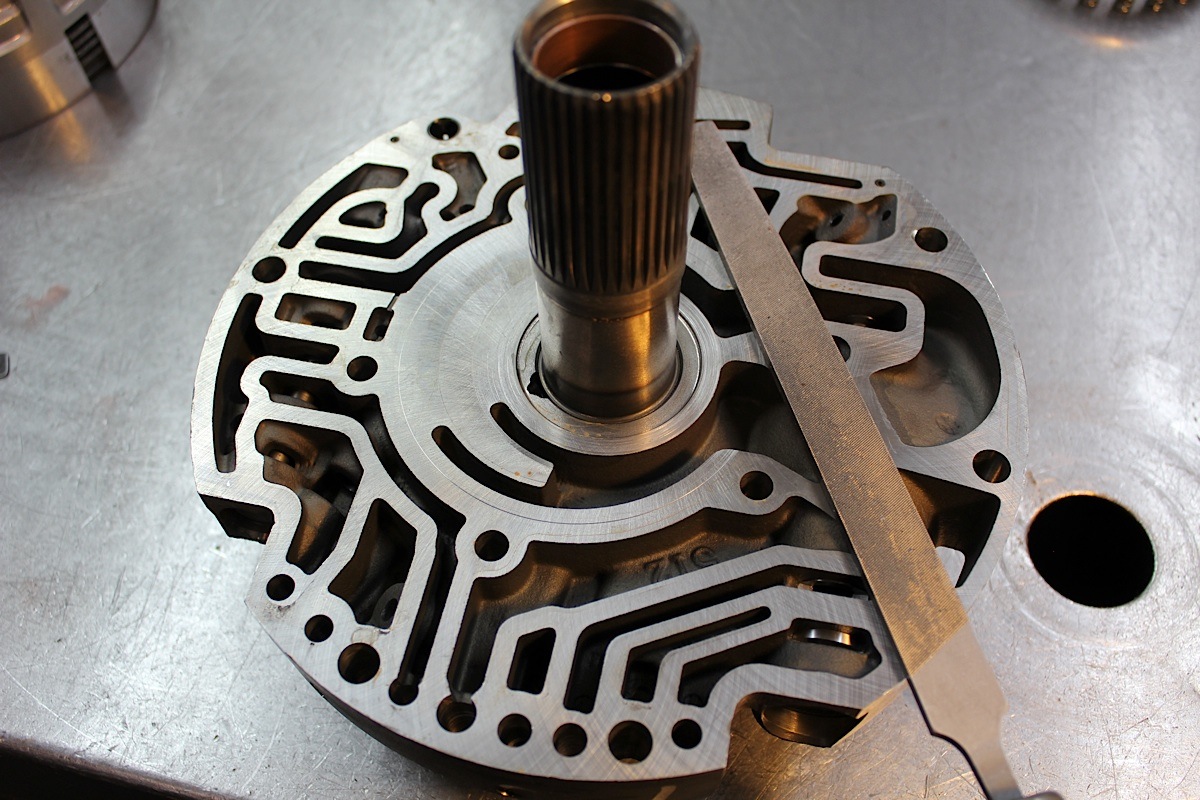
[27]With disassembly complete and assembly beginning, the case itself was cleaned and painted, ready to receive parts.
 [28]
[28]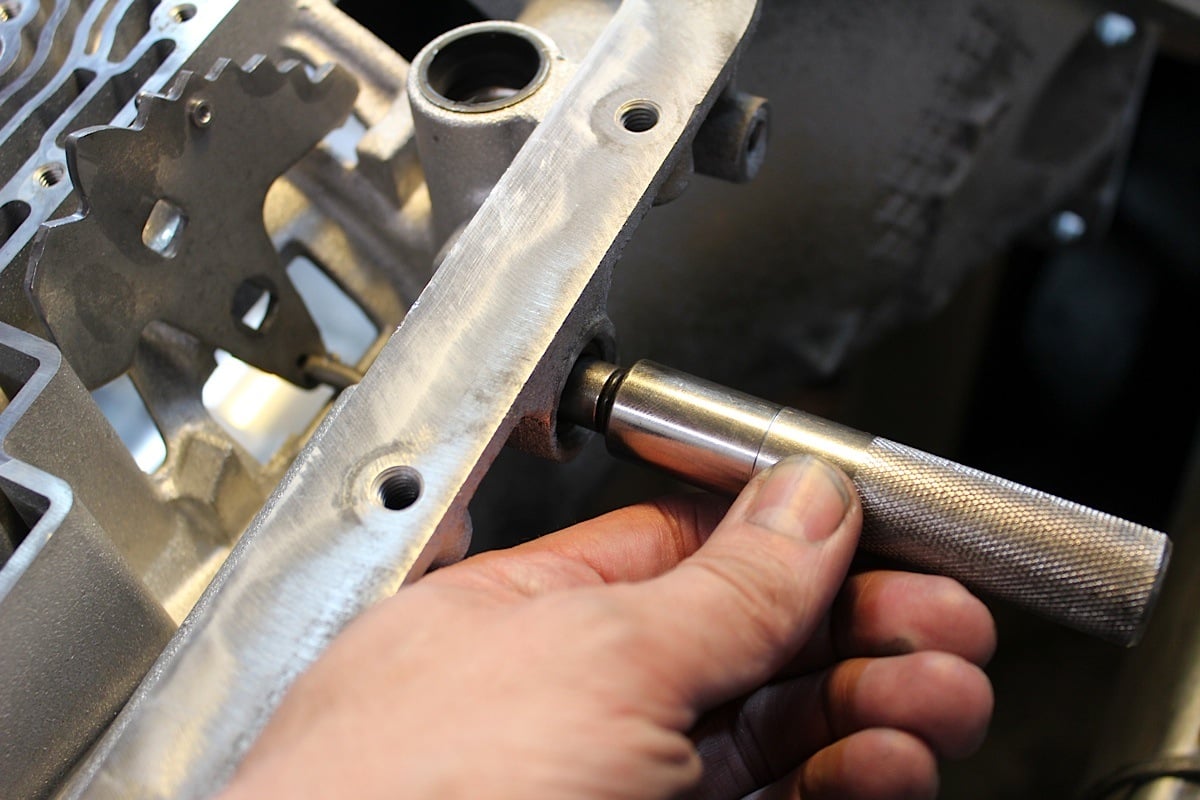 [29]
[29]
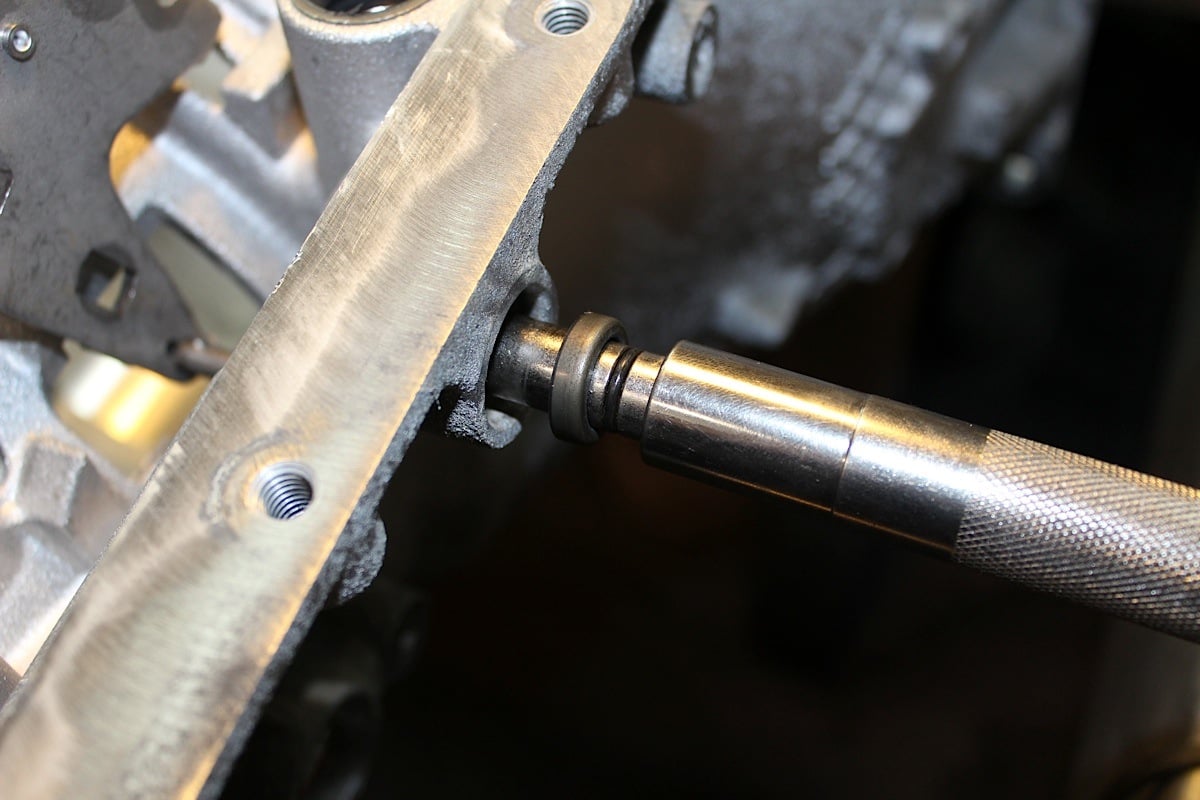
A new linkage shaft seal is installed. This is where having an expert comes in handy, as Doctor Steve had all right tools to make this job a breeze.
 [30]
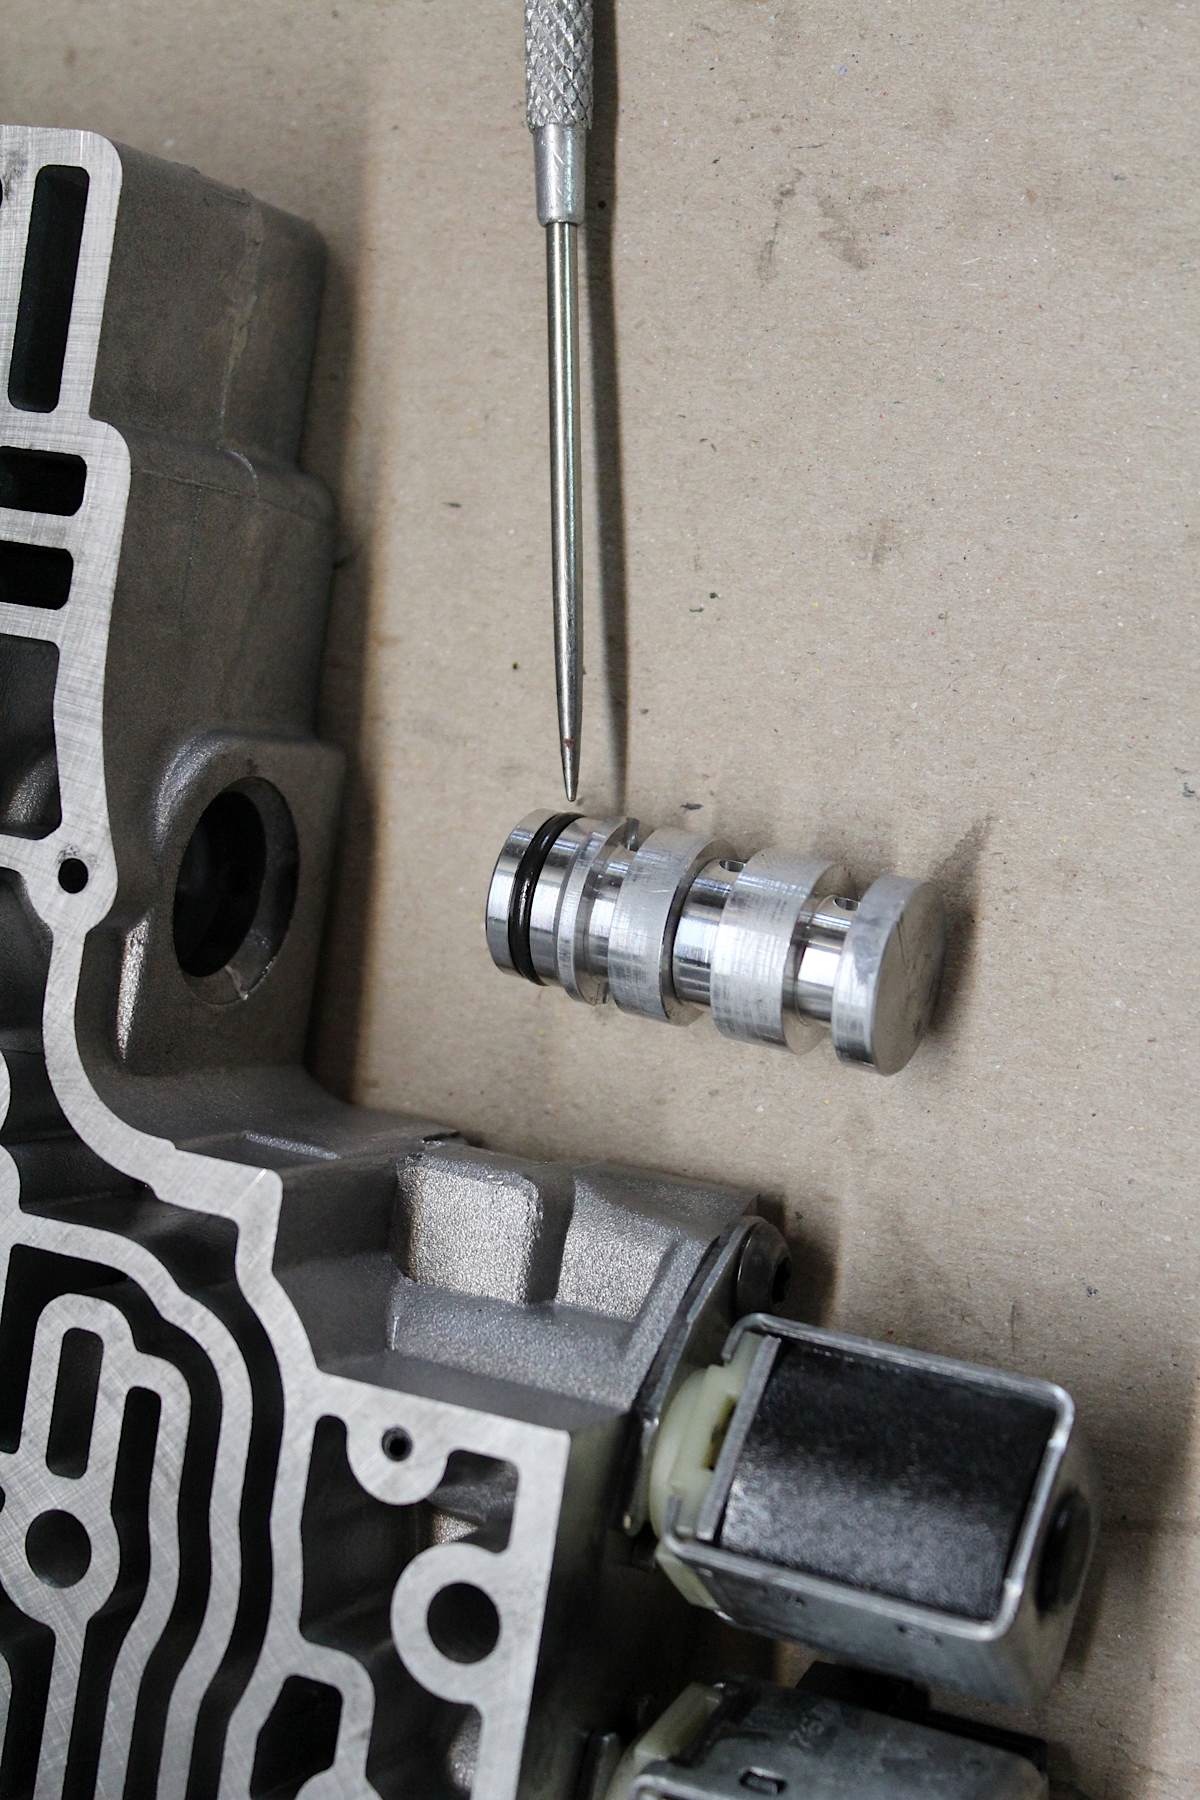
[30]Doctor Steve pointed out, “Always replace the o-ring on the 3rd/reverse check ball sleeve, this is often overlooked.”
 [31]
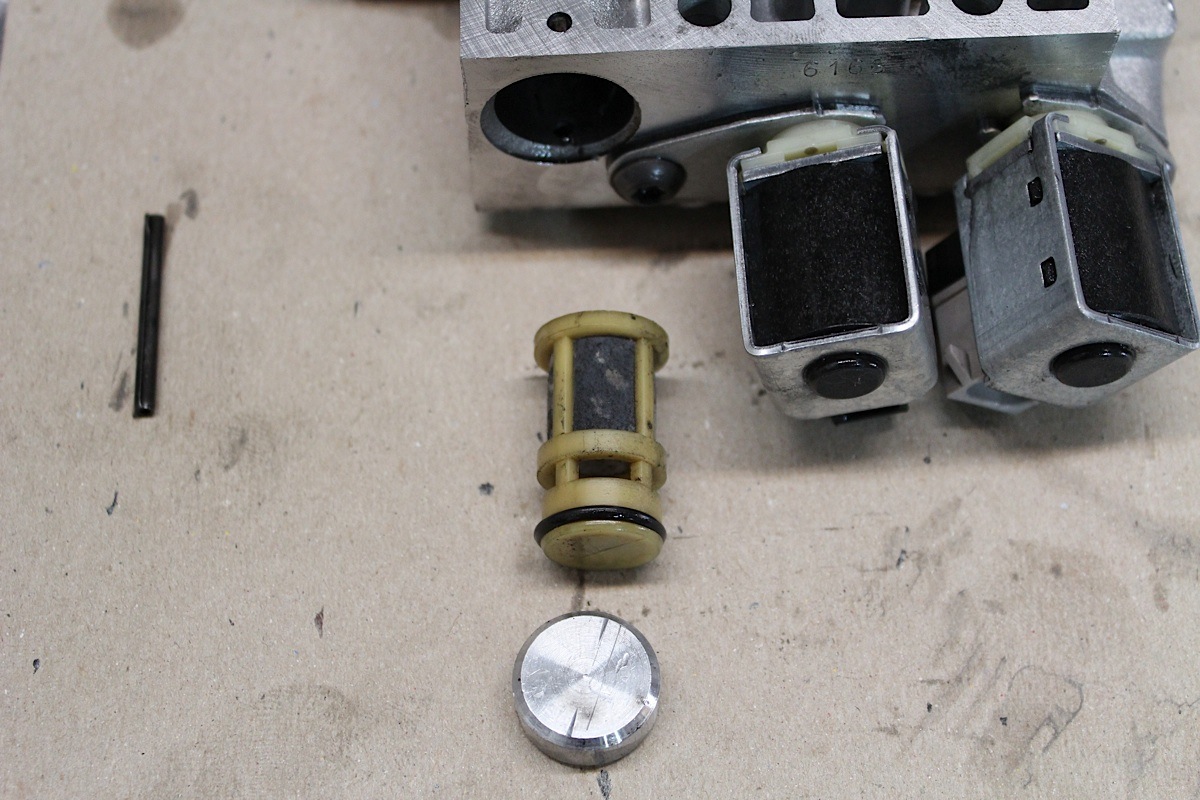
[31]Always make sure to replace the valve body screen, this one is almost clogged.
The valve body has a screen filter in it that gets clogged over time. Make sure to replace this small item as well. The original one shown here was almost clogged solid.
 [32]
[32] [33]
[33]
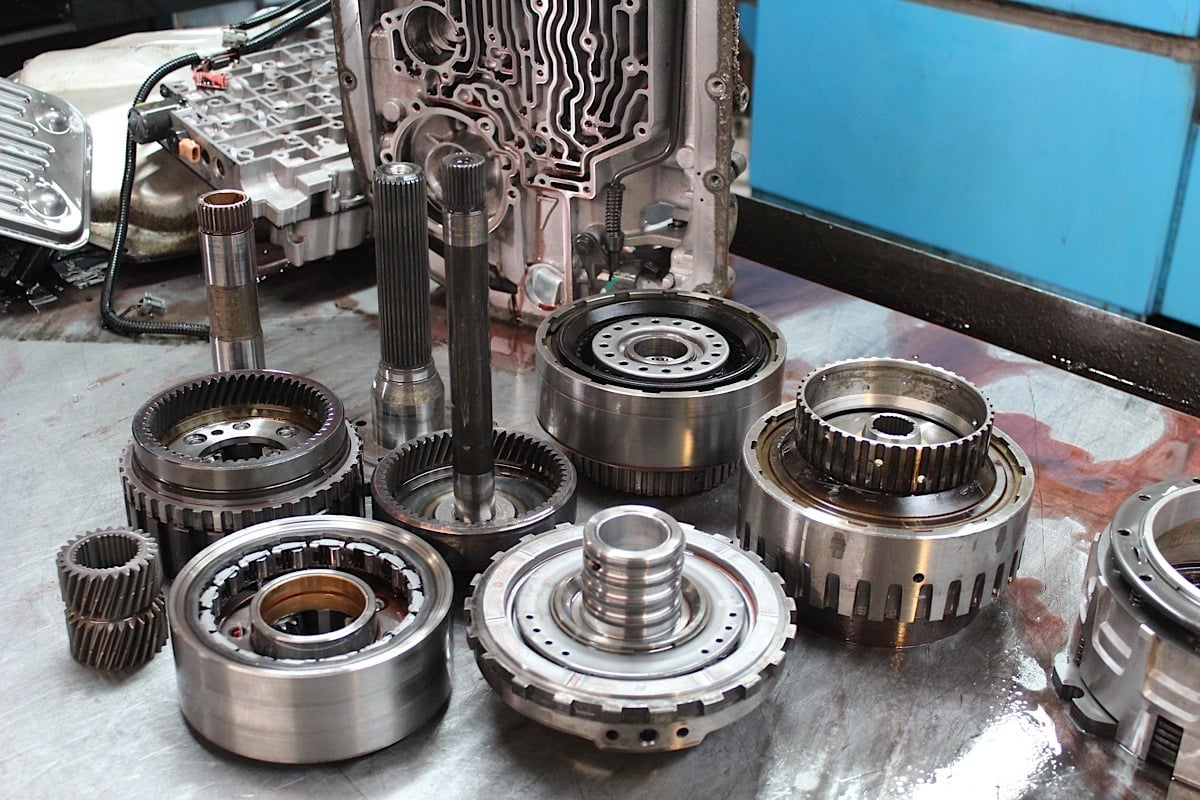
Here are all the drums and clutches laid out, ready for installation. Make sure you have them all in the correct order.
 [34]
[34]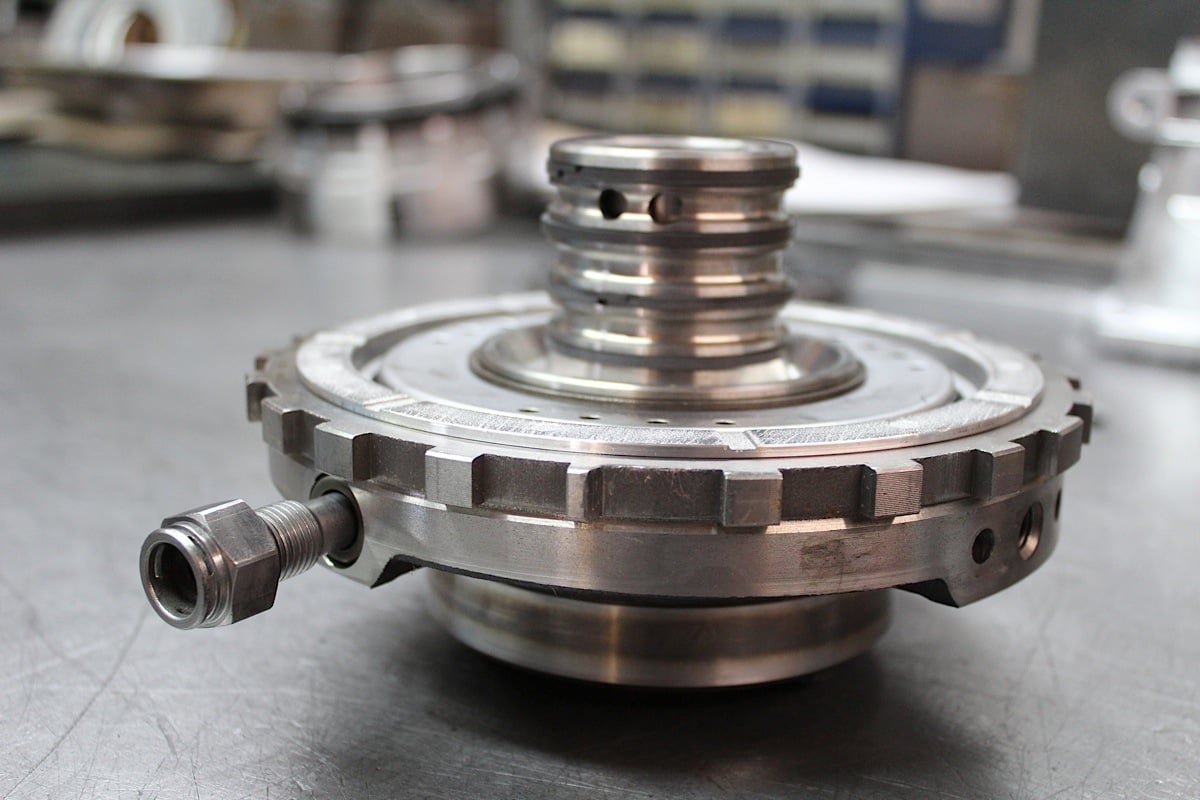 [35]
[35]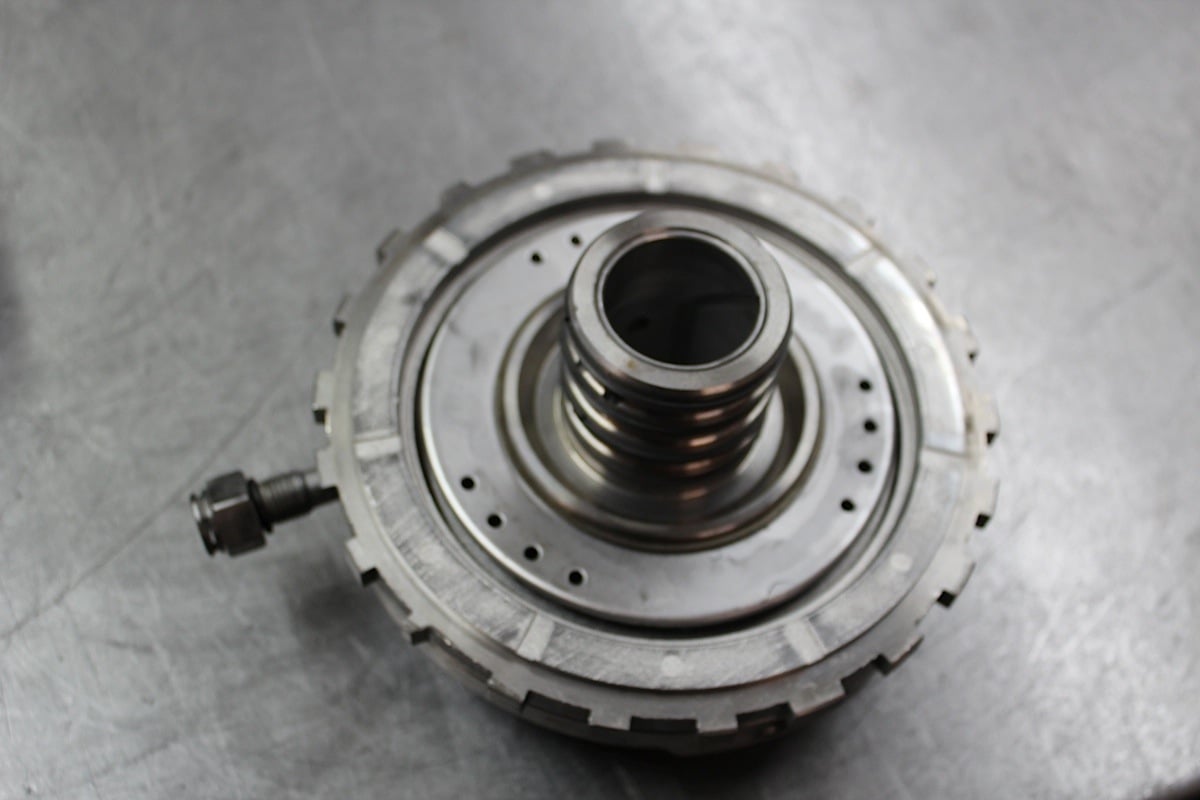 [36]
[36]
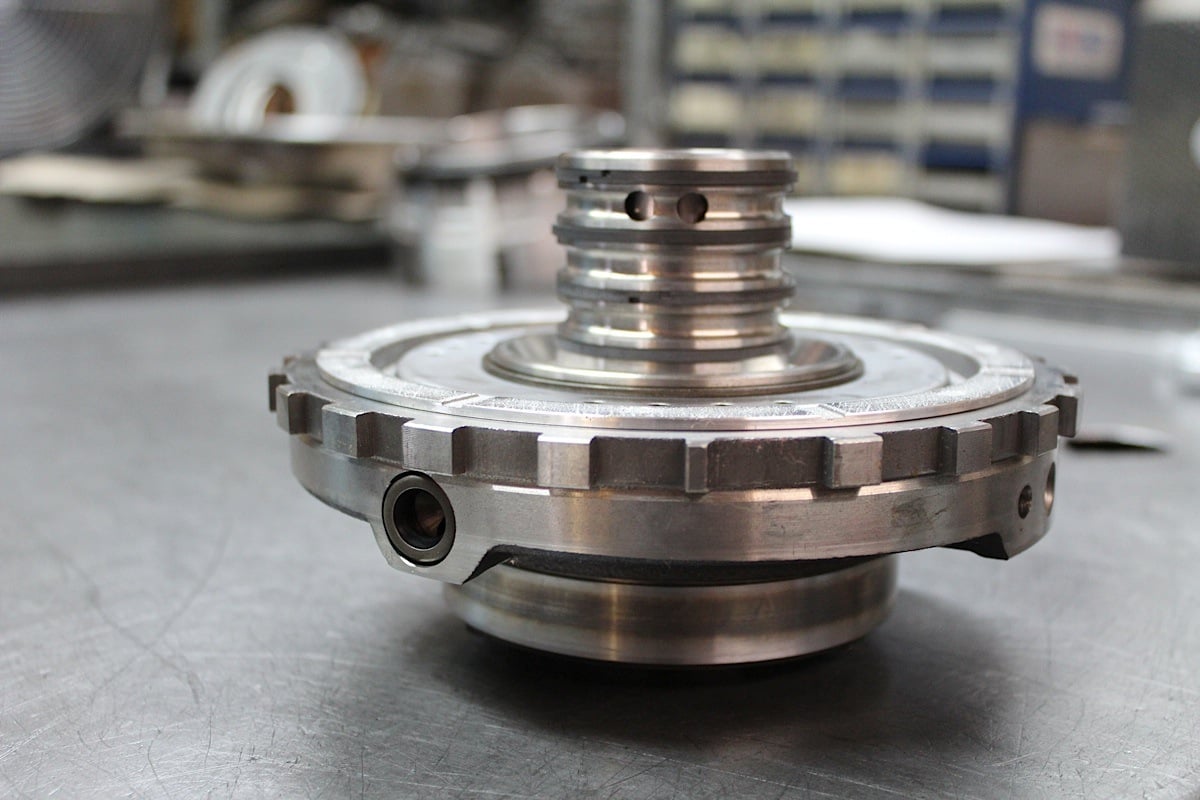
Here is the center support that shows the line for cooling the planetary gears. This center support is the same one as a TH400, but has the extra line.
 [37]
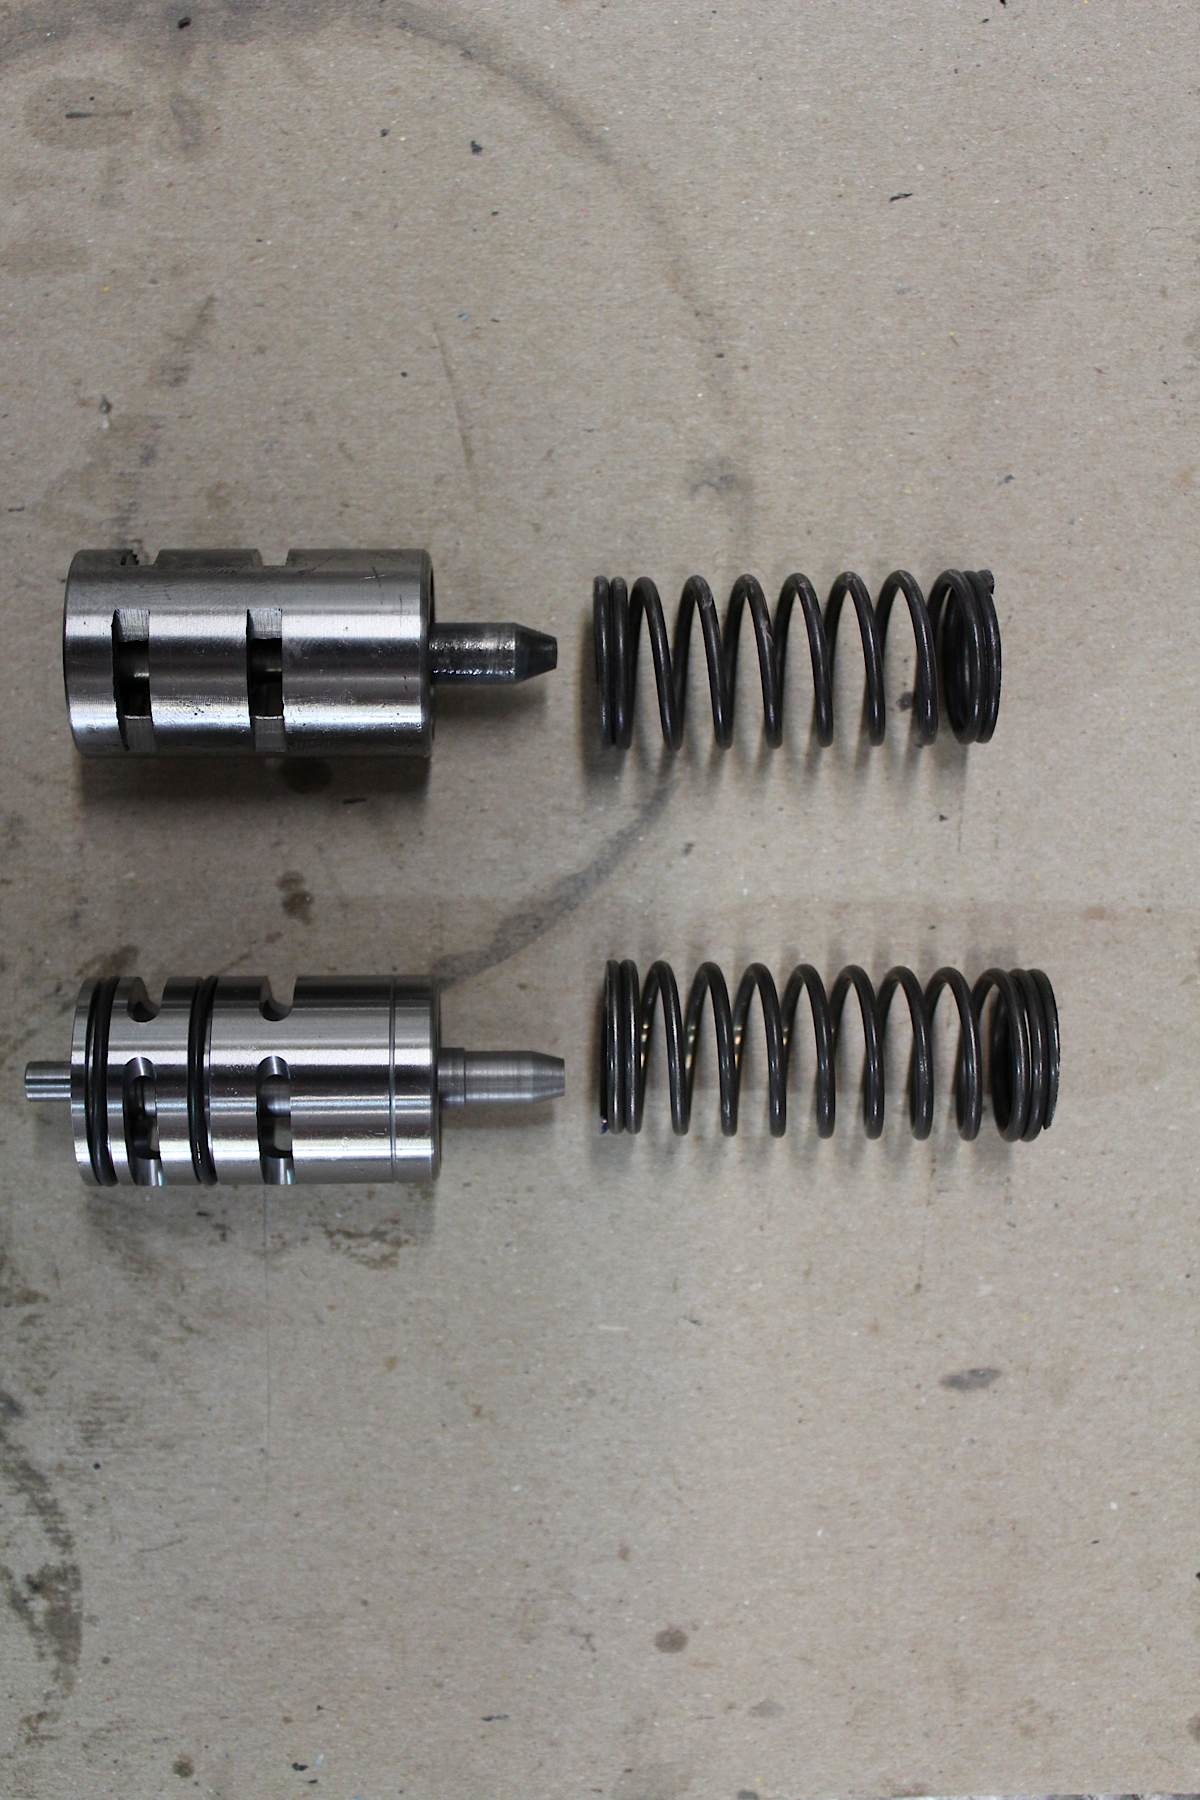
[37]Always replace the boost valve as they are always worn. Doctor Steve likes an upgraded version with O-rings and a progressive spring.
Another trick is to use a boost valve with o-rings and a progressive rate spring. This offers better performance and a longer life. It’s not a necessary step, but while you’re inside the transmission, it’s a good measure to take.
 [38]
[38]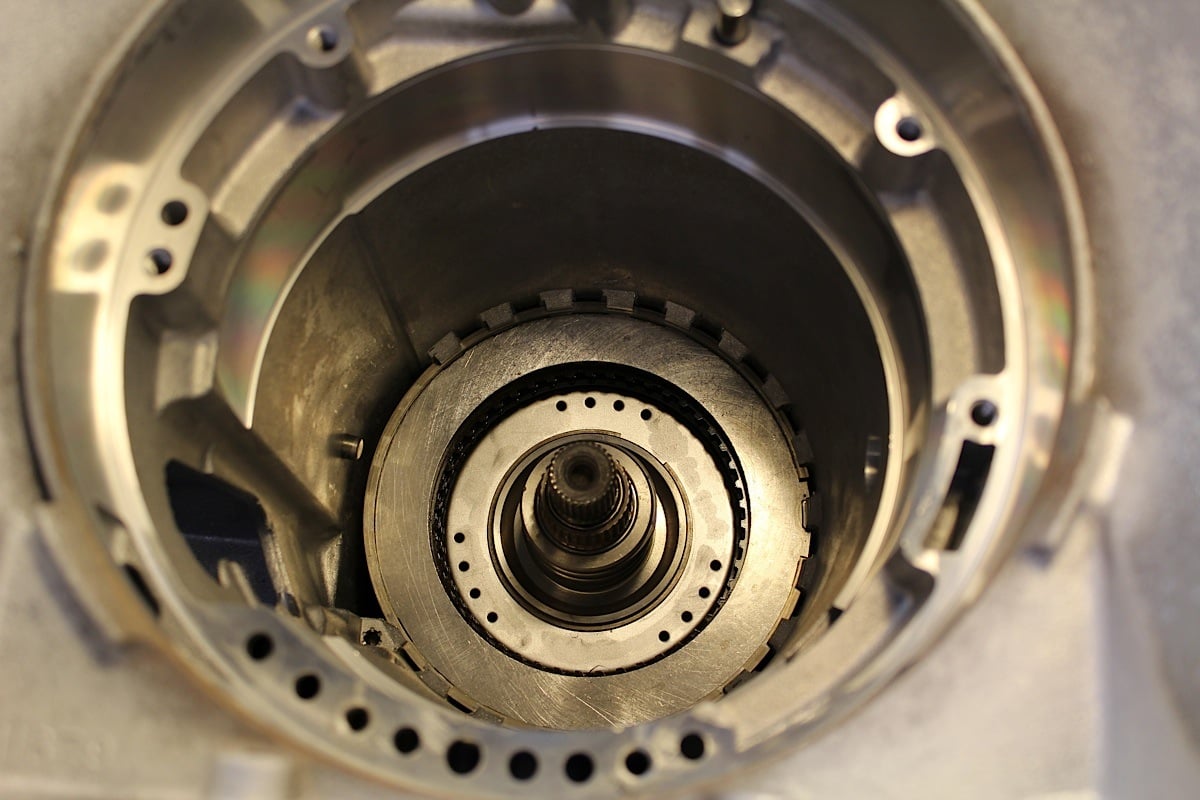 [39]
[39]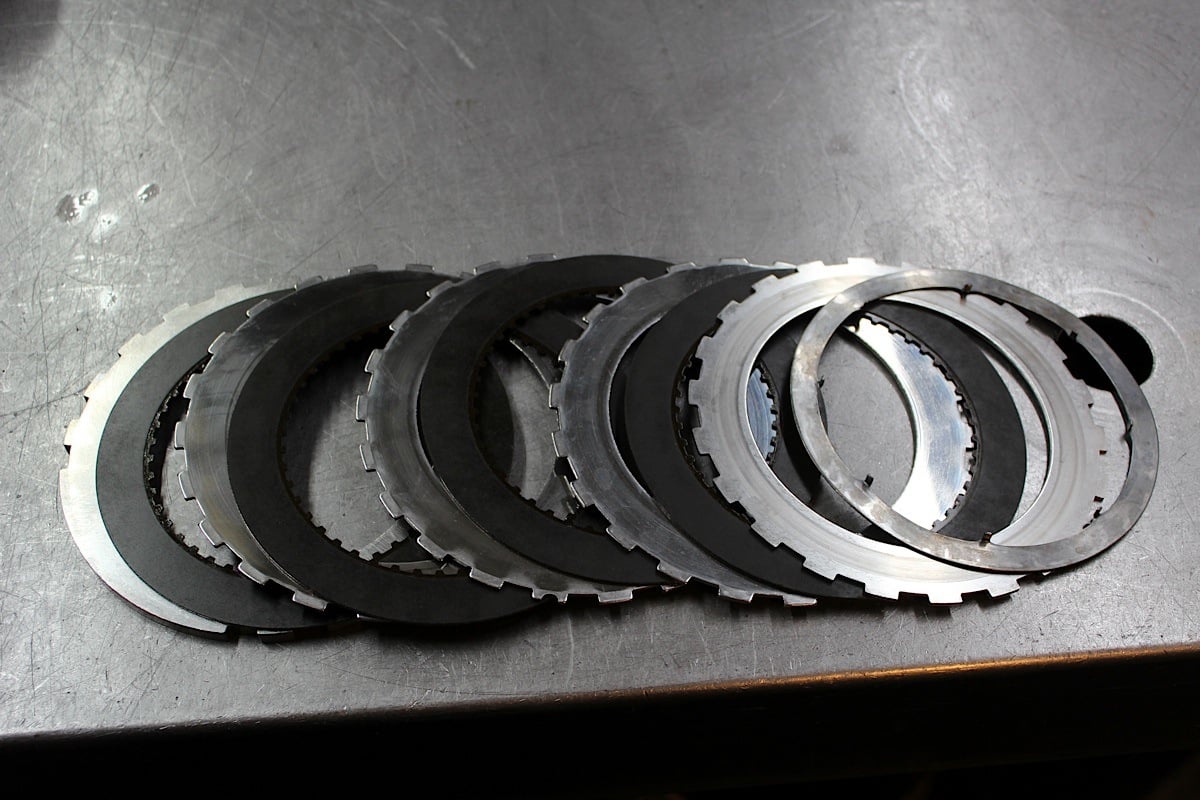 [40]
[40]
Moving along, installing the intermediate clutches and seals.
 [41]
[41]Fourth gear clutch drum, ready to be installed.
 [42]
[42]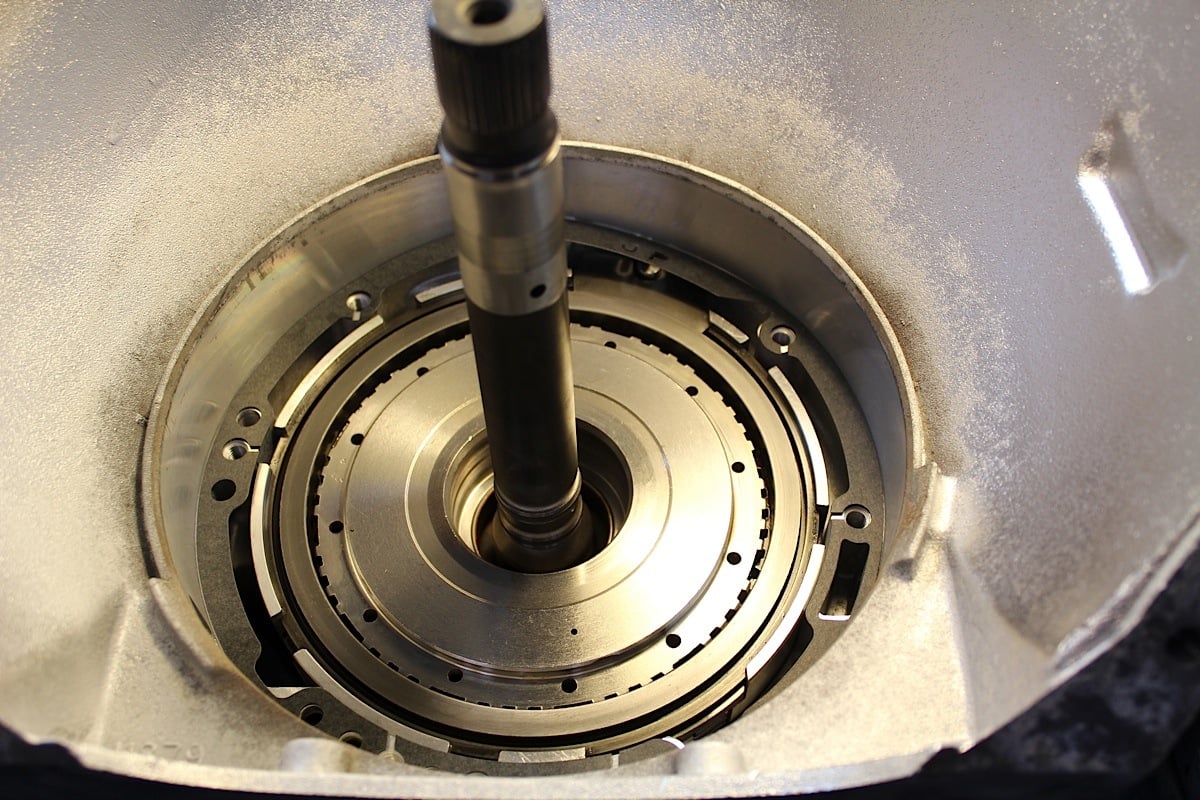 [43]
[43]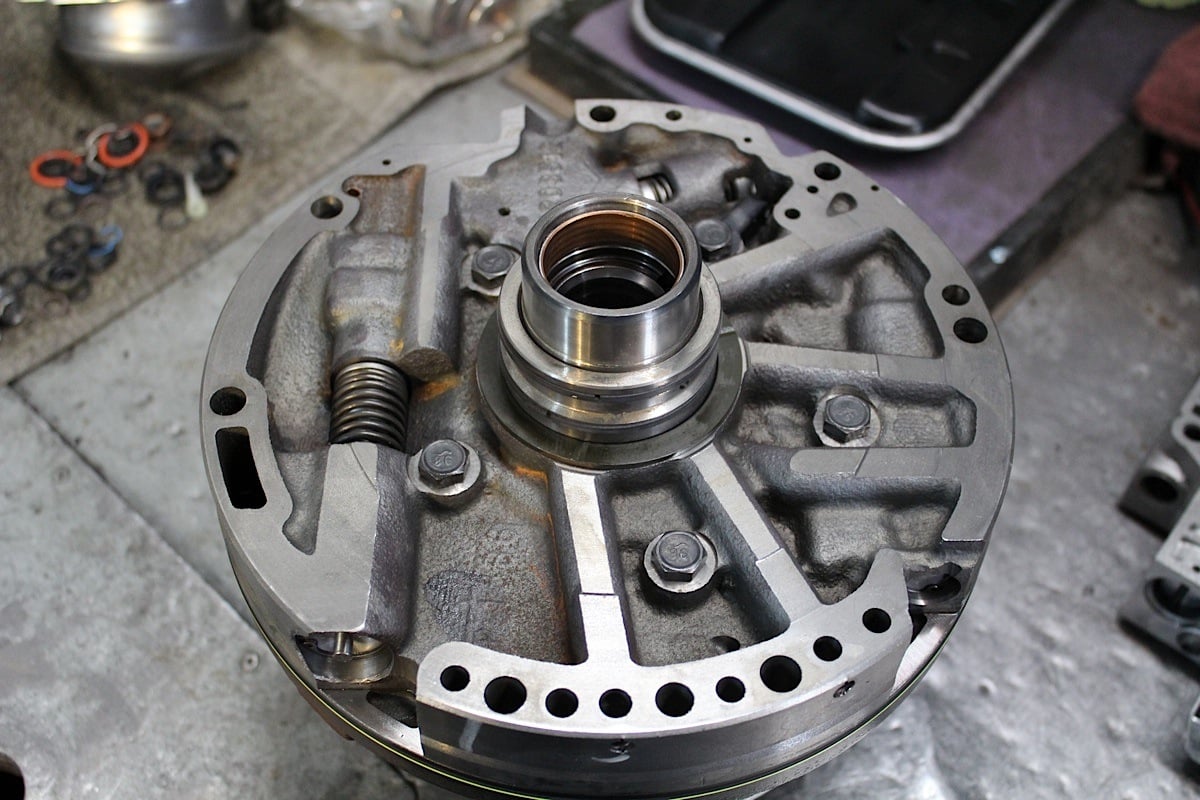 [44]
[44] [45]
[45]
The pump being assembled and installed.
 [46]
[46] [47]
[47] [48]
[48]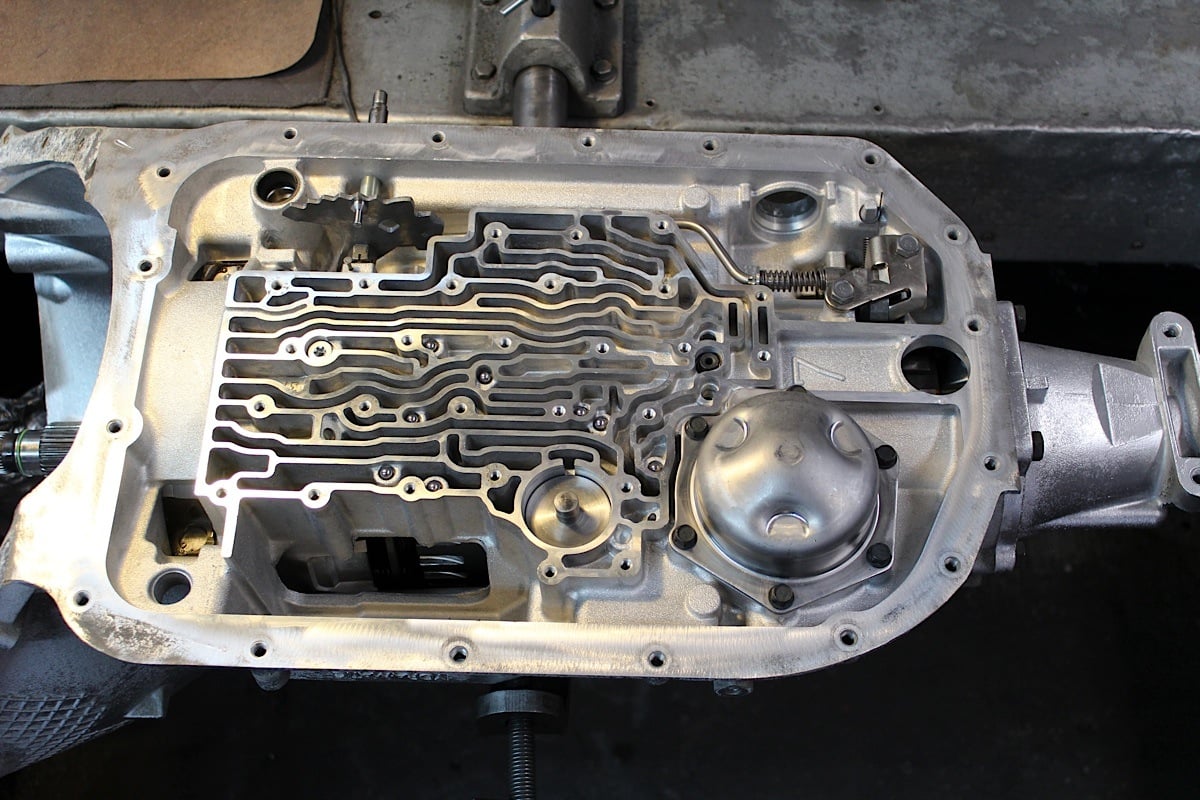 [49]
[49]
Buttoning up the bottom end.
 [50]
[50]
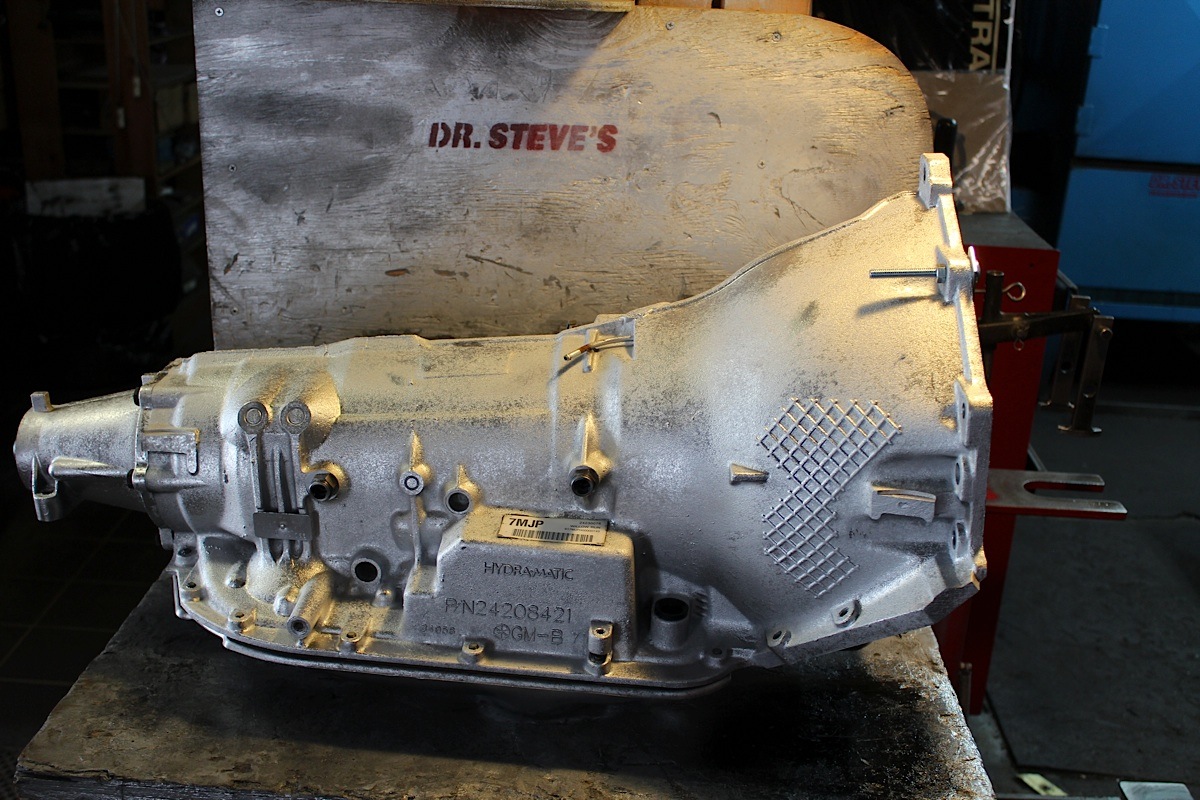
The last step was to slip on a new torque converter. With installation complete, we were ready to bolt it up to our LQ4 and hit the open road. We look forward to the improved power handling along with the overdrive. Even though Doctor Steve offers a two year, 24,000 mile warranty, we knew that we wouldn’t be seeing him for a long time. It only took the Doctor a day to rebuild this transmission, as he has the right parts and experience to rebuild this with his eyes closed. Somebody at home could expect this to be more of a weekend job.
Stay tuned for part two as we get ready to mate our rebuilt 4L80E to our restored LS LQ4 engine.
 [51]
[51]