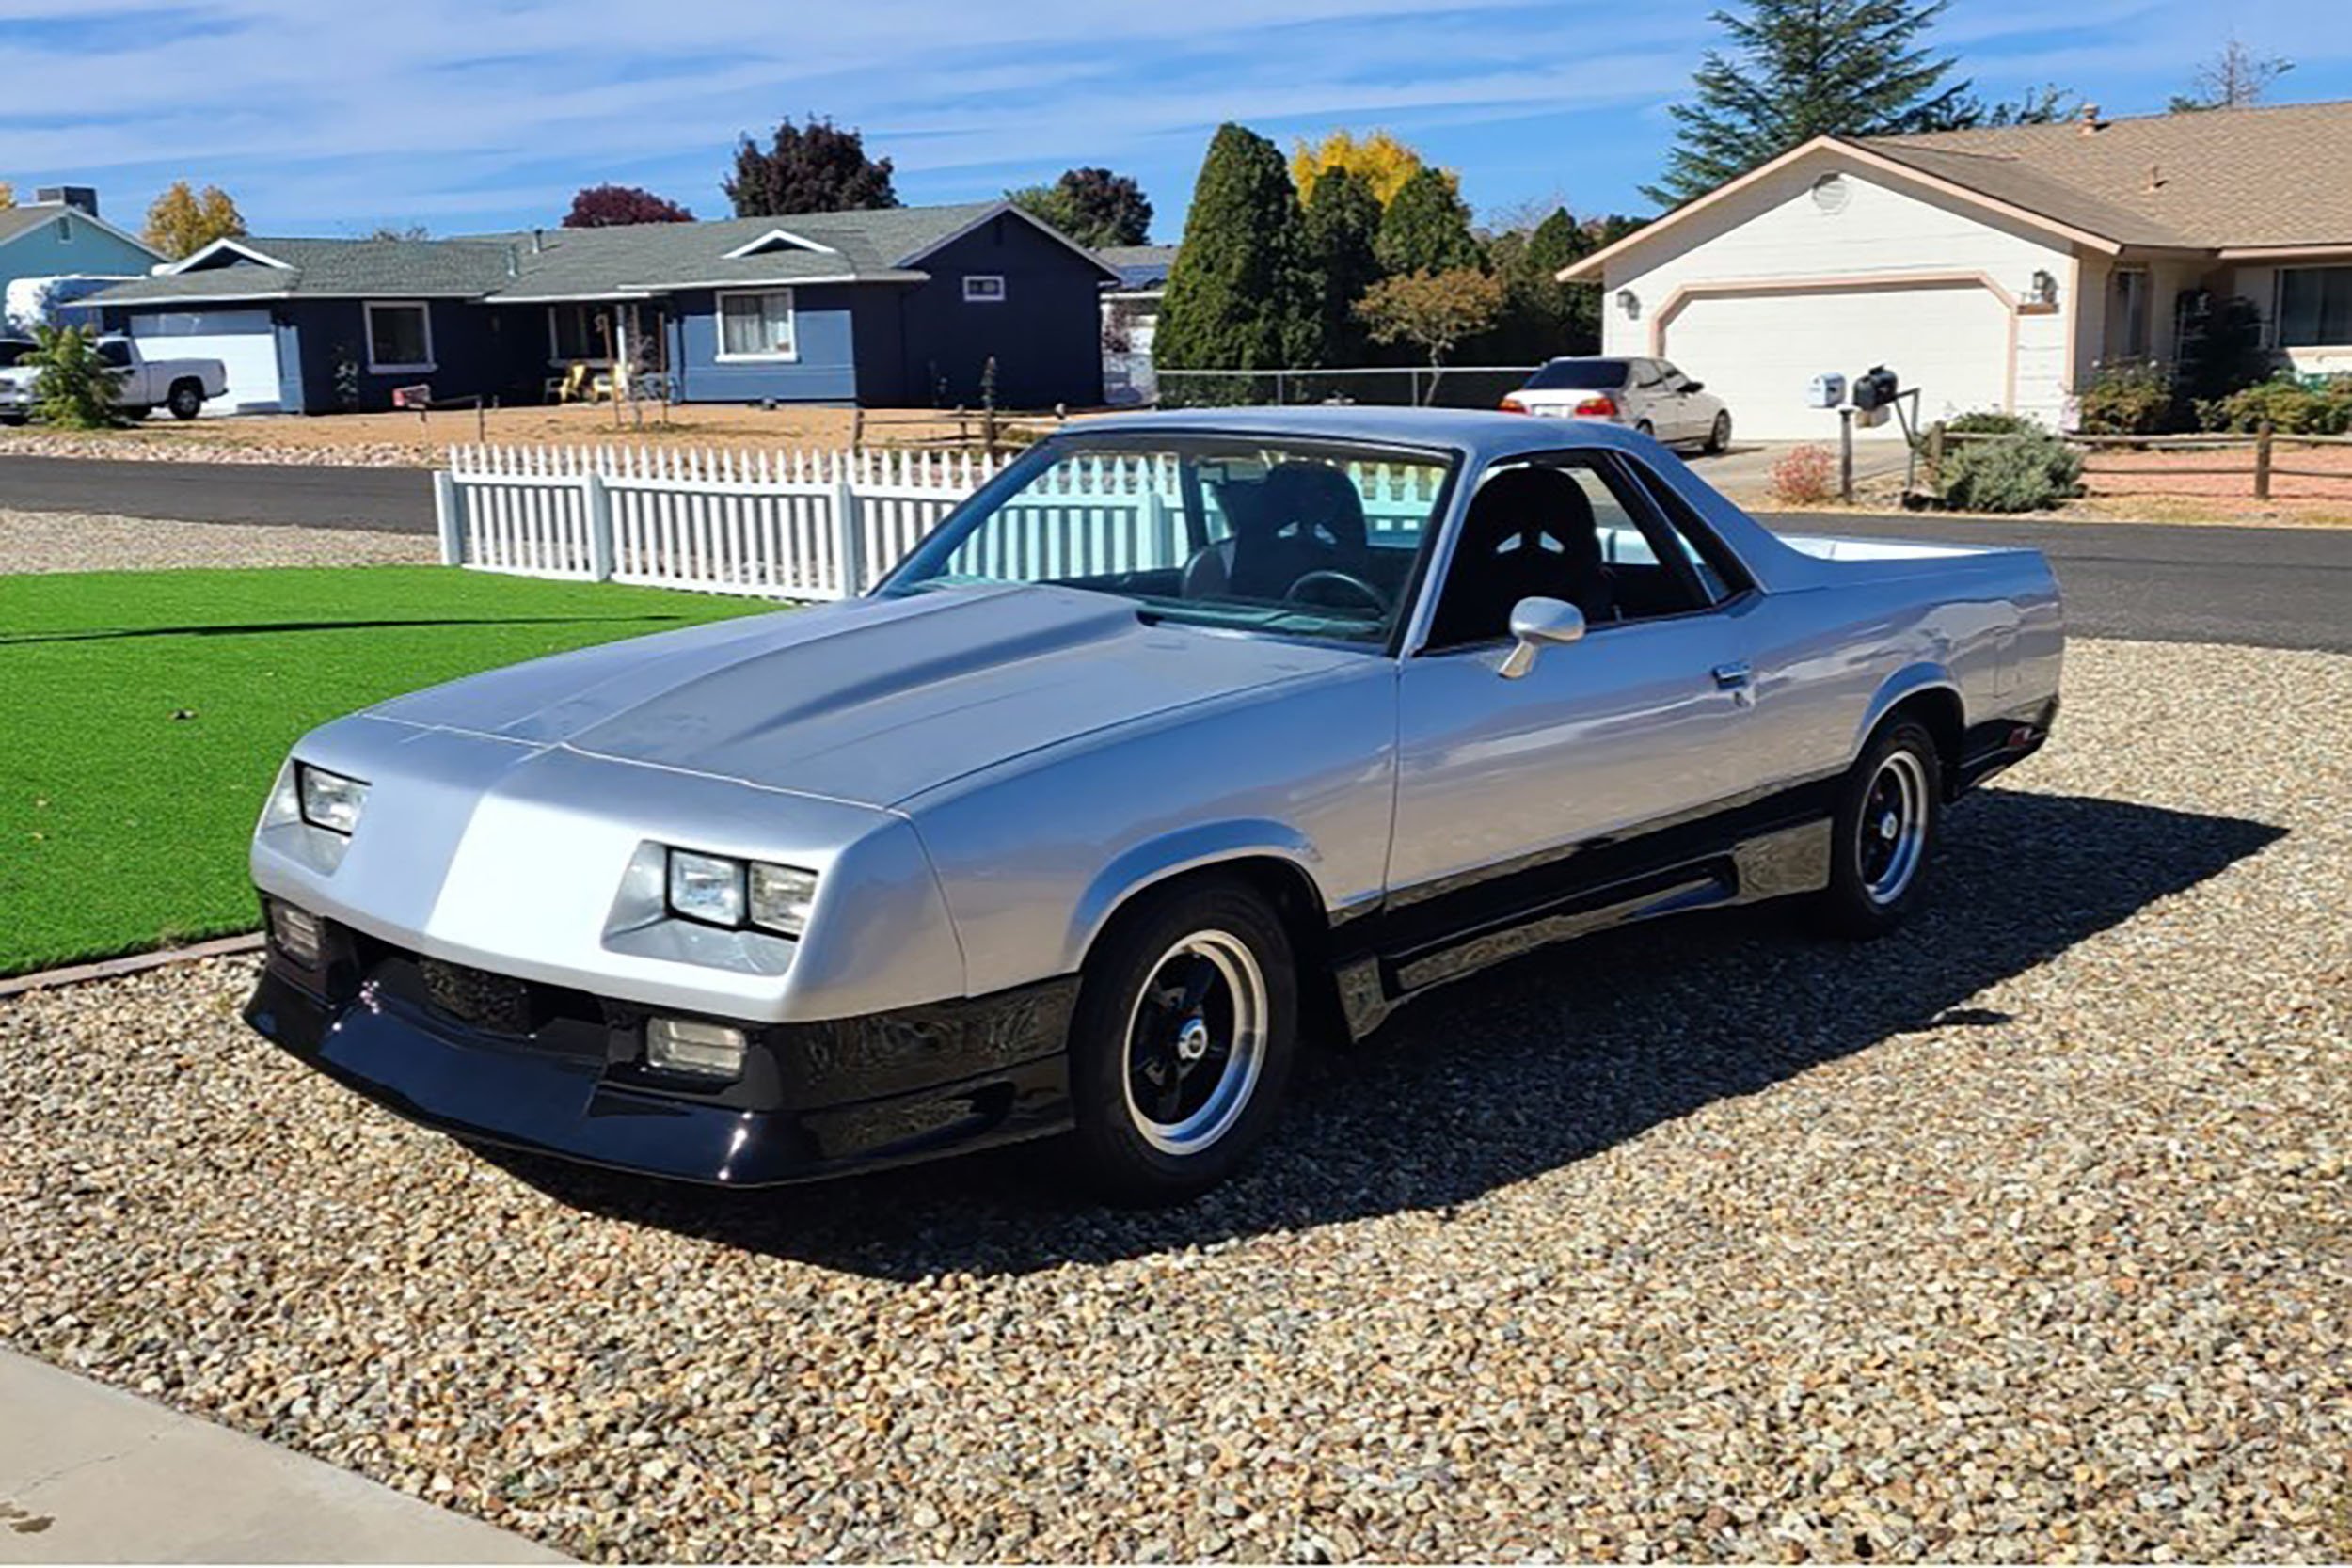
As we continue to make progress on Project Tiger’s Eye, our 1950 Chevy Fleetline, we were tasked with a challenge: with the Fleetline’s extremely low stance, we needed to install a proper exhaust system that wouldn’t scrape or get damaged during a cruise.
We contacted our friends at Jegs and Holley Performance Products, who set us up with a custom exhaust system. What is essentially important when considering components beneath, is the substantially decreased ride height on our Fleetline that needed a capable performance system.
Let us dive into the system itself — from the exhaust connections and installation — to best tips for keeping your lowered car free from damages to your exhaust system.
Weapons Of Choice
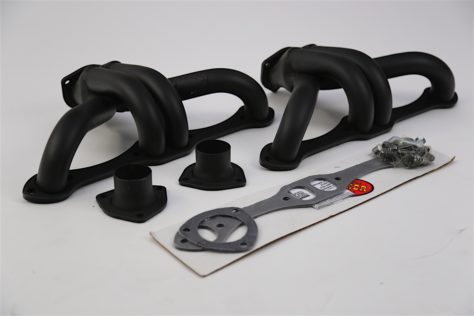
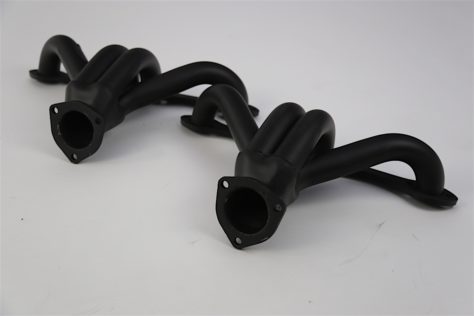
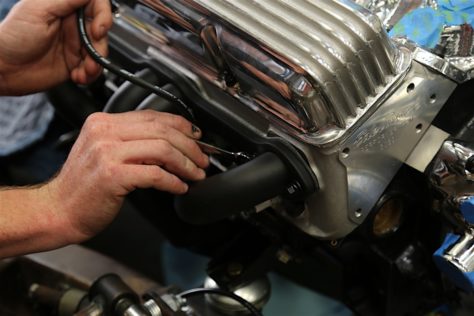
On the block, we decided to go with a pair of 2100HKR Hooker Super Competition Block Hugger headers. Designed specifically for small-block Chevy’s between 262 and 400 cubic-inches, they fit snugly against the V8’s small-block architecture. The primary tube diameter measures 1-5/8 inches with a 2.5-inch collector diameter, and 18-gauge tubing with 5/16-inch flange thickness, giving plenty of room for exhaust gasses to move.

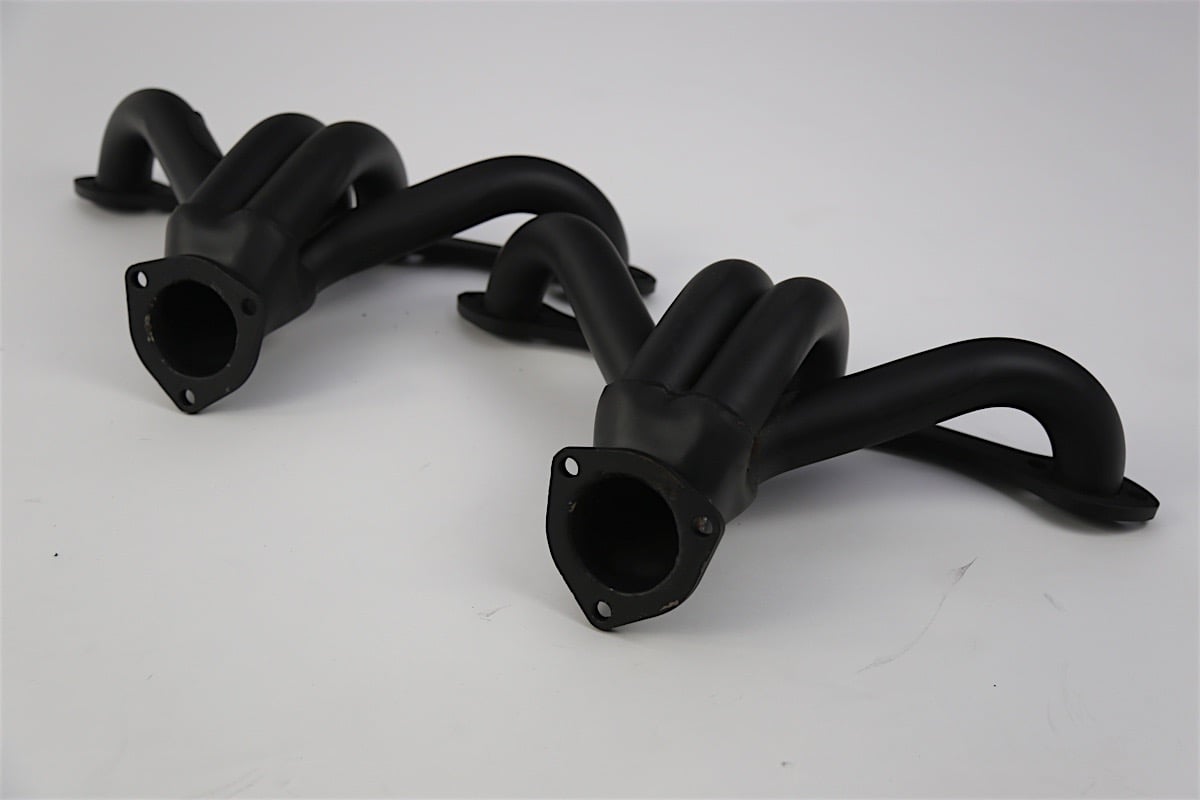

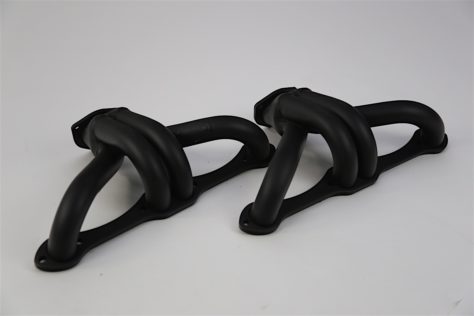
The block hugger headers feature a simple, straightforward design that is easy to install.
We chose the headers for fitment. We spoke with Blane Burnett at Holley Performance Products for more information.
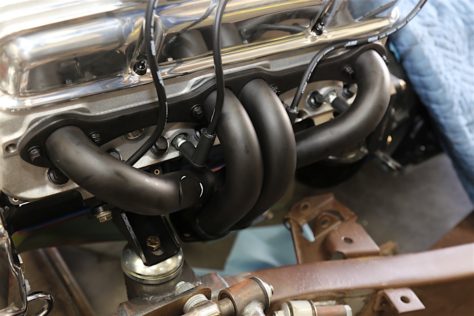
Featuring a tight-tuck tube design, these are a viable option when used on vehicles that have narrow frame rails.
– Blane Burnett, Holley Performance Products

Since the collector exits parallel with the oil pan rail, ground clearance is maximized. Complete with gaskets, header bolts, and collector reducers, these headers are available in black, chrome, or Hooker’s metallic ceramic thermal barrier coating.
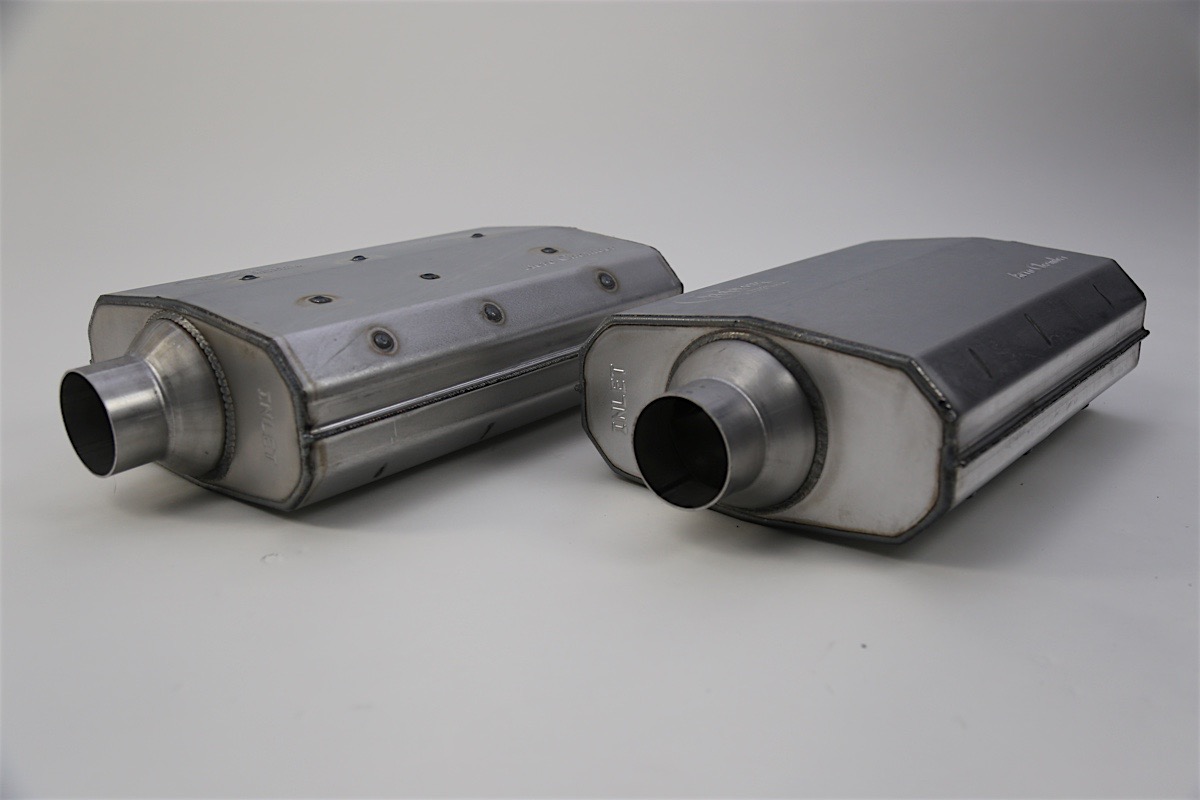

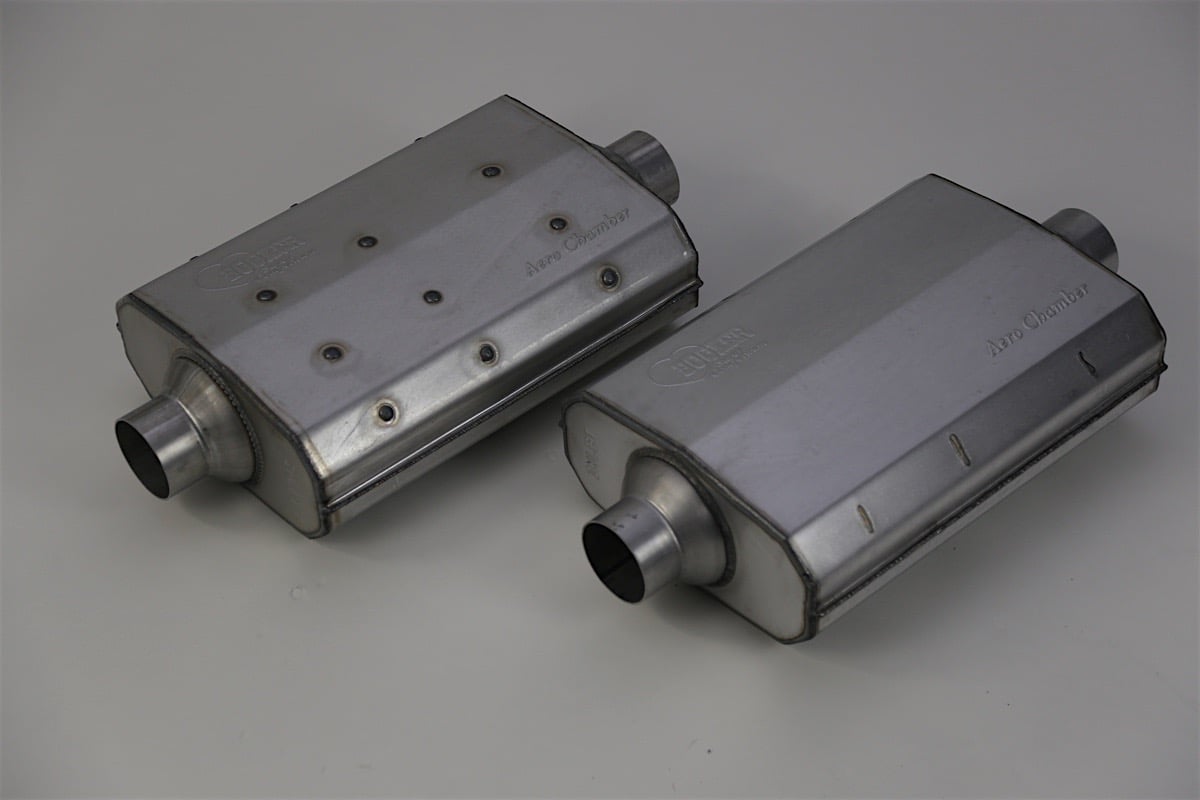

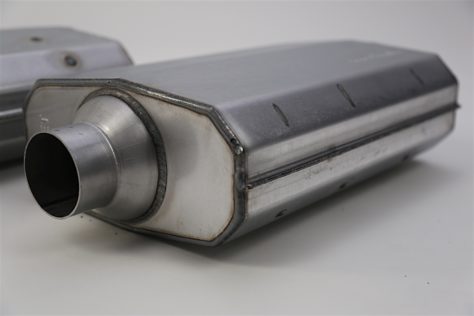
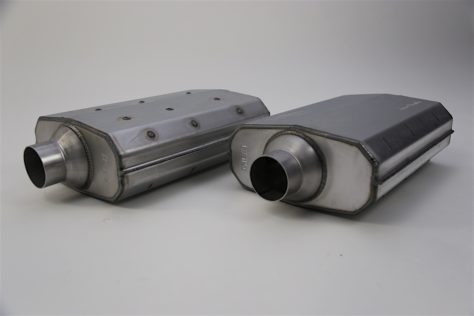
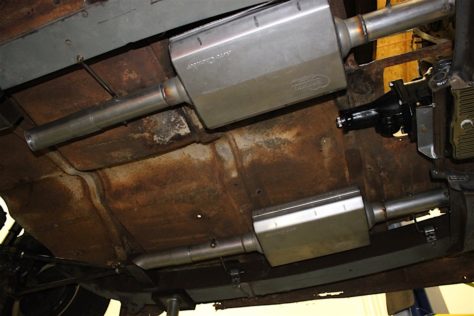
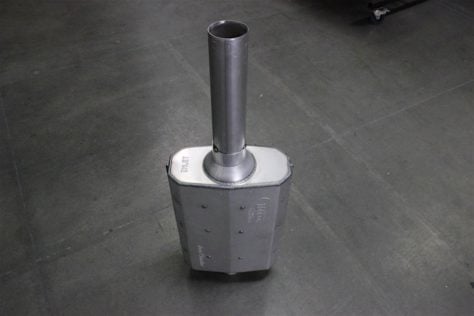
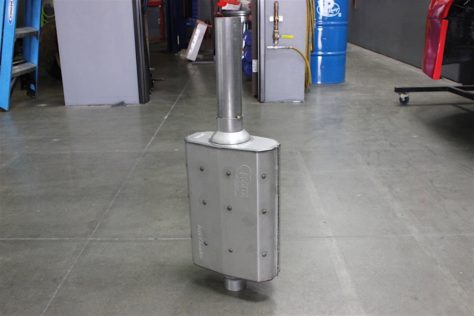
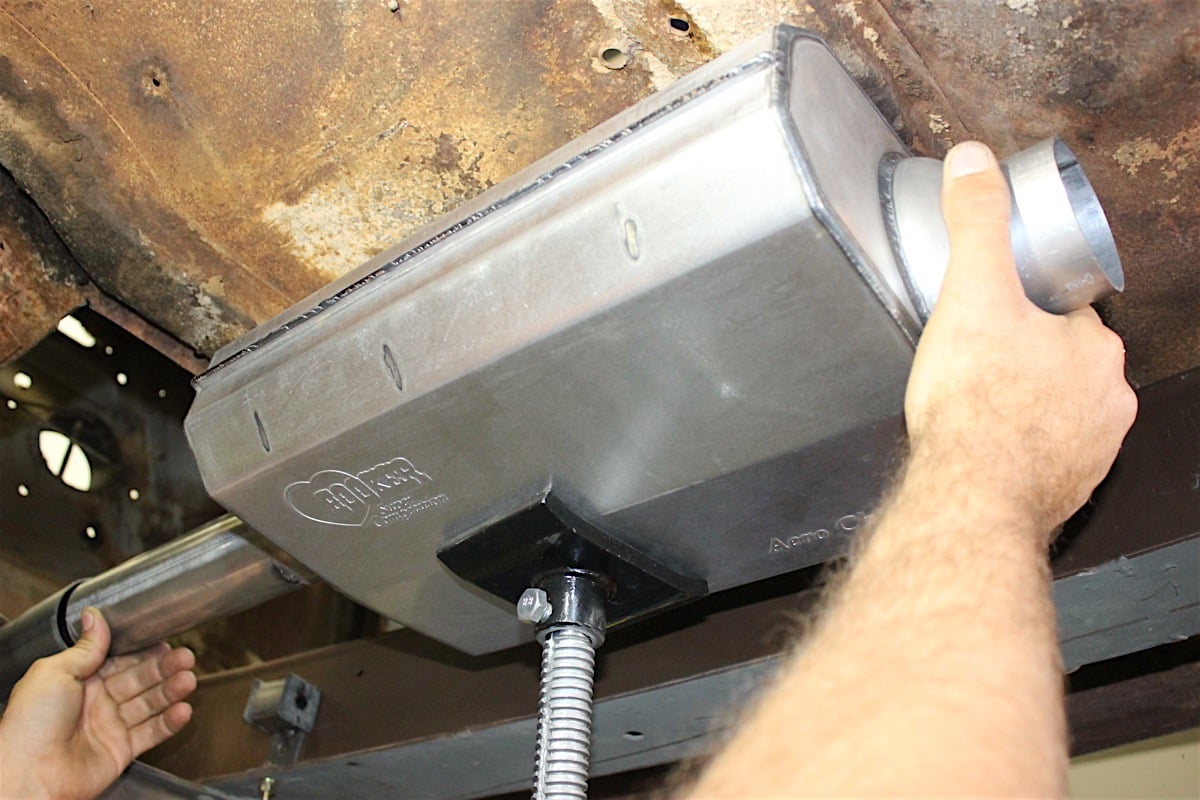
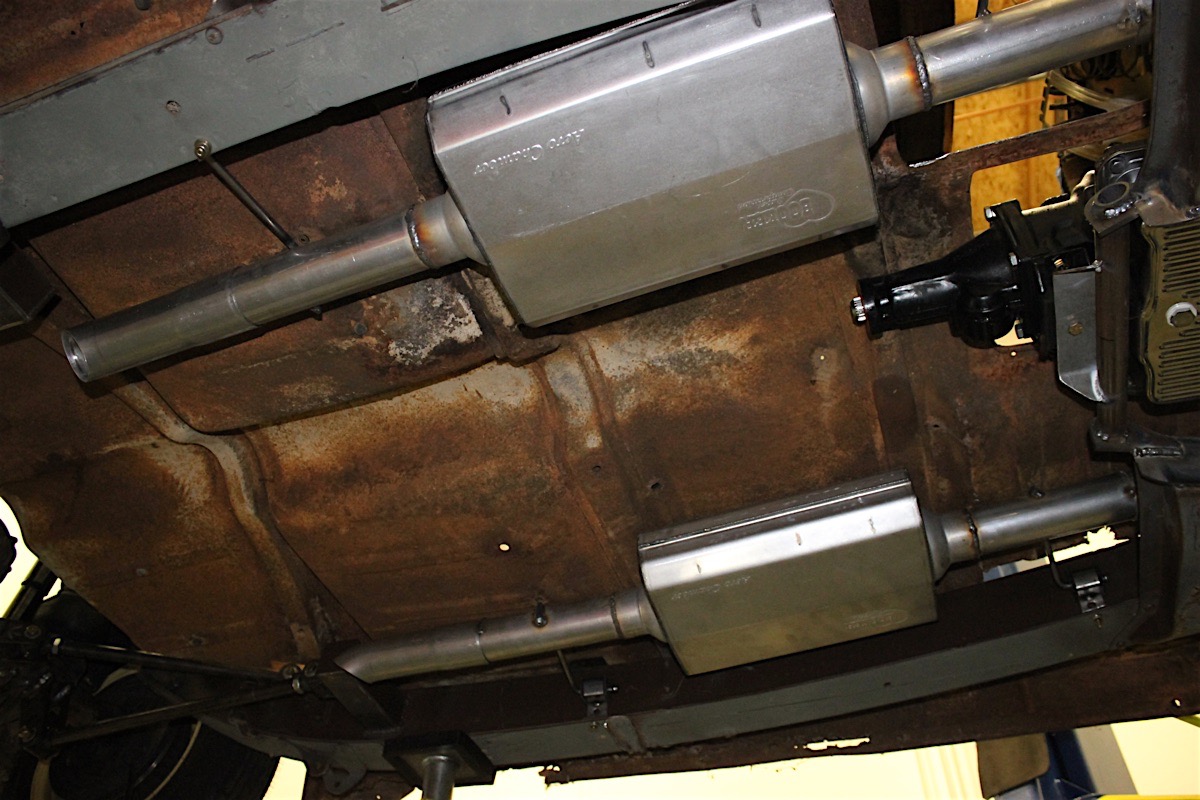
Each muffler has a sizable chamber, which is sure to help produce some serious rumble when we fire up Tiger's Eye.
Supplying the exhaust system piping and mufflers are courtesy from our friends at Jegs. Speaking with Jegs’ Josh Quellhorst, he went into further detail about the 21516HKR Hooker Aero Chamber Mufflers for Tiger’s Eye.
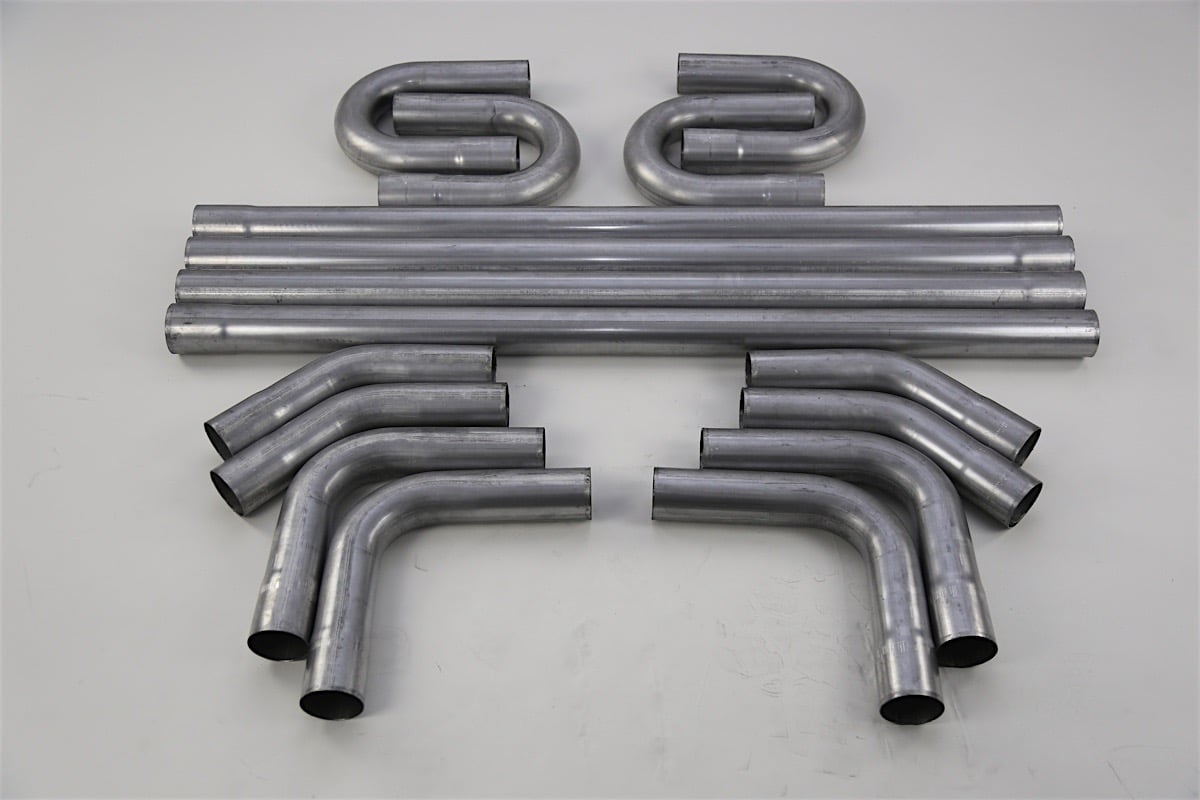

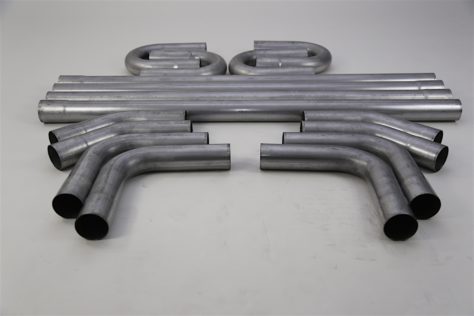
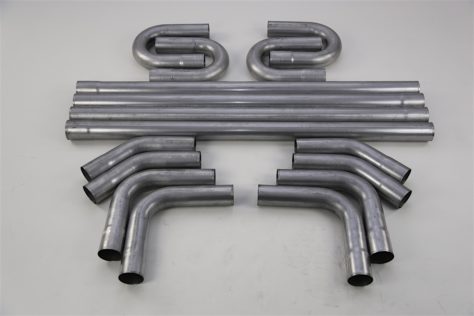
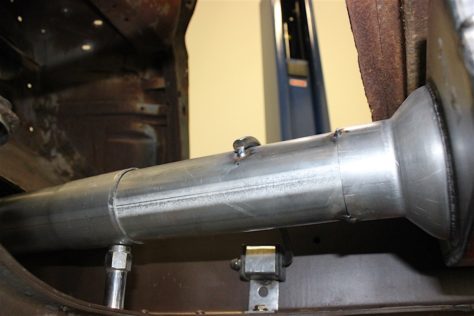
A look at the exhaust piping, which we later customized to fit to our liking underneath.
According to Hooker, these mufflers will help to improve our exhaust flow by 23 percent, producing a deep, throaty rumble that won’t change over time. An aerodynamic optic inside helps to direct sound pressure in and out of the muffler, while resonance chambers and sound absorption chambers work together to create the exhaust note.
“Hooker’s Super Competition Turbo Muffler’s design allows them to be installed in either direction,” Quellhorst said. “They provide a powerful exhaust sound on acceleration with a quieter tone at idle.”
Properly Clearing
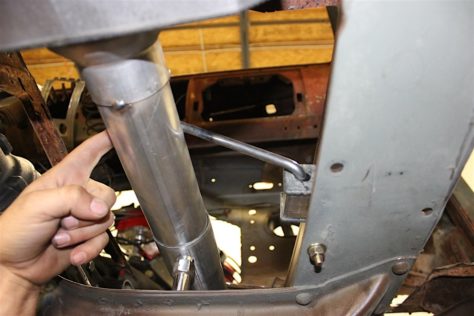
Diving in further, we also had to take into account the small space we were working with underneath. Quellhorst provided more perspective on routing exhaust on a lowered vehicle application.
Ideally, you want the exhaust components higher than the lowest part of the frame to maximize the functionality while minimizing their visibility.
– Josh Quellhorst, Jegs
Having the proper clearance is important to give peace of mind when driving, especially over obstructions and hazards such as steep driveways, dips, or speed bumps. Our goal for this installation was to mount the exhaust system as high as possible, all the while keeping close to the frame.
Exhaust Connections
When assembling exhaust systems, there are three types of connections, each with benefits and drawbacks: welds, V-bands, and U-bolt clamps.

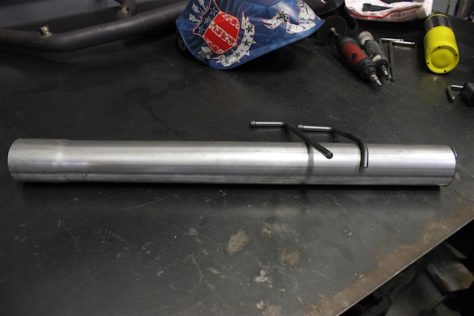
Spot welds were all that was needed to keep the piping together on this portion of the installation.
The first type of exhaust connection is welds, which are an affordable option, but cannot be undone once in place.
When making a decision, consider your budget, your time, and whether you plan to remove the exhaust in the future, including unexpectedly.
– Josh Quellhorst, Jegs
In regard to V-band clamps, Quellhorst said they are the most expensive of the three options. “V-band clamps require welding the flanges on the connection ends and are generally higher in price,” he said. “However, they do allow the best sealing and easiest assembly/disassembly of the exhaust components.”
The last type of exhaust connection are U-bolt clamps, which are the least expensive and provide the quickest installation option for assembling exhaust components. “However, they do crimp the piping, causing a permanent connection that requires cutting for disassembly,” Quellhorst said. “Another option to consider is band clamps, which deform the clamp when tightened instead of the exhaust component, allowing easy disassembly. They do cost a little more than the U-bolt clamp style.”
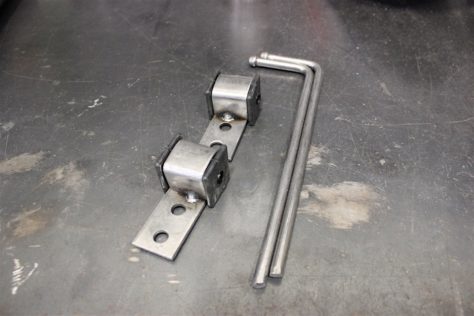
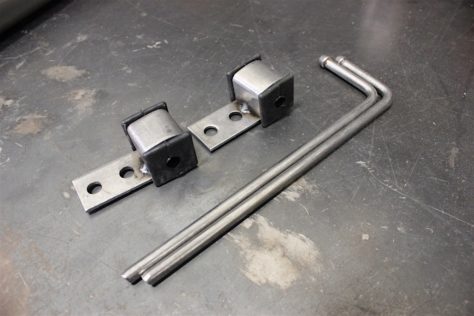
Due to a custom setup, we created our own mounting points and welded each bracket on accordingly.
Putting It Together
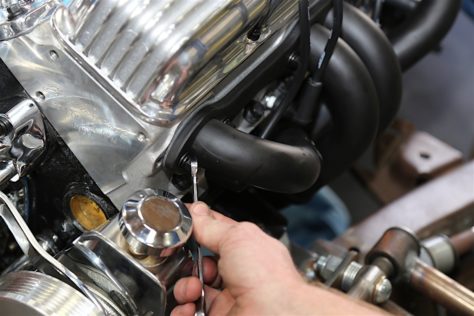
Working with the body lifted off the chassis, we began our install by bolting the Hooker headers onto the block. All of the necessary hardware to install the headers, which went on with basic hand tools and careful placement, was provided.
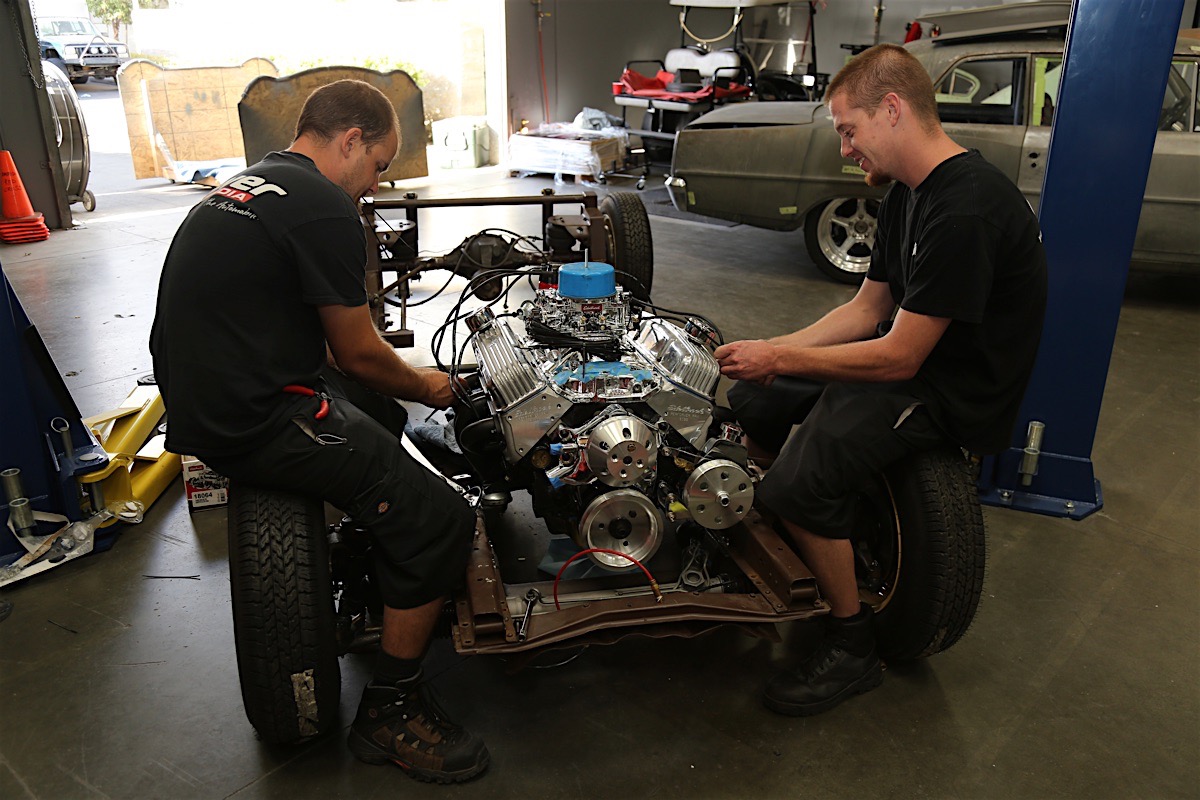


With basic hand tools, the headers went on without any hassle.
After cutting into the flooring of Tiger’s Eye to fit the B&M 700R4/4L60 automatic transmission, we carefully placed the exhaust piping from the headers, which had to be precise to ensure proper fitment. To compensate for the aesthetic we are striving for on Tiger’s Eye, we decided to customize the piping, cutting into some of the pieces and welding them in different places.
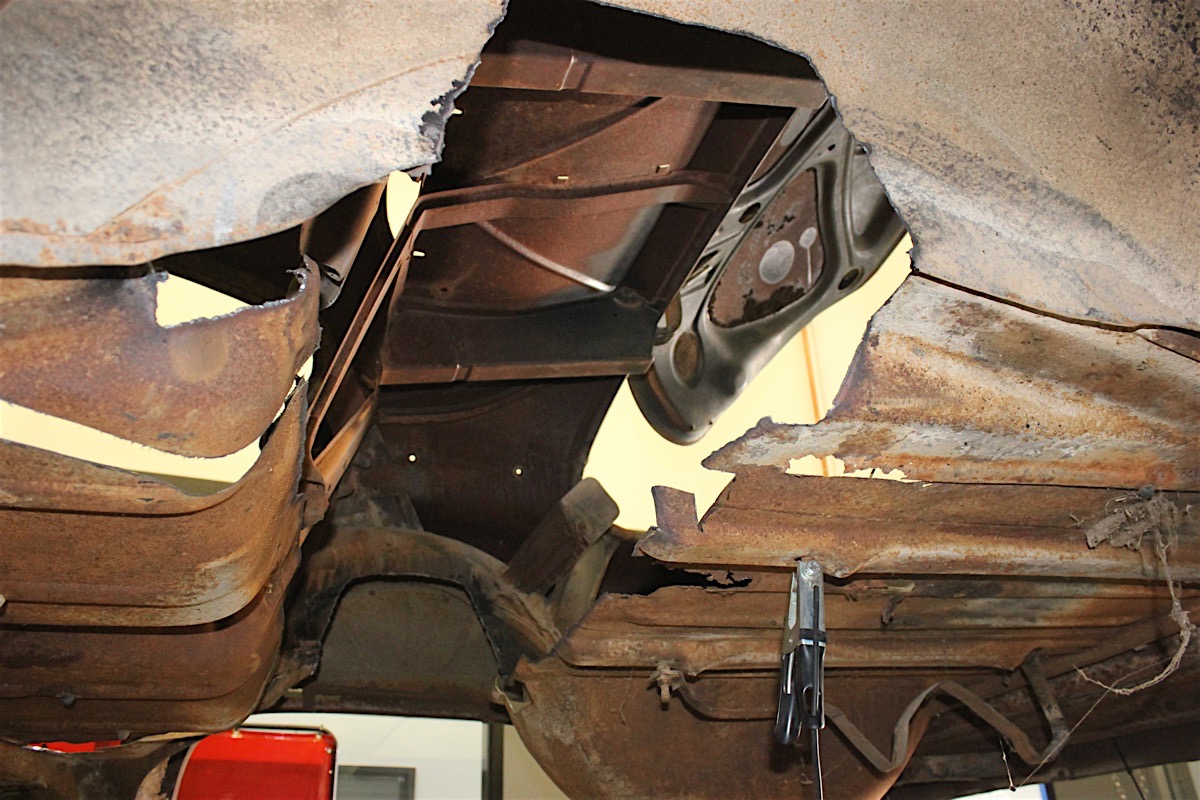
A look at the space we cleared to fit the transmission we have prepped for Tiger's Eye.
We then welded each piece of pipe at the ends to make sure everything stayed together. After routing the exhaust to the rear of Tiger’s Eye, we were ready to install the Hooker mufflers.


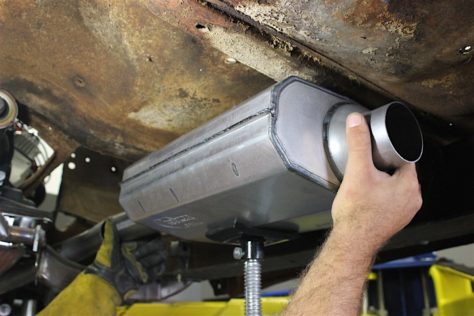
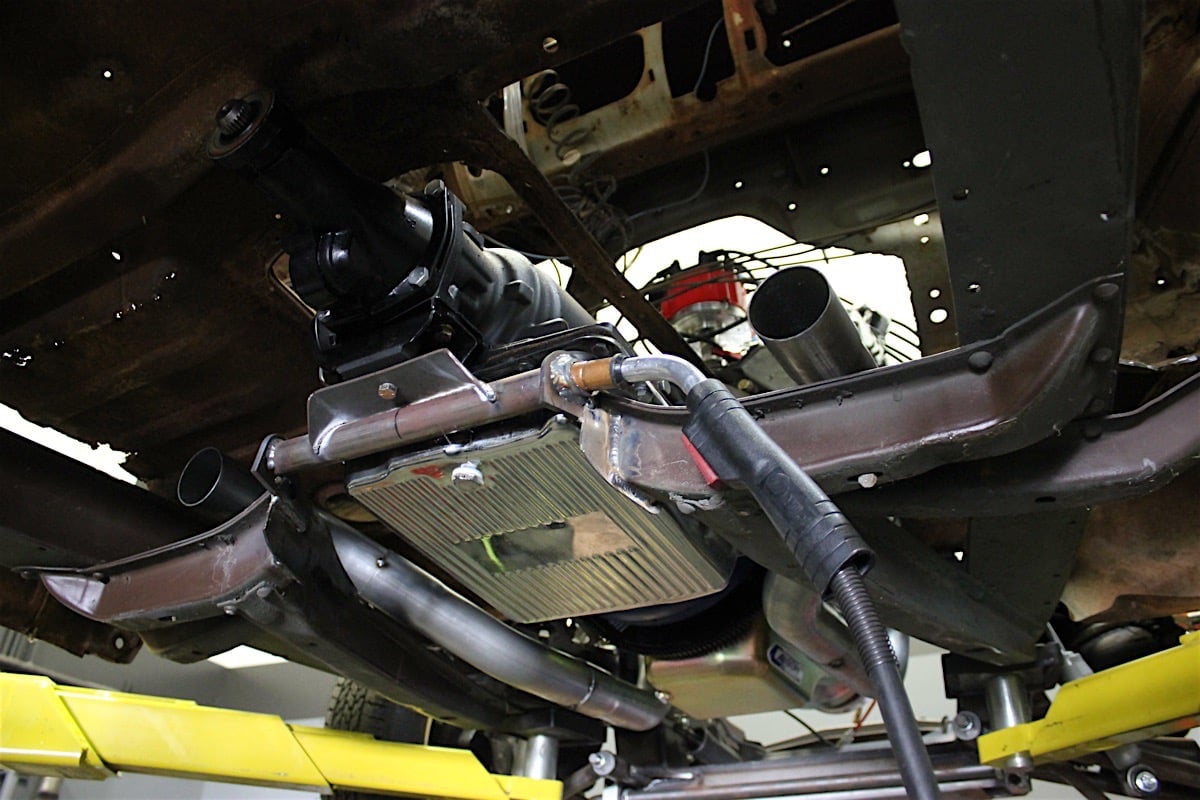
After welding piping onto one end of the muffler, we carefully measured and mocked up a placement point for each muffler.
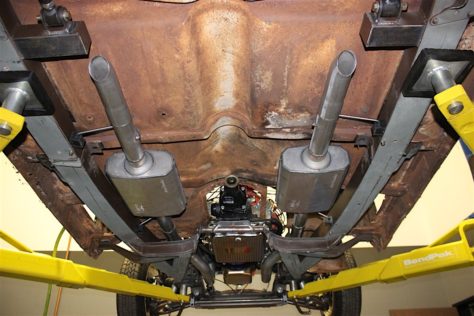
With each muffler’s square dimensions, we mounted the mufflers as close to the frame as possible. After choosing where we wanted to mount them, we prepared the mounts to hold the mufflers in place.
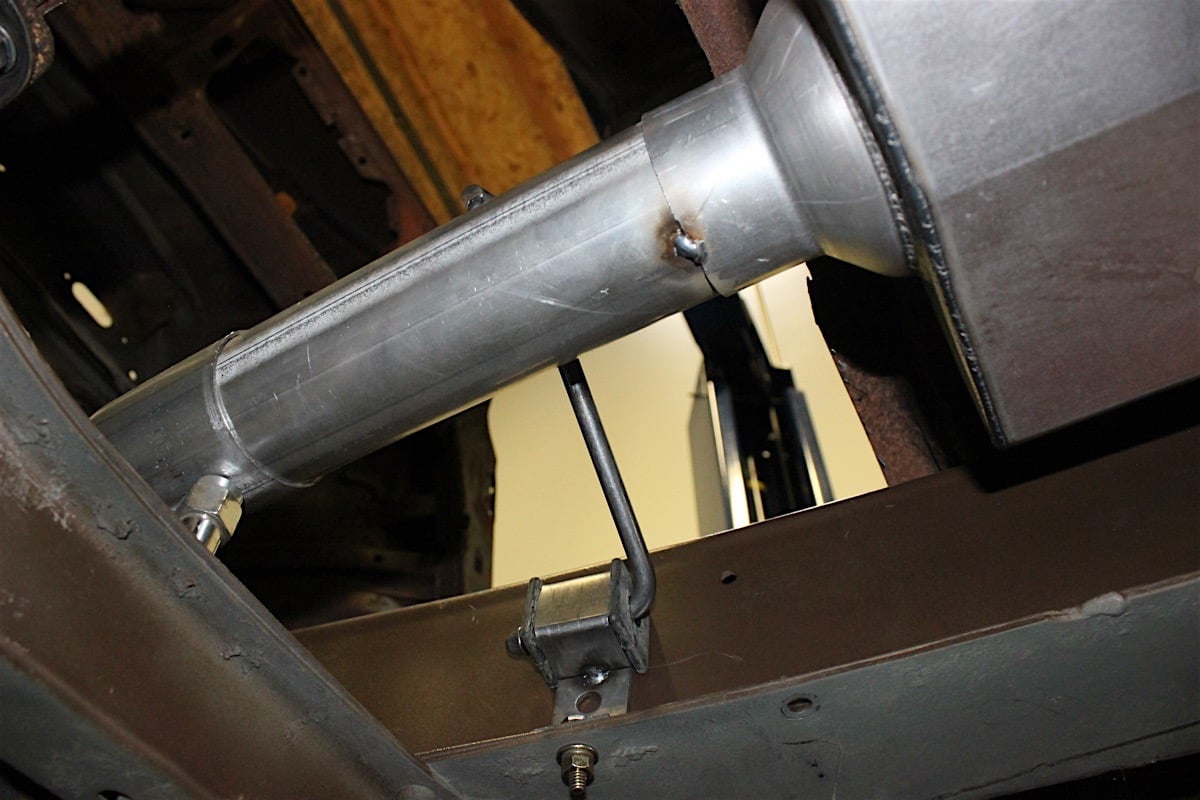


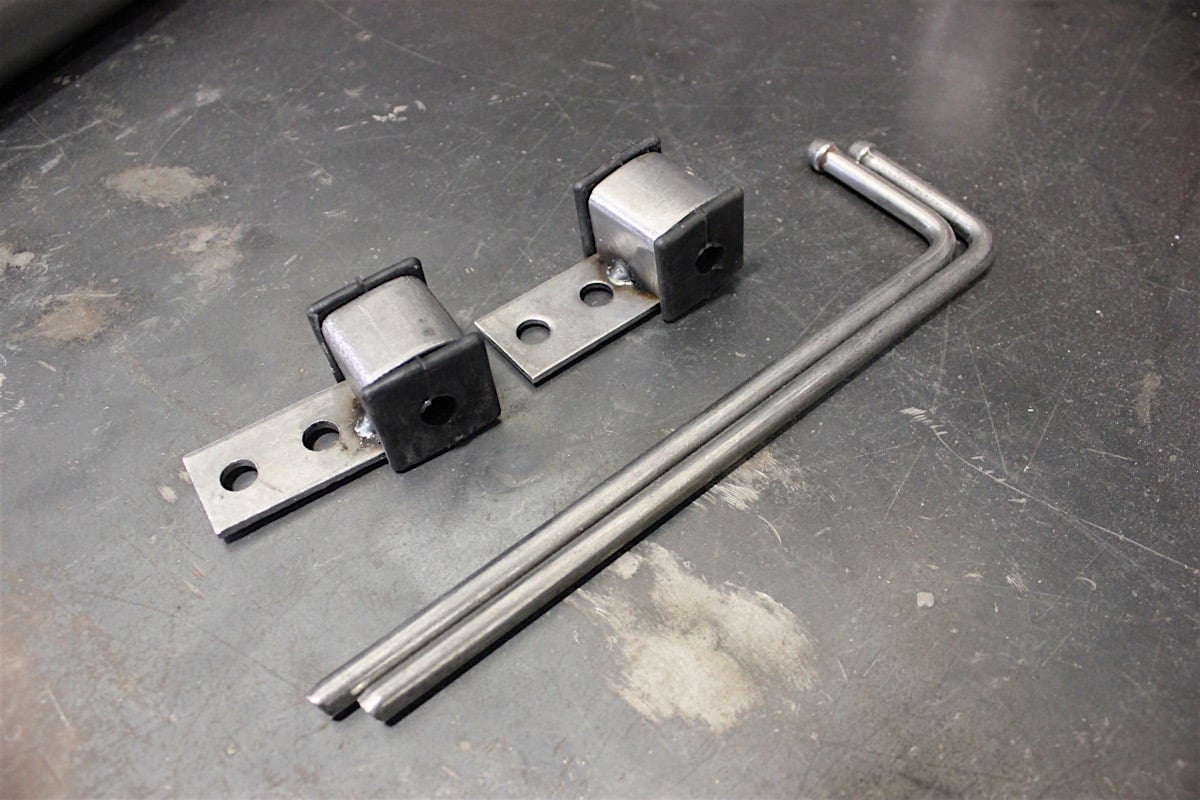
With the brackets and mounts we had to work with, we welded up each one with quick spot welds.
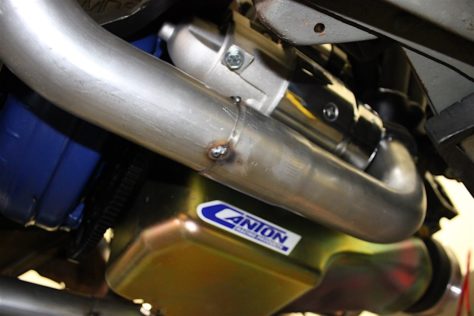
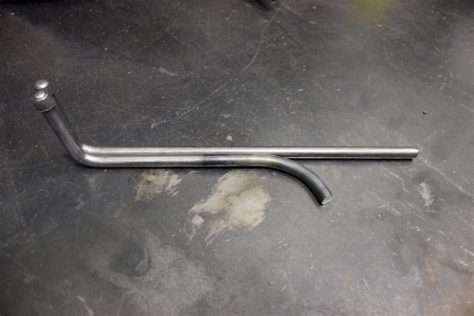
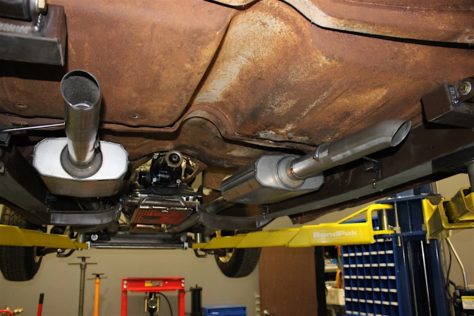
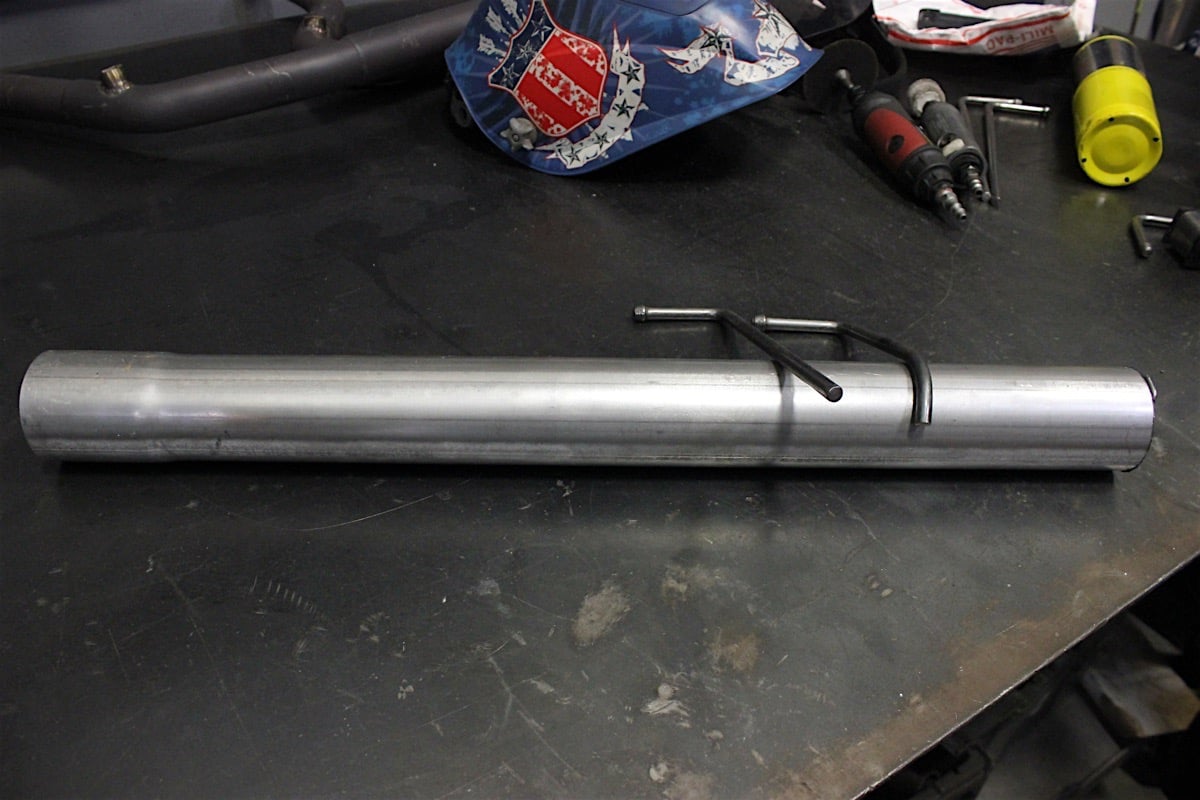
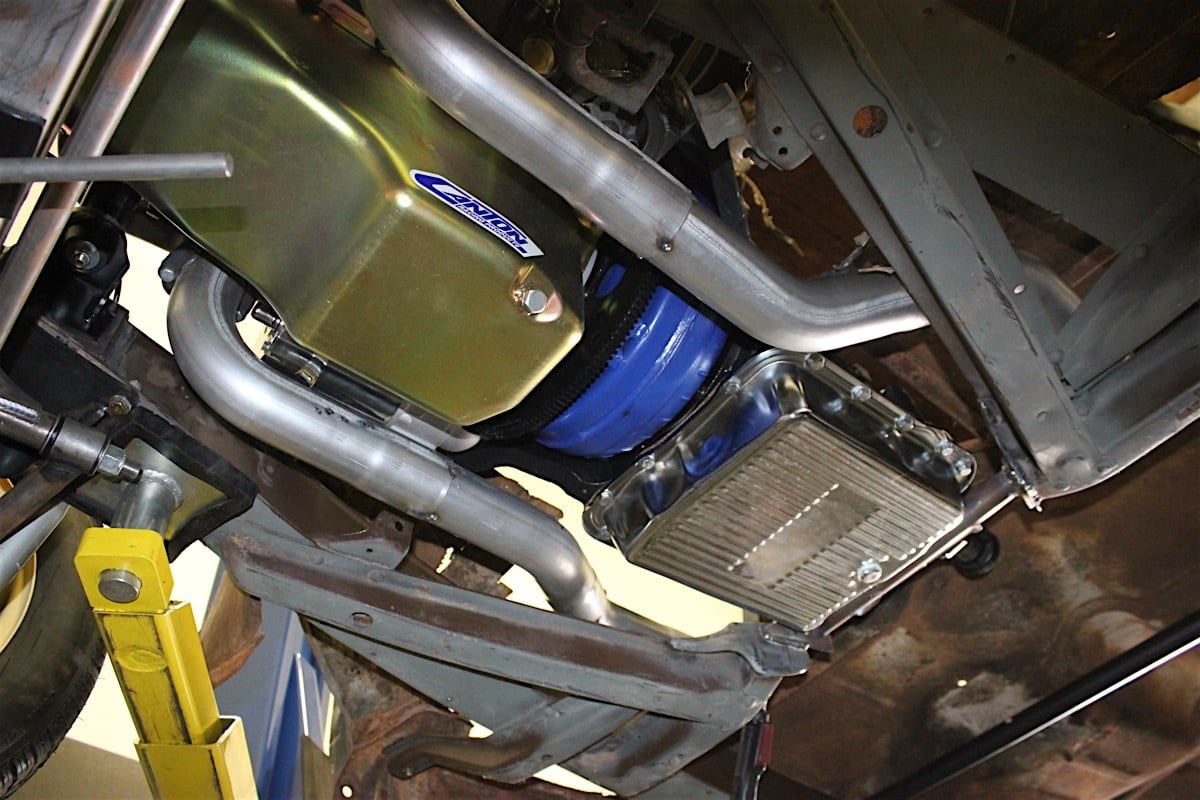
We then welded each bracket into place to ensure the exhaust system wouldn’t move. Running alongside the frame, we crafted our own turndown muffler tips just before the rear axle, which help to guide the exhaust flow down to ground, away from heating the underside. The exhaust system fit seamlessly underneath Tiger’s Eye, and the Super Competition mufflers sit close to the frame and up high where it won’t scrape.
Our choice to customize the piping resulted in a shorter exhaust system that ends just before the rear axle. Due to the custom fabrication and TCI Engineering IFS front suspension, and Gambino Customs Taildragger Kit in the rear, Tiger’s Eye will be sitting low when all is said and done. Overall, the exhaust system was a simple installation that caused no setbacks or technical difficulties.

The custom system we crafted made for a nice setup that exceeded our expectations.
In The End
Overall, the process was straightforward and required some welding and simple hand tools. Welding may not be an option for everyone during their project build, but we were lucky to have the ability to do so.
With the exhaust system complete, we can now focus our attention on other areas of the car that need help.
The finished product is a tucked, clean installation that is hidden from plain sight and also away from damage from the road. Gaining one step closer to bringing Tiger’s Eye to life, the driveline is coming along smoothly, posing us with few problems along the way thus far.
Stay tuned as we continue to make progress on Project Tiger’s Eye. Don’t forget to check out our build thread to keep up to date with what’s happening next!